Polygel Nails Instructions
Below you will find step-by-step instructions for applying polygel, as well as instructions for lengthening with molds and with the Dual System:
Video tutorial with molds
Video tutorial with dual system
WHAT ARE POLYGEL NAILS?
Polygel is a nail building technique that combines the best properties of gel and acrylic, resulting in a system that allows you to achieve a strong and resistant manicure that is also light.
Also known as Acrygel, this technique stands out for its easy application thanks to the thick consistency of the product, which allows you to shape your nails without the risk of it drying out or going towards the cuticles.
With Polygel, nail extensions can be made using Dual System molds or tips in the most practical way due to its innovative format: a tube-shaped container that facilitates the application and maintenance of the product.
Polygel nails offer the best of gel and acrylic in an easy, fast and economical way with a durability of between 2 and 4 weeks.
HOW DO WE APPLY POLYGEL?
To achieve a strong, long-lasting and beautiful polygel manicure, it is essential to follow all the steps detailed below, as well as to spend the necessary time doing them. Start by preparing the natural nail correctly and working on the cuticle. Then, lengthen the nail with molds or dual system tips and, to finish, you can color the nail with permanent nail polish.
HOW LONG DO POLYGEL NAILS LAST?
Polygel nails last between 2 and 4 weeks in perfect condition and, depending on the growth of natural nails, maintenance or refills can be done every 15 or 20 days.
HOW WE APPLY POLYGEL
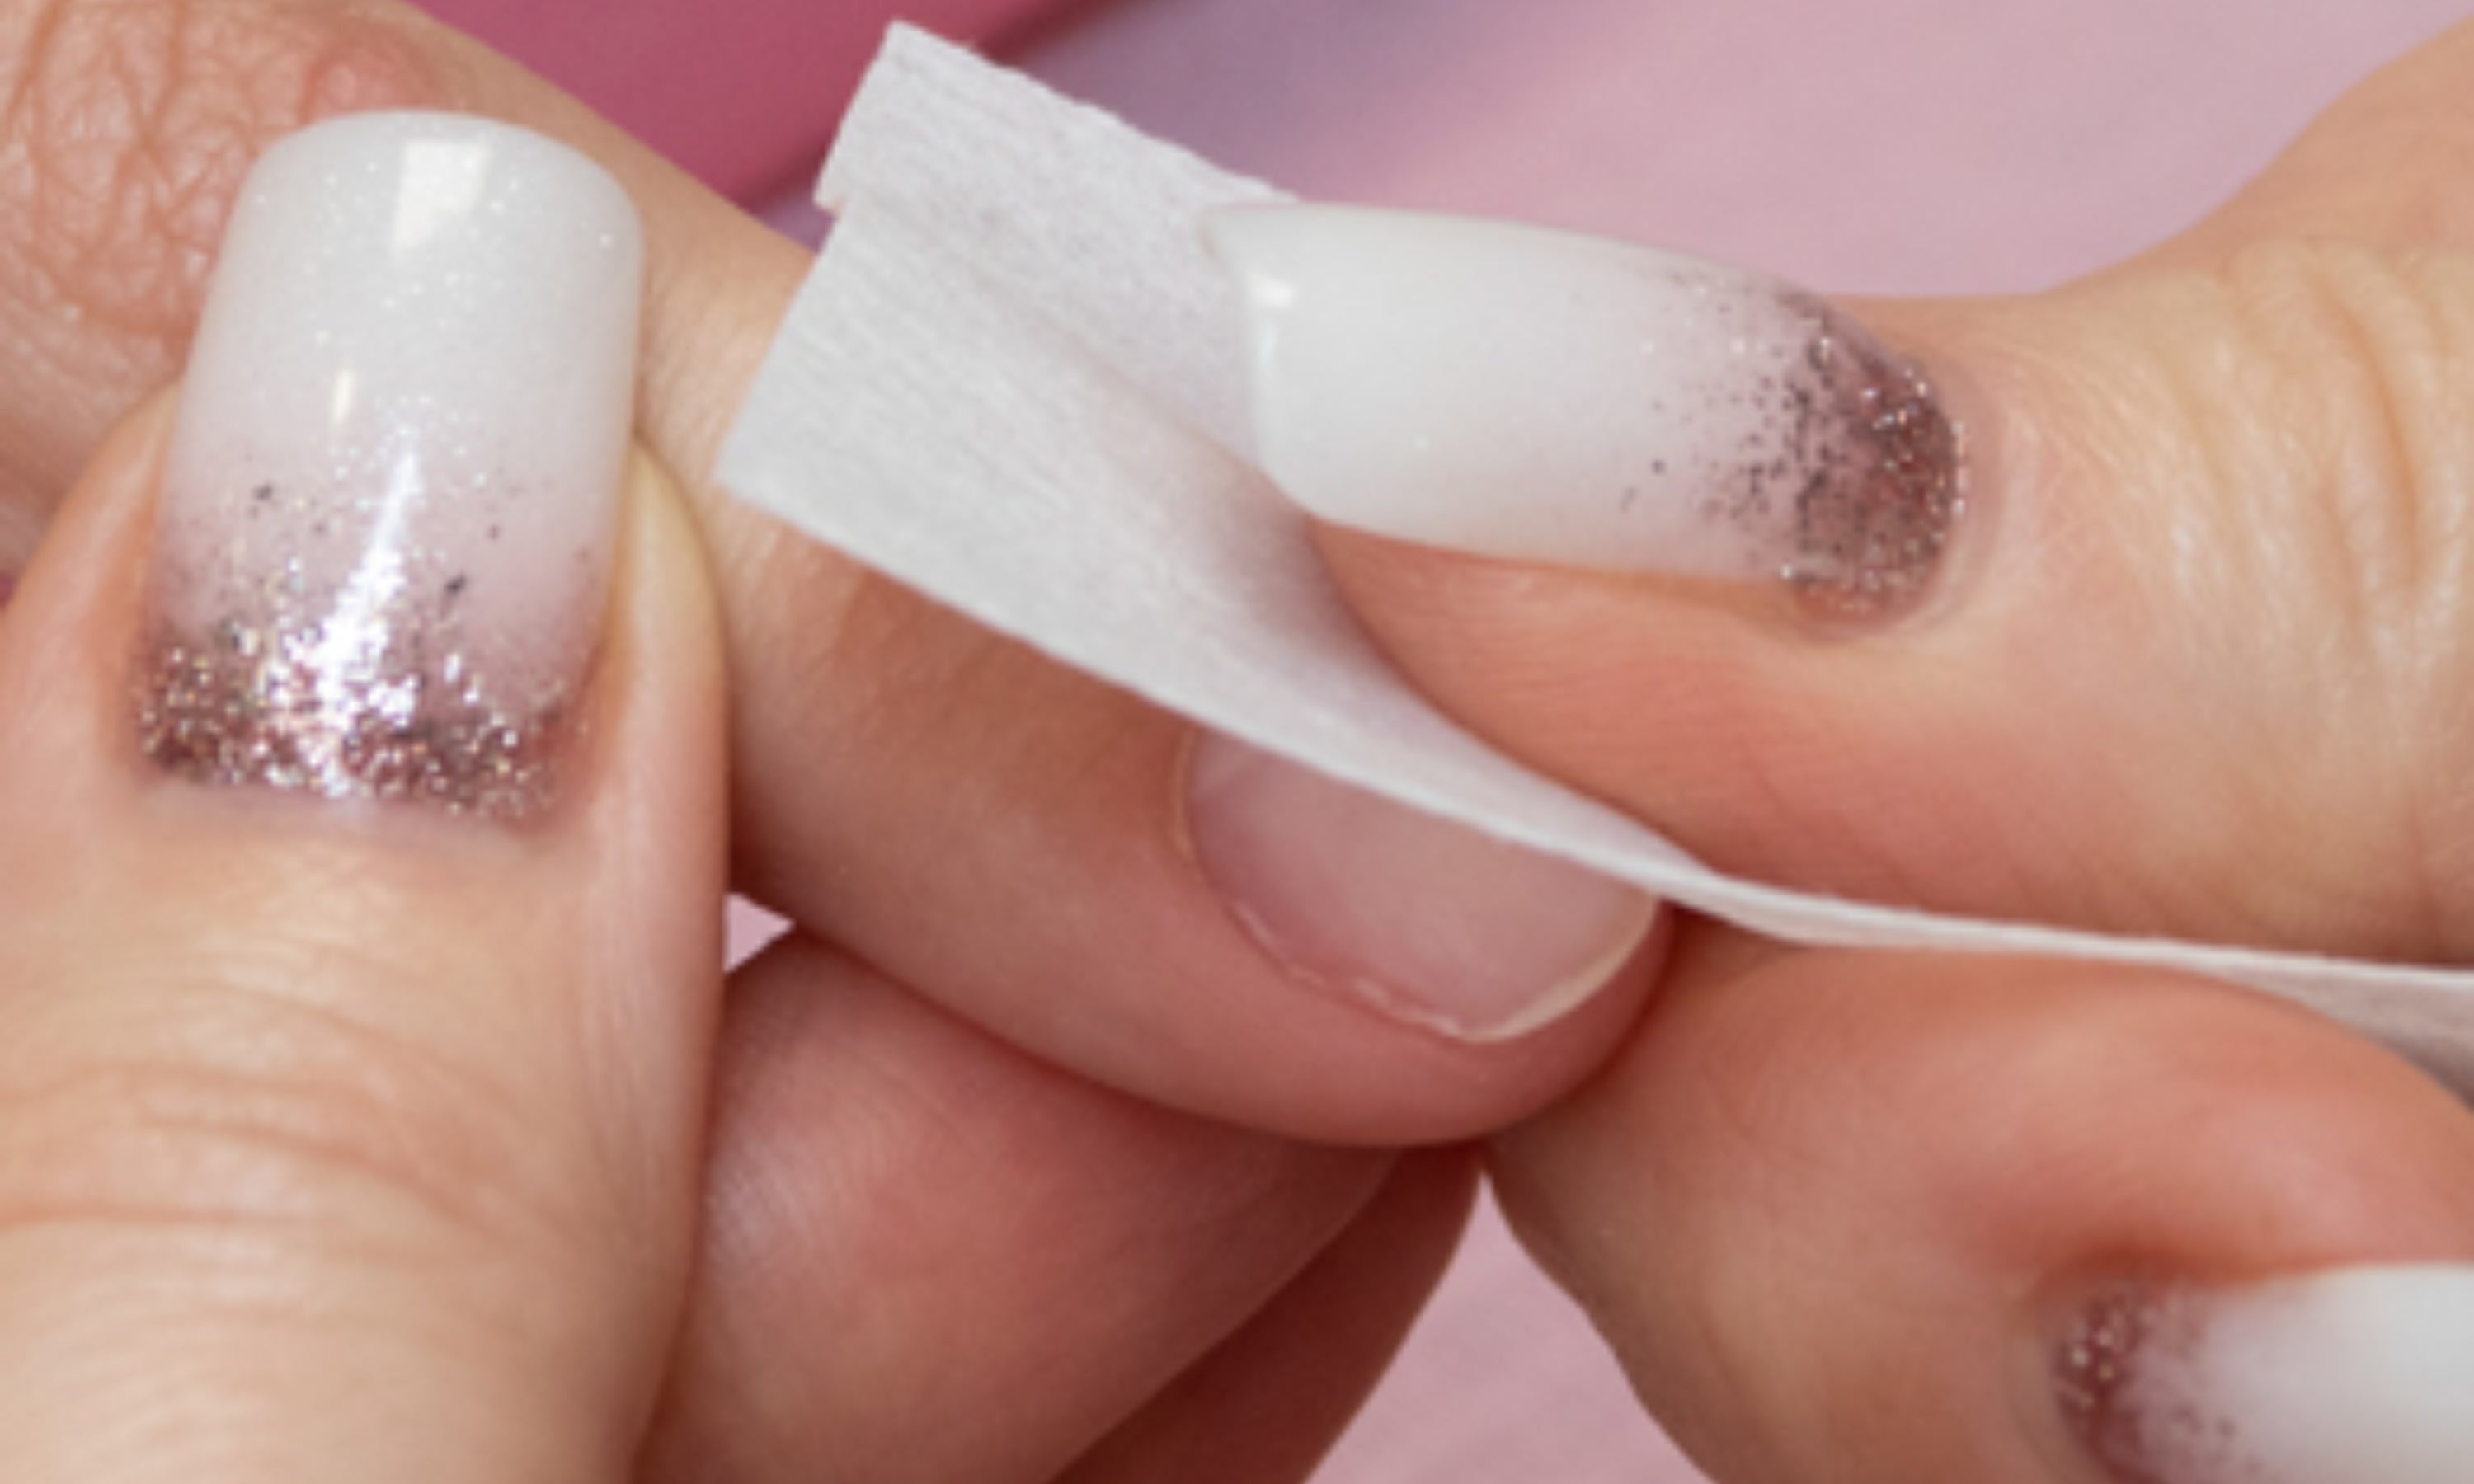
1. Disinfect nails with disinfectant or 90% alcohol soaked in cotton.
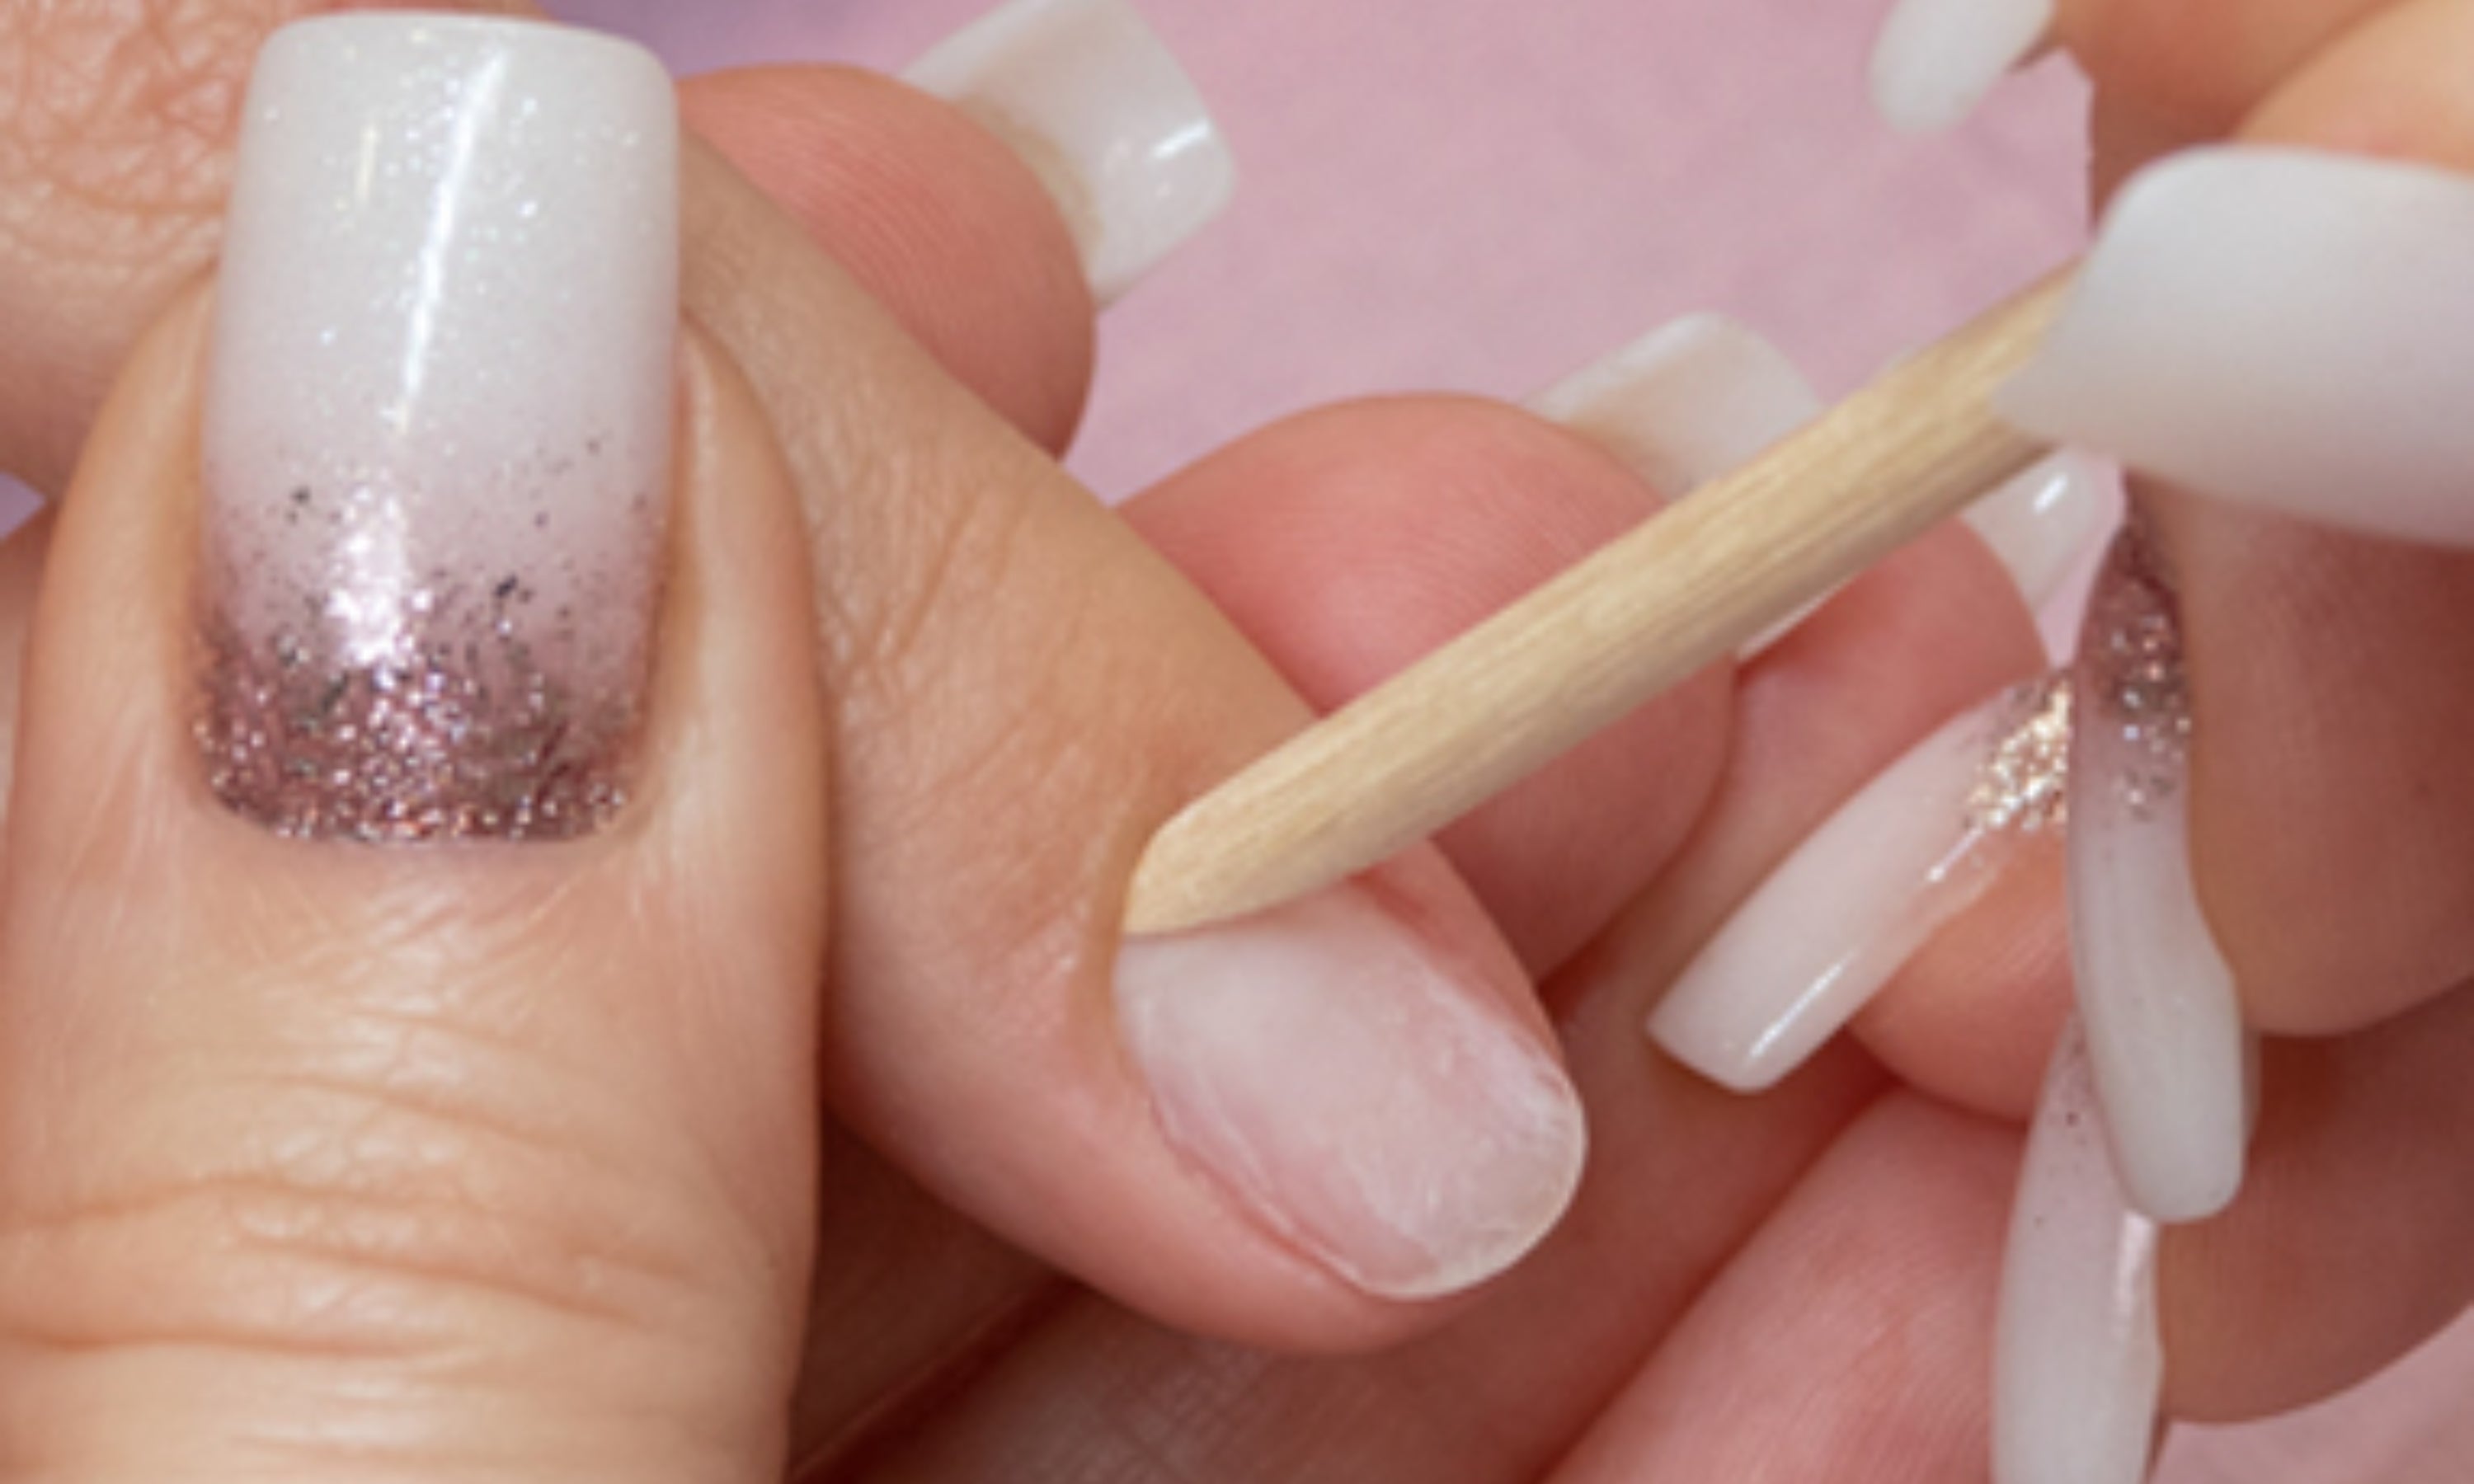
2. Push the cuticle back with an orange stick or cuticle pusher.
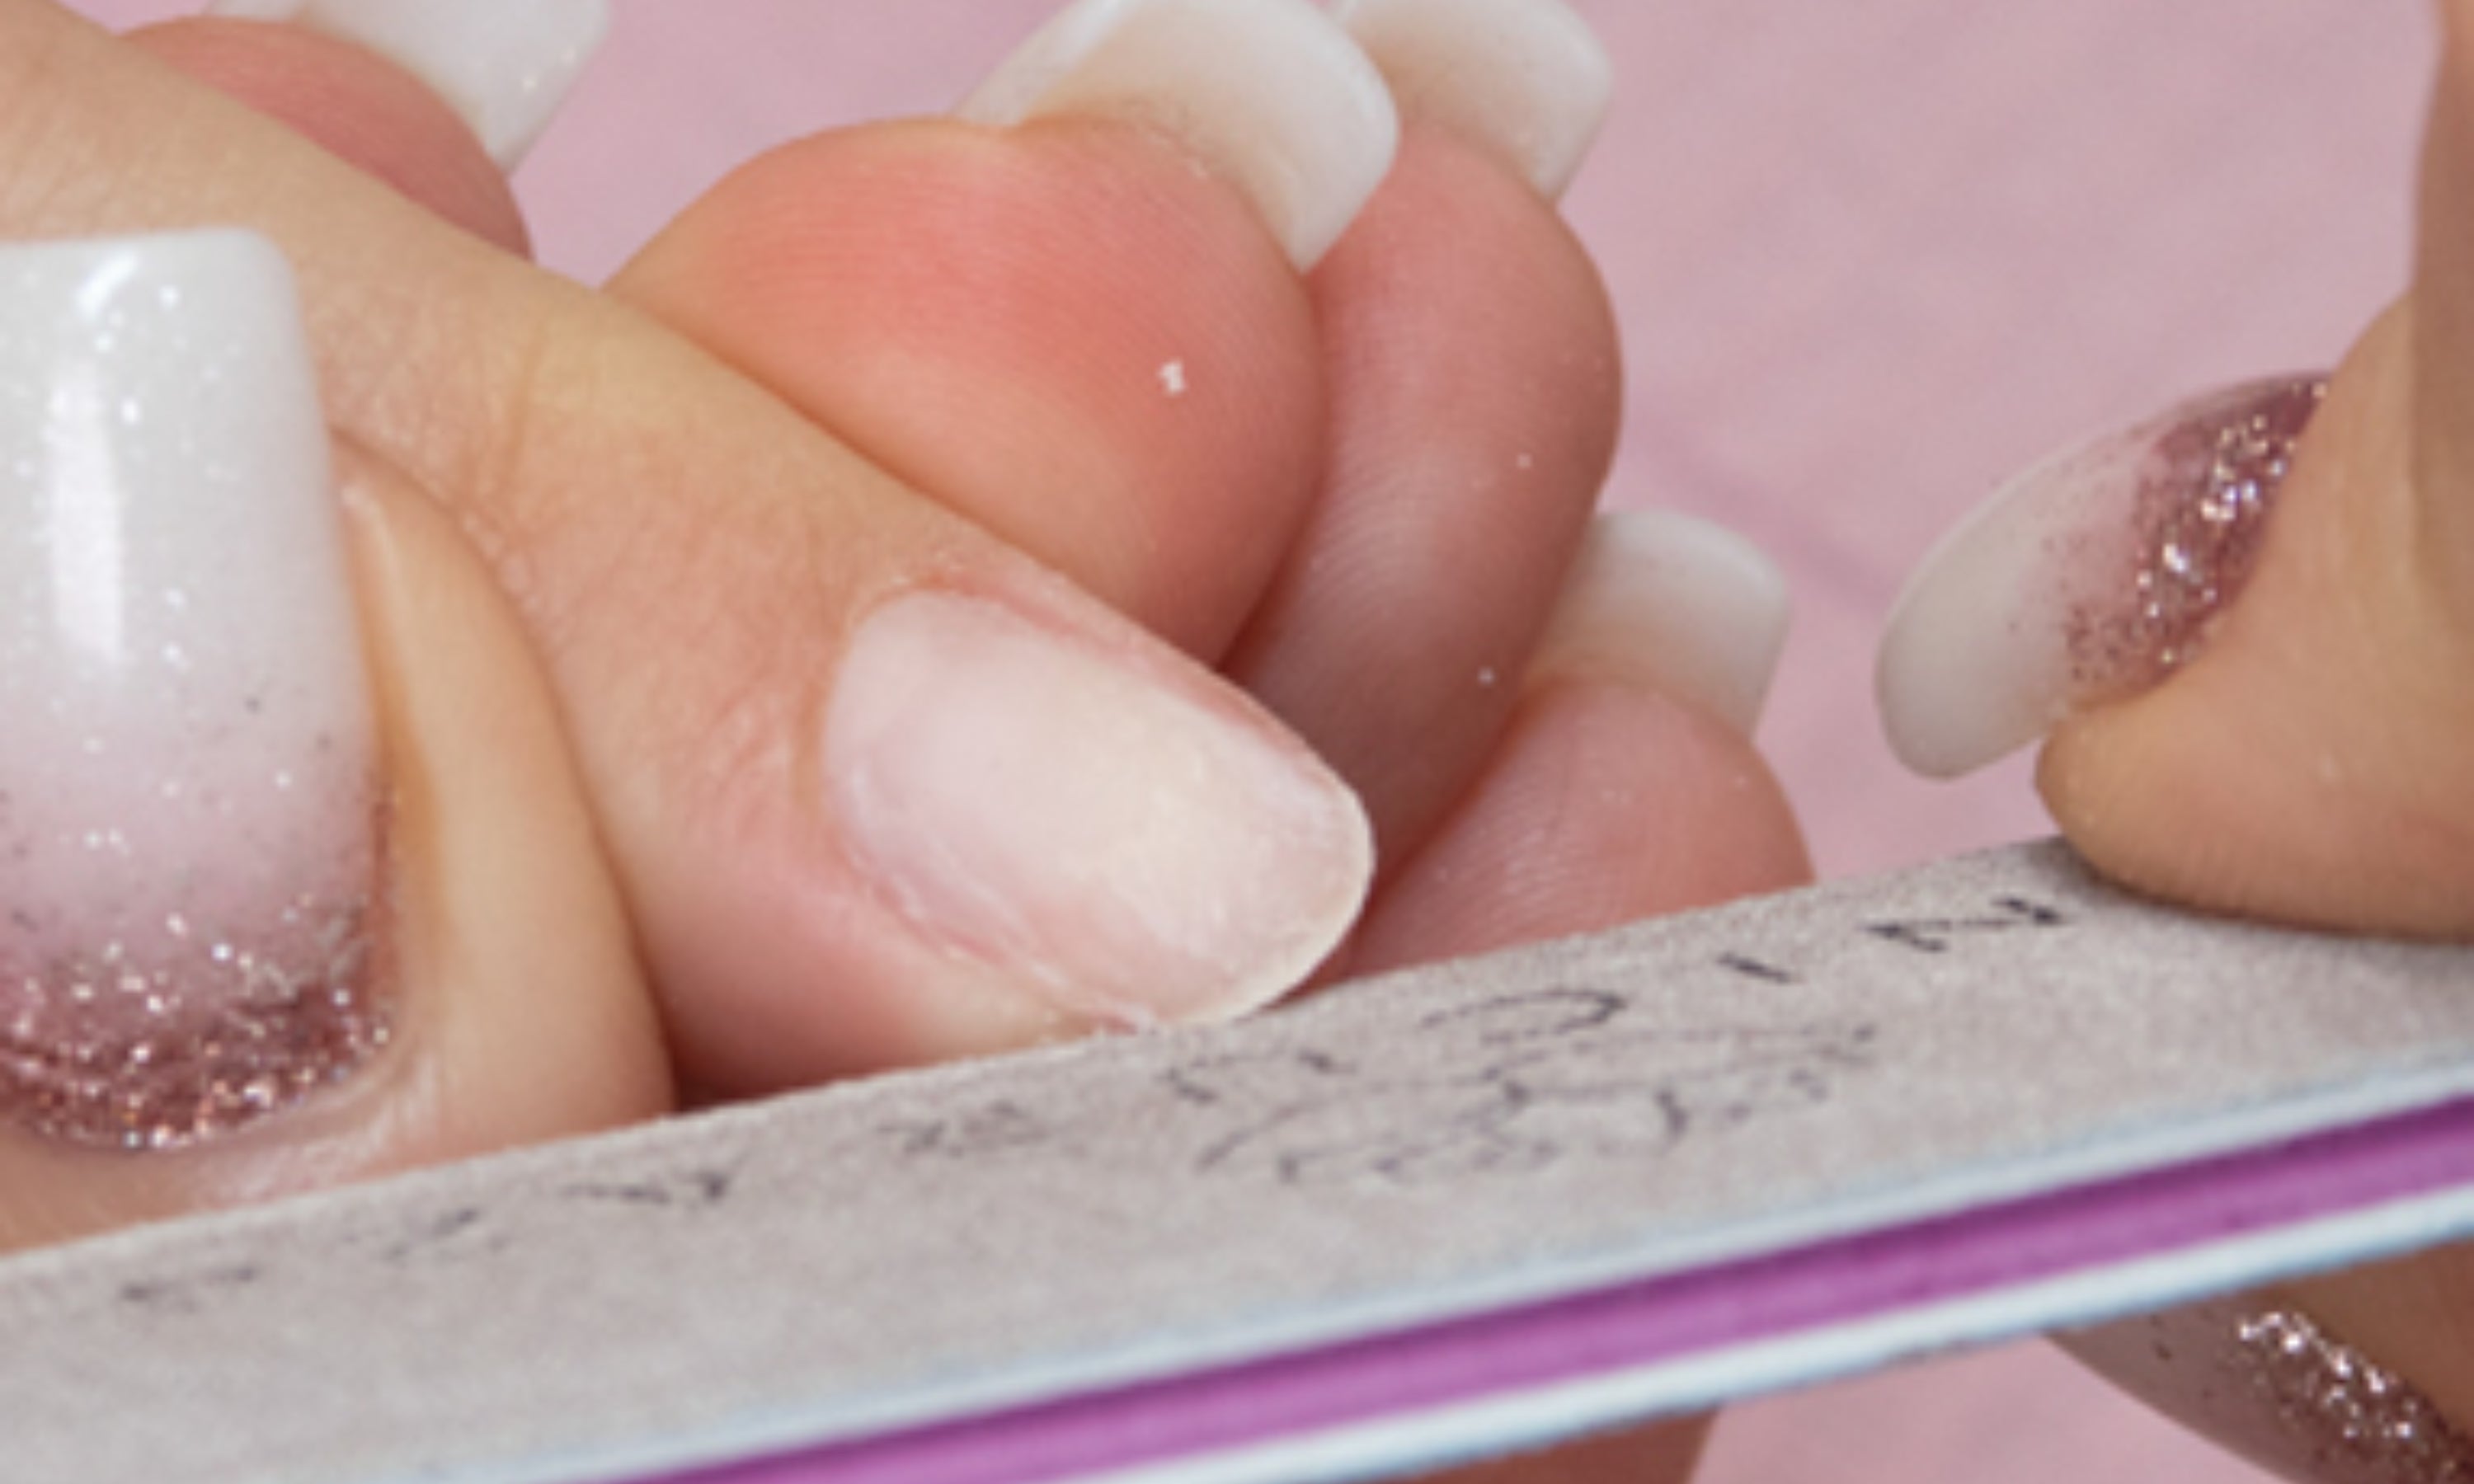
3. Shape the nail as desired. File the sides and cuticle area to remove any remaining skin.
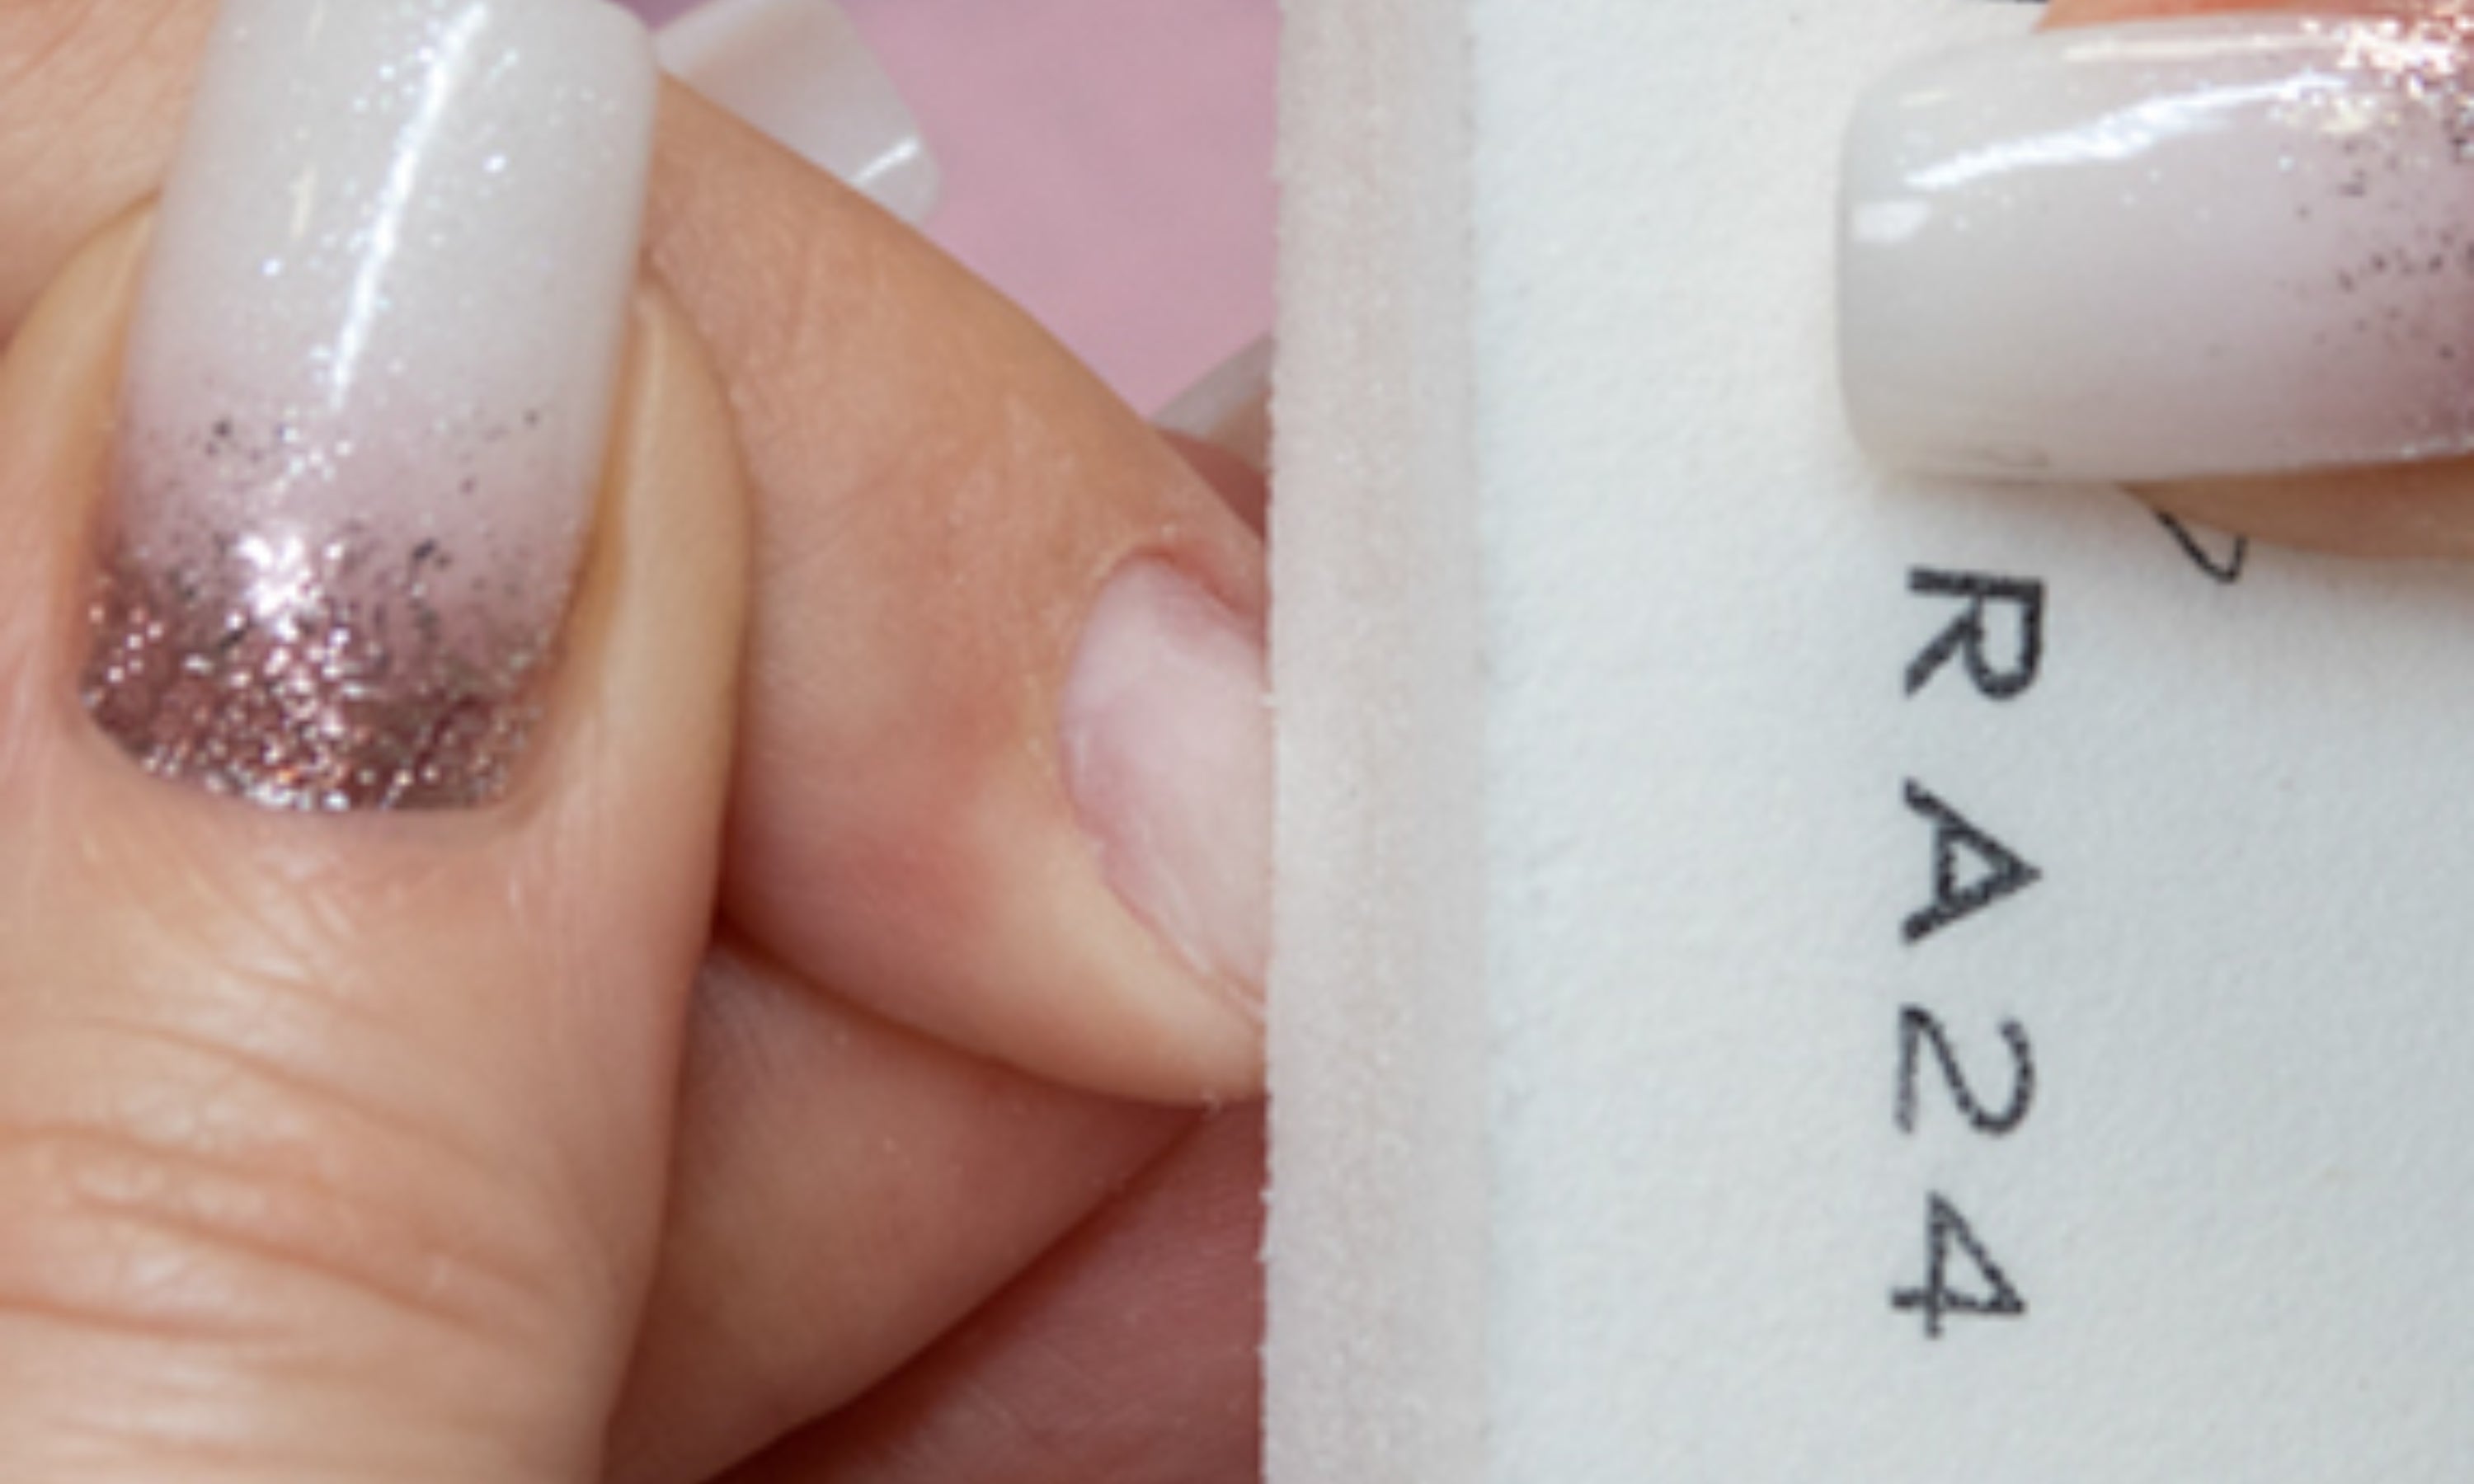
4. Remove the shine from the natural nail with the buffing block. This step is important to ensure the product adheres to the nail.
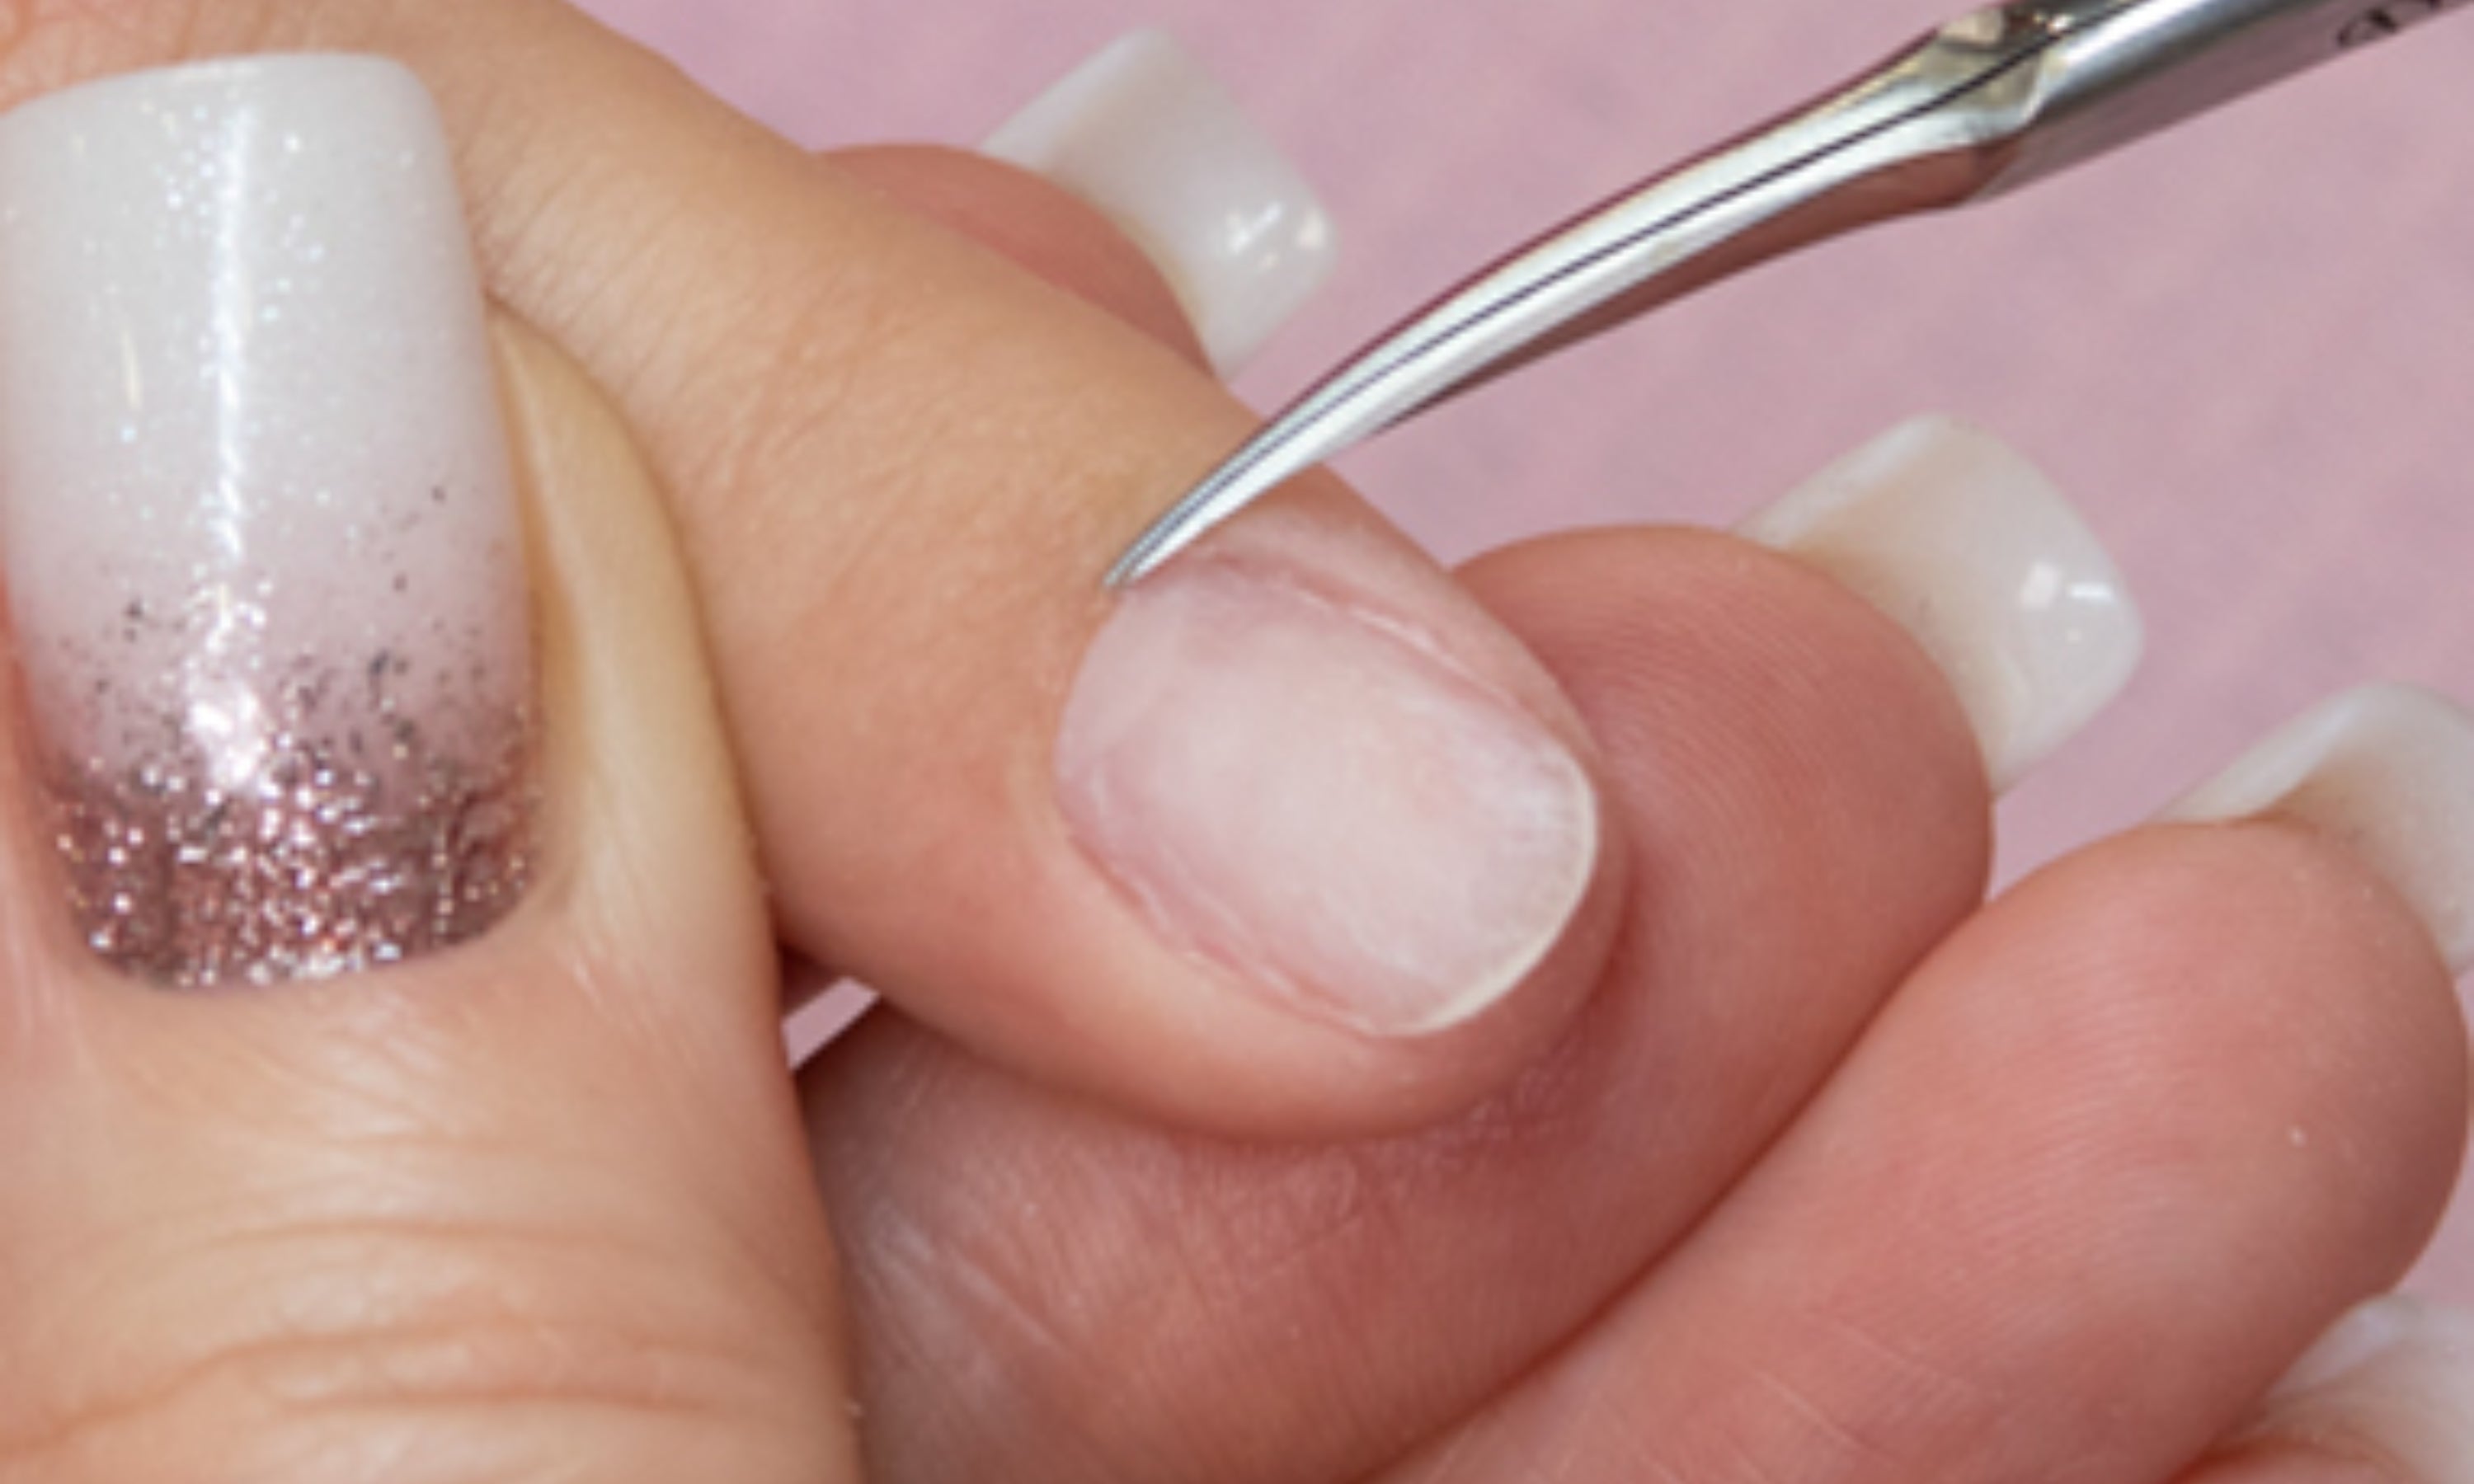
5. Finish removing any remaining skin using the cuticle nippers or scissors. It is important not to touch the nail with the tips of your fingers to ensure the polygel adheres.
EXTEND WITH MOLDS
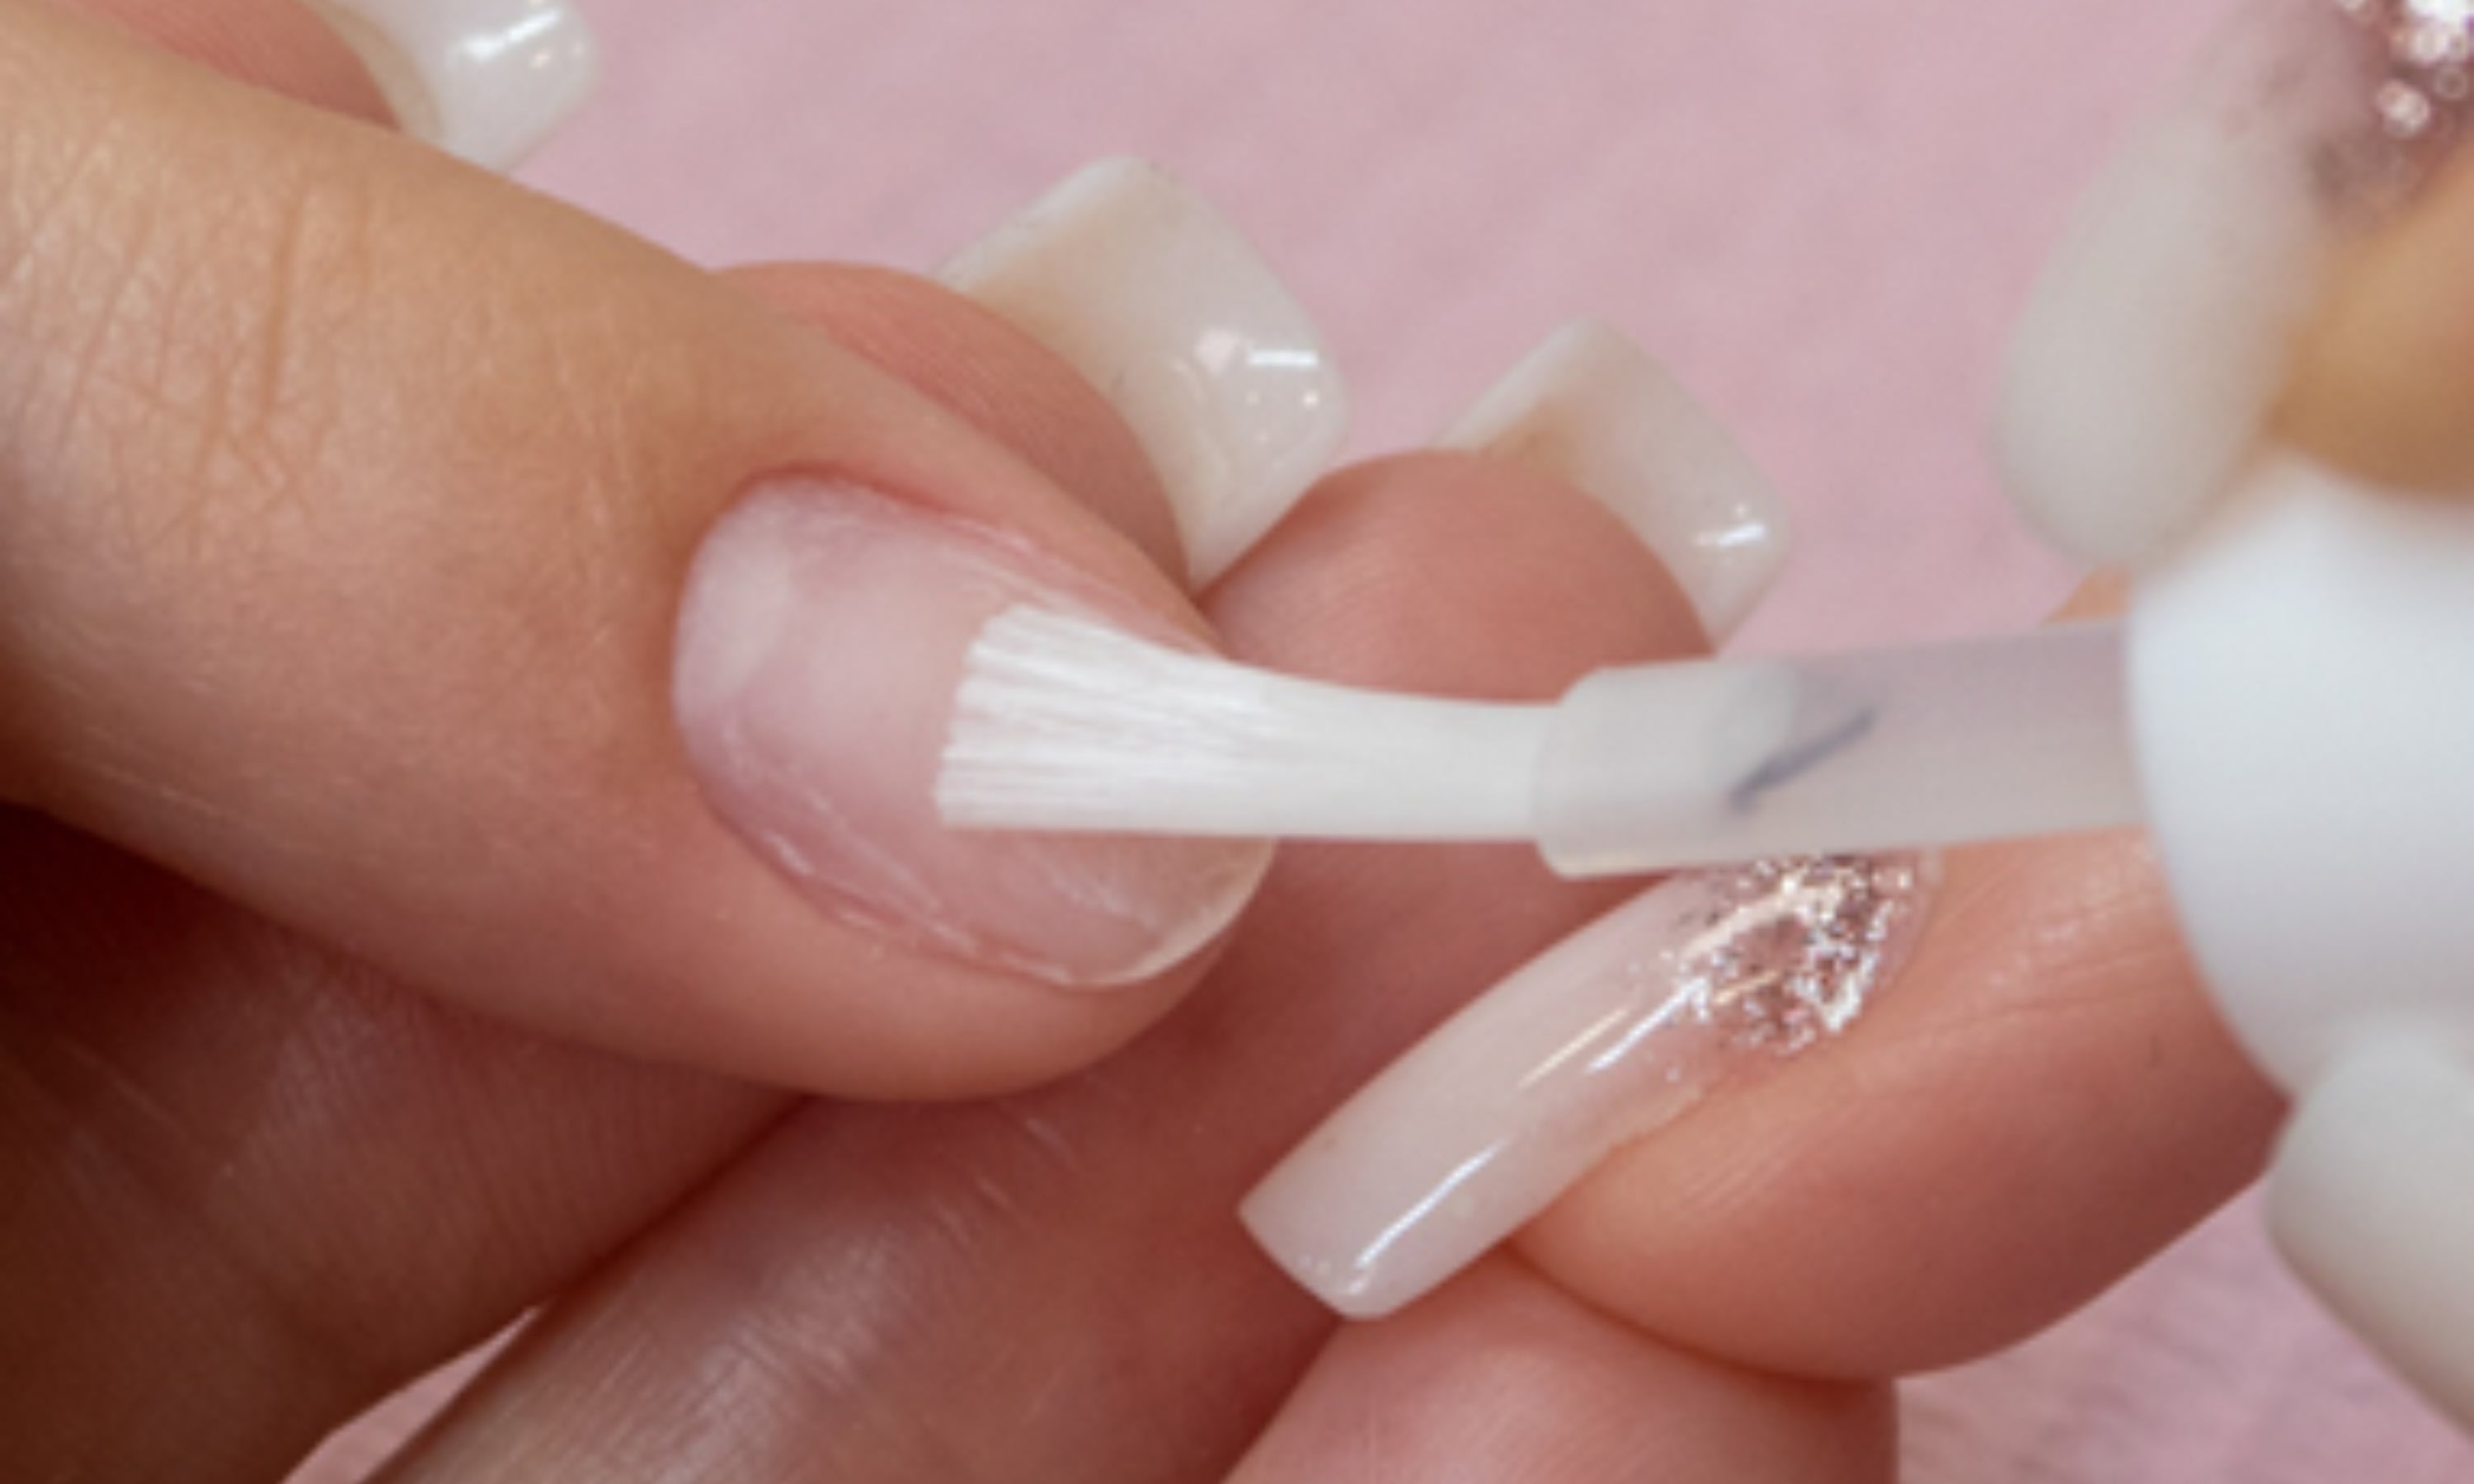
5. Apply Nail Prep to degrease the natural nail and then Ultra-Bond Primer (acid-free adhesive) on the entire nail without touching the skin or cuticle.
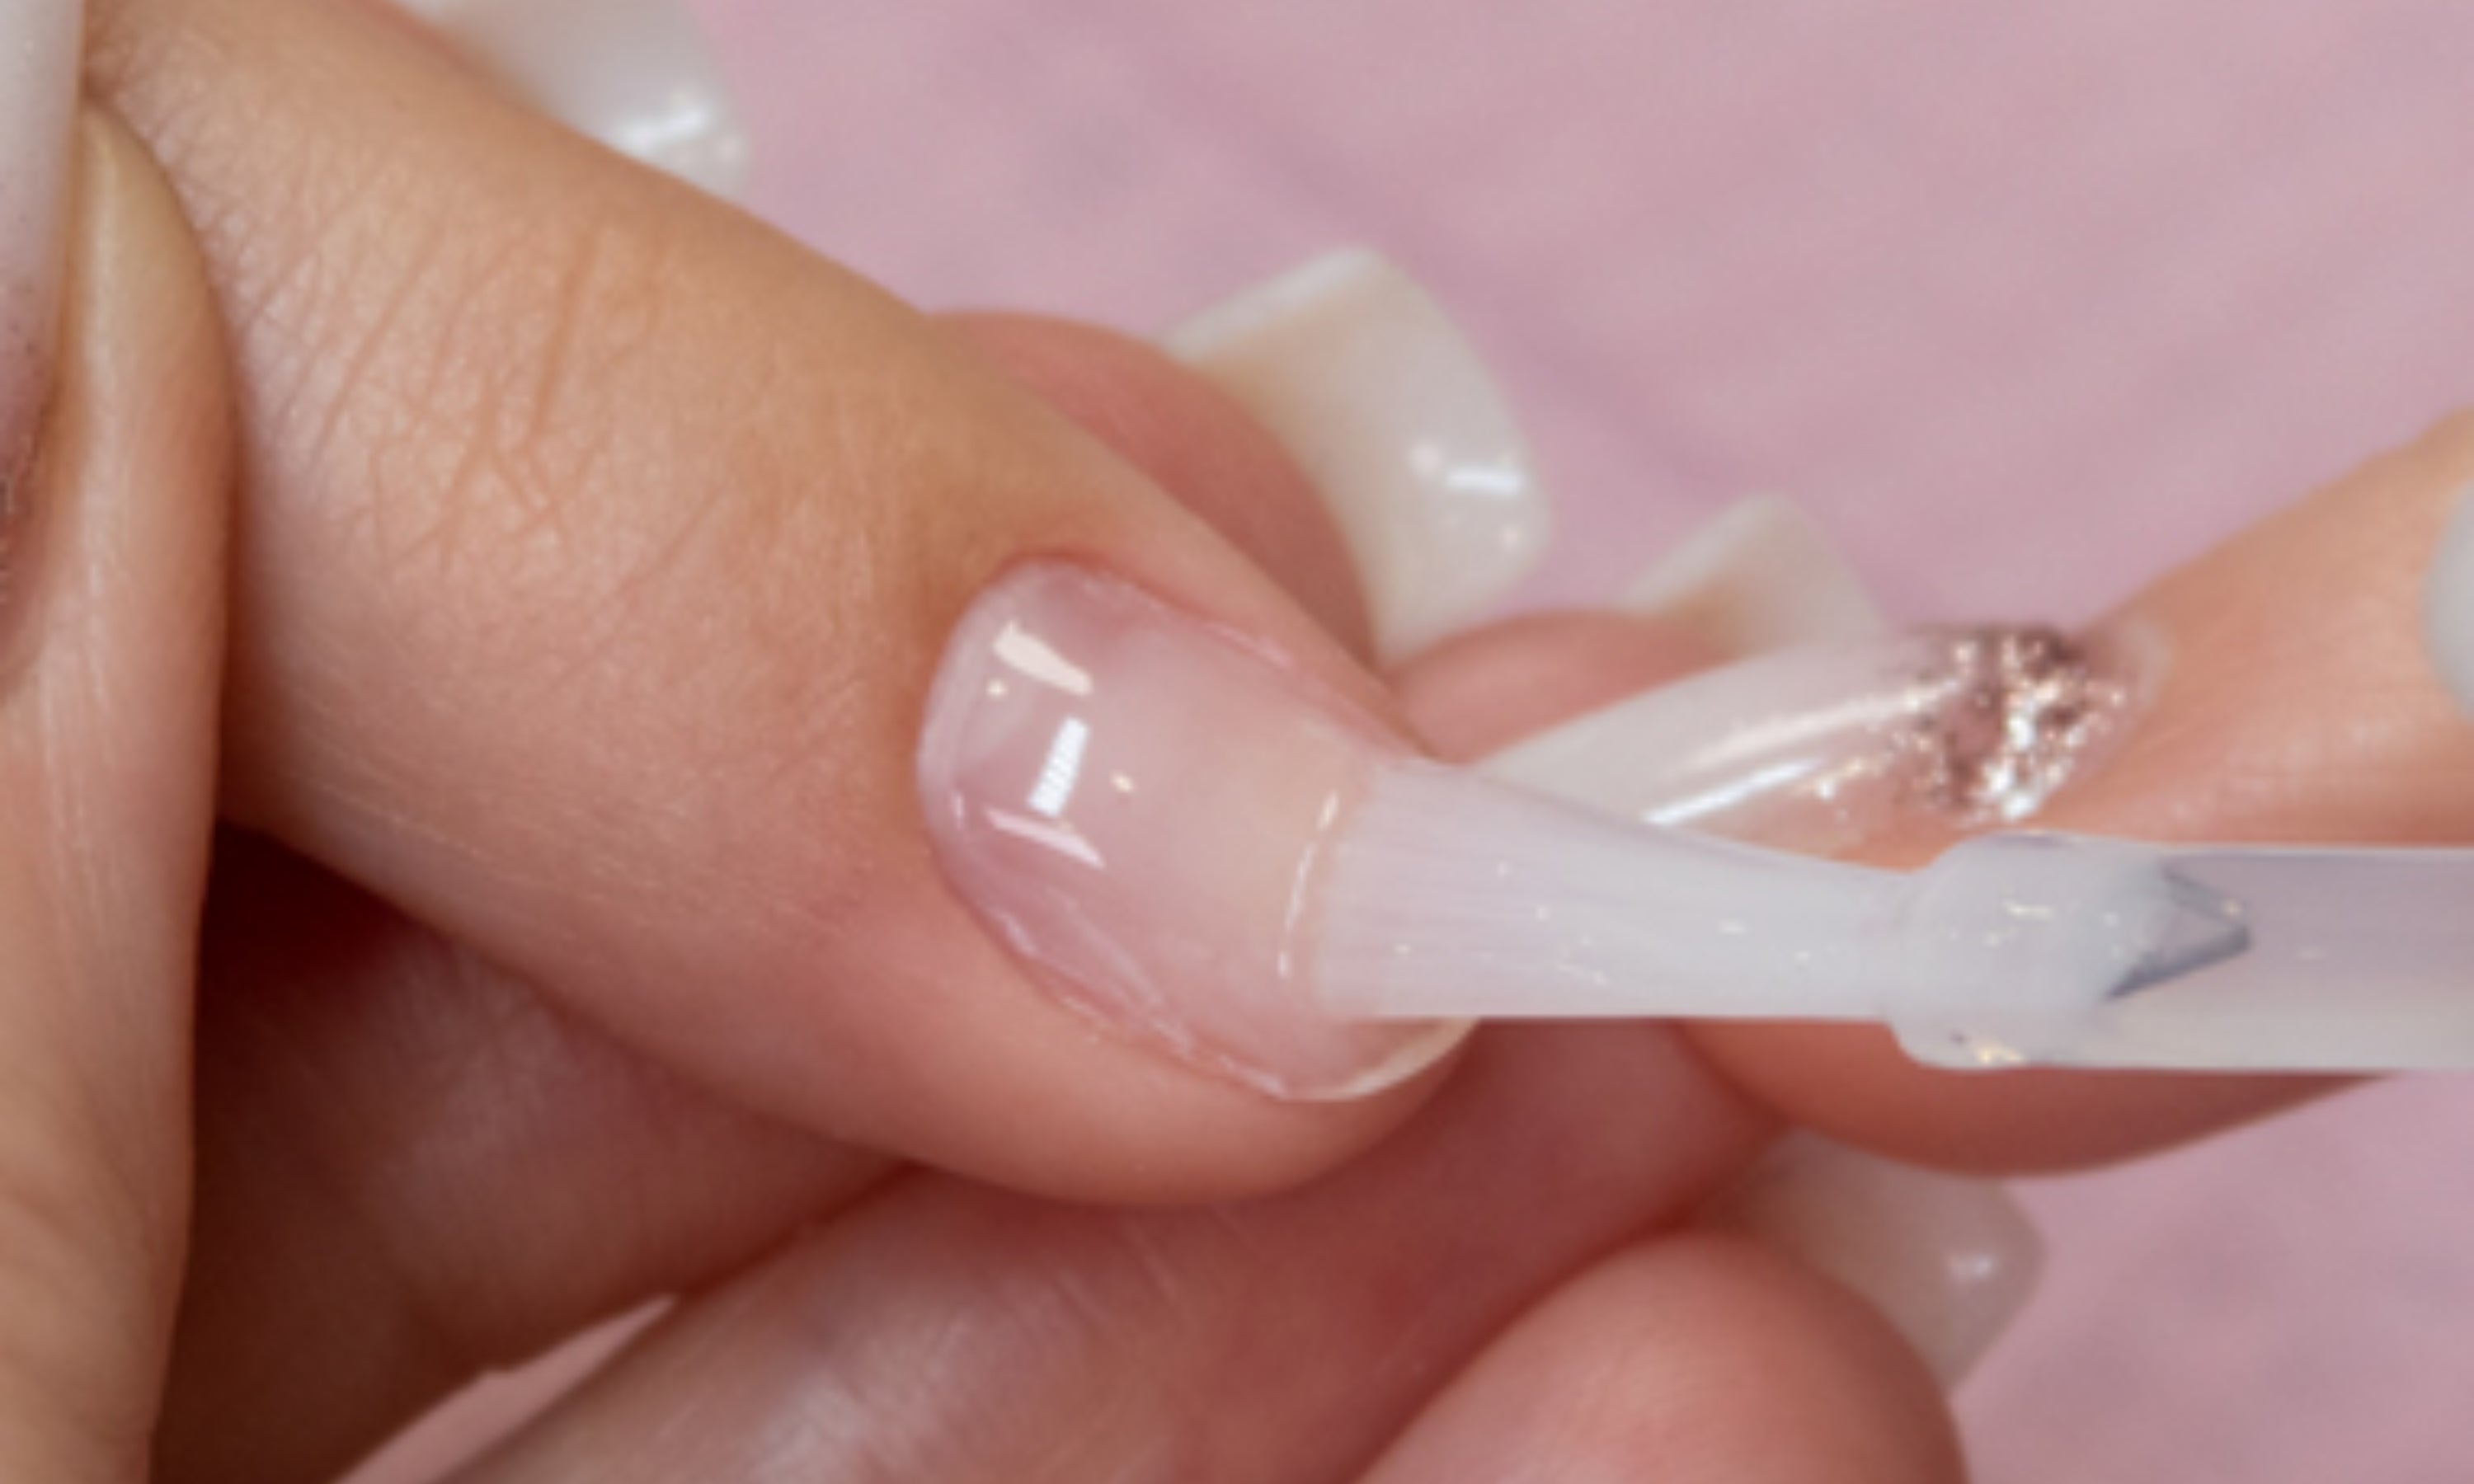
6. Apply a thin layer of any permanent enamel base to improve the adhesion of the product.
Cure in lamp: UV/LED – 60 sec / UV – 2 min.
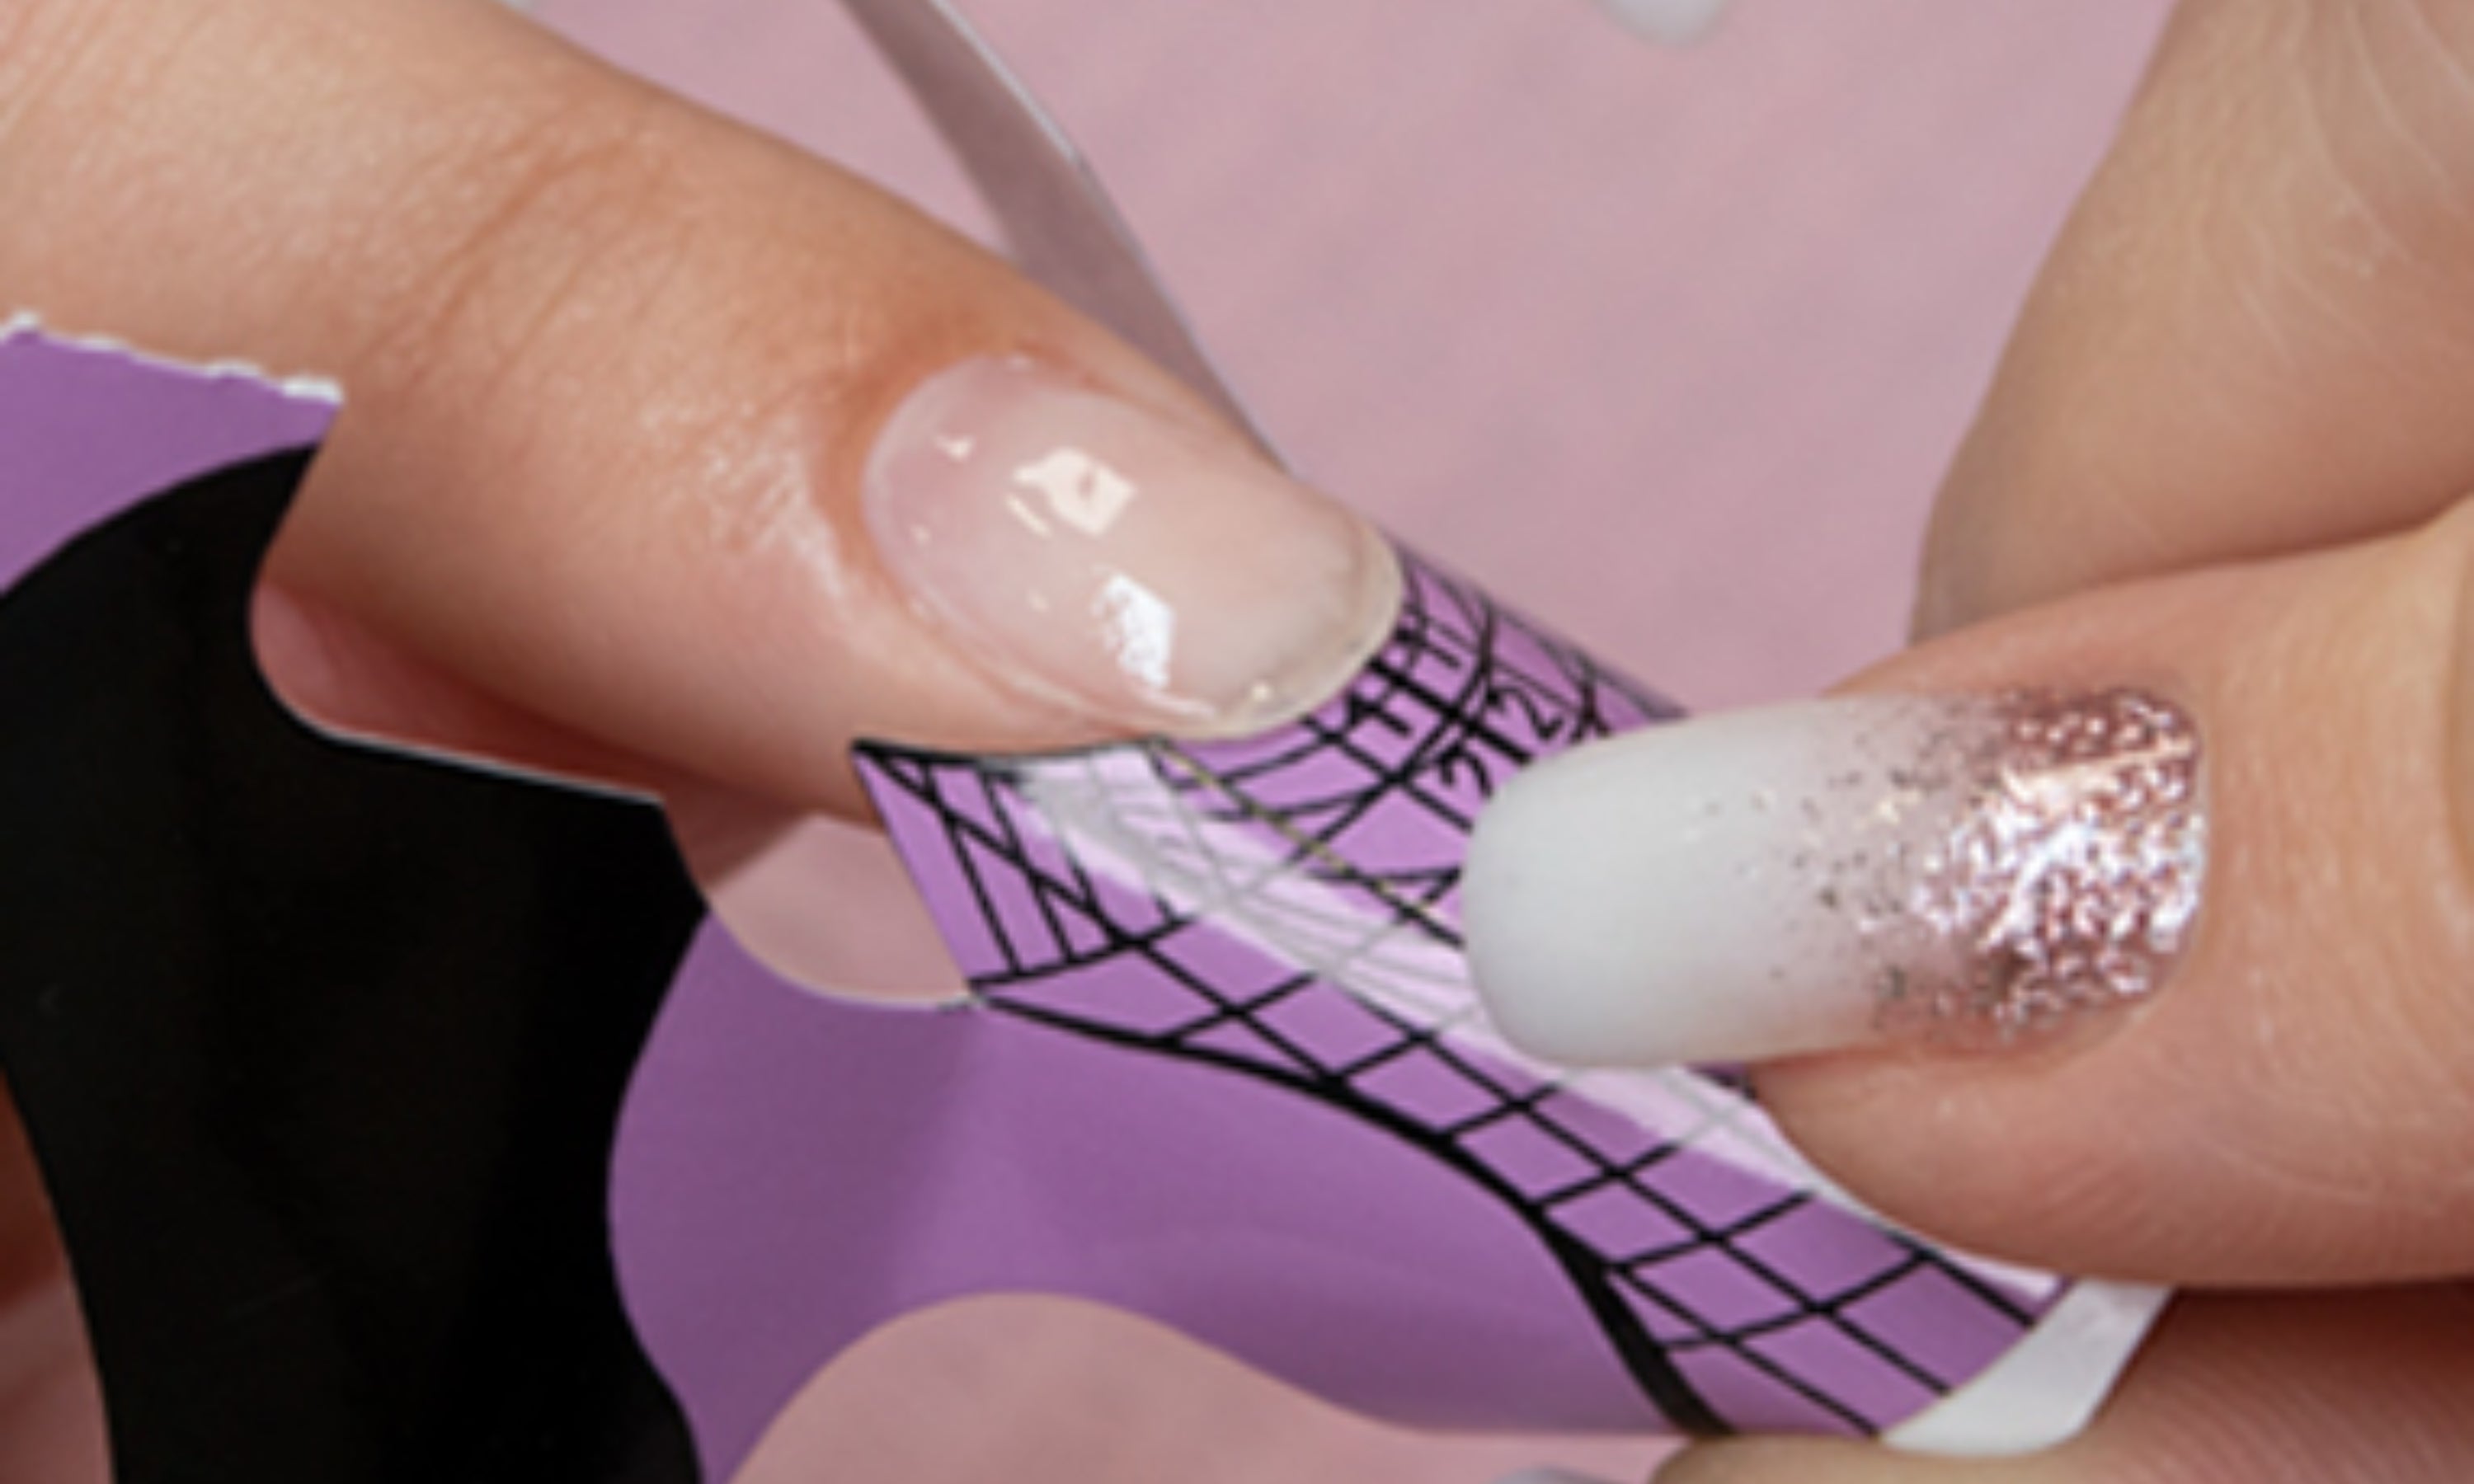
7. Peel the template off the paper, open along the pre-cut lines and remove the central part. Try to make sure it fits on the nail.
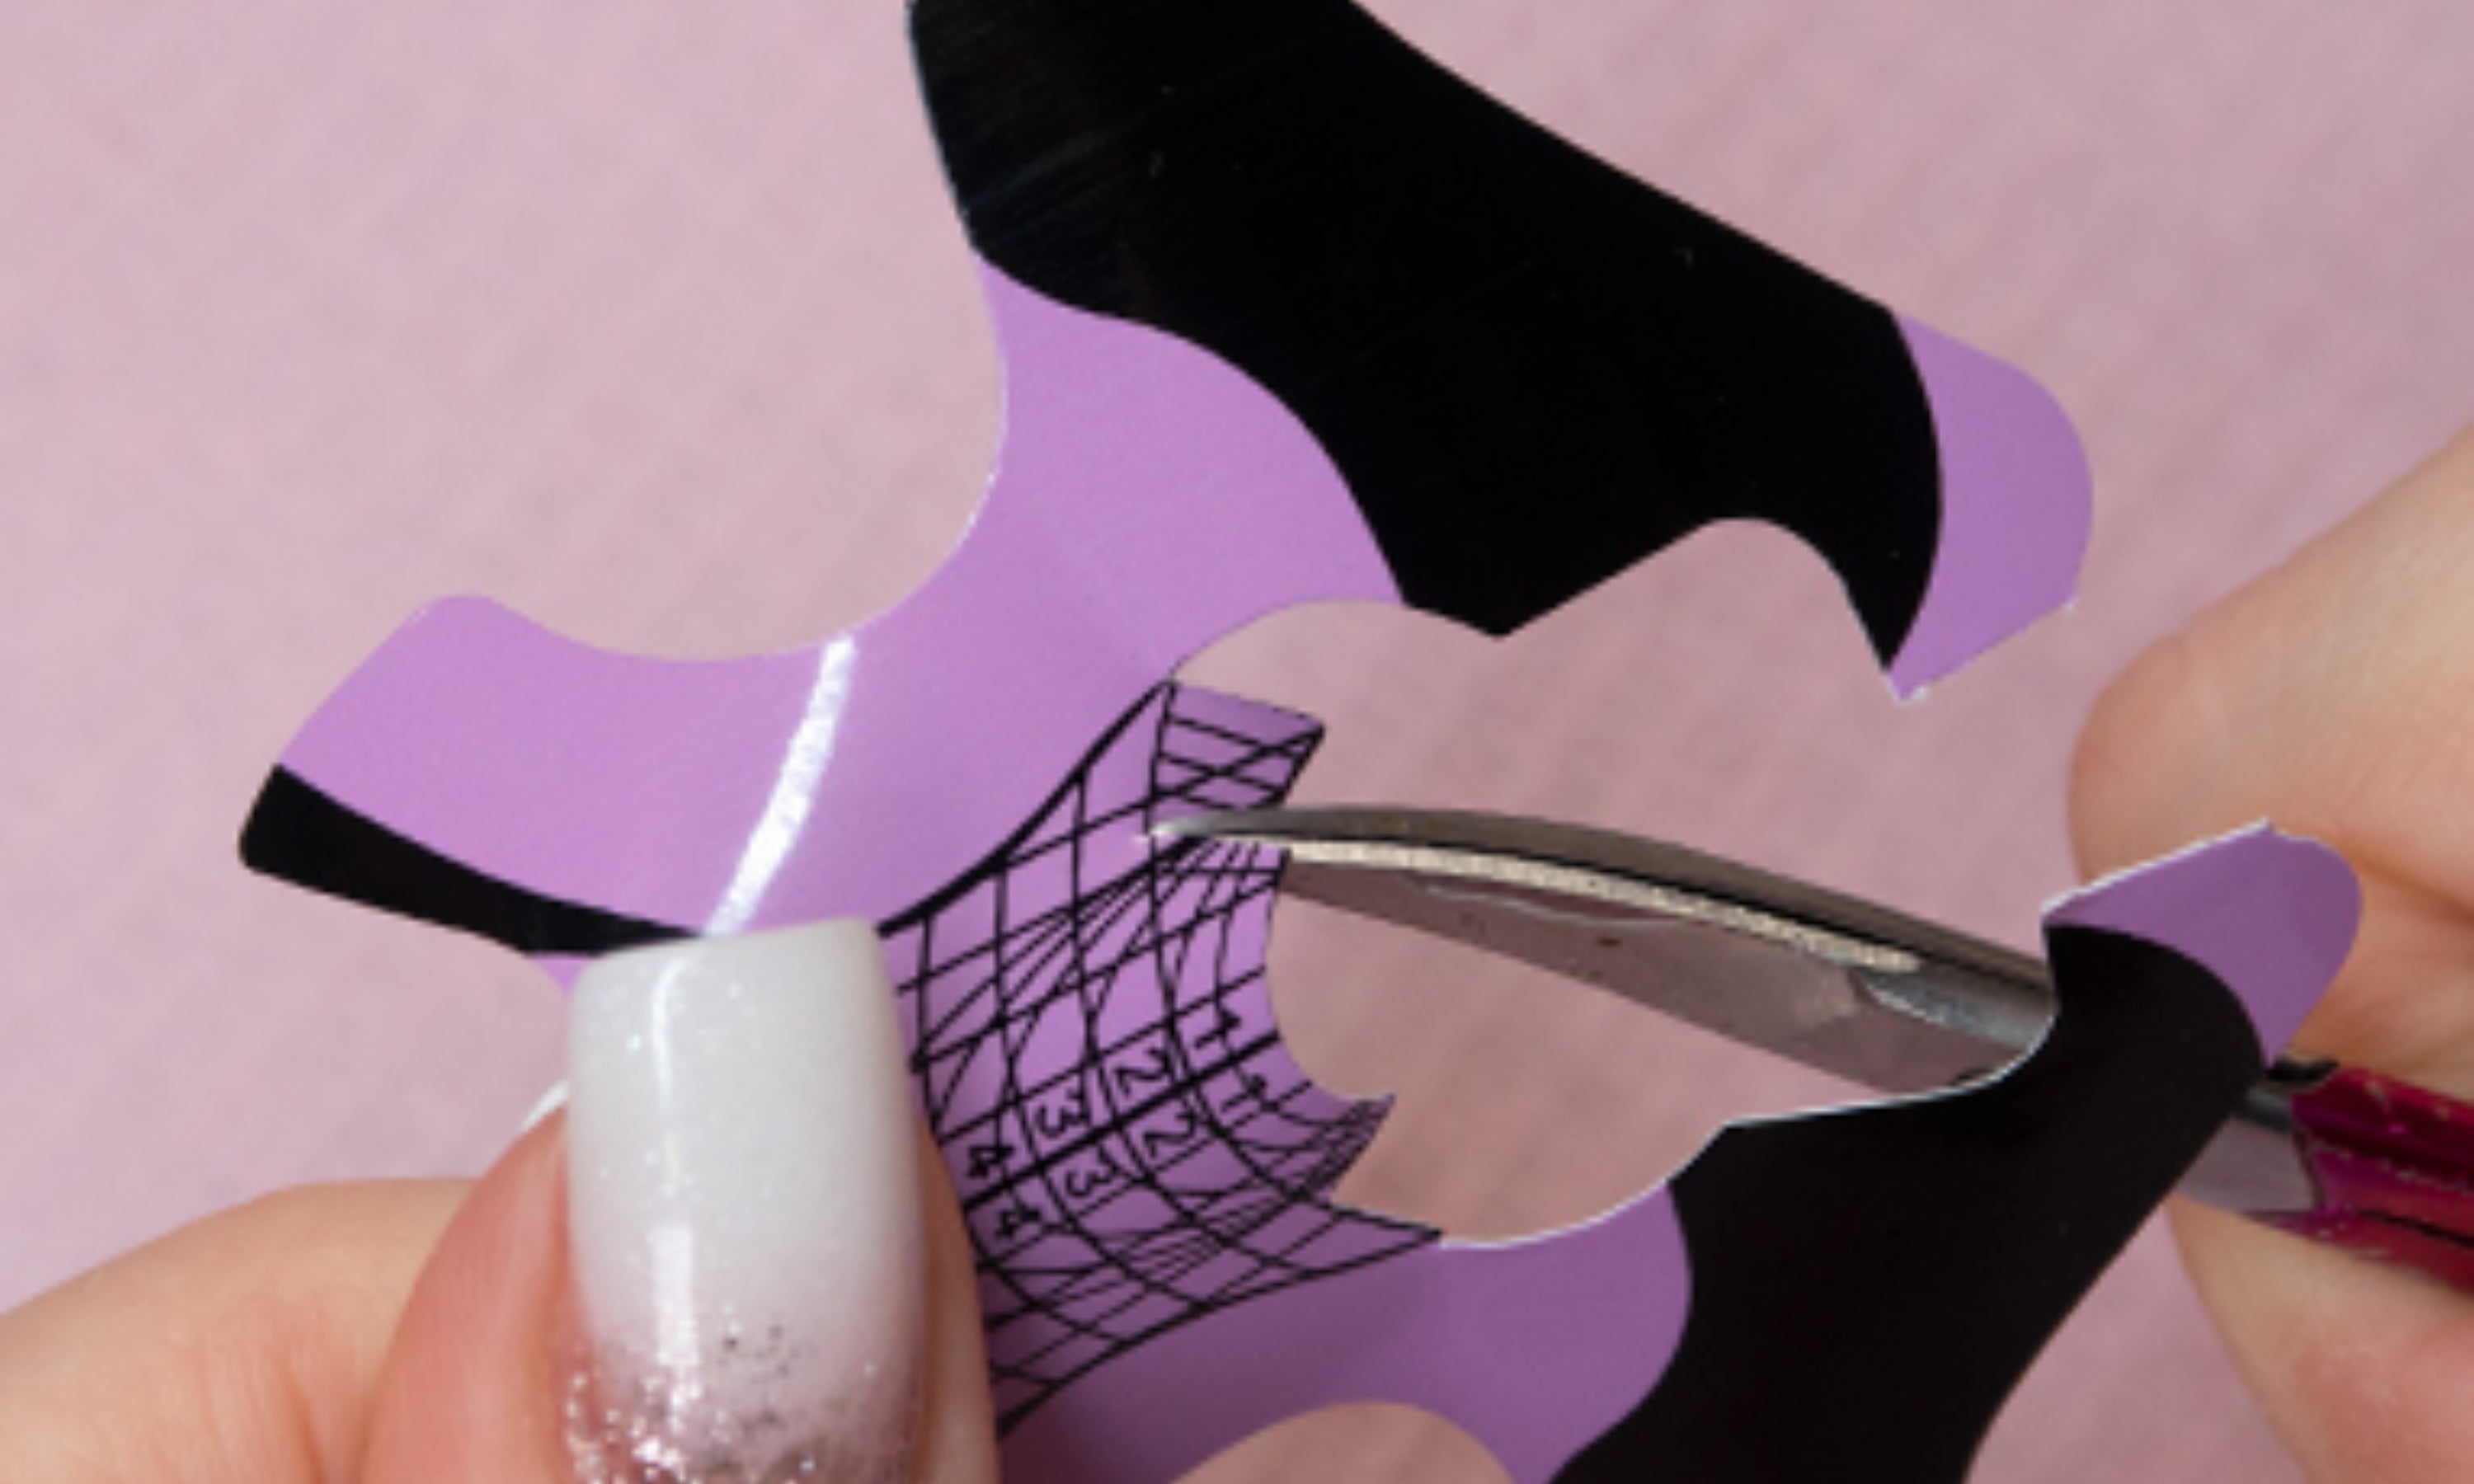
8. If it does not fit completely, make small triangle-shaped cuts in the joining area as needed. Try again and, if necessary, cut again and try again until it fits perfectly.
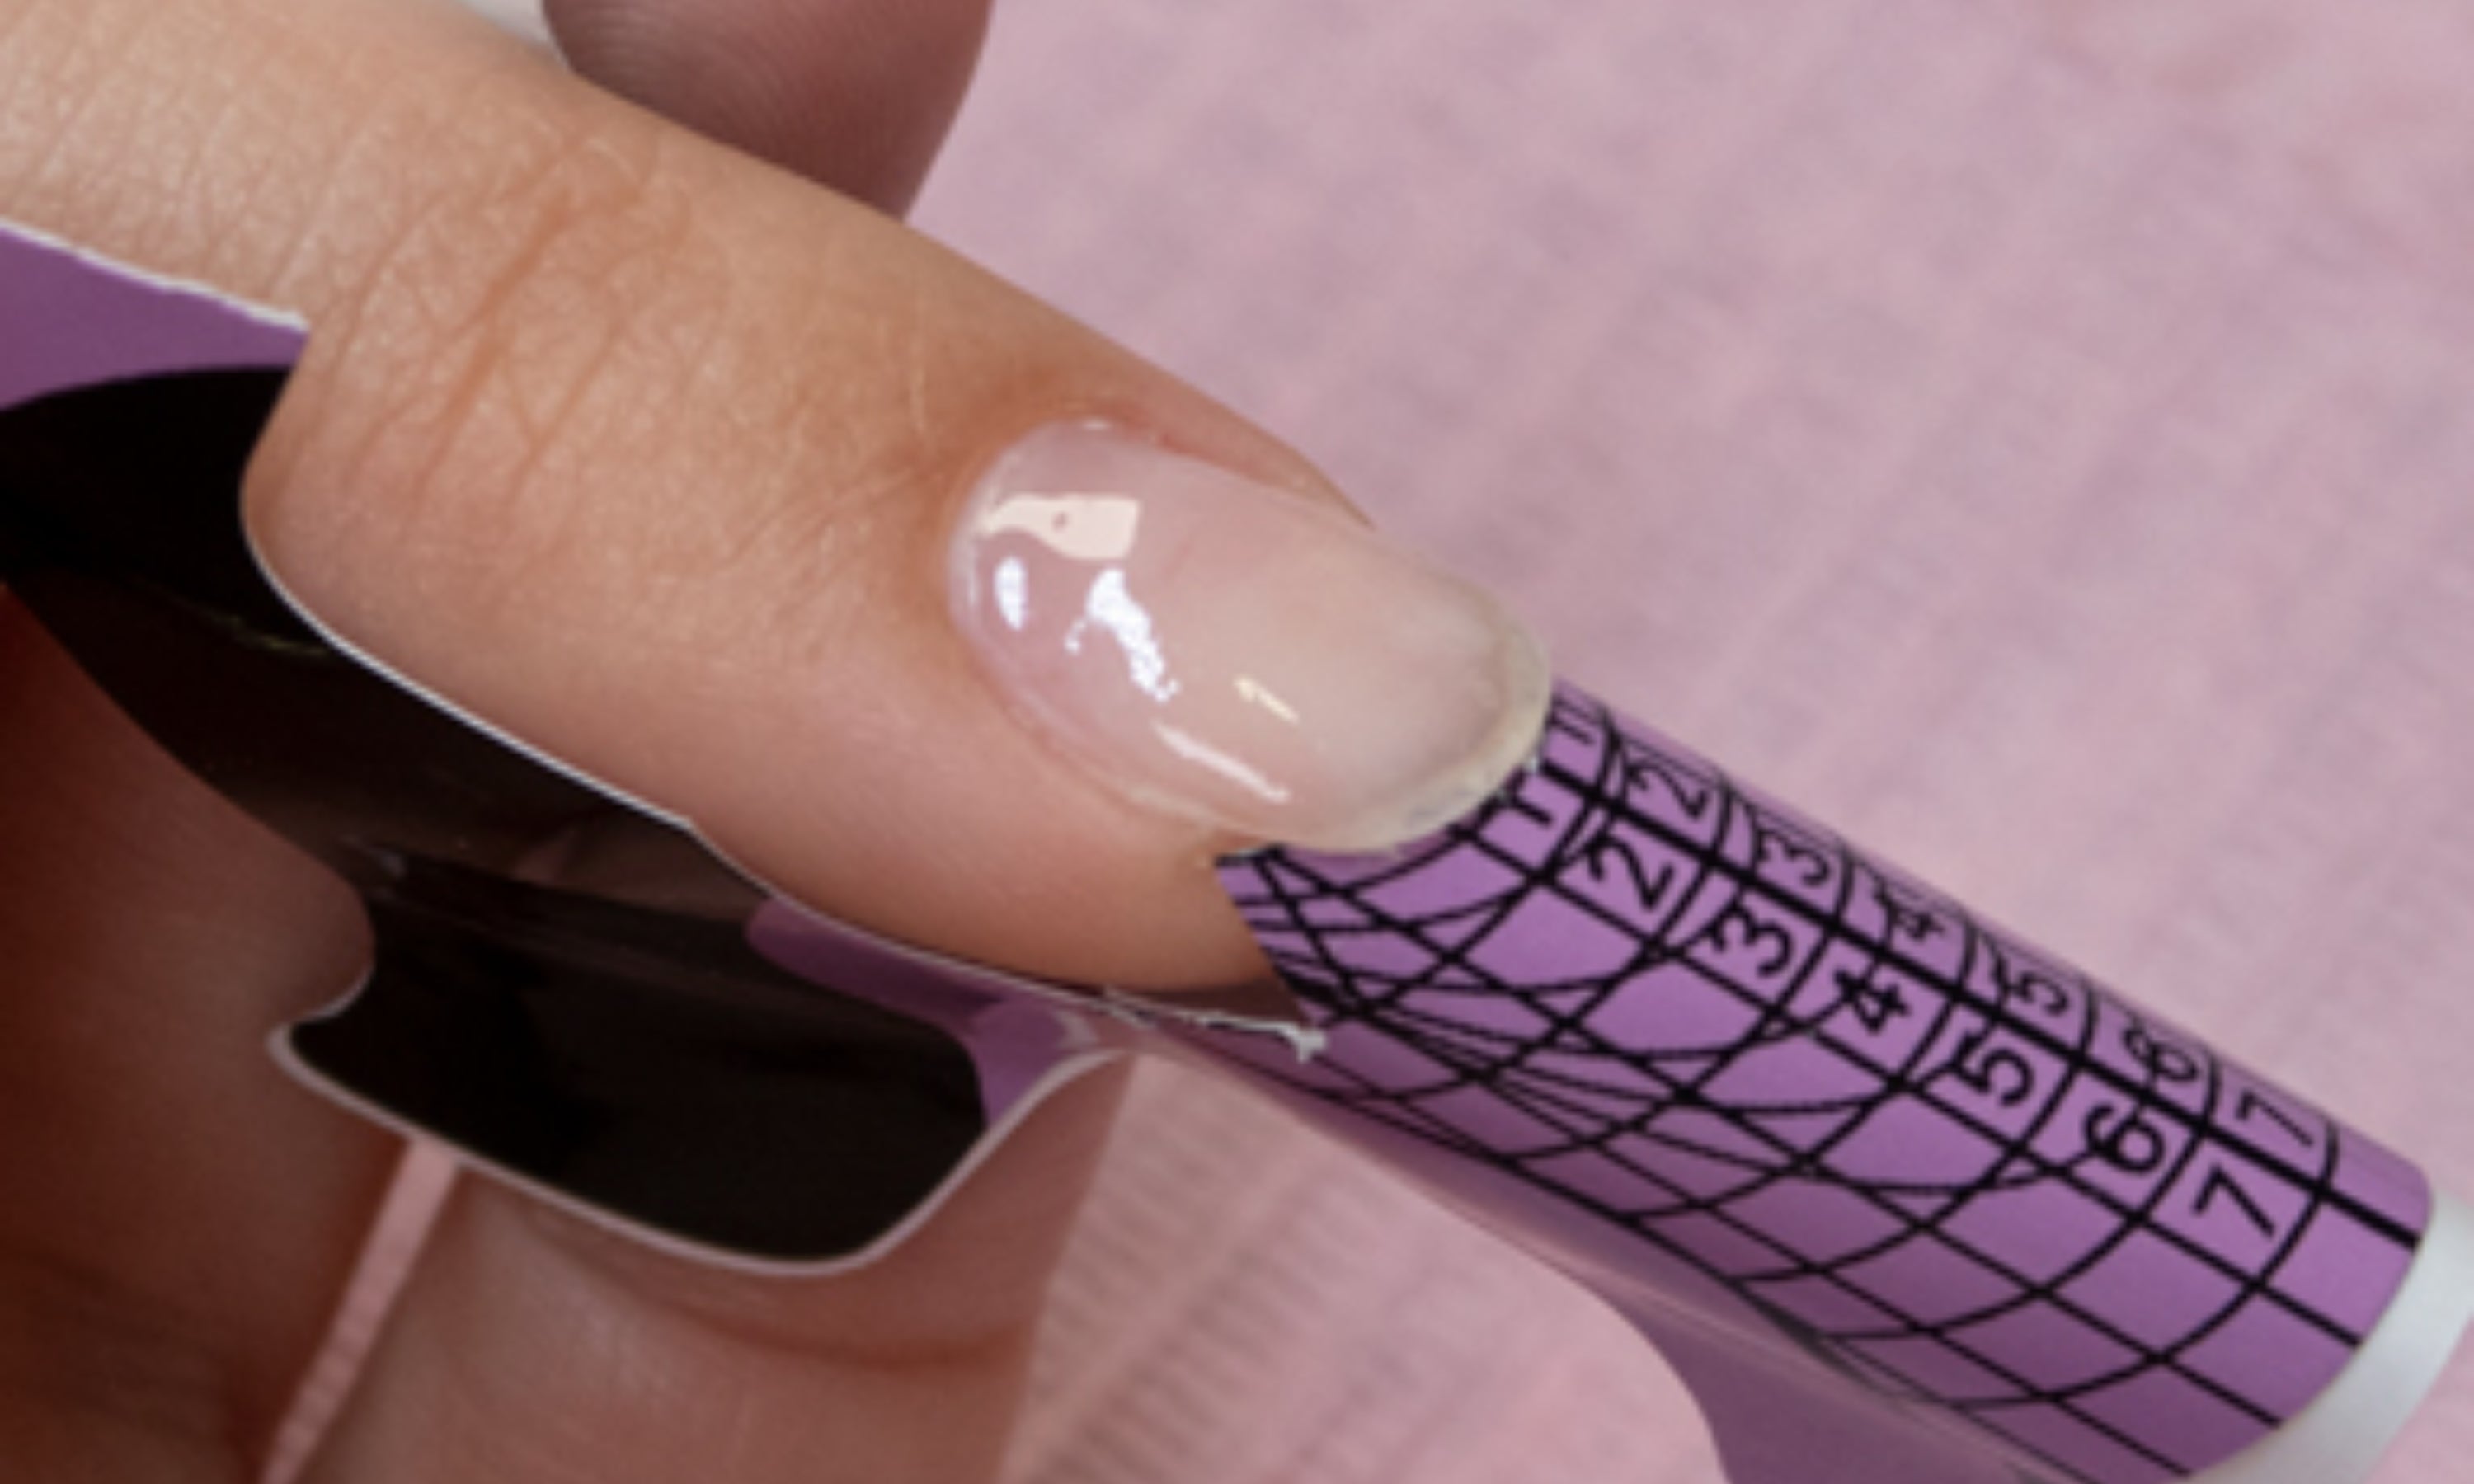
9. Fit the mold and stick the tabs to secure it. Also, check that there is no space at the top between the nail and the mold.
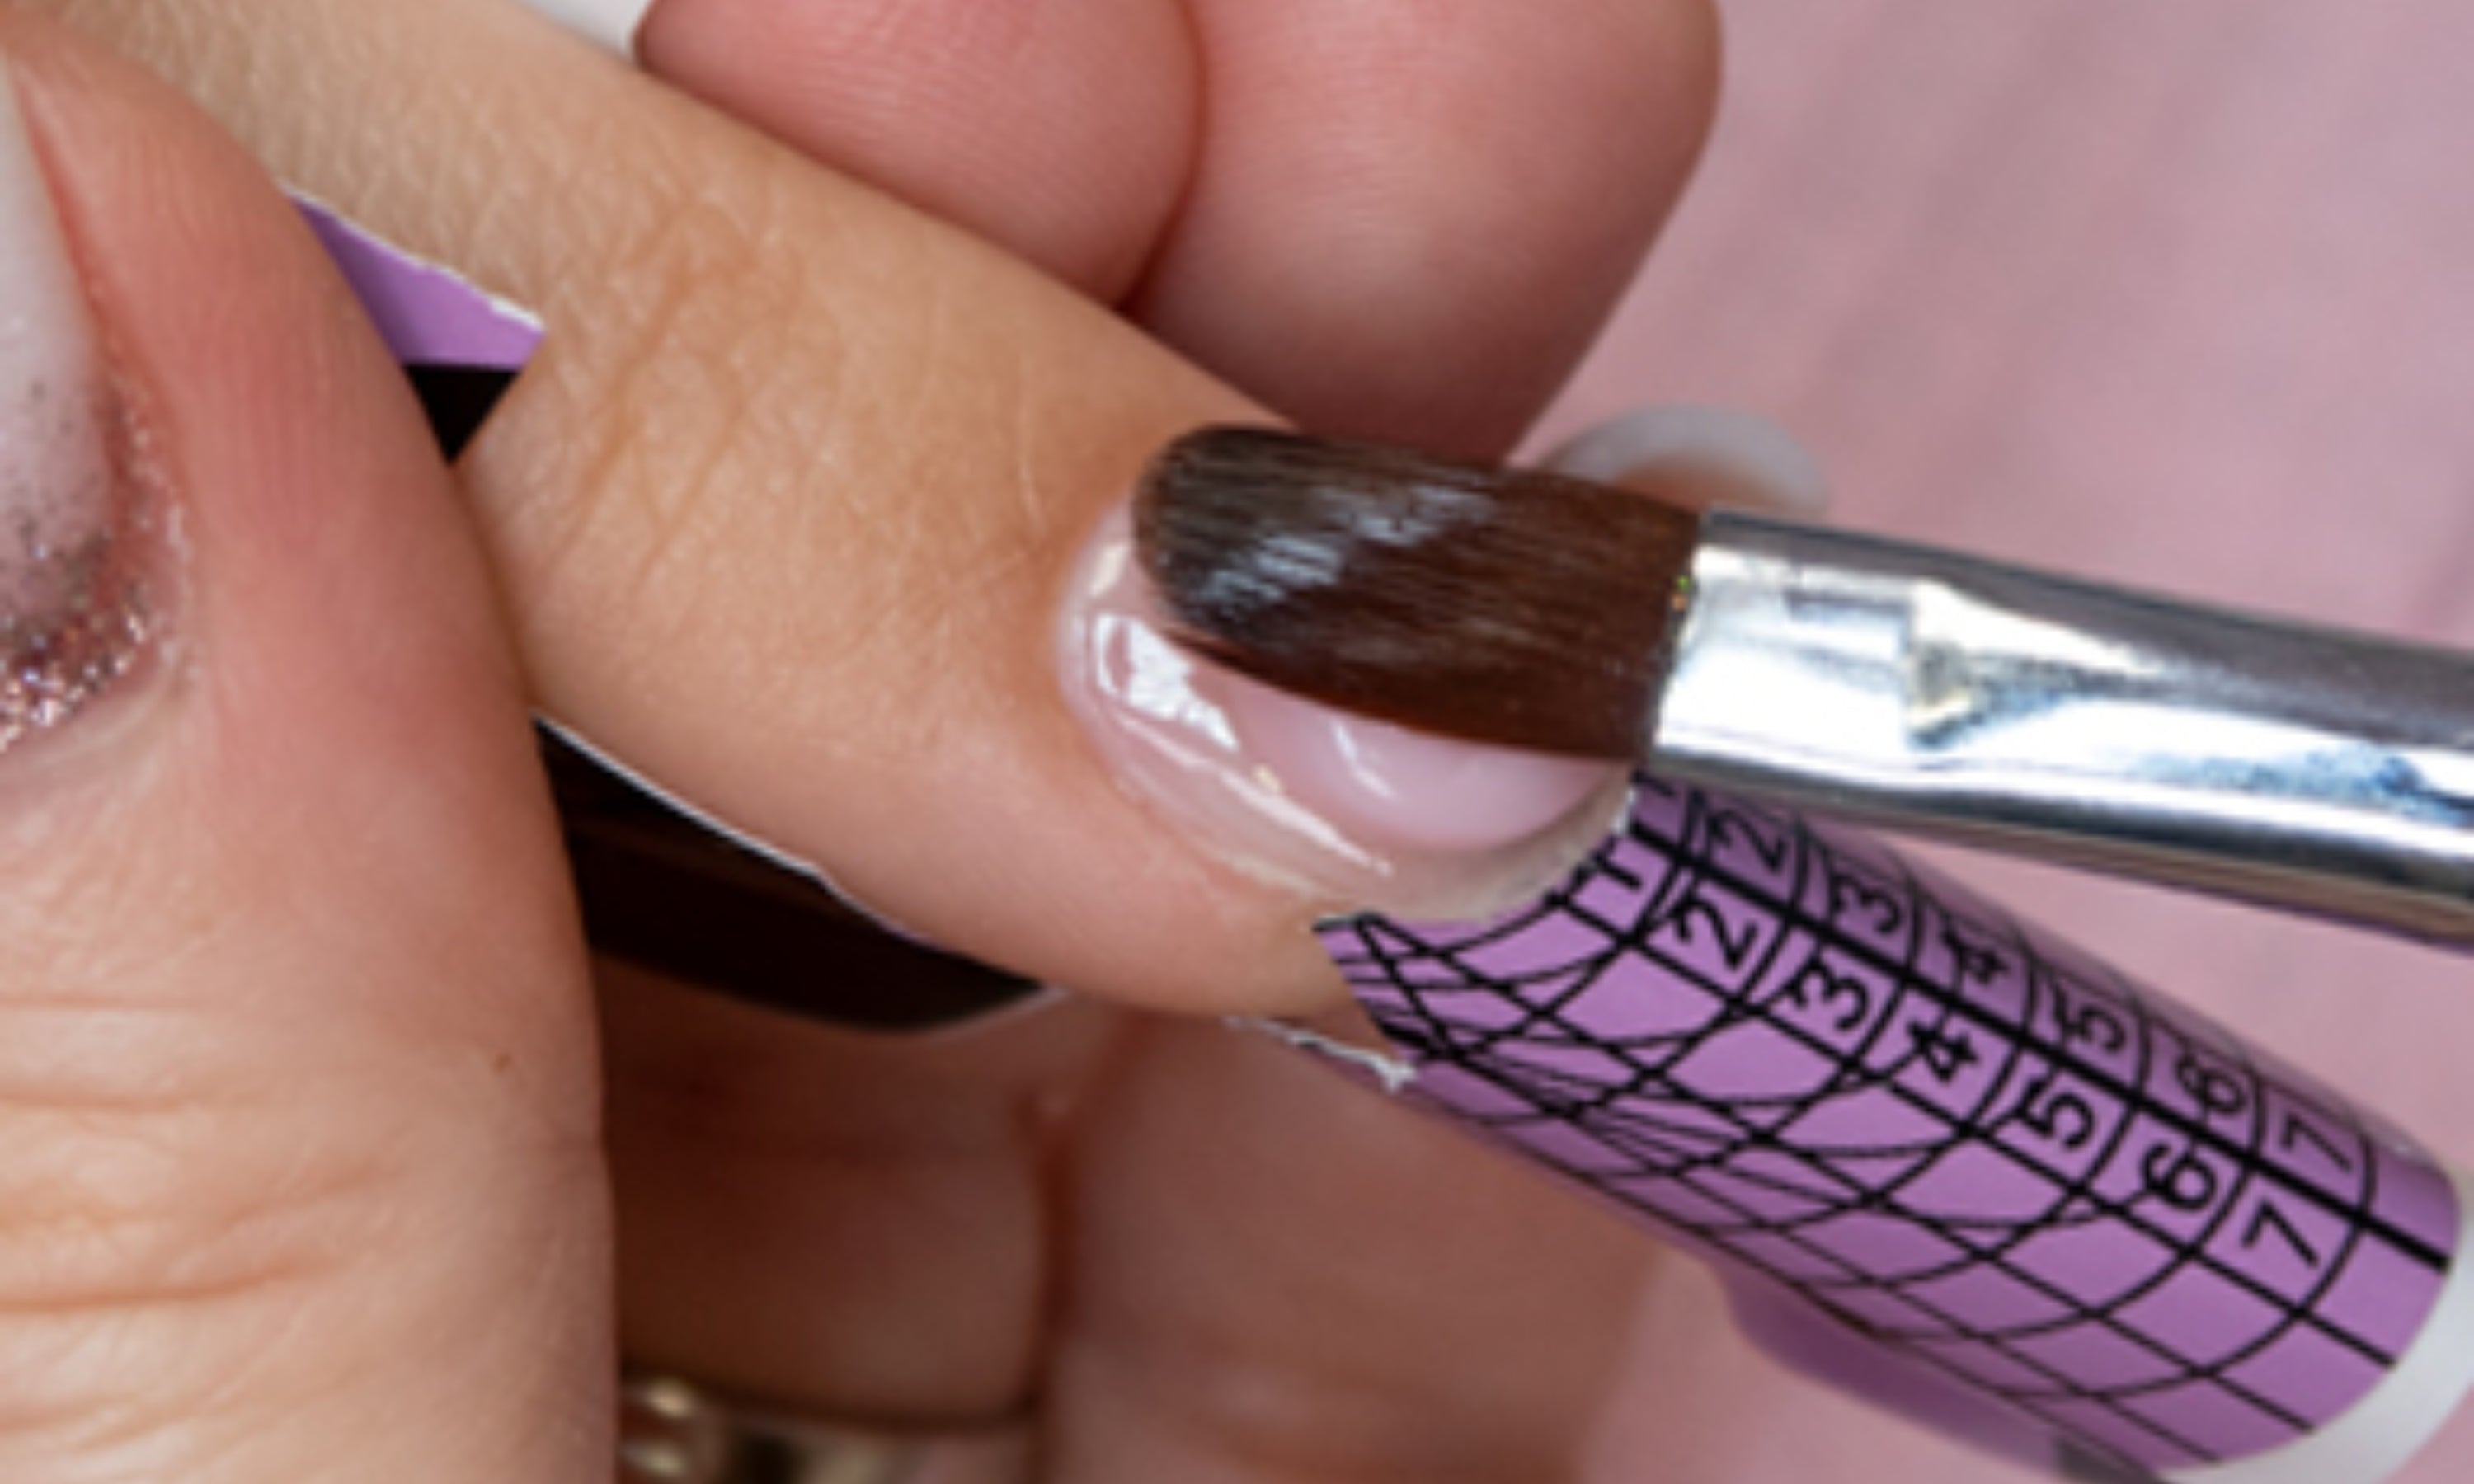
10. Take a small ball of the desired Premium Polygel and spread it with the brush previously moistened in the Premium Polygel Solution. If the brush sticks, you can moisten it further, and if, on the other hand, it moves, you will have to dry it a little. Cure in lamp: UV/LED – 10 sec / UV – 20 sec.
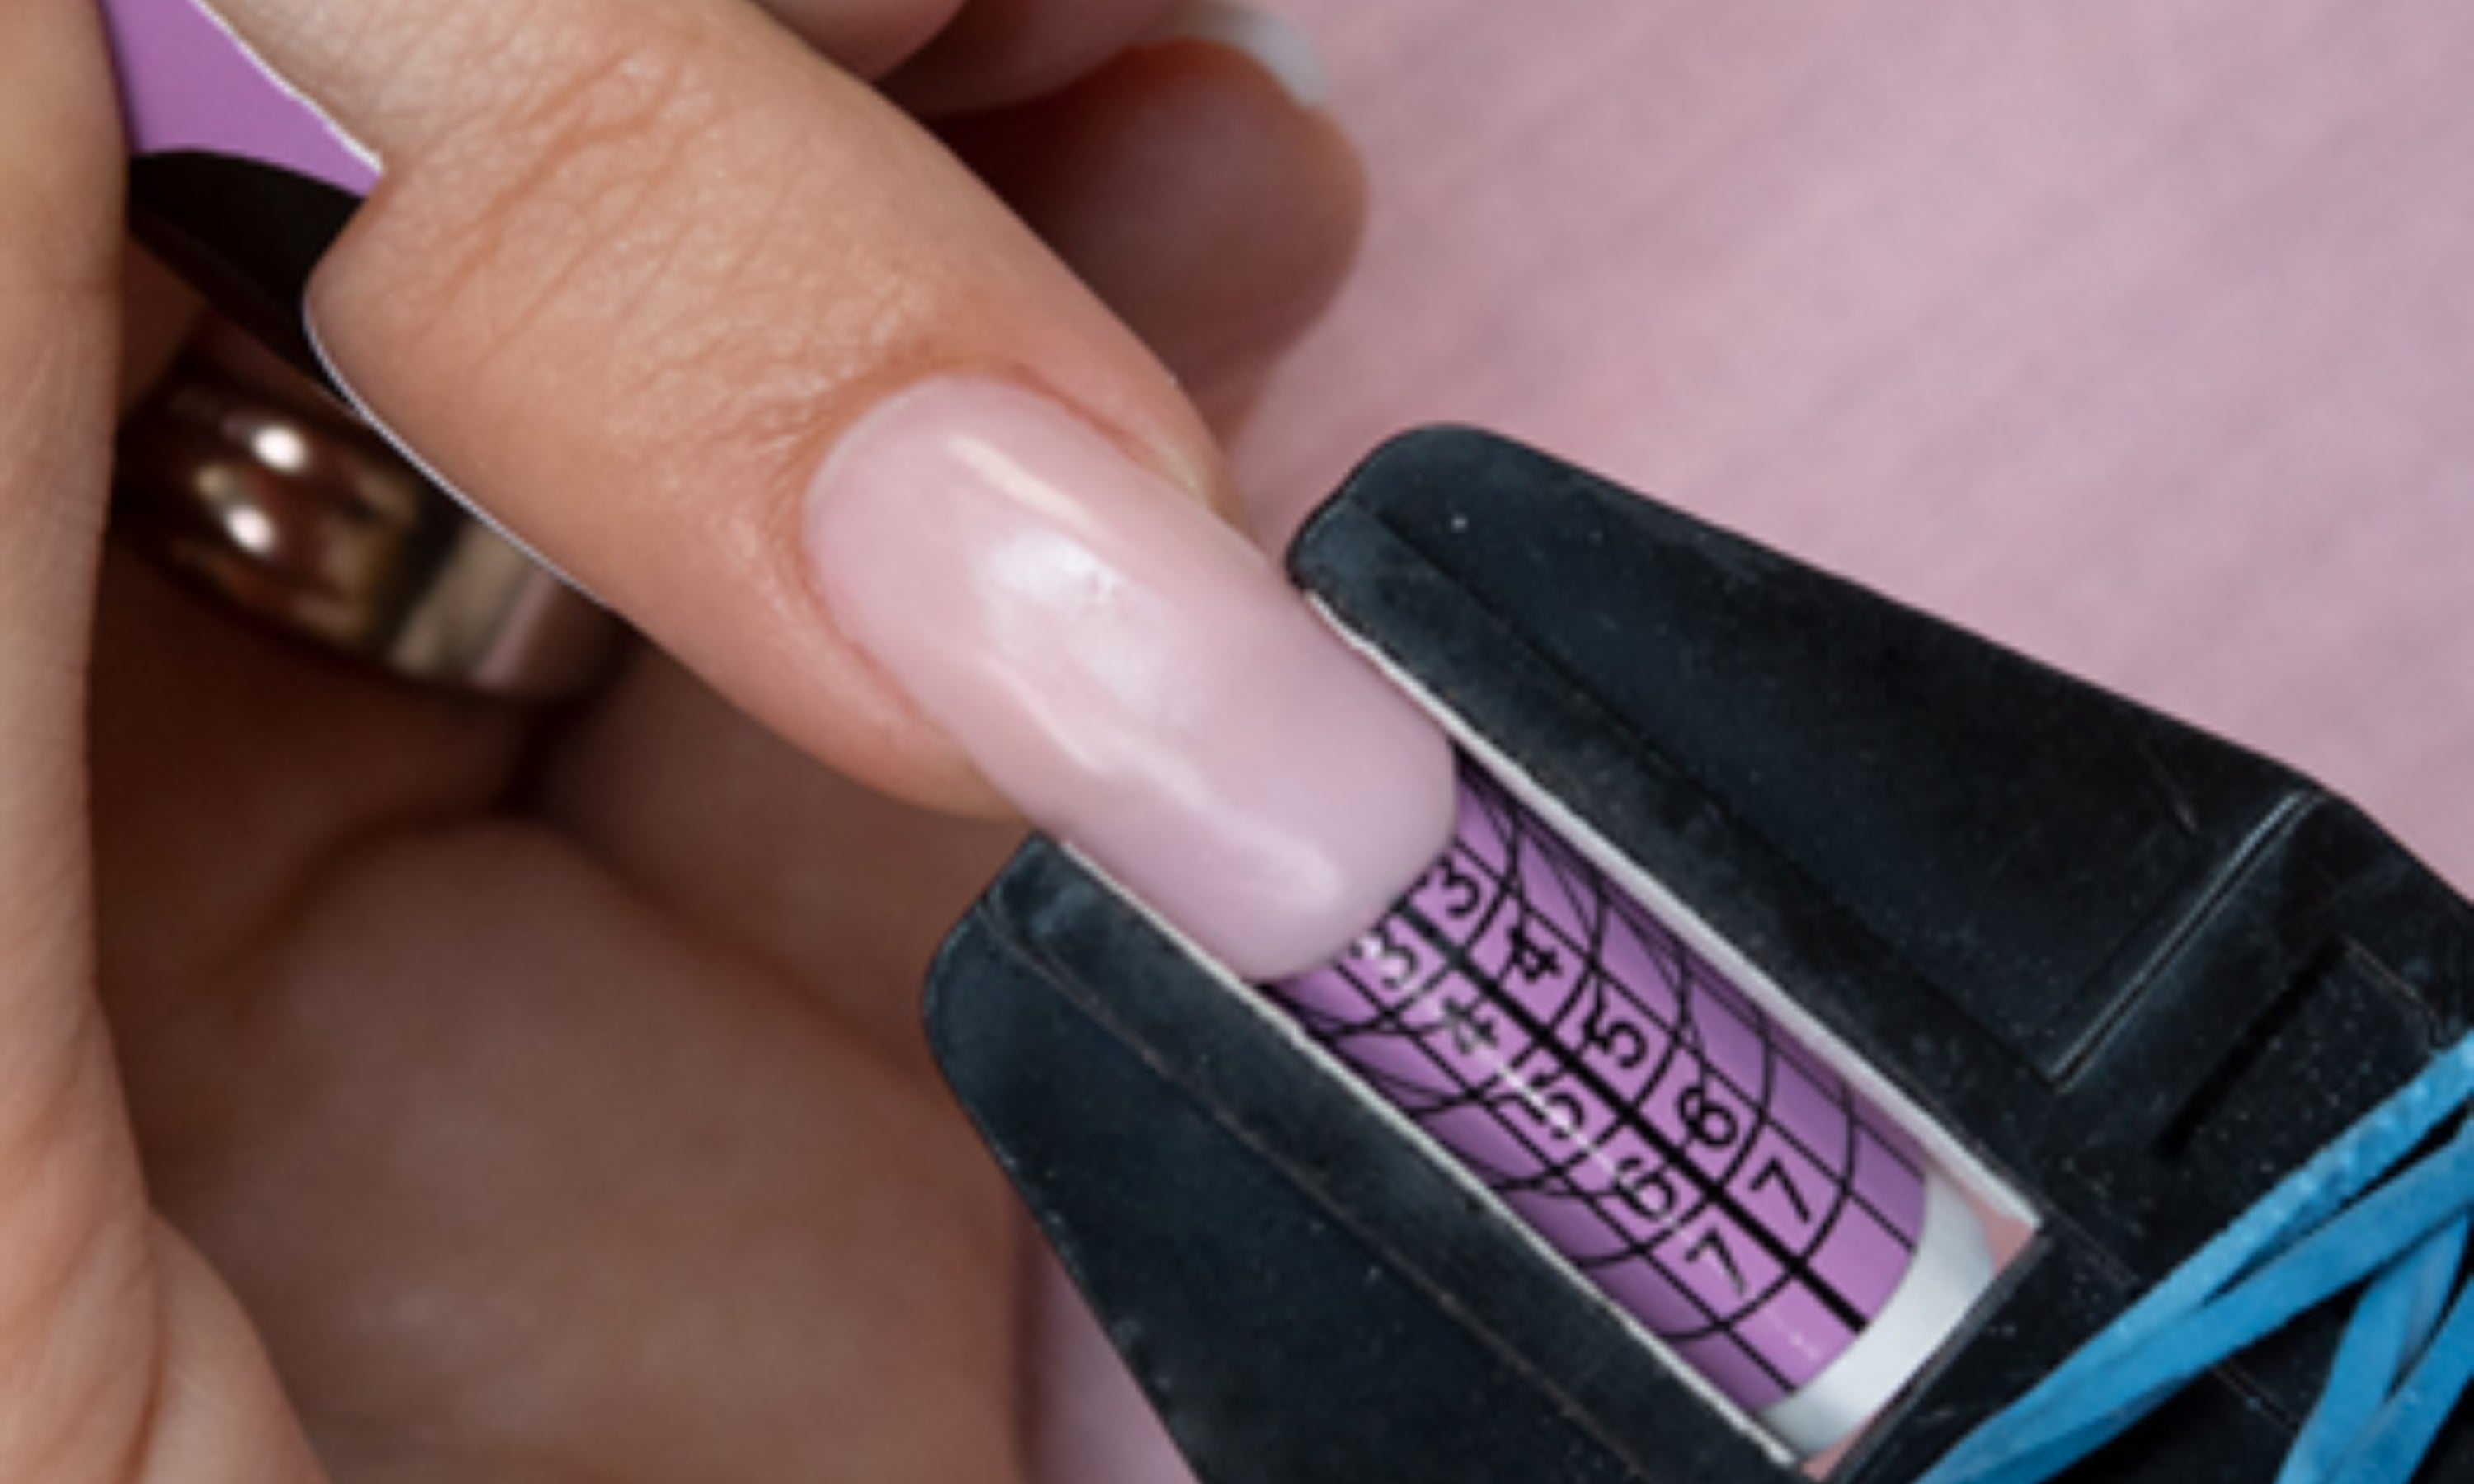
11. Place the pinching clip by pressing the side of the finger and the nail. Cure in lamp with clip: UV/LED – 60 sec / UV – 2 min.
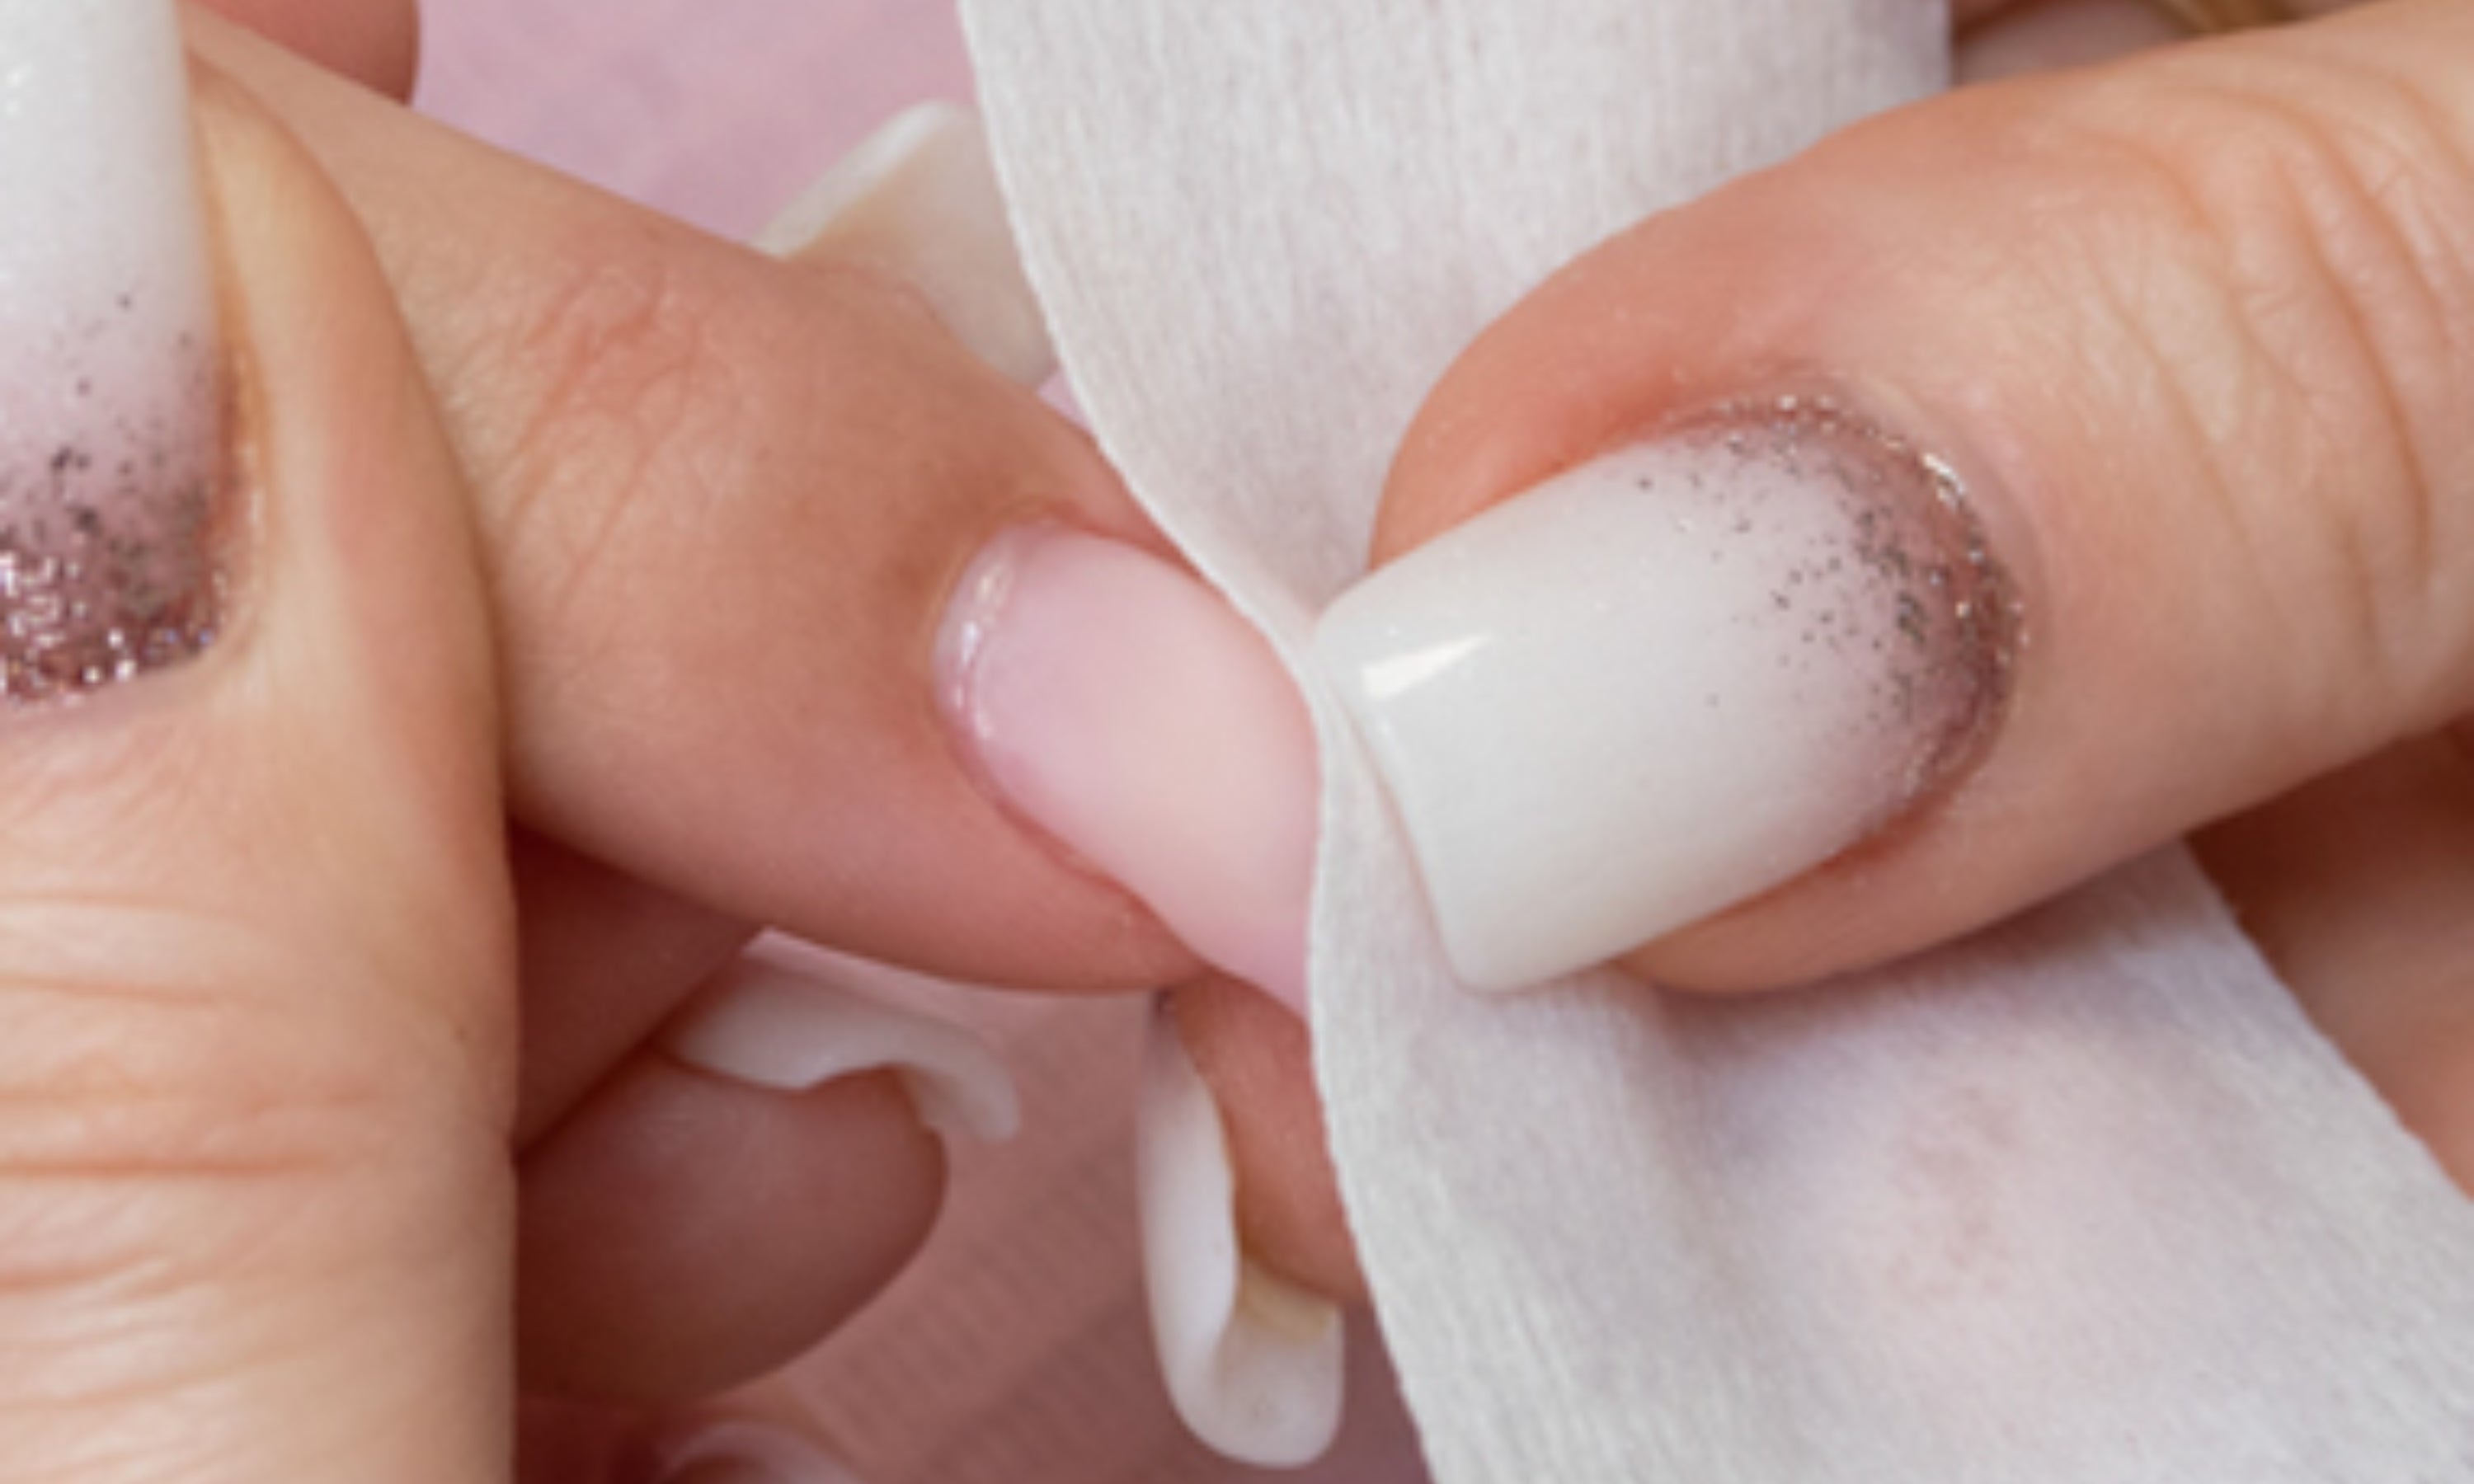
12. Remove the pinching clamp and clean the sticky layer of the polygel with Cleaner.
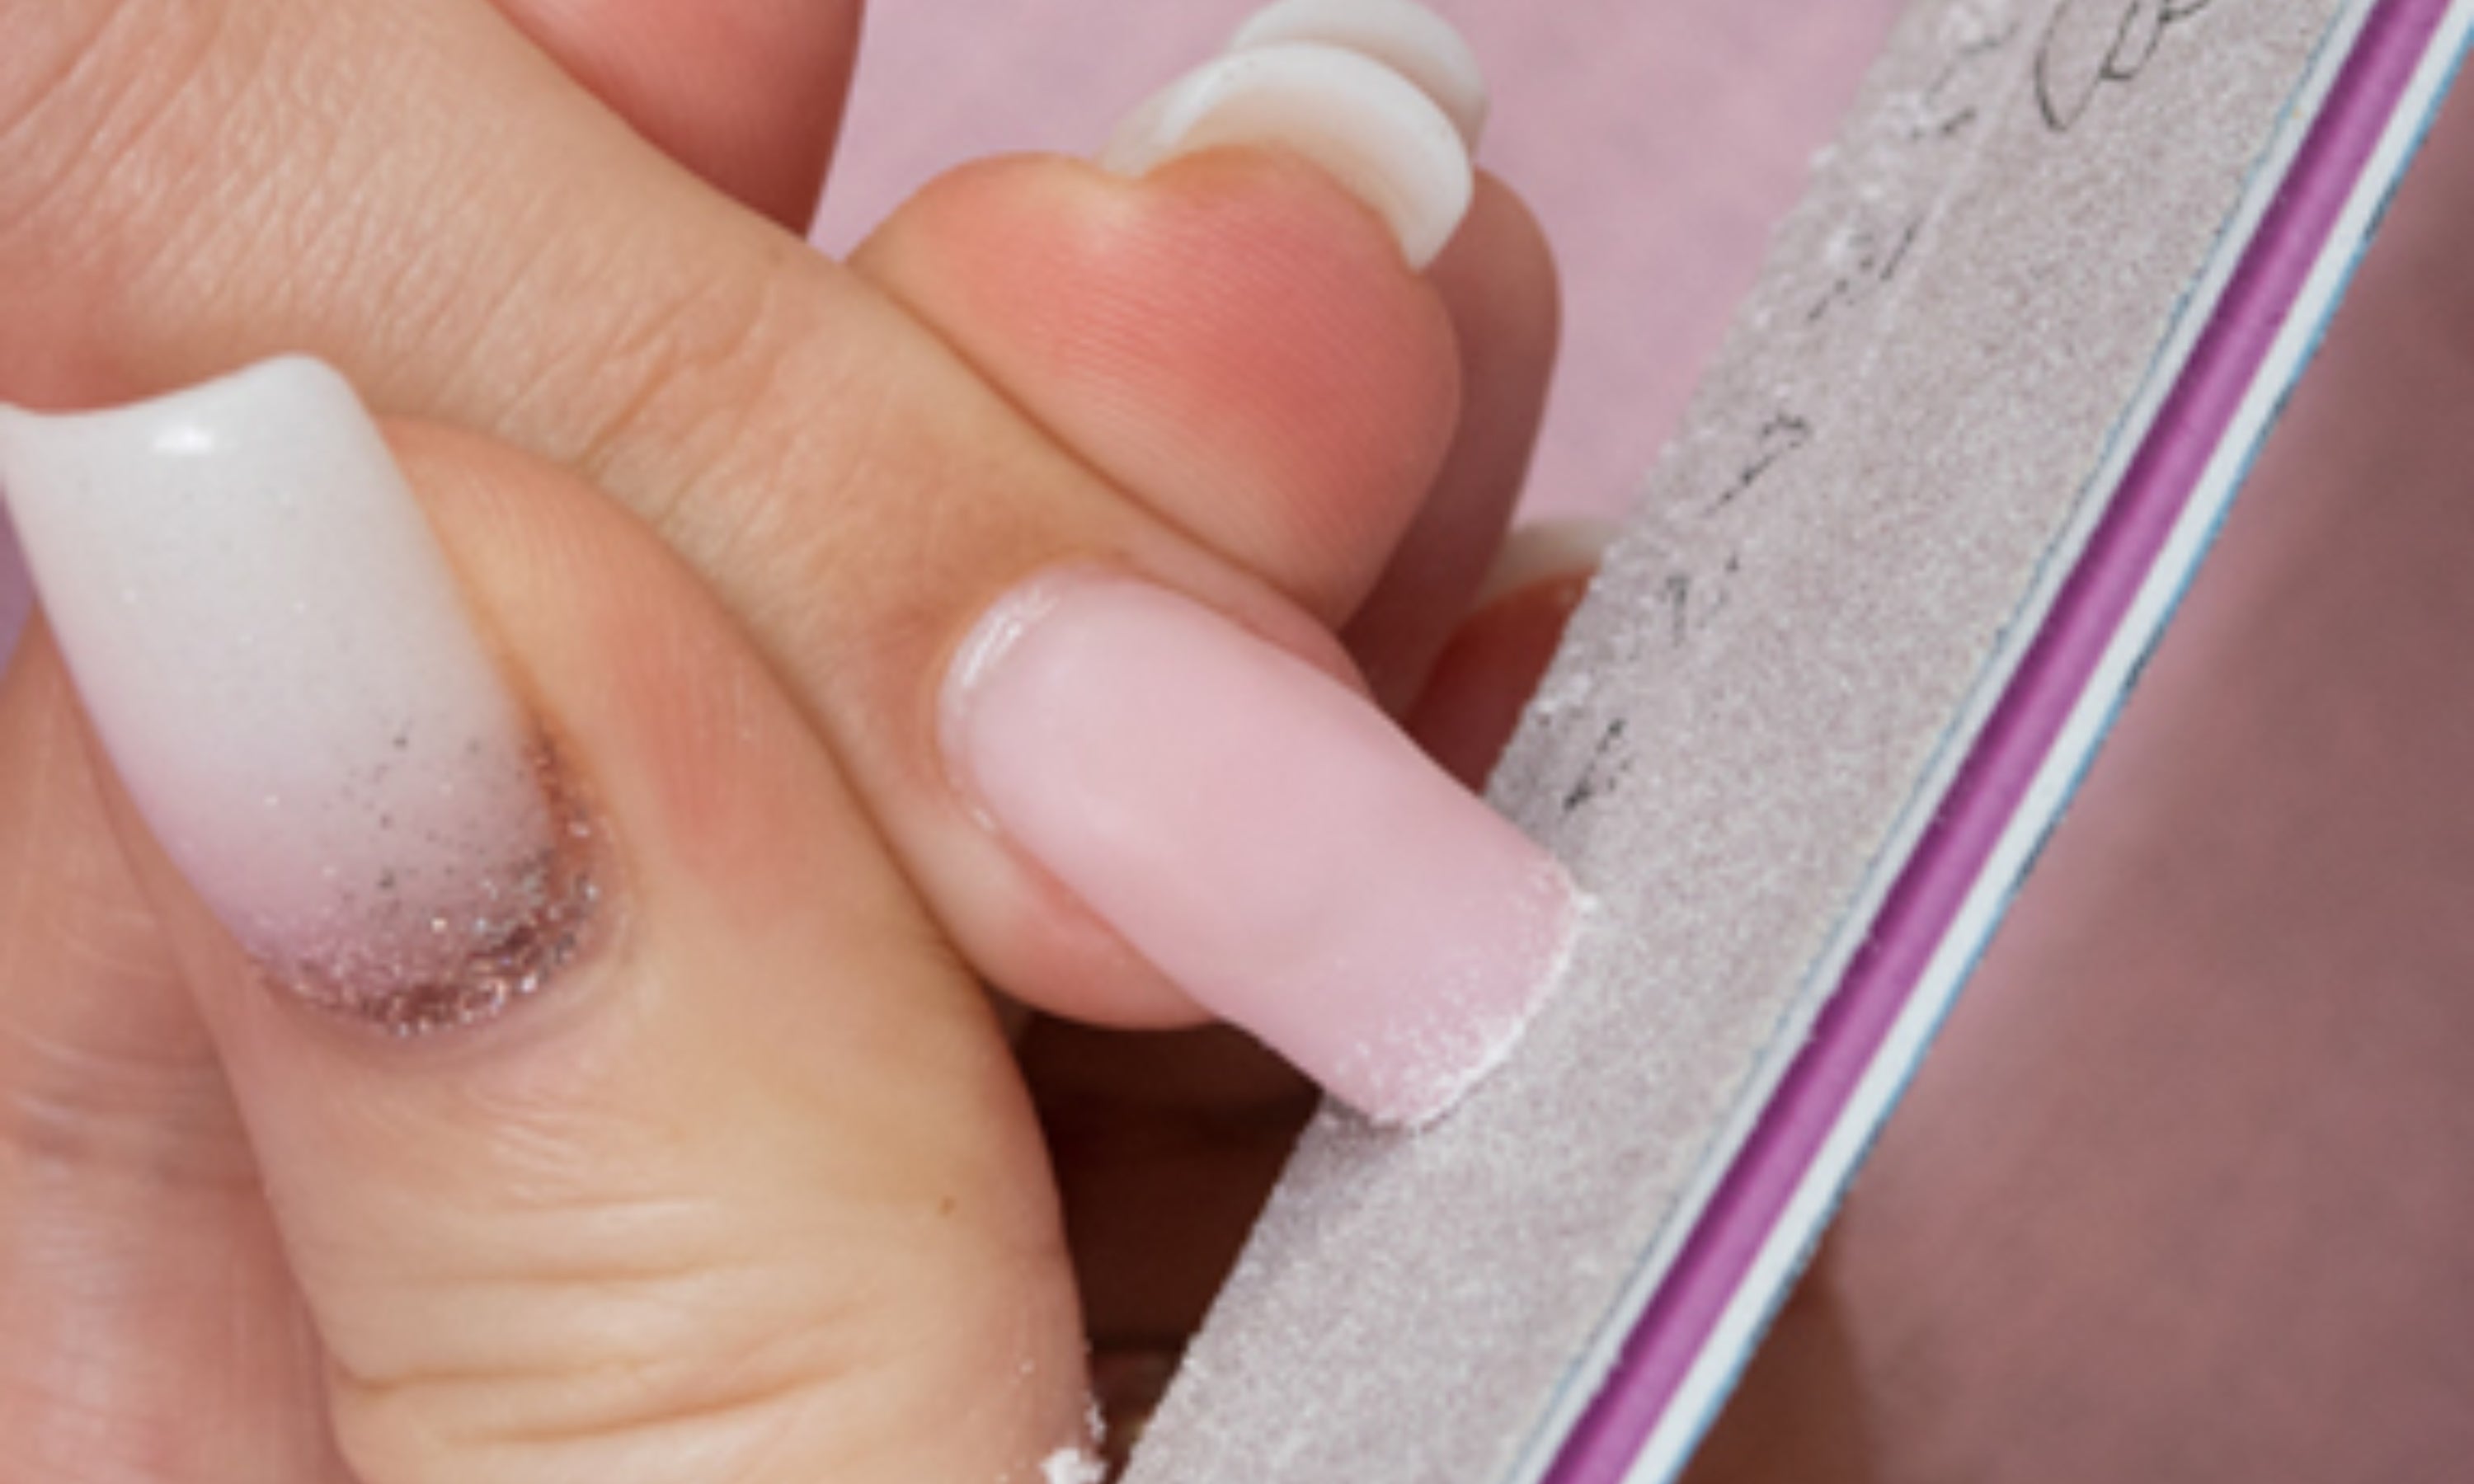
13. File the entire nail to remove any gaps and imperfections and finish giving it the desired shape. Remove the dust with a manicure brush.
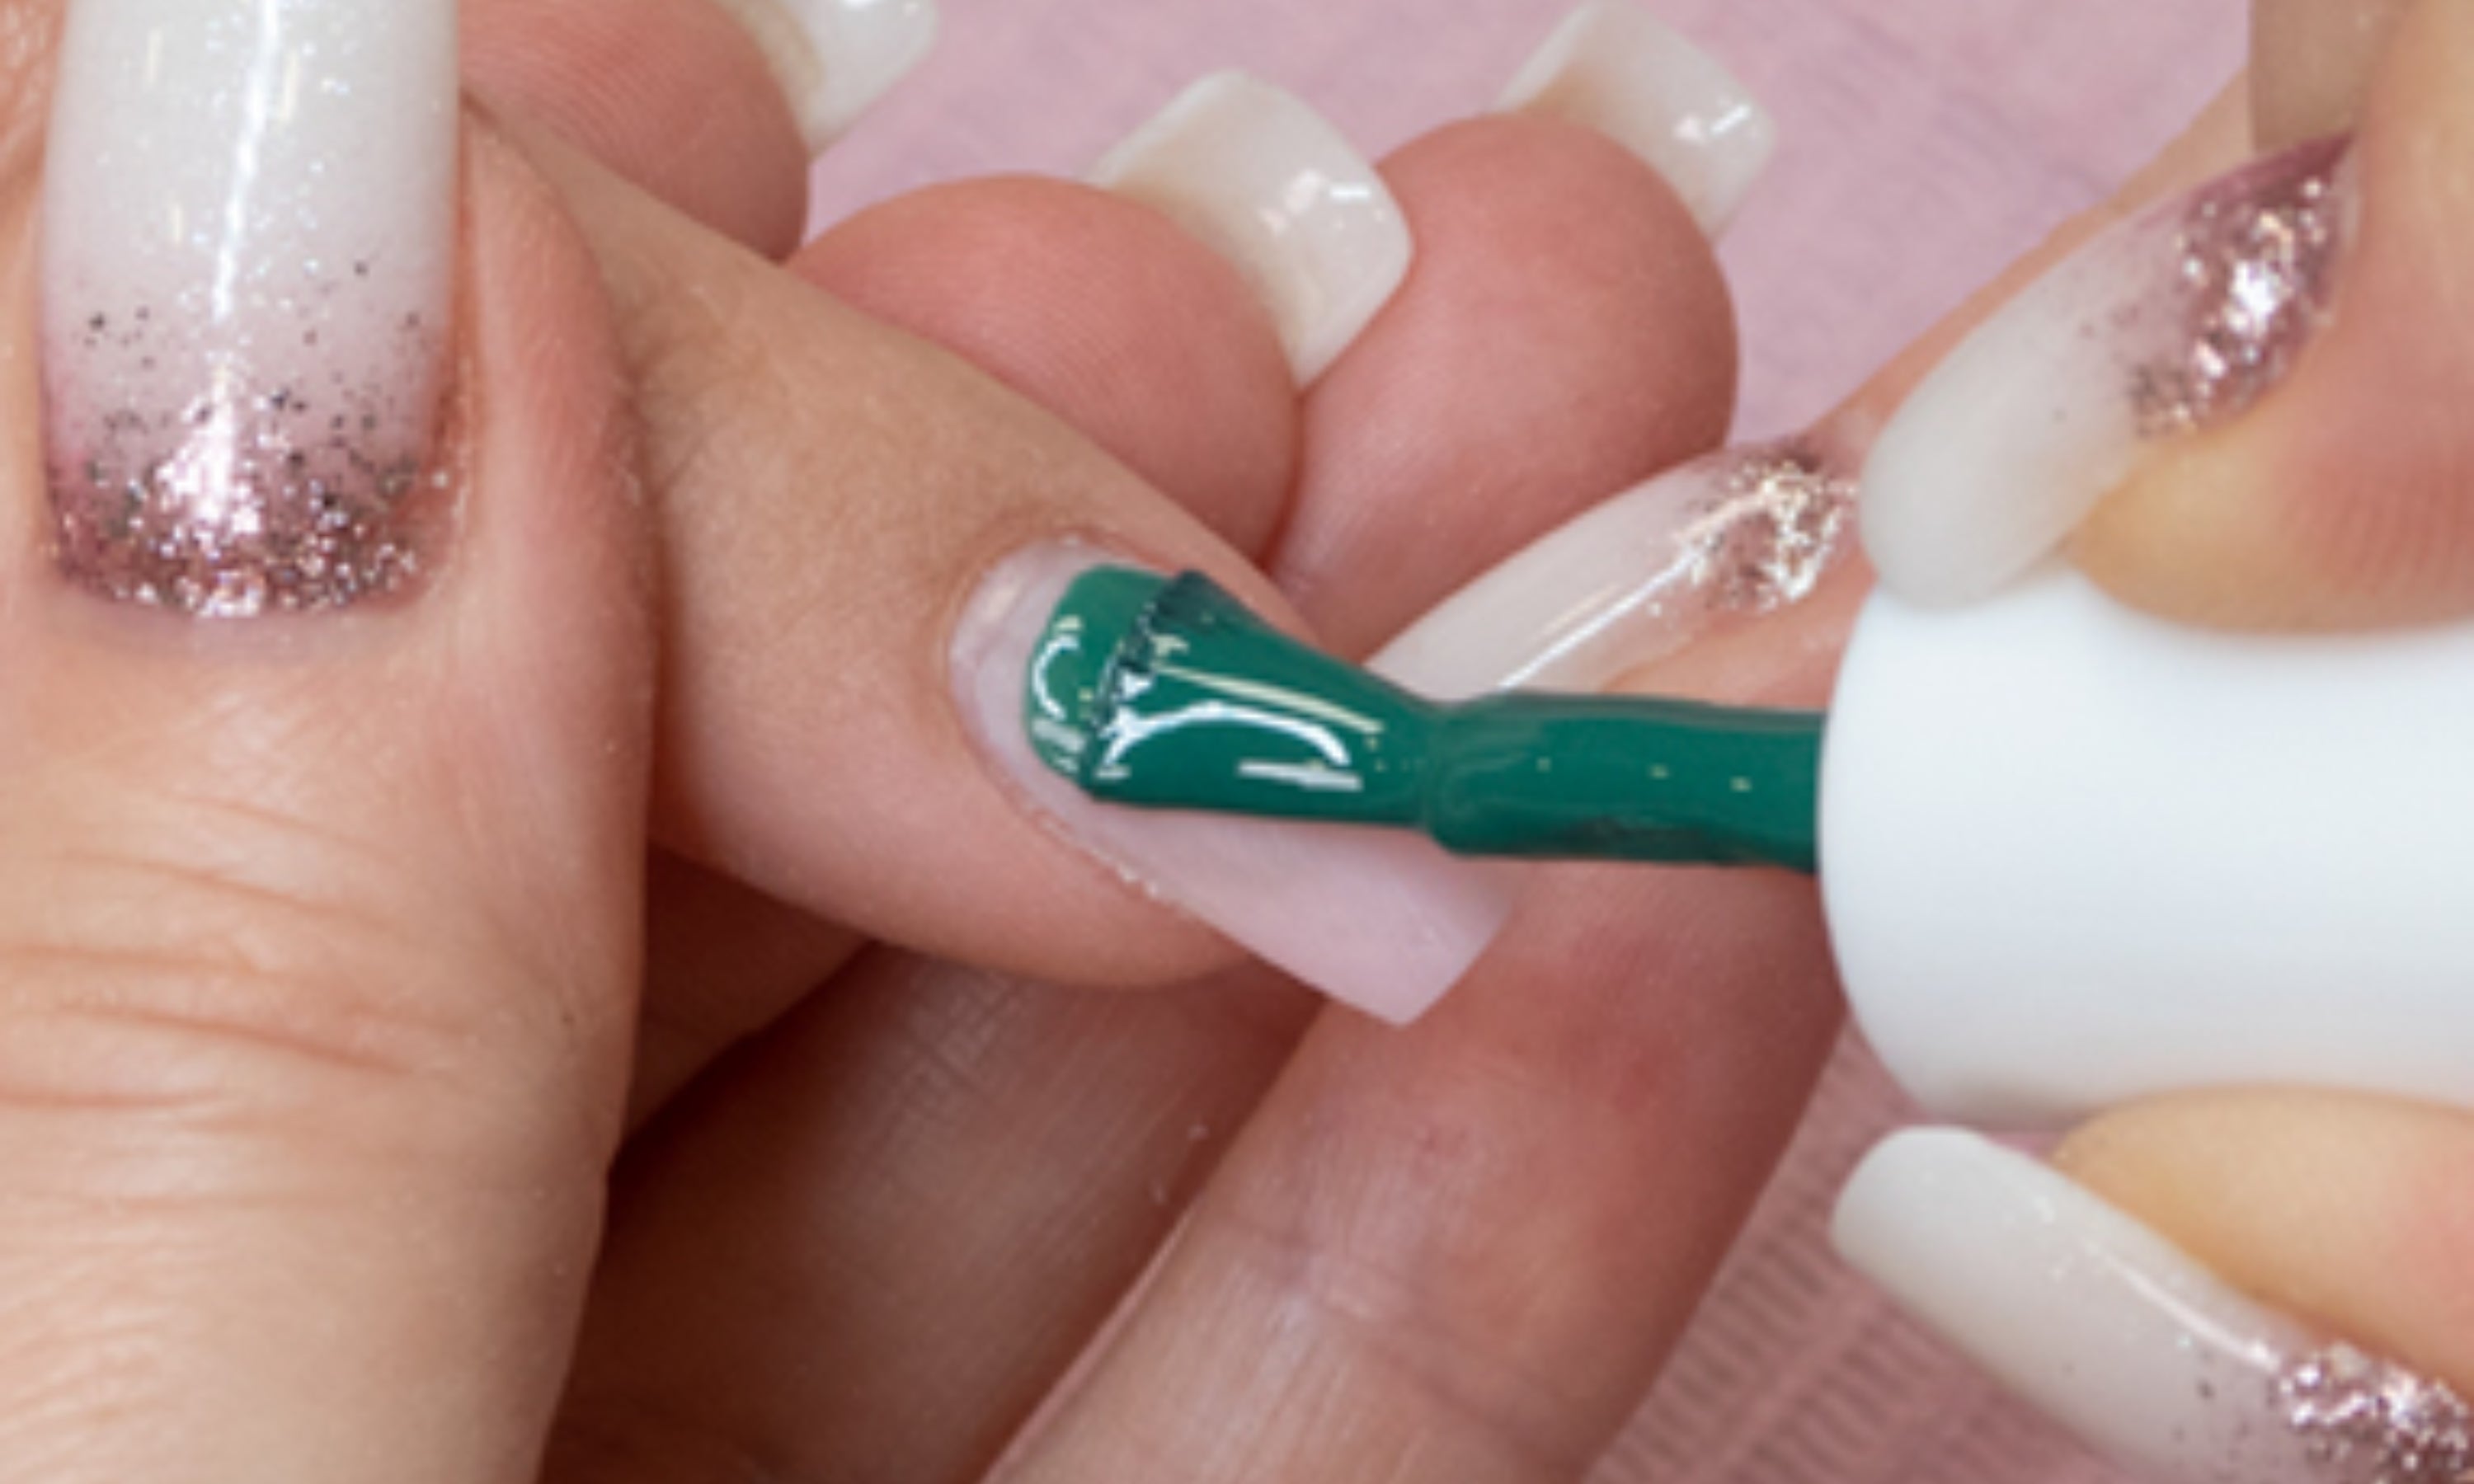
14. Color: Apply a thin layer of color. It is recommended to apply finger by finger and dry for a few seconds to prevent it from moving.
Once the entire coat is finished, allow to dry for the recommended time.
Dry in lamp: UV/LED–60 sec / UV–2 min.
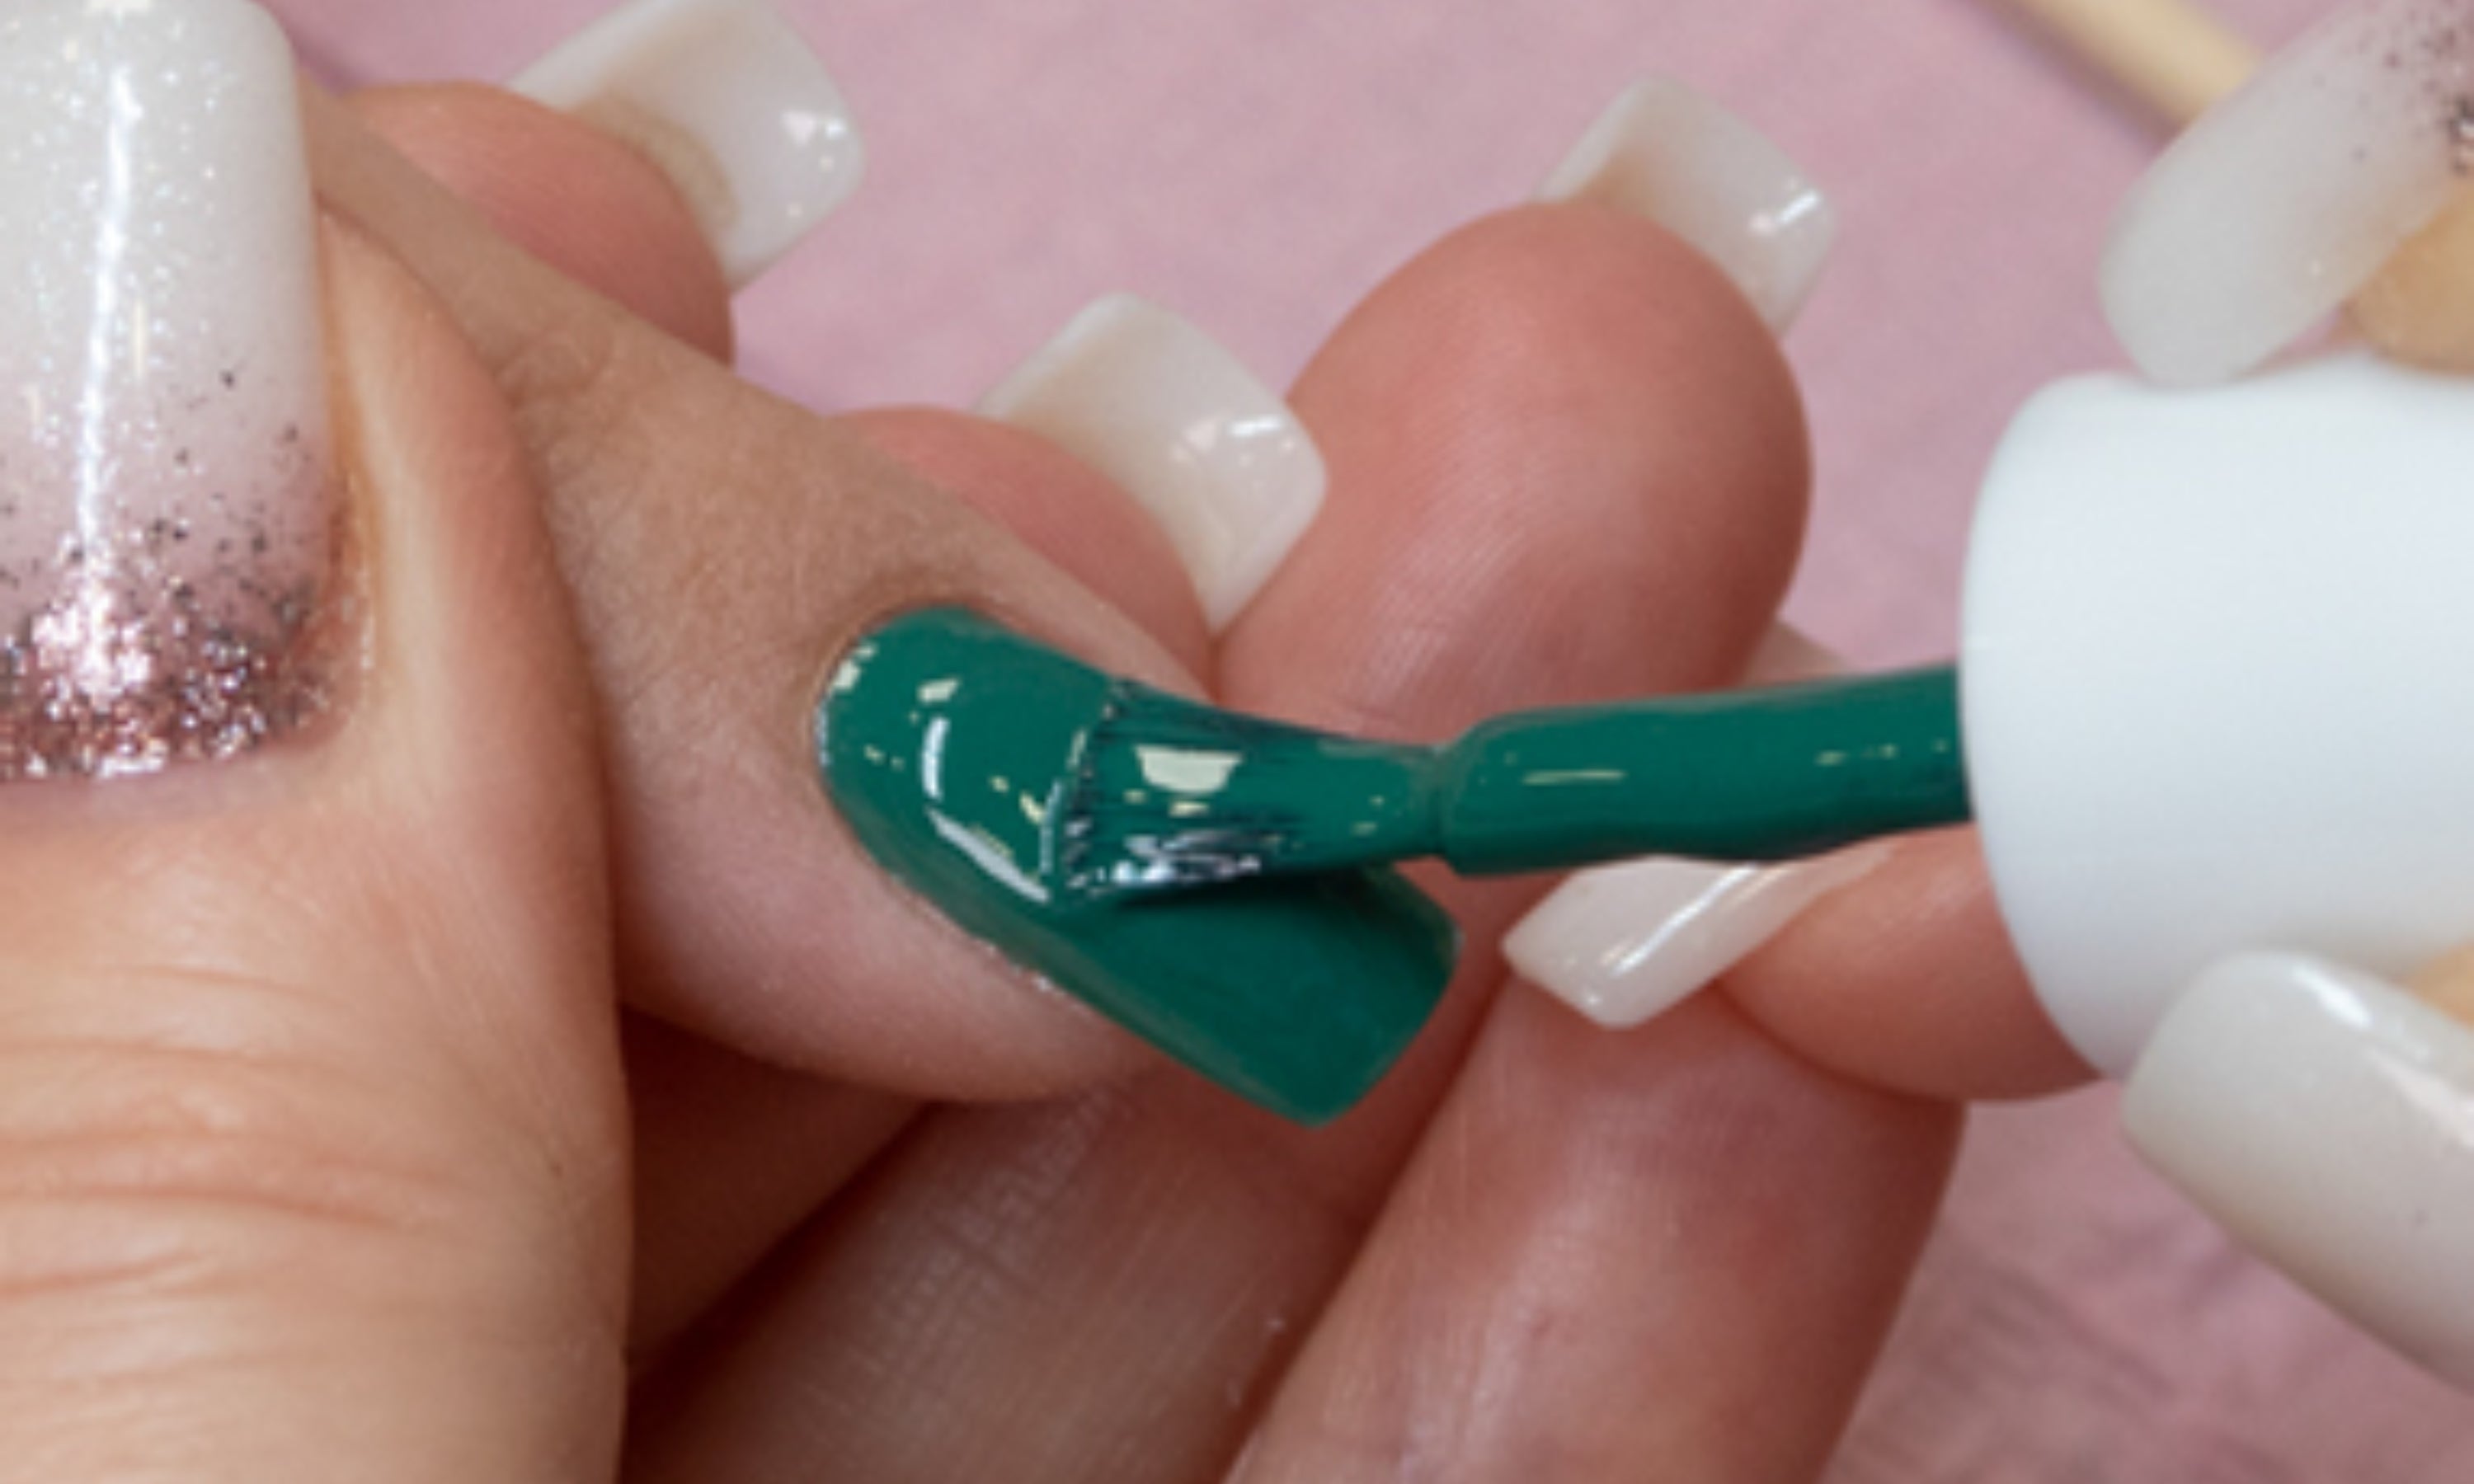
15. Color: Apply a second coat of color to give a perfect finish and more intensity. This coat can be a little thicker than the first, but without going overboard.
If it is too thick the color may wrinkle in the lamp.
Dry in lamp: UV/LED–60 sec / UV–2 min.
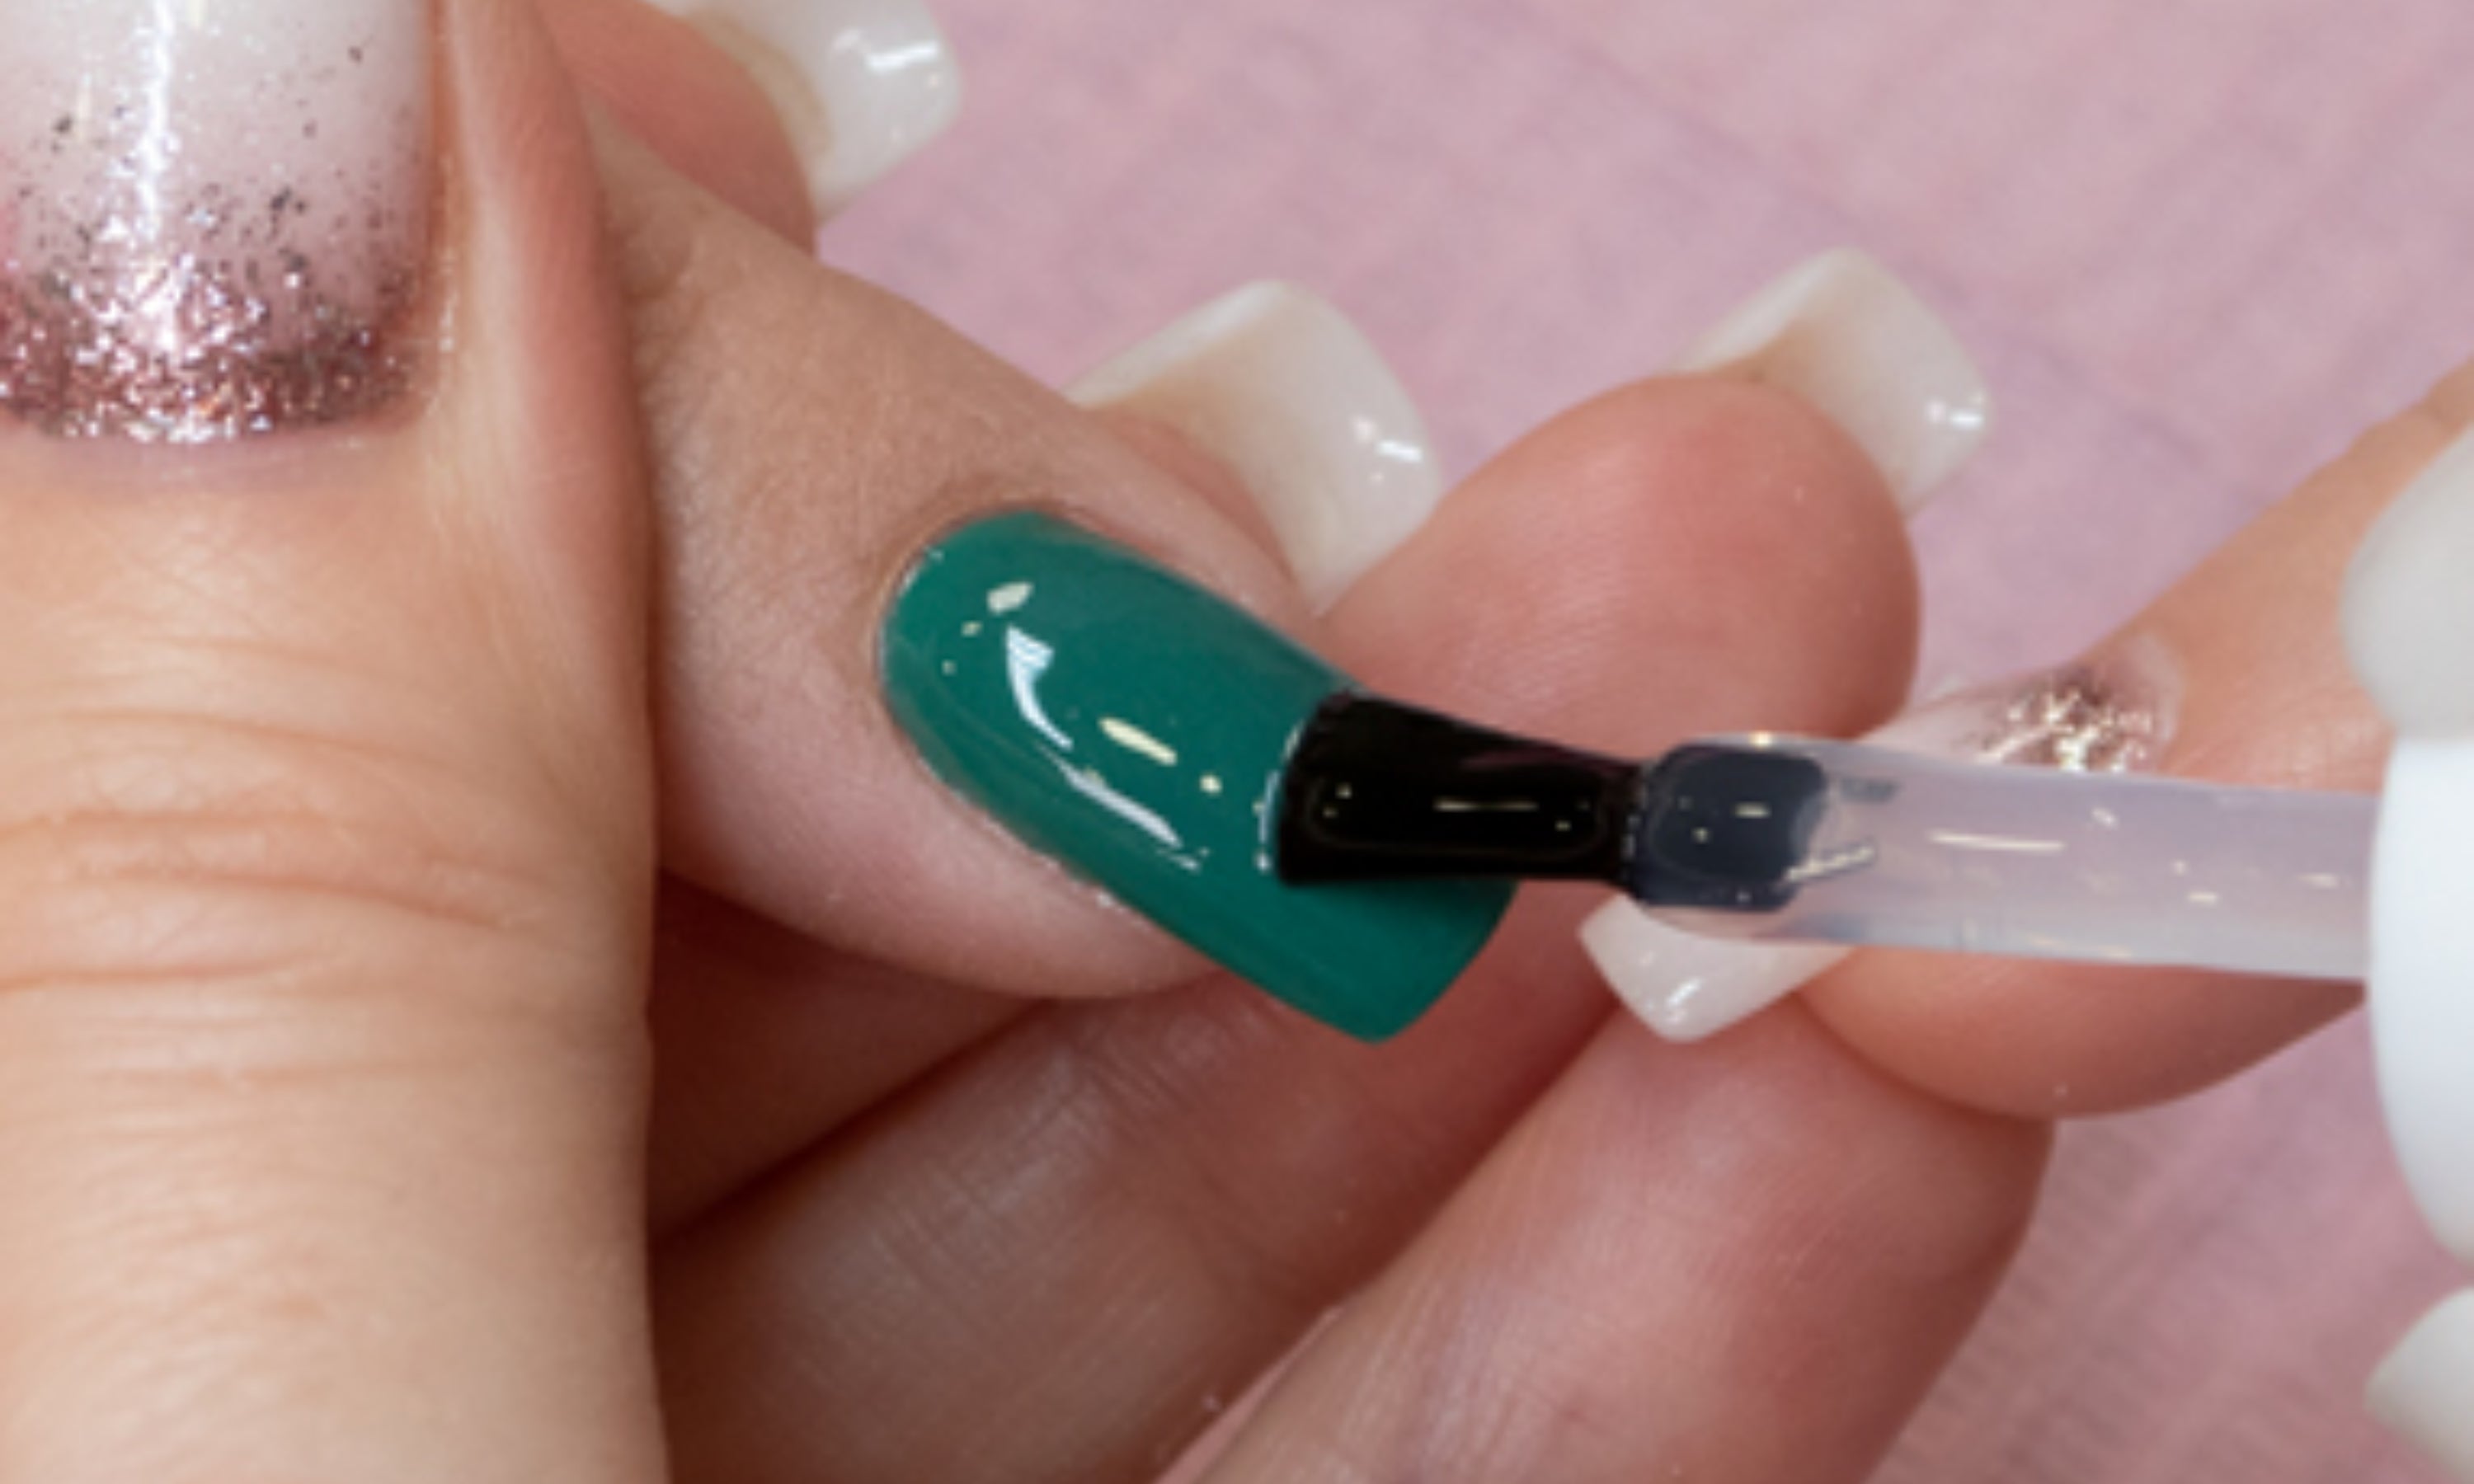
16. Final shine: Apply Crystal Top Gel to give shine to the nails.
Dry in lamp: UV/LED – 60 sec / UV – 2 min
If necessary, clean the sticky layer of the finisher with Cleaner and that's it!
LENGTHEN WITH DUAL SYSTEM TIPS
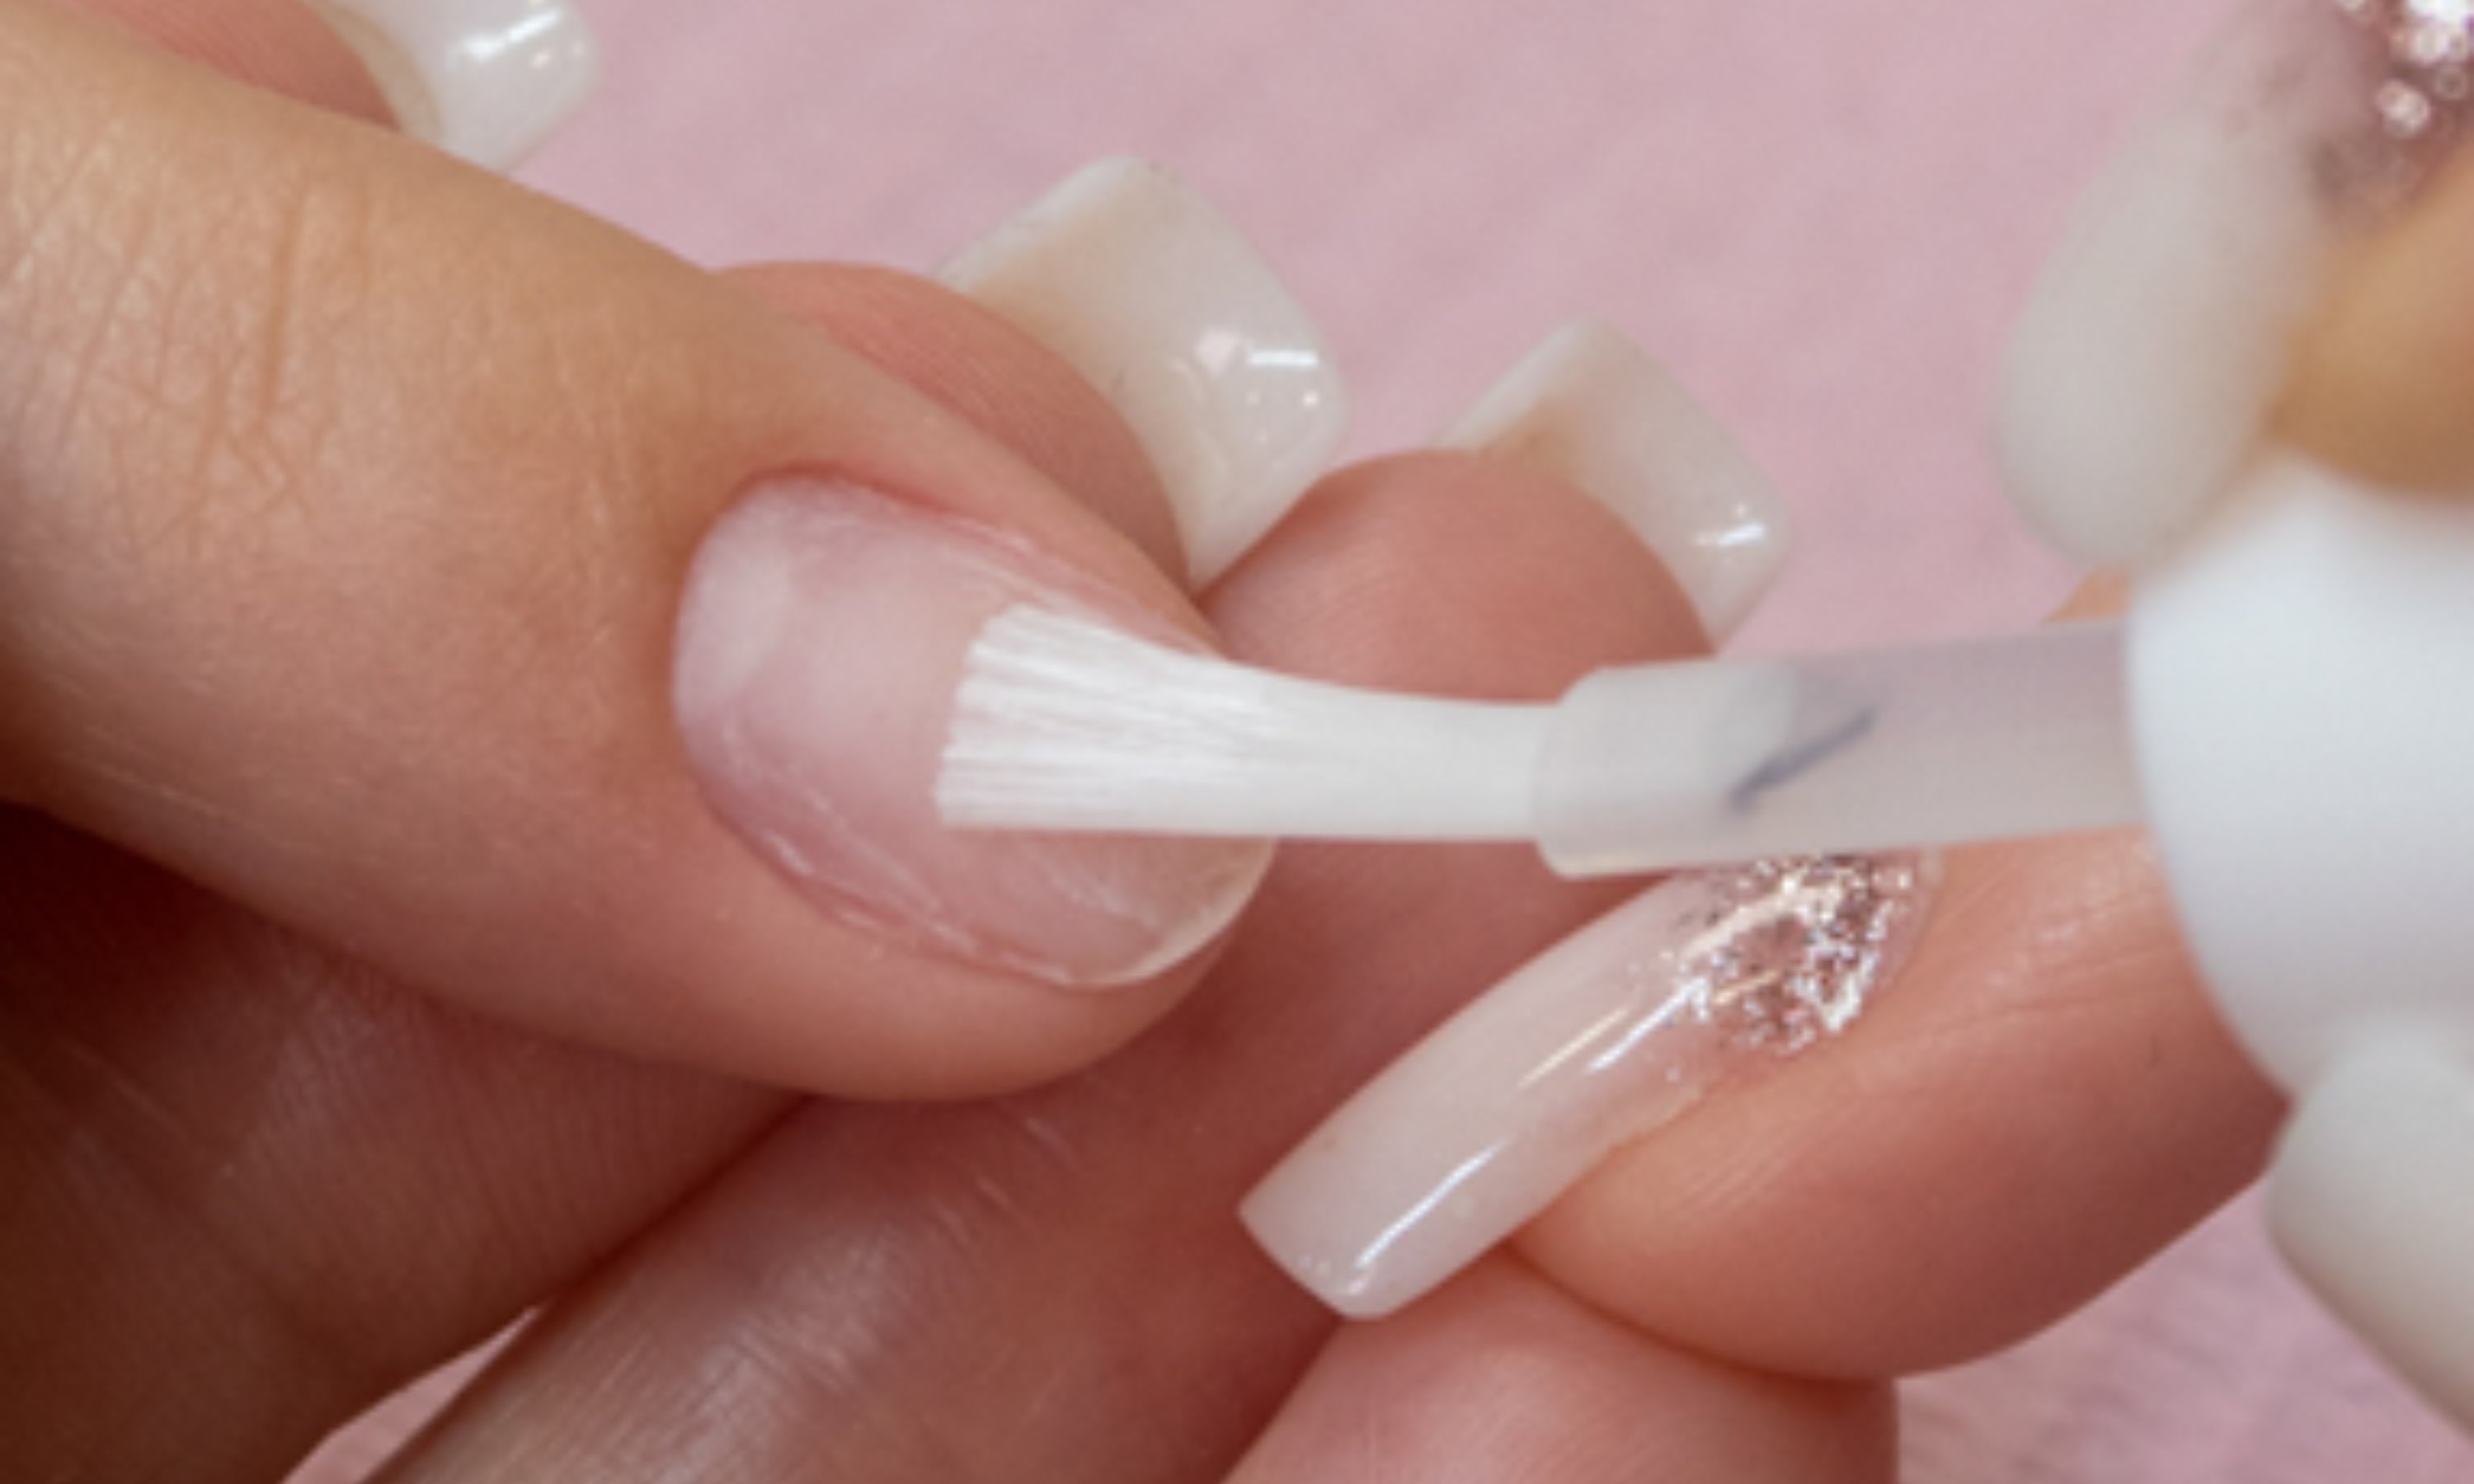
17. Apply Ultra-Bond Primer (acid-free adhesive) to the entire nail without touching the skin or cuticle. If the nail is very oily, apply Nail Prep before the Ultra-Bond Primer to degrease.
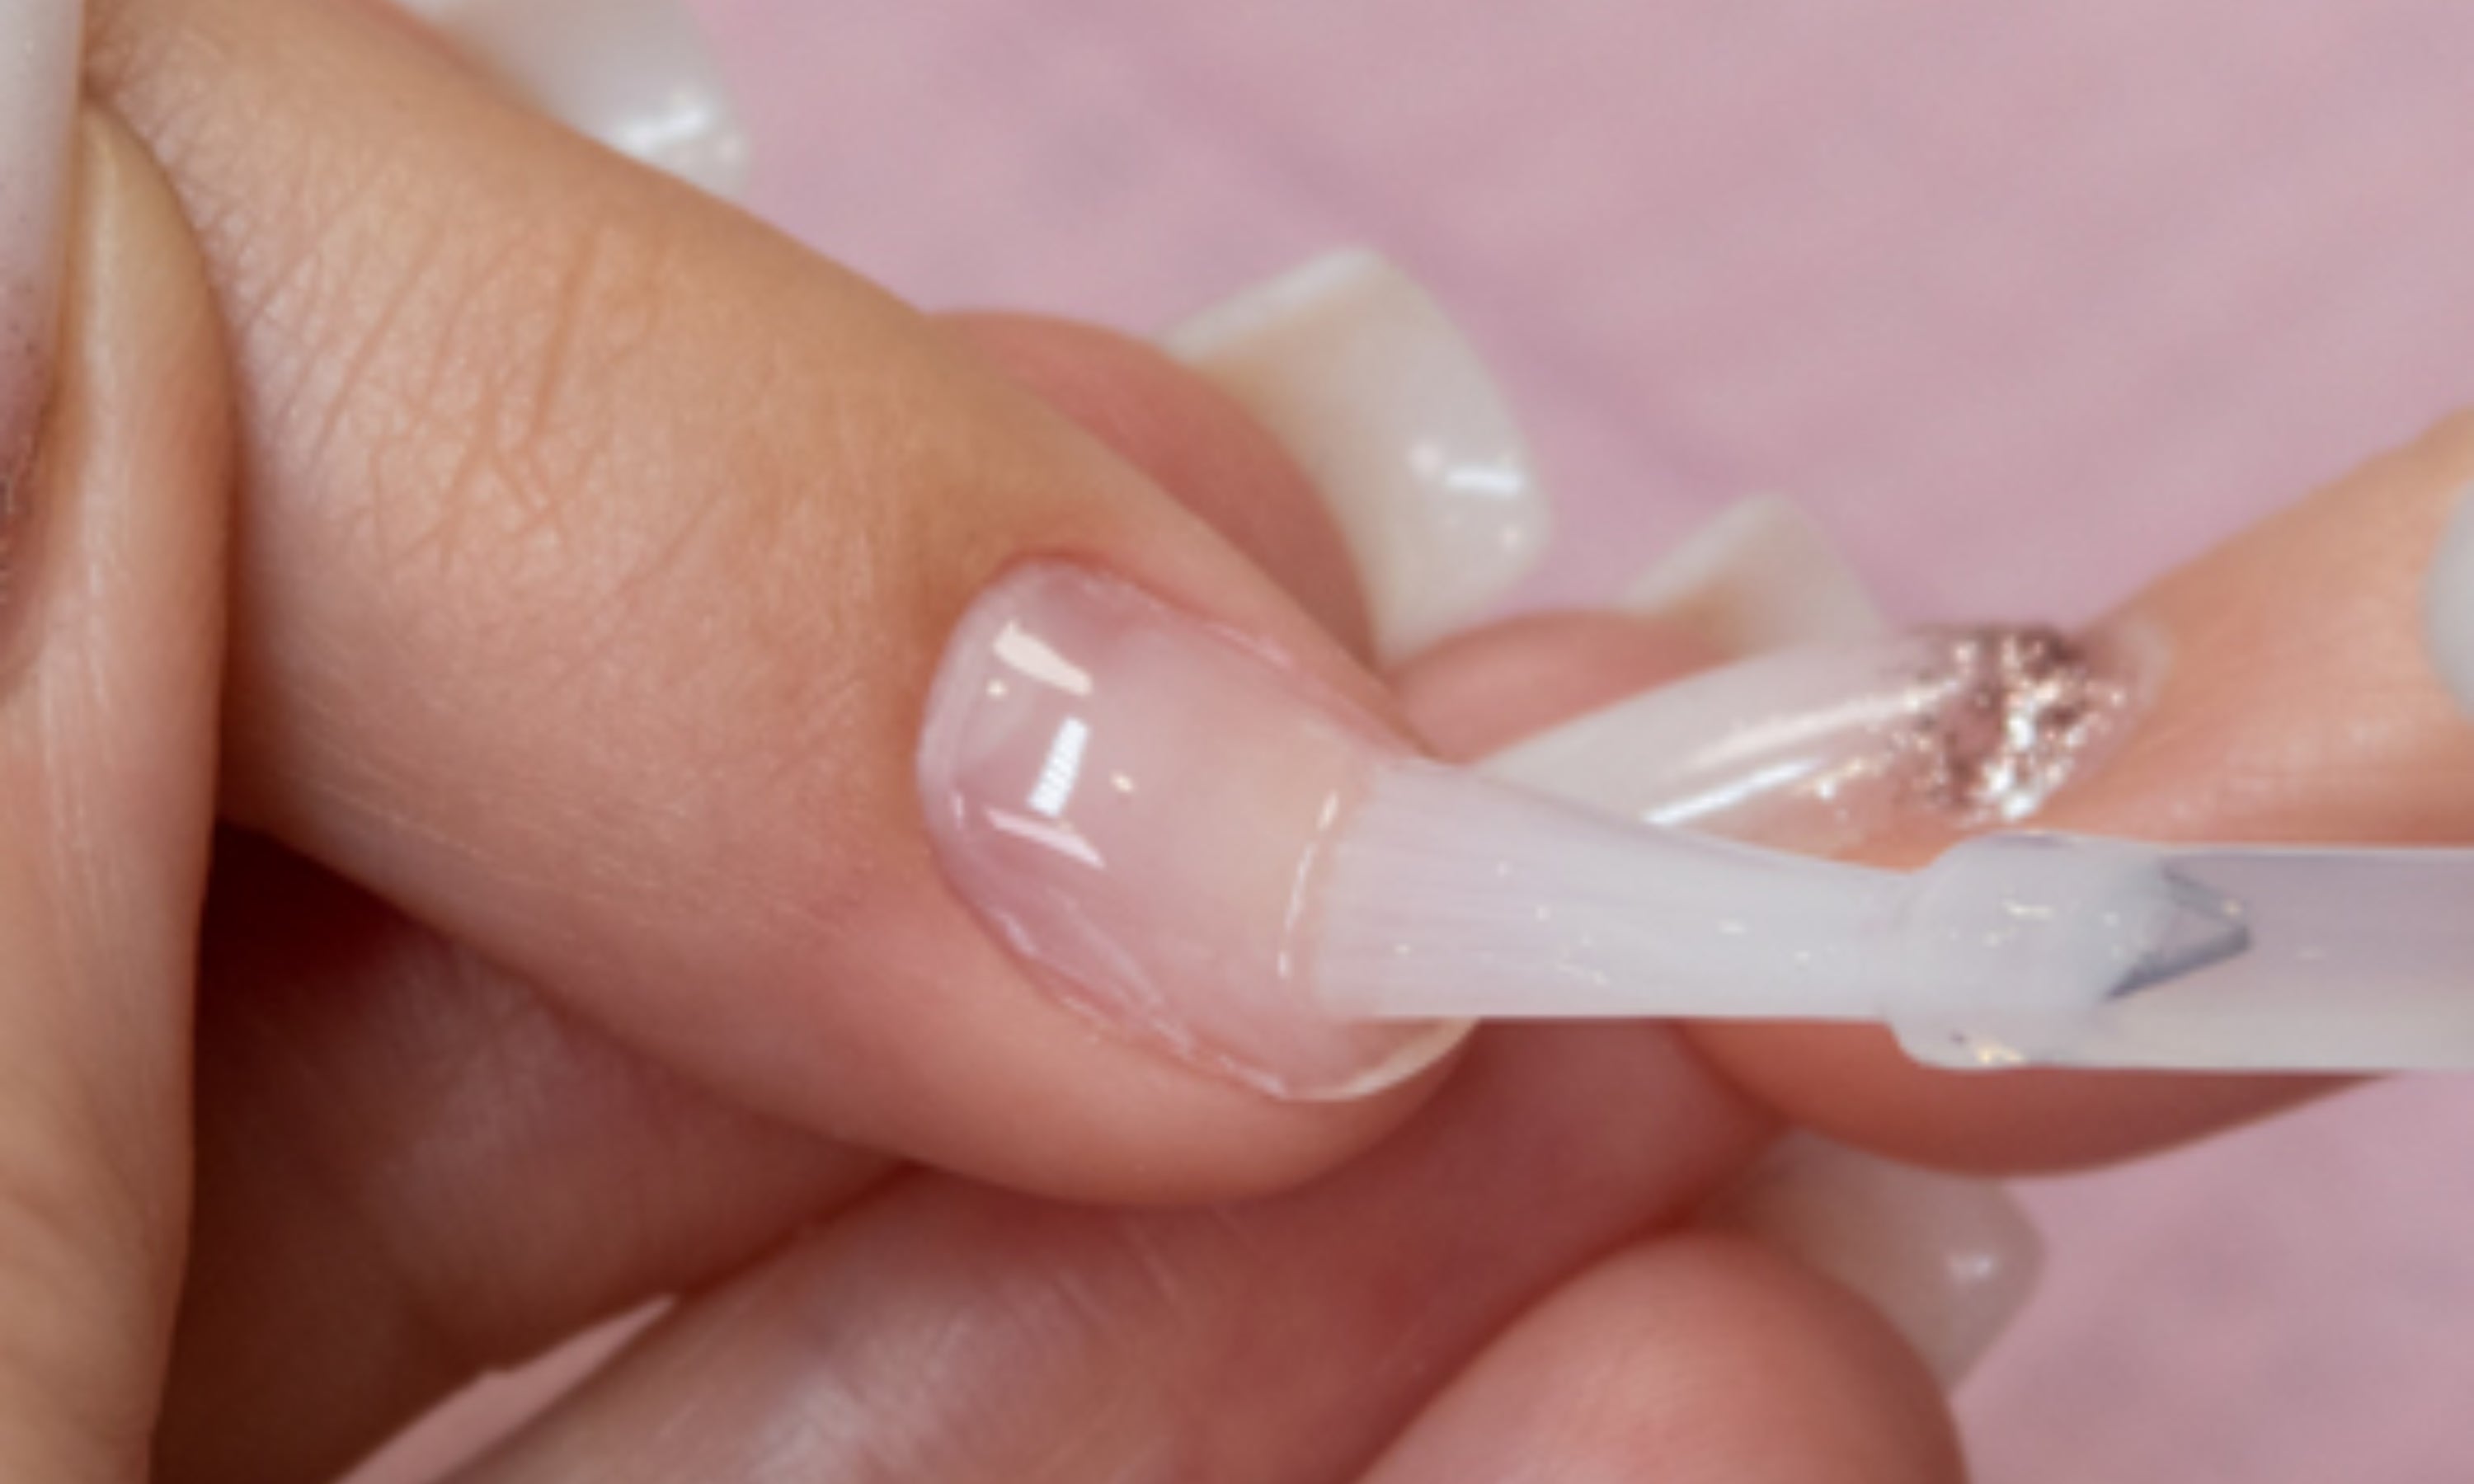
18. We apply a thin layer of any permanent enamel base to improve the adhesion of the product.
Cure in lamp: UV/LED – 60 sec / UV – 2 min.
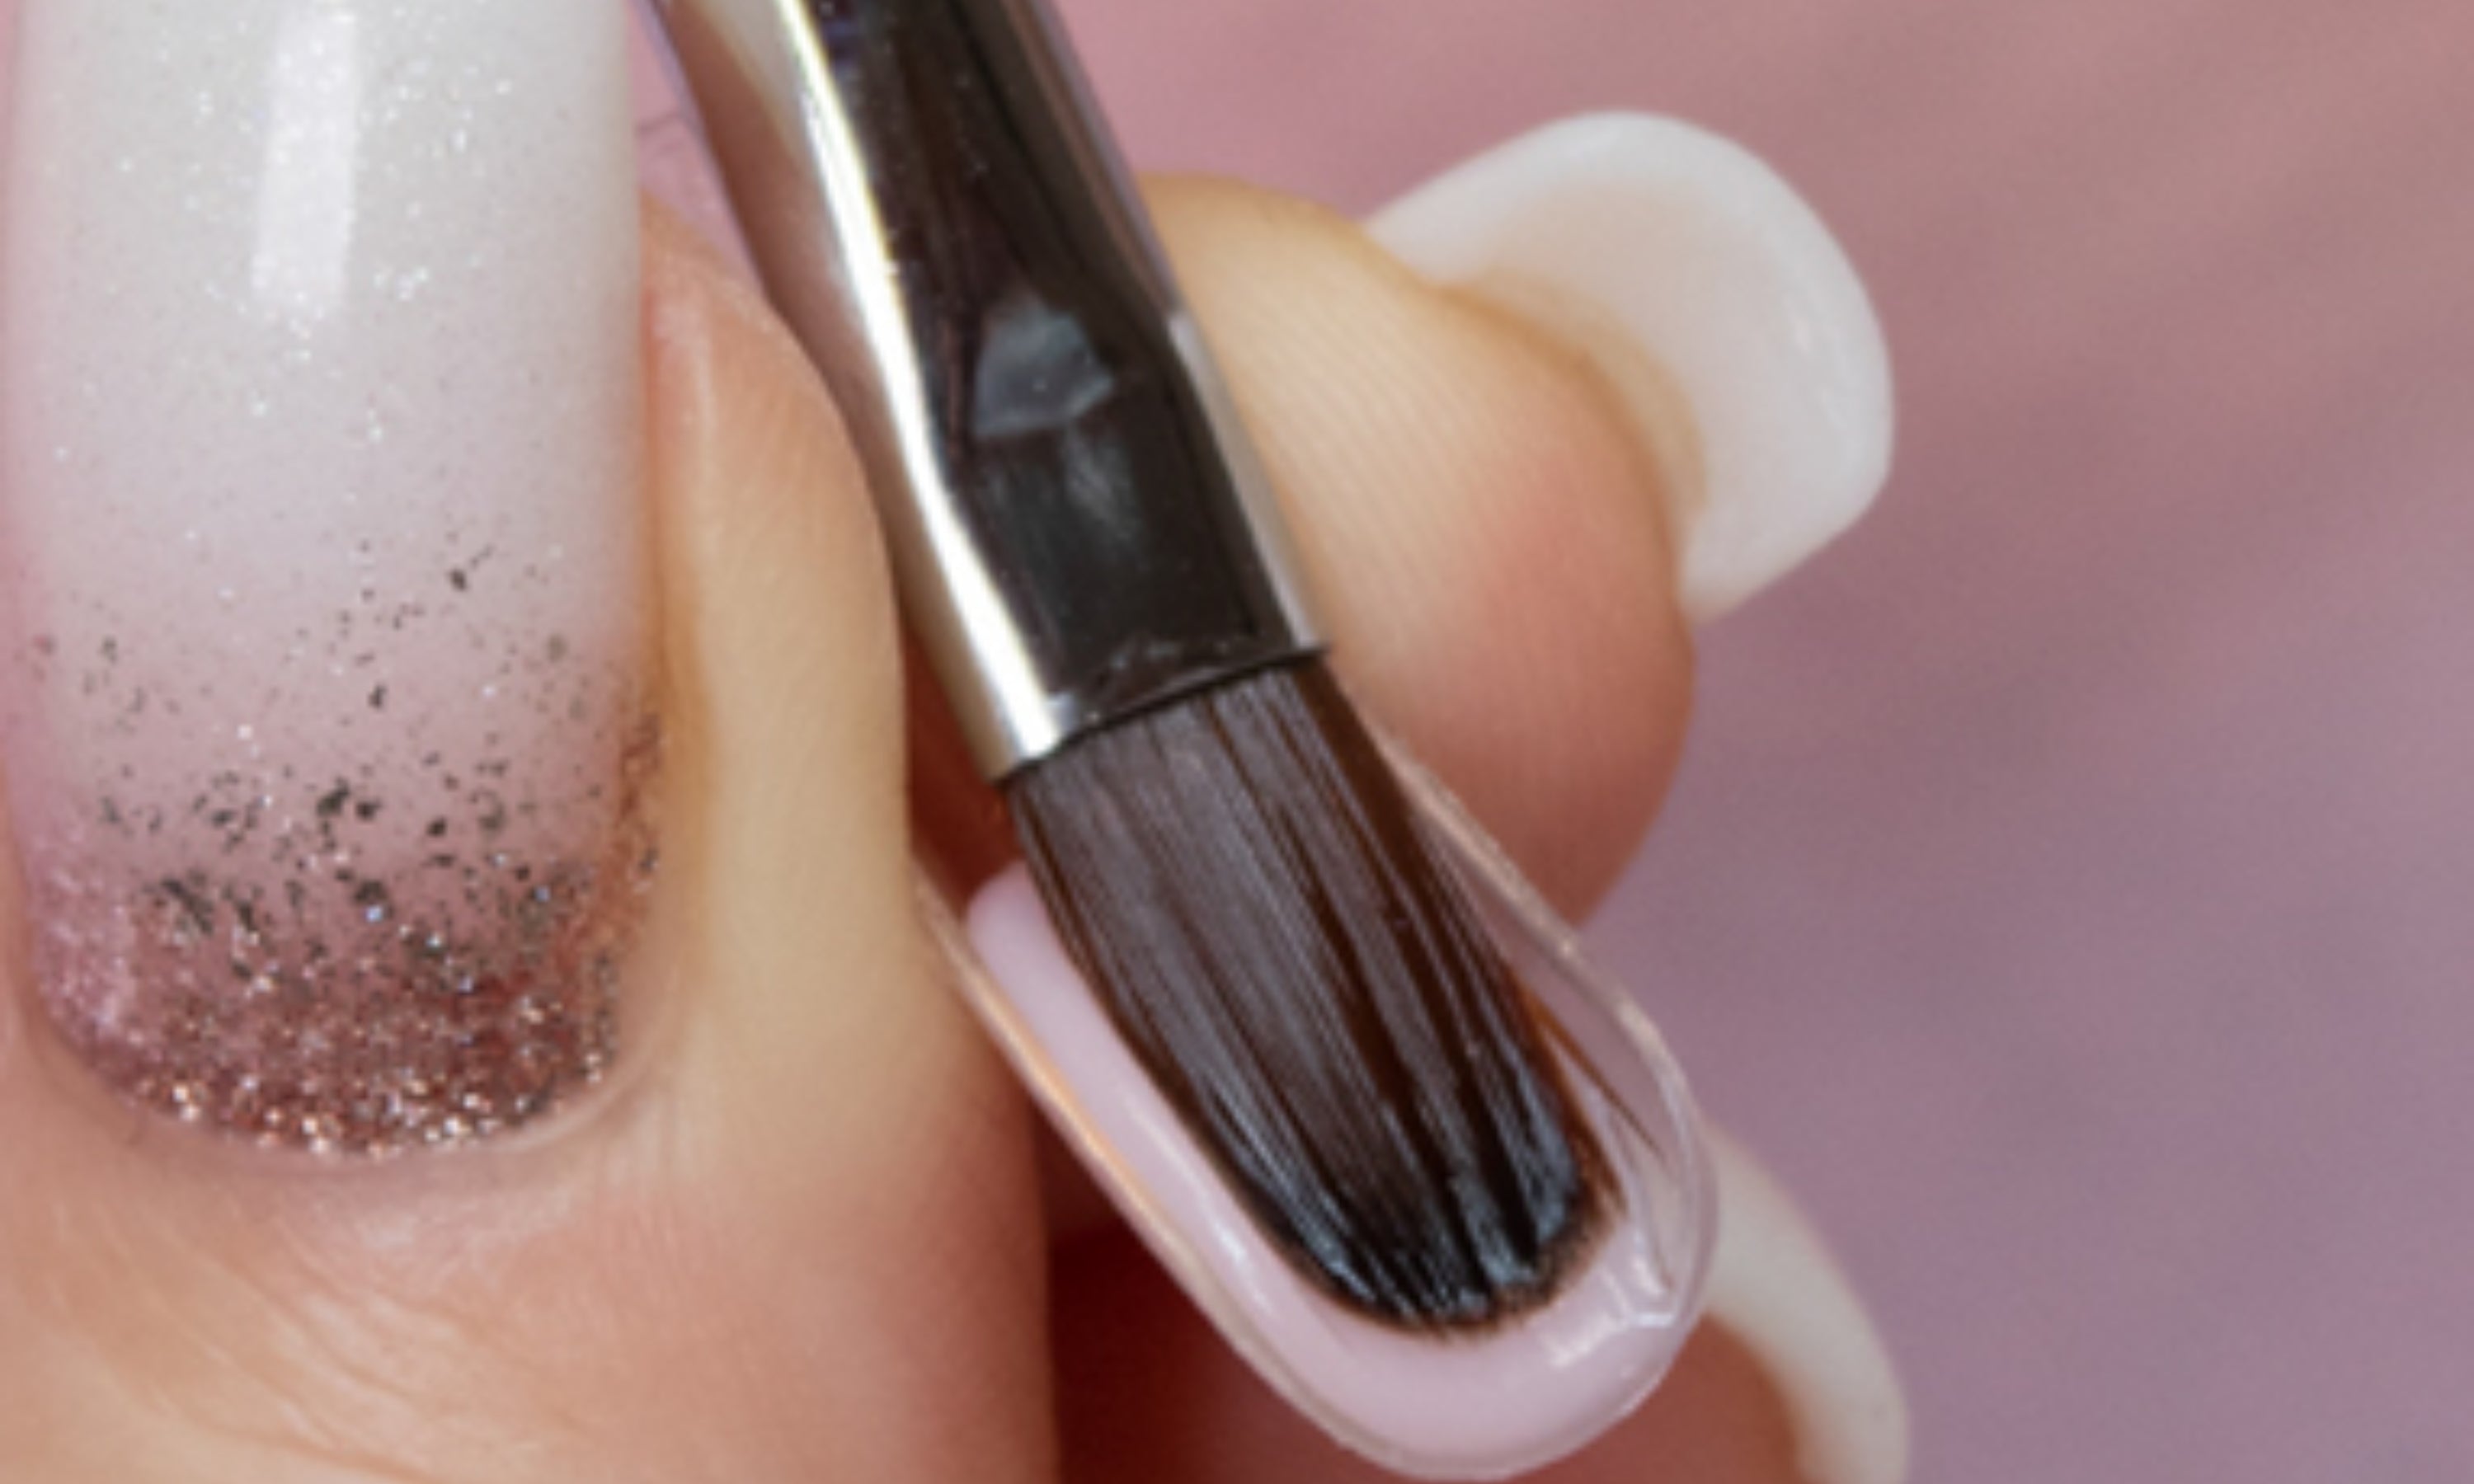
19. Take a small ball of the desired Premium Polygel and place it on the Dual System tip. Shape the product by moistening it as necessary with the Polygel Premium Solution.
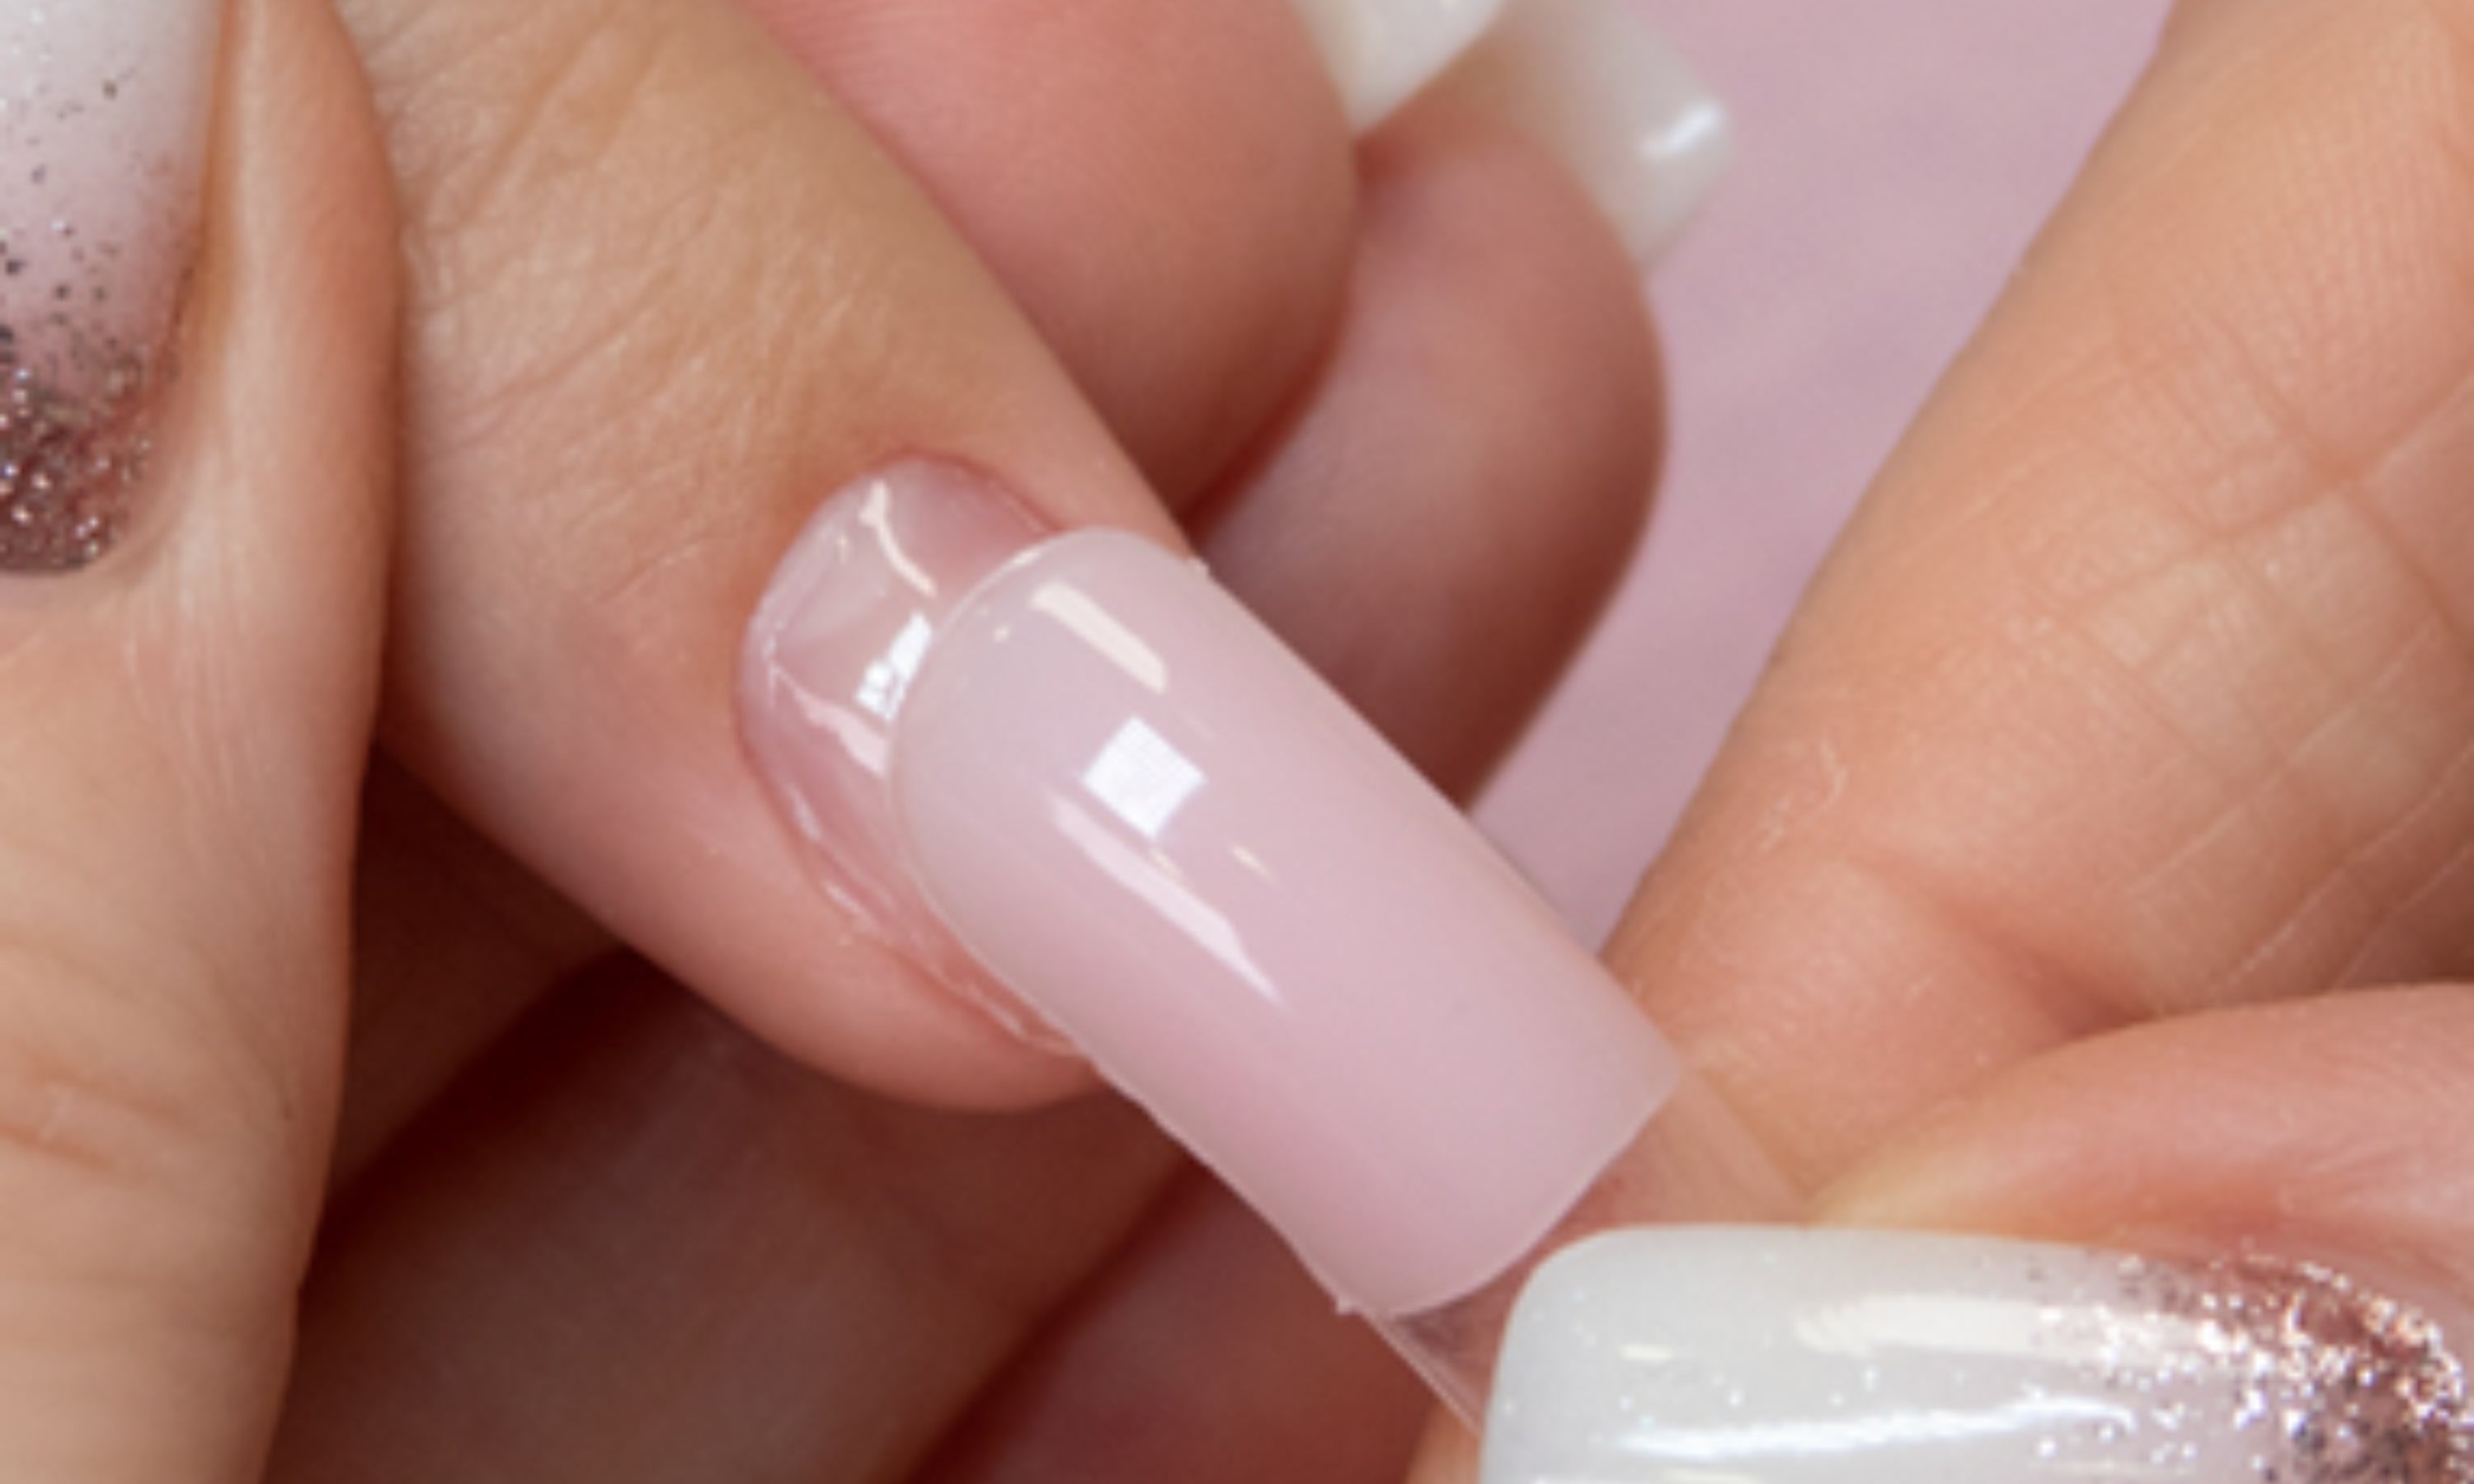
20. Place the Dual System tip on the natural nail, pressing for a few seconds and remove the excess with the gel brush. Cure in lamp: UV/LED – 60 sec / UV – 2 min.
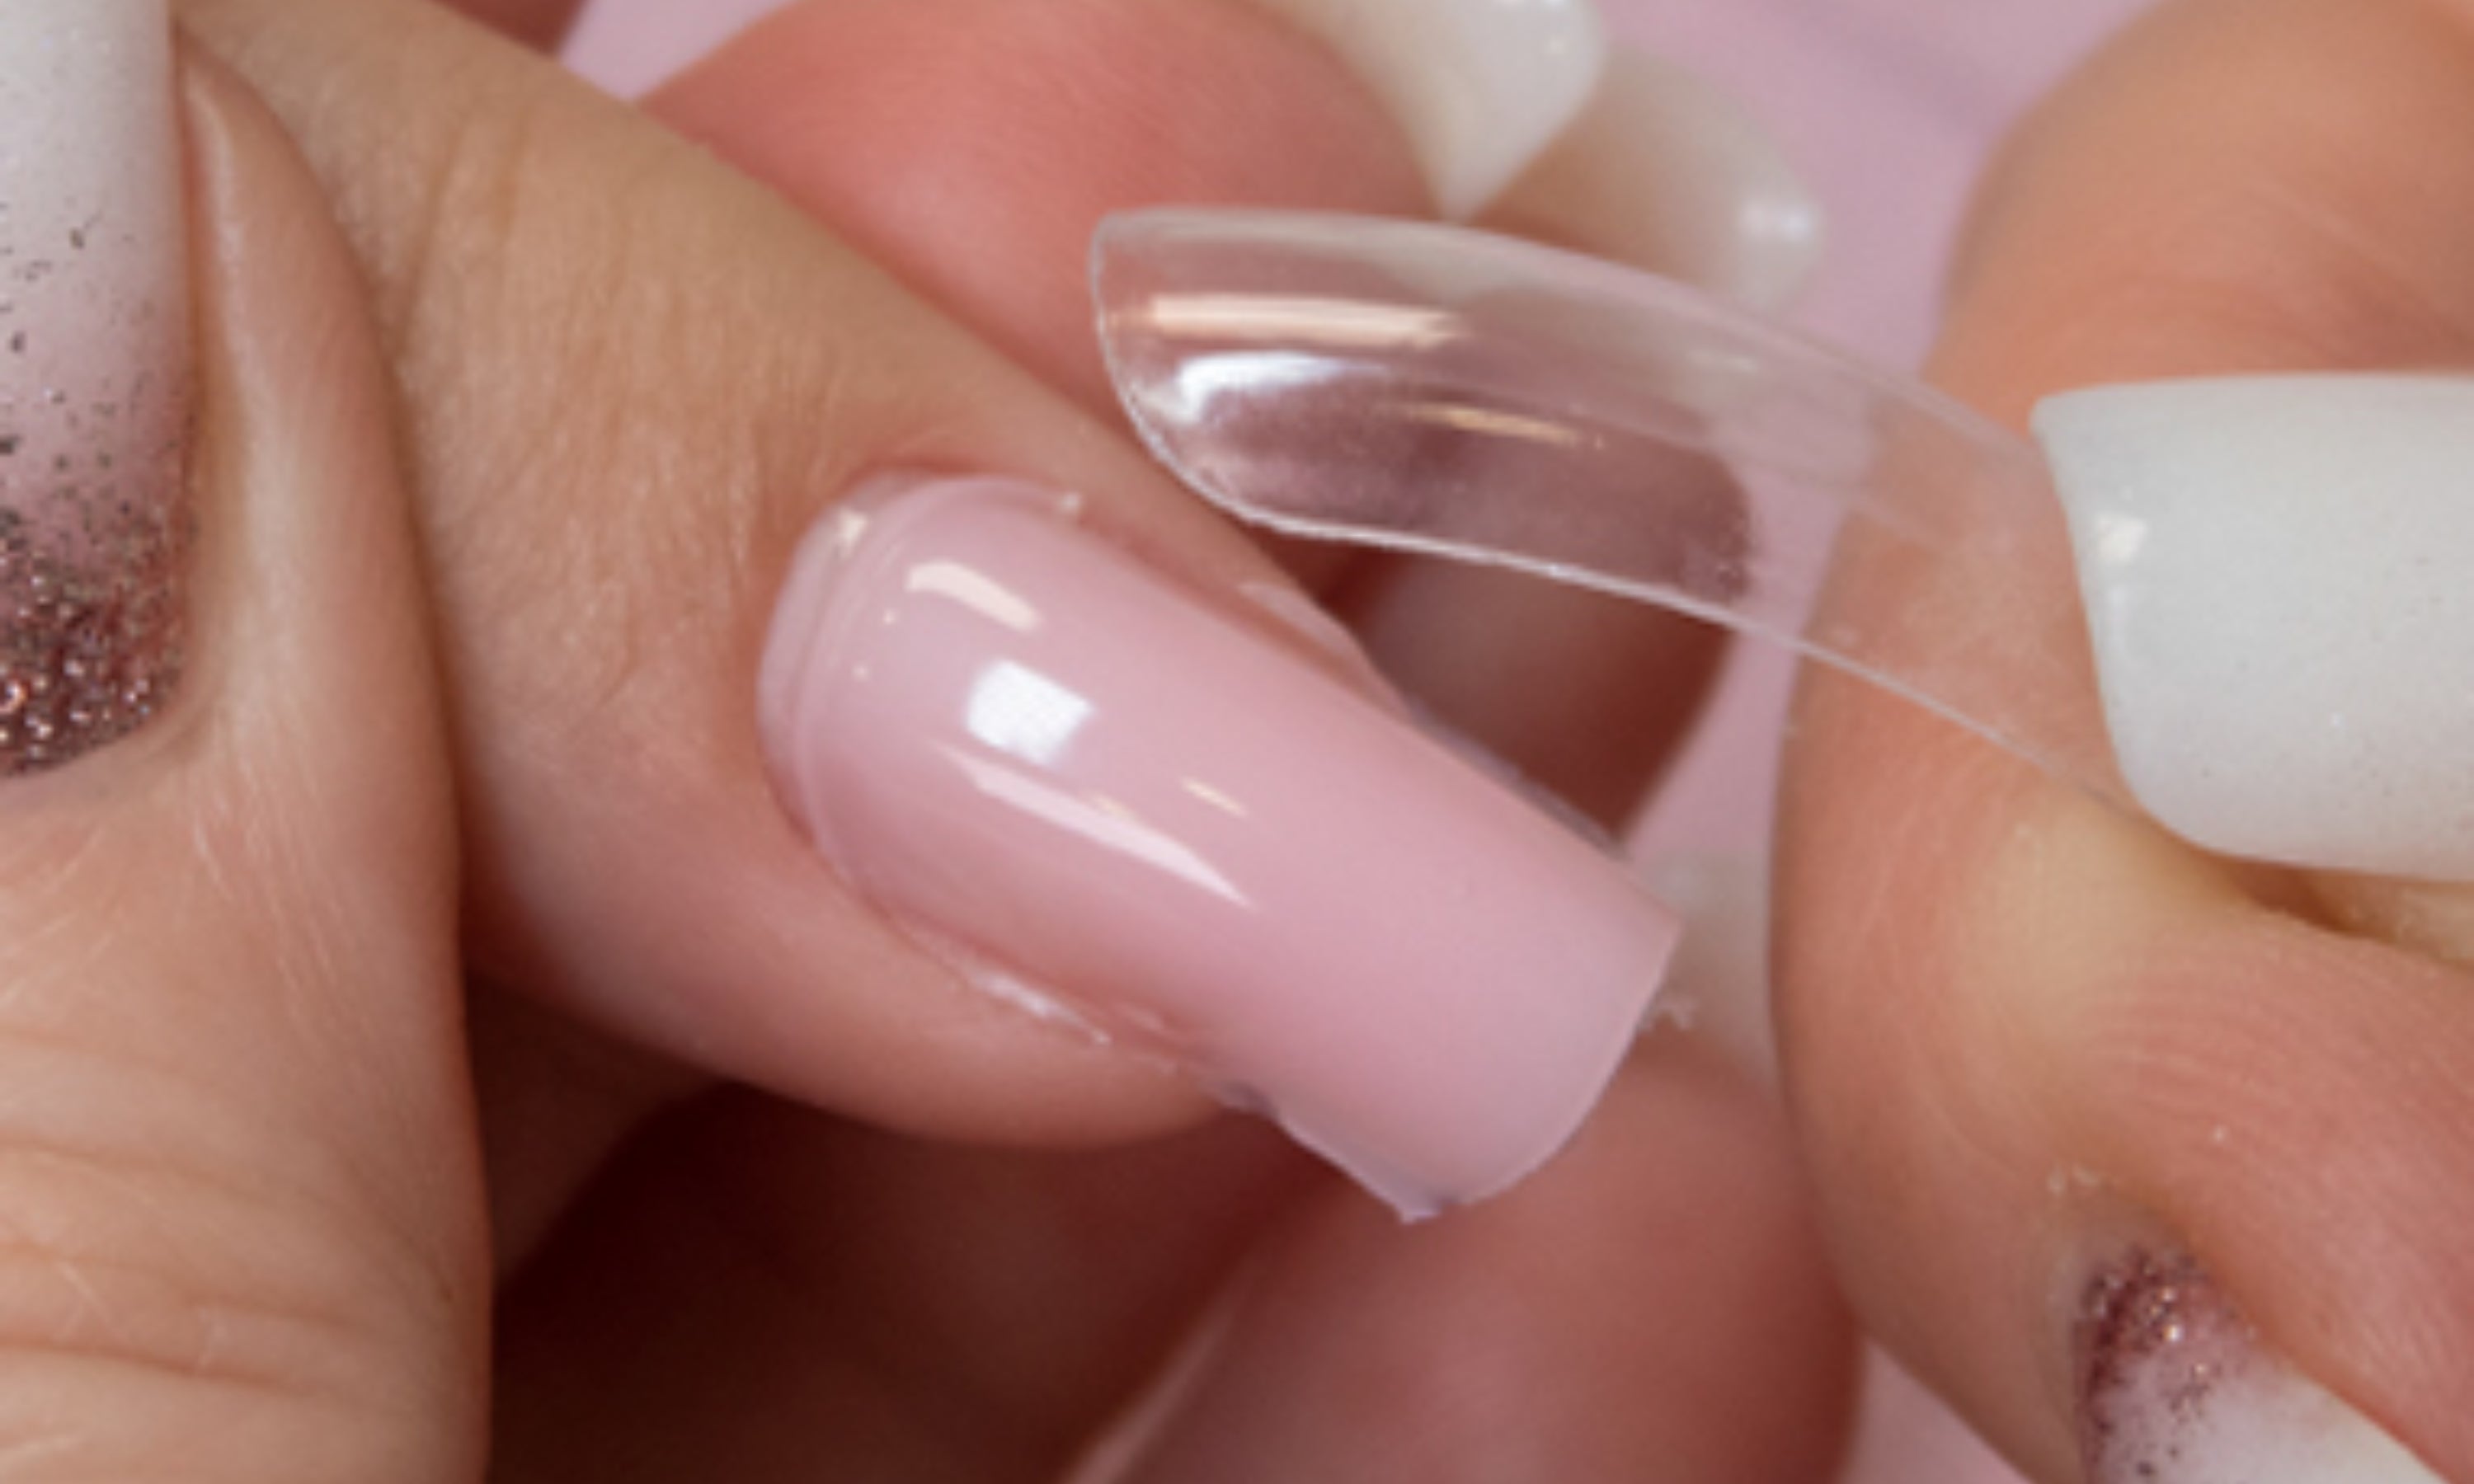
21. Remove the Dual System tip and clean the sticky layer of polygel with Cleaner.
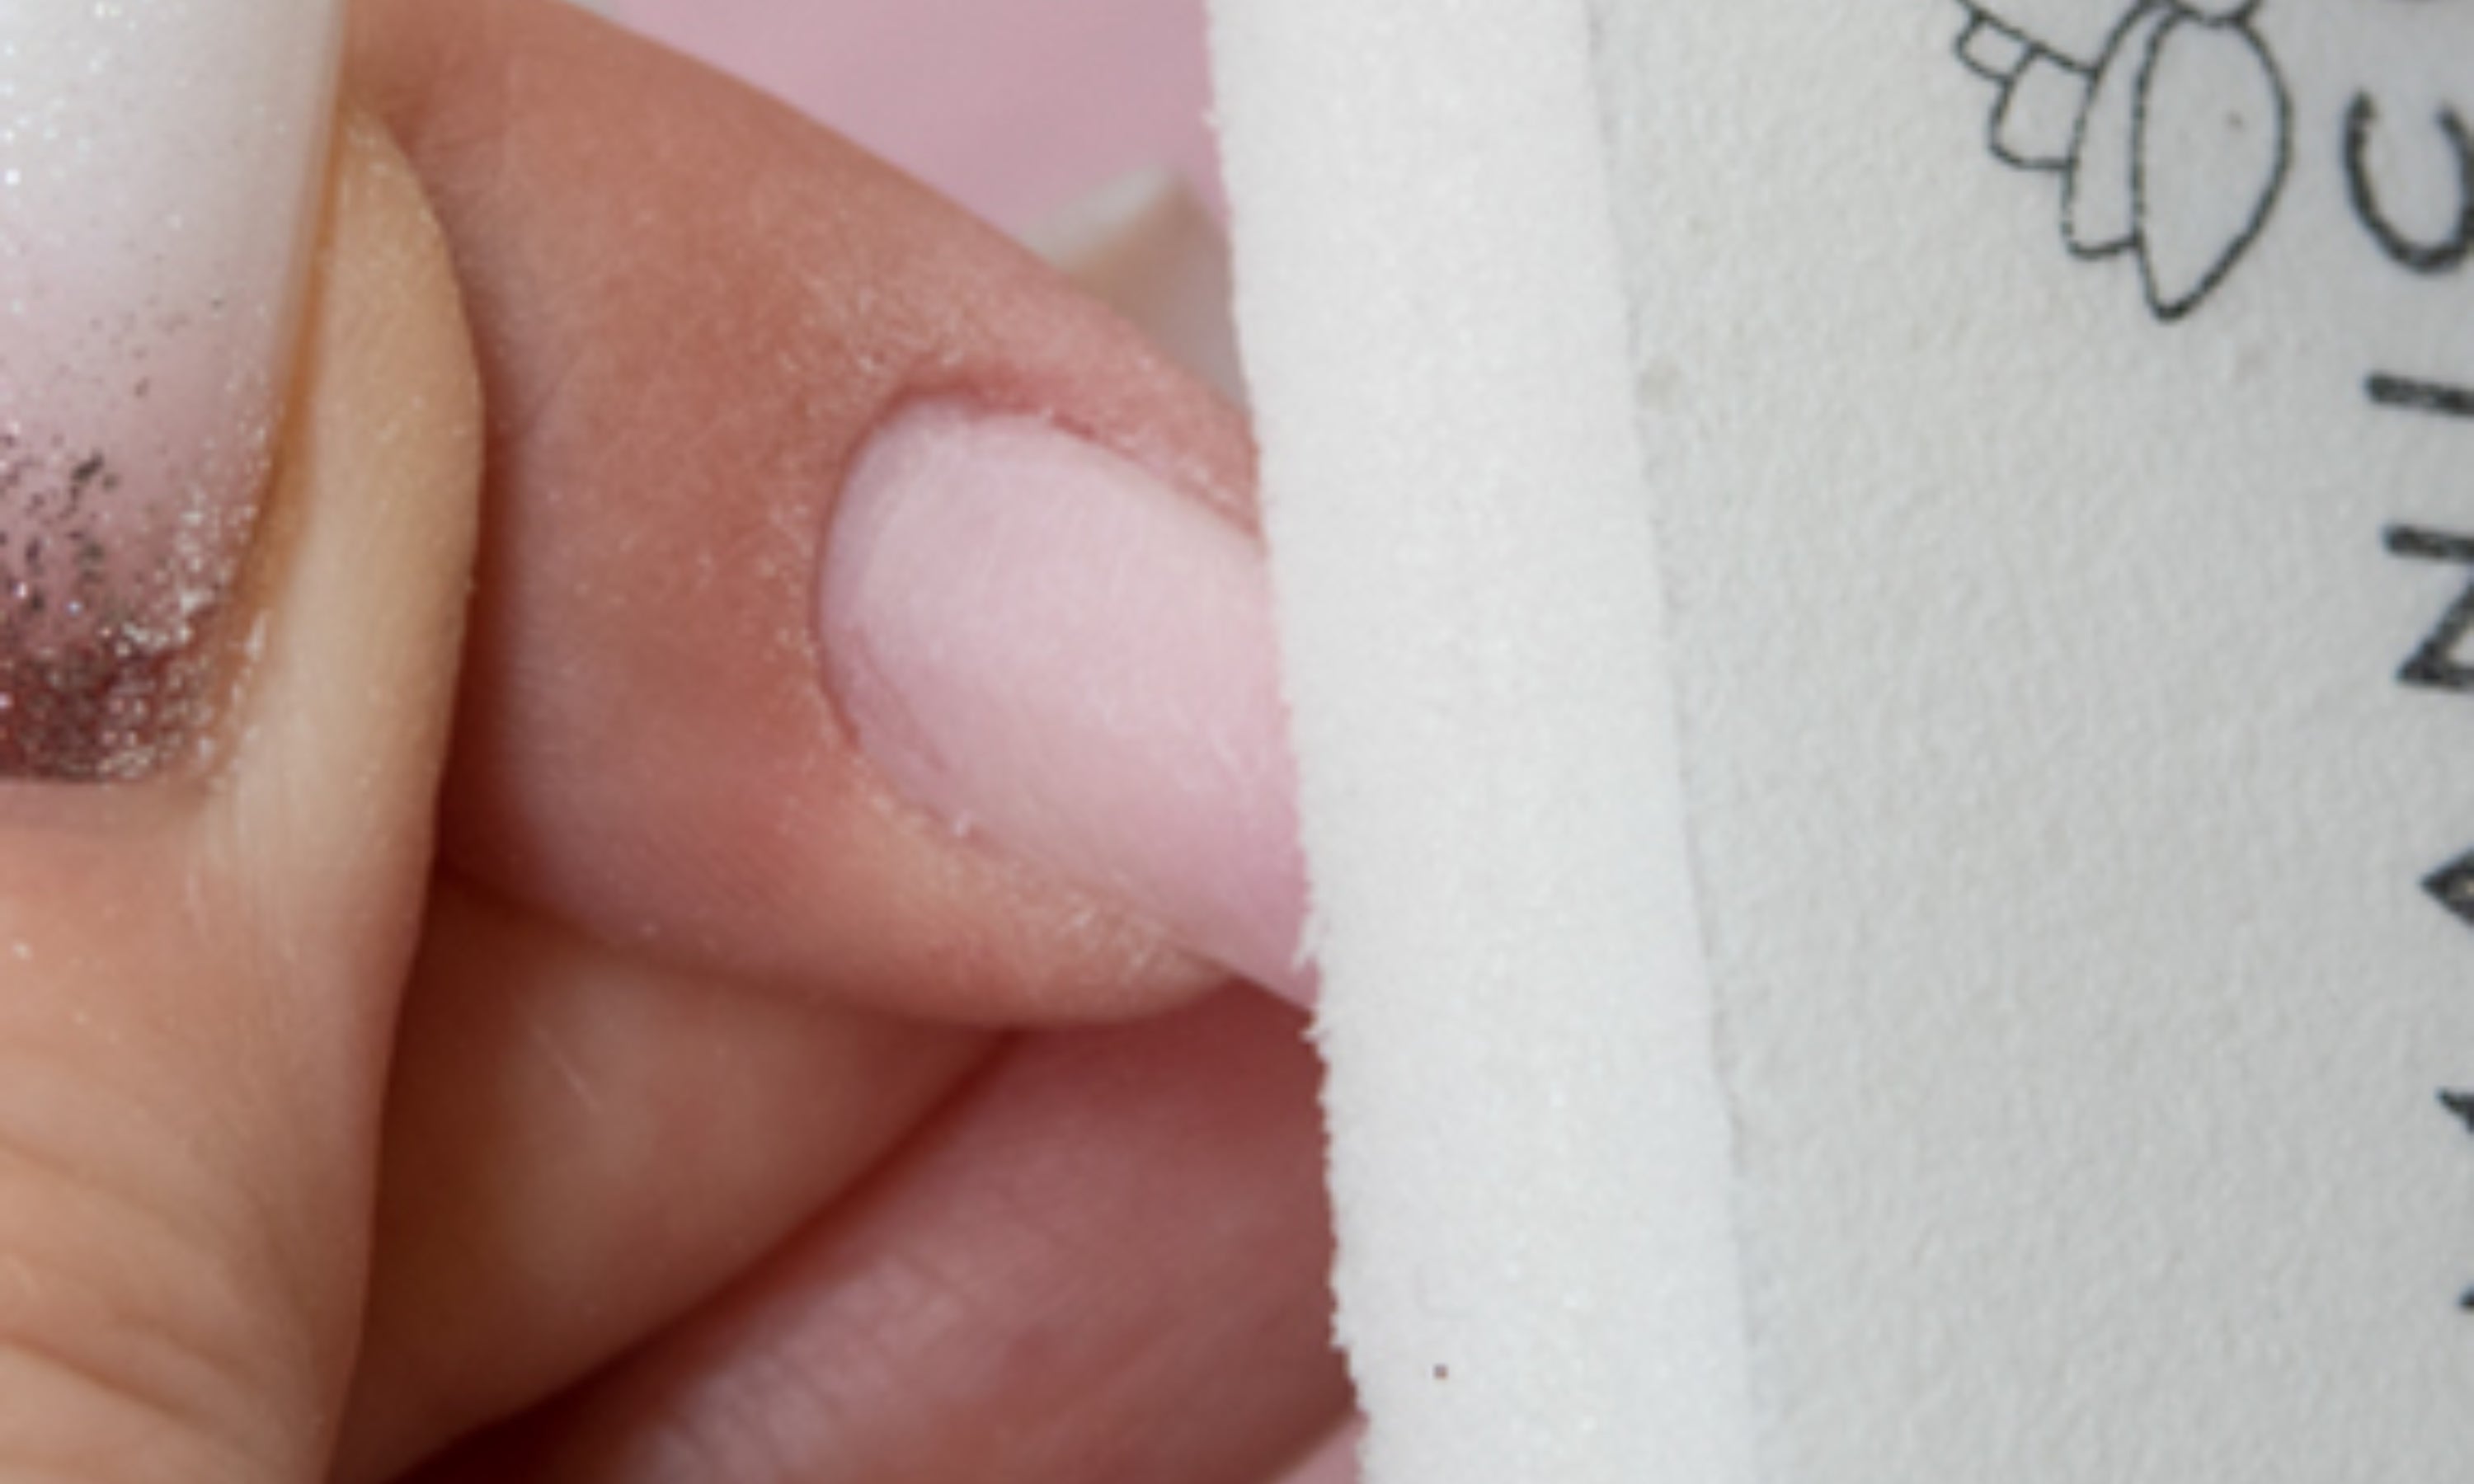
22. File the entire nail to remove any gaps and imperfections and finish giving it the desired shape. Remove the dust with a manicure brush.
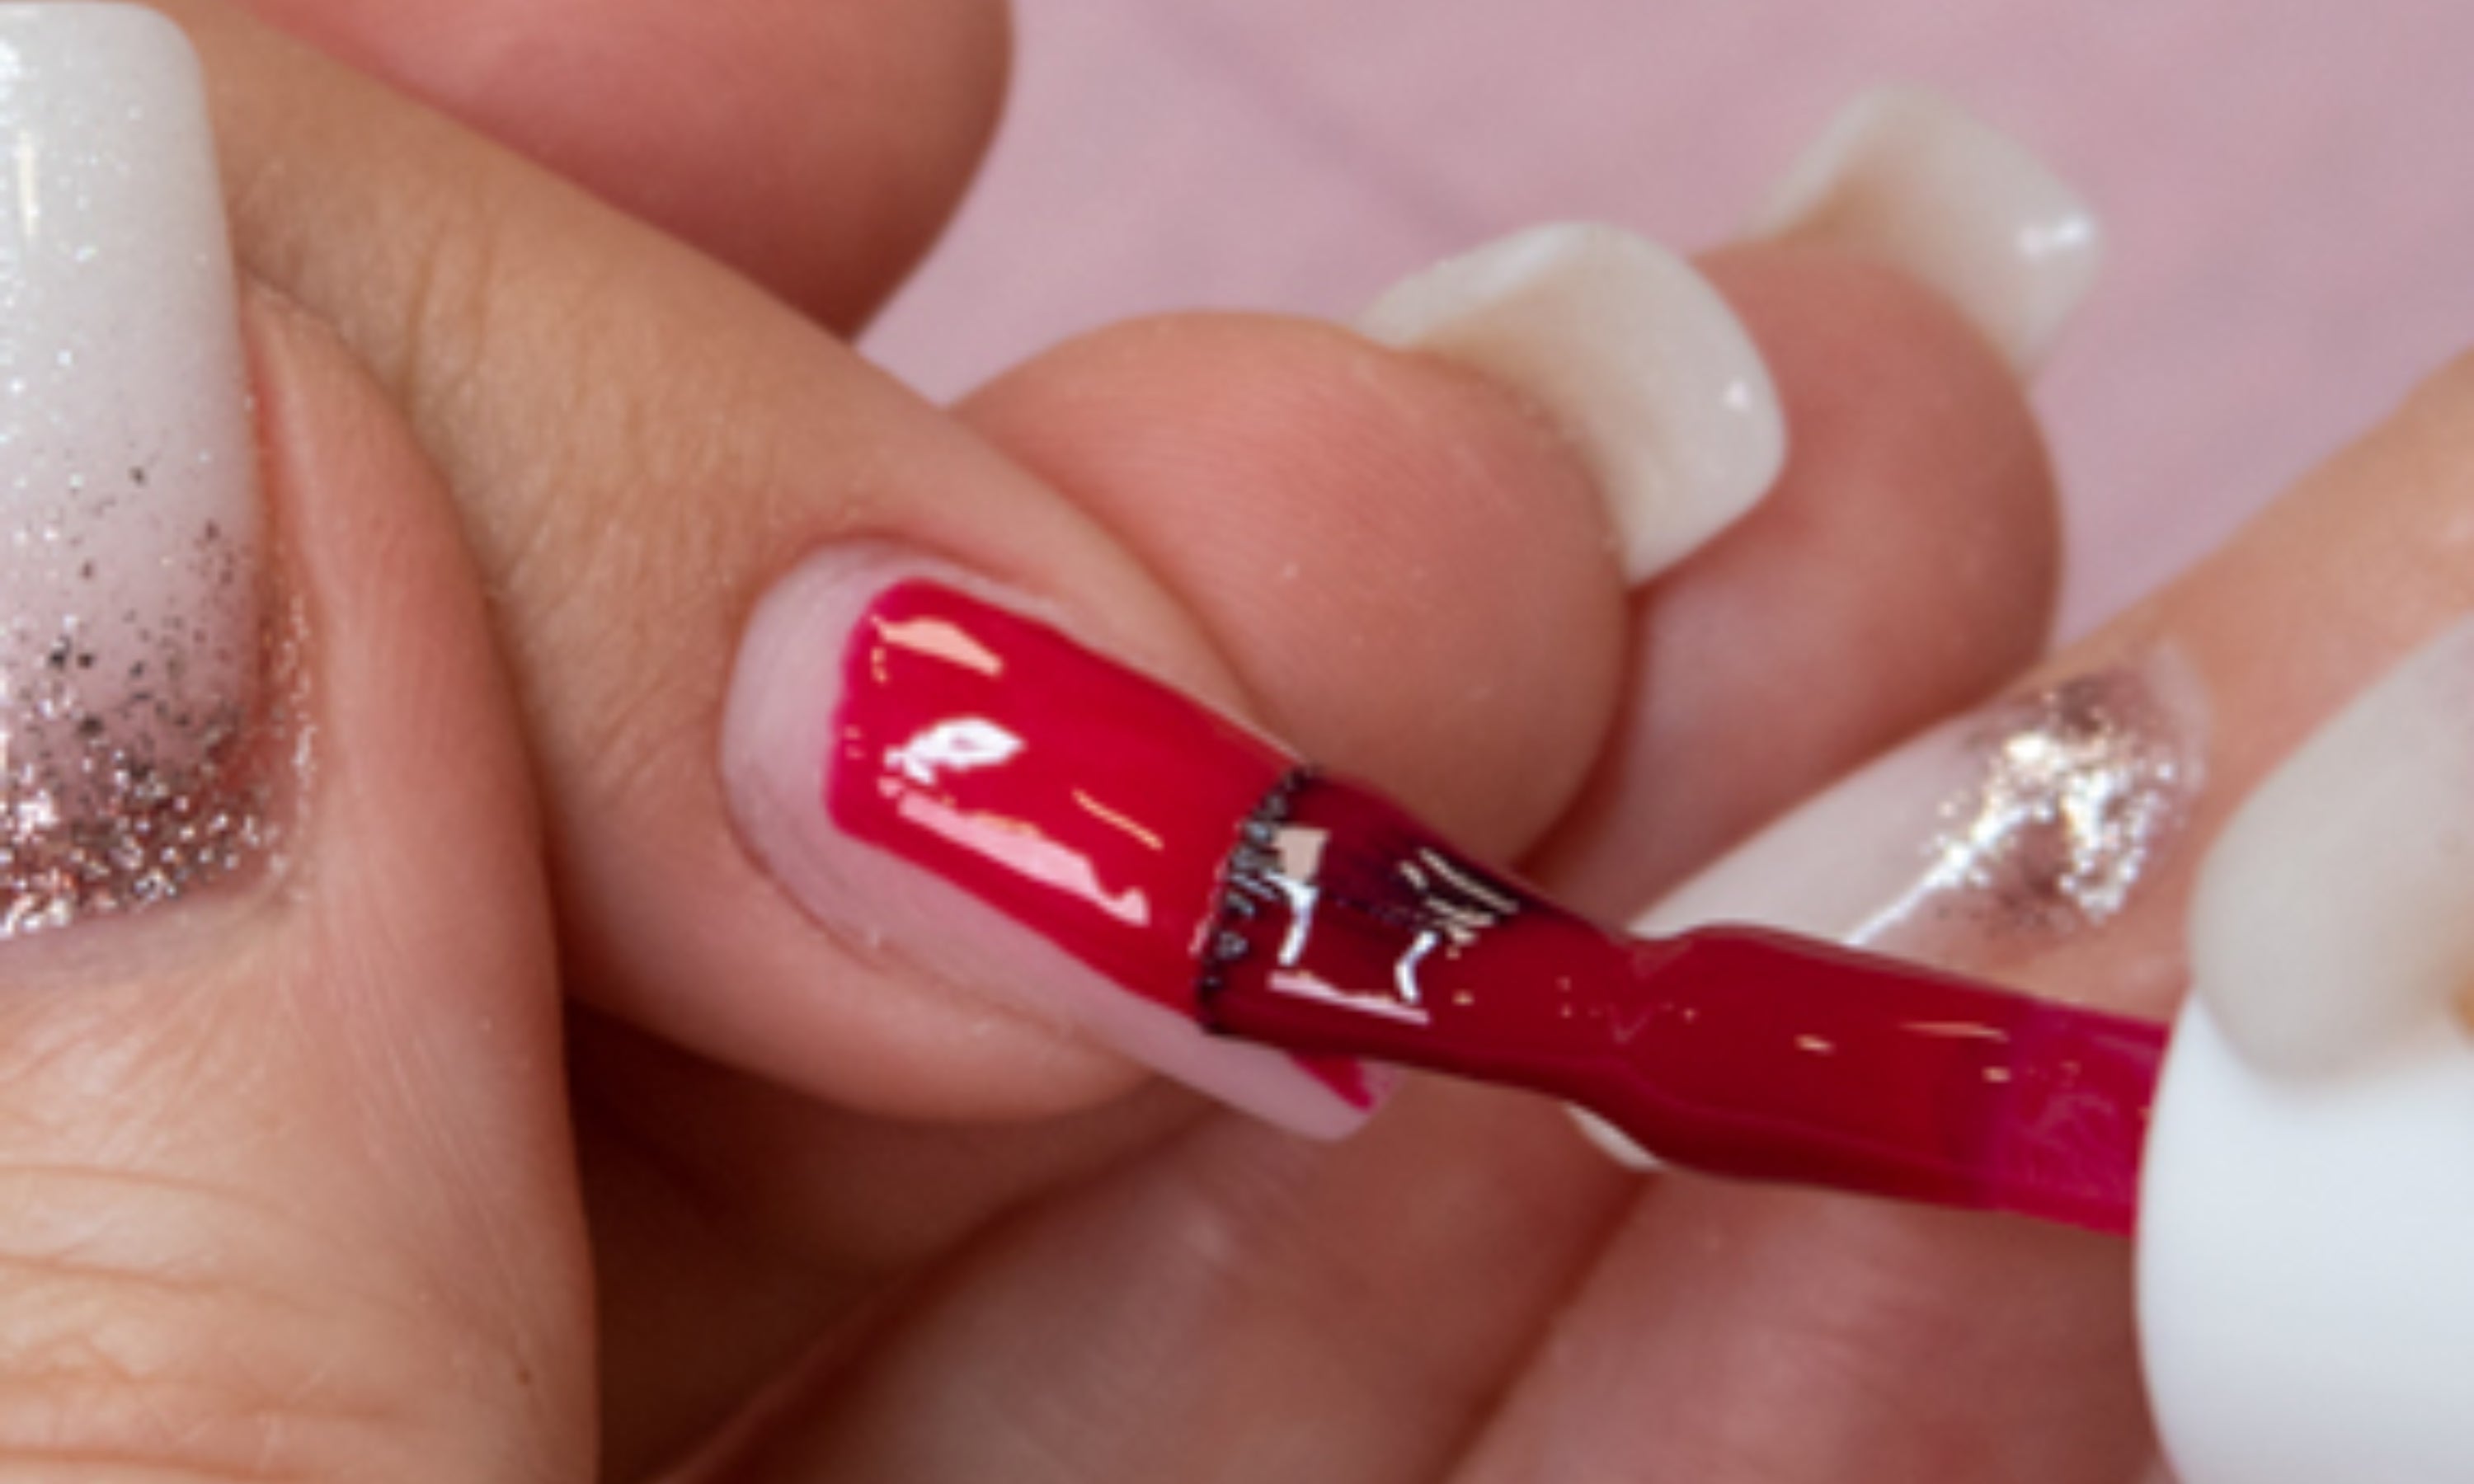
23. Color: Apply a thin layer of color. It is recommended to apply finger by finger and dry for a few seconds to prevent it from moving. Once the entire coat is finished, dry for the recommended time.
Dry in lamp: UV/LED–60 sec / UV–2 min.
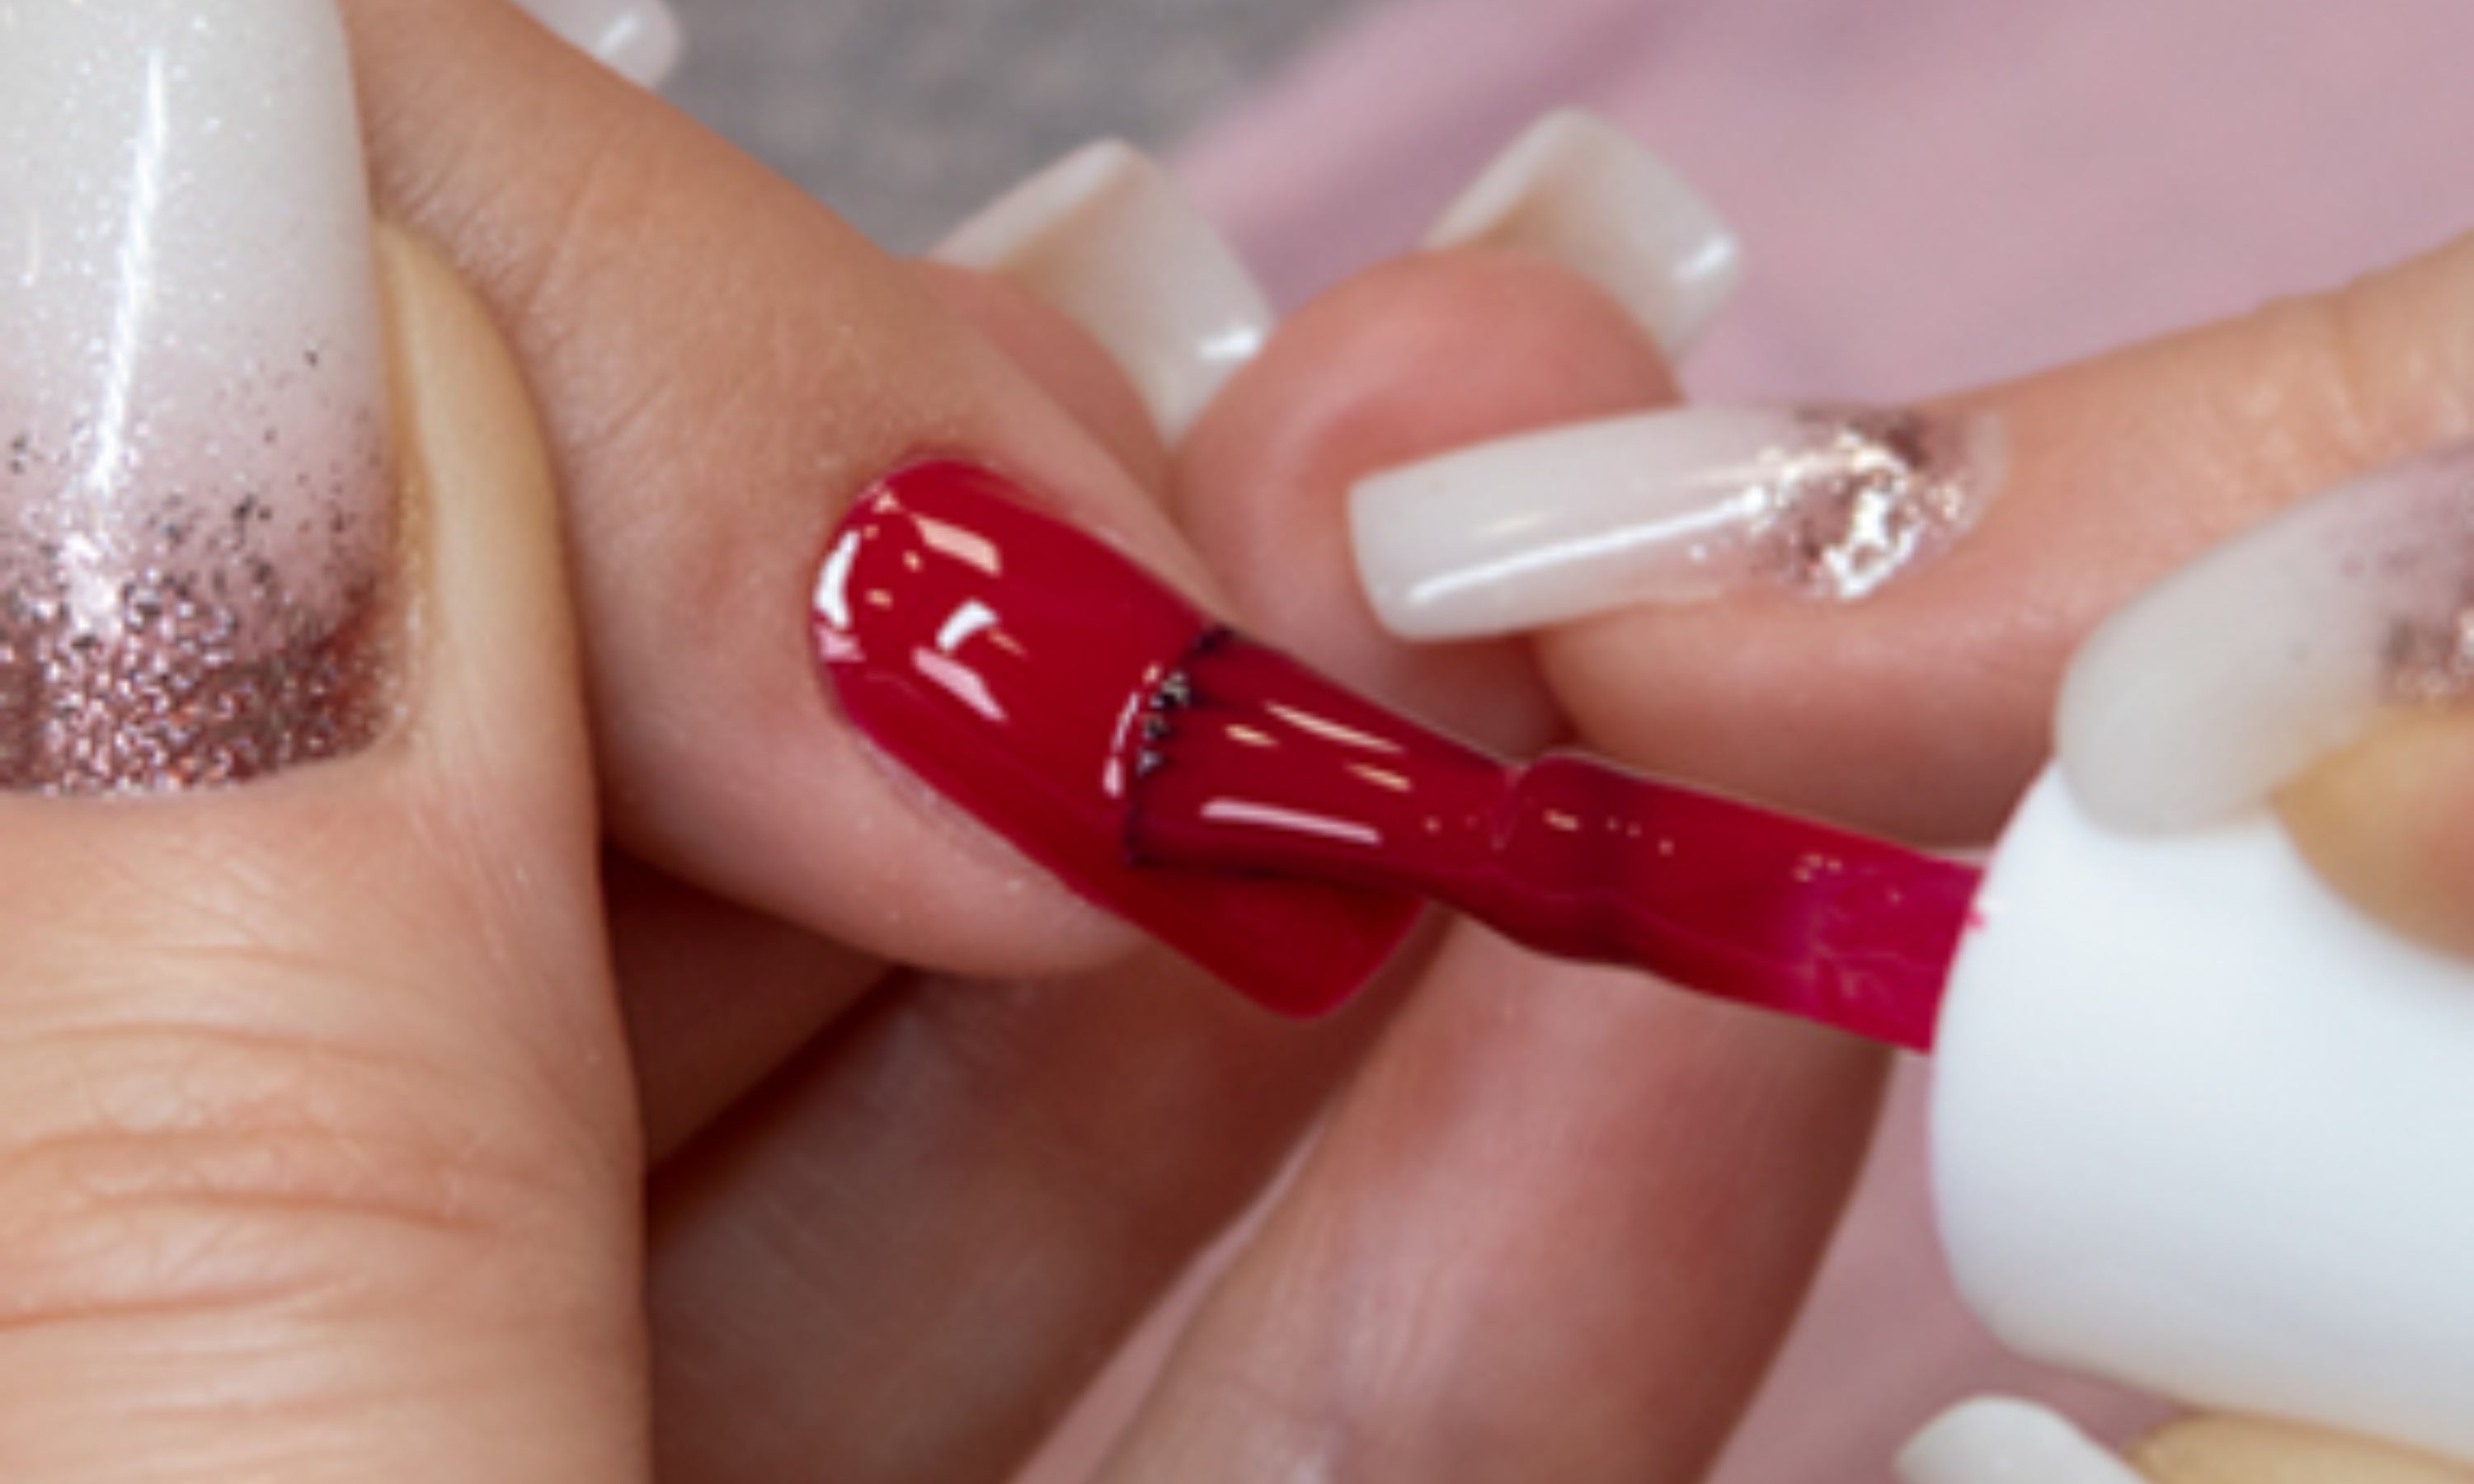
24. Color: Apply a second coat of color to give a perfect finish and more intensity. This coat can be a little thicker than the first, but do not overdo it. If it is too thick, the color may wrinkle in the lamp.
Dry in lamp: UV/LED–60 sec / UV–2 min.
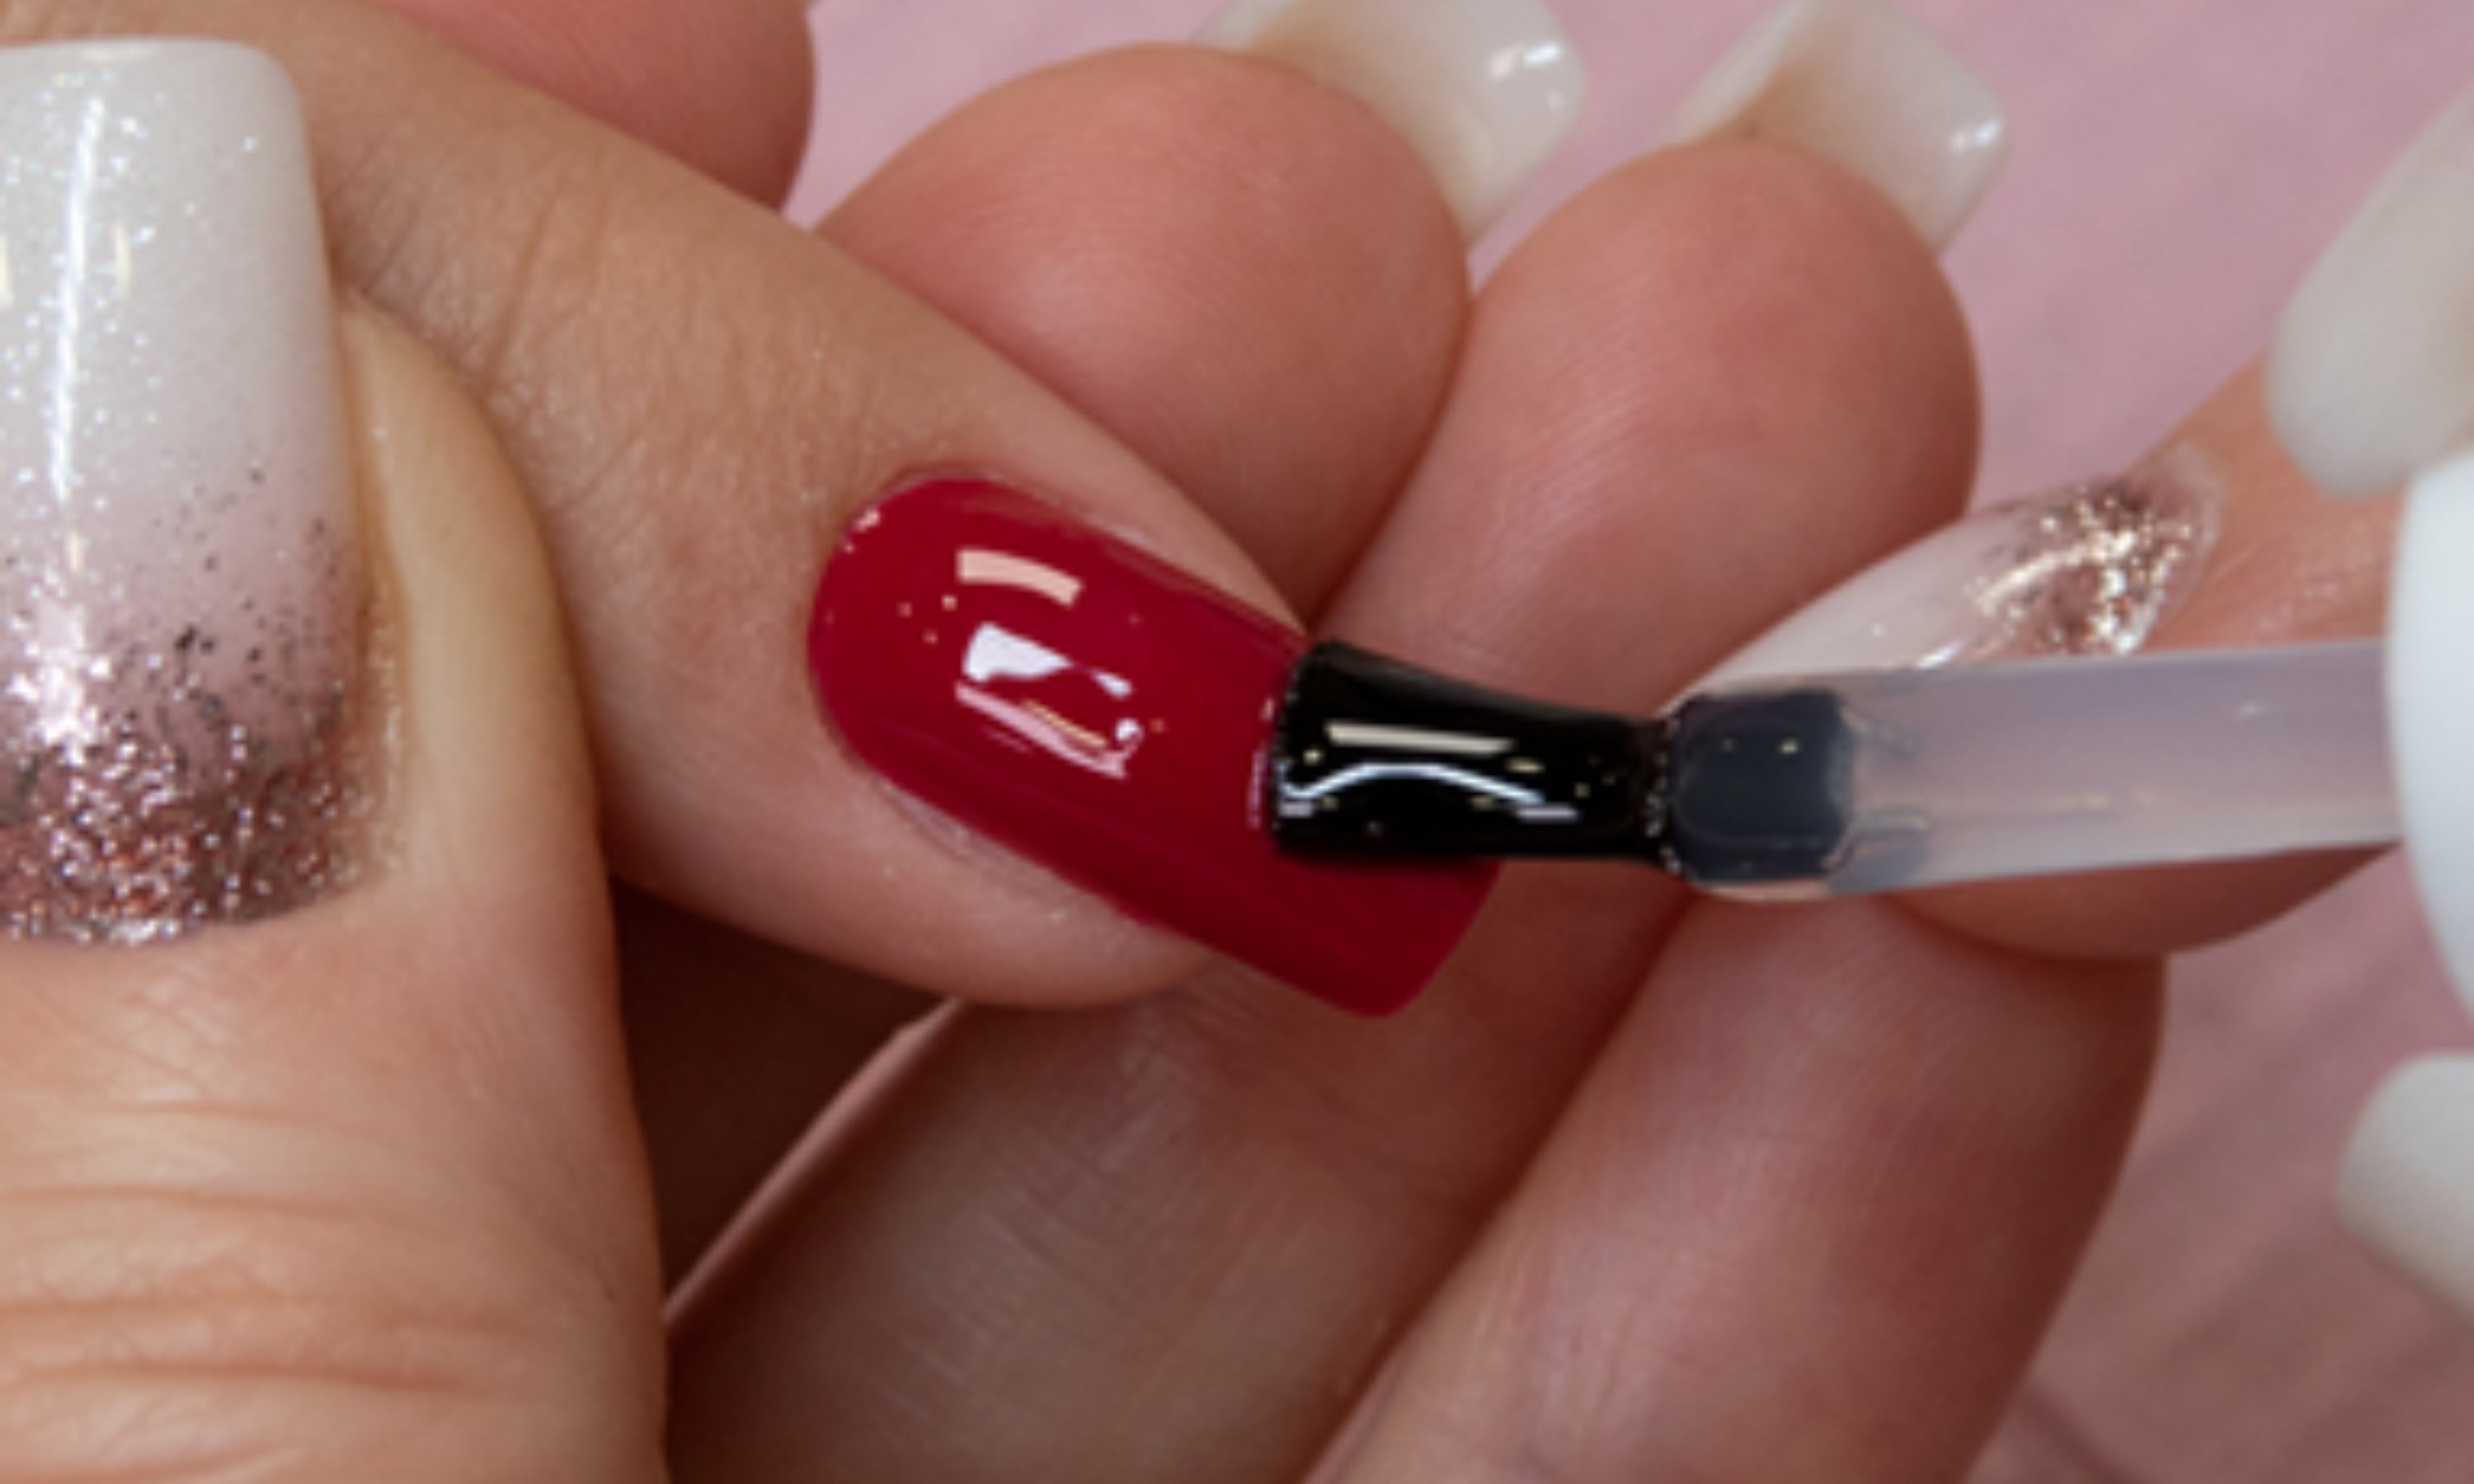
25. Final shine: Apply Crystal Top Gel for shine to the nails.
Dry in lamp: UV/LED – 60 sec / UV – 2 min
If necessary, remove the sticky layer of the finisher with Cleaner. For a perfect finish, add cuticle oil.
Polygel Basic Products
FAQ ABOUT POLYGEL NAILS?
The main difference between gel and polygel is the way they are processed. Gel has a viscosity that allows the product to be modelled without the need to add a solution. On the other hand, polygel requires a solution that allows the product to be modelled, as it has a much higher viscosity.
Yes, once the polygel build is complete you can color it with a color gel, a permanent polish and even an air-dry polish.
To work with polygel, it is recommended to apply the Ultra-Bond Primer (acid-free).
To finish a polygel manicure we can use the following glitters:
- Crystal Top Gel : Extra shiny and long-lasting finishing gloss, without sticky layer. Prevents nails from staining or yellowing.
- Base & Gloss : permanent lamp-drying polish gloss with a sticky layer.
- Top Gloss : permanent nail polish gloss that dries under a lamp with a sticky layer (ideal for light colours).
- Diamond Gloss : finishing gloss with fine diamond glitter sparkles, ideal for any permanent, gel or acrylic nail polish colour. Once dried in the lamp, it does not leave an excess layer.
- Matt Top Coat : velvety effect finisher to apply over any gel, acrylic or permanent polish color.
For correct application and durability, it is recommended to work with Polygel Premium Solution .
It is not necessary, but you can apply a layer of Volume Base Clear to improve the adhesion of the polygel.


