Gel nail instructions
Learn how to apply and remove permanent nail polishes with the step-by-step instructions below. For more information on this technique, you can watch our video tutorial and discover which semi-permanent nail products you need to achieve an impeccable manicure.
Gel nail instructions with tips
Gel nail instructions with molds
WHAT ARE GEL NAILS?
In the world of manicure, UV gel is a product used both for nail extensions and to reinforce natural nails. It is a type of resin that hardens when exposed to LED or UV light.
When the goal is to lengthen the natural nail, UV Gel allows the nail to be extended using tips or molds, resulting in a resistant and long-lasting manicure. This technique allows any shape or length of nail to be achieved due to its versatility.
Gel nails are compatible with any type of decoration and, generally, the duration of this technique is between 2 and 4 weeks.
HOW TO DO GEL NAILS?
To make gel nails, it is very important to start by properly preparing the natural nail in order to increase the adhesion of the products that will be applied during the manicure process. Once this step is done, it is time to extend the nail, which can be done using tips or molds. Whatever method you prefer, make sure you follow all the steps to make gel nails that we leave you below.
HOW LONG DO GEL NAILS LAST?
Gel nails usually last from 2 to 4 weeks. With proper nail preparation, good execution of the technique and the use of quality products, gel nails can last up to 4 weeks without the need for maintenance or touch-ups. The duration of a gel manicure will also depend on how fast the natural nail grows.
PREPARATION OF THE NATURAL NAIL
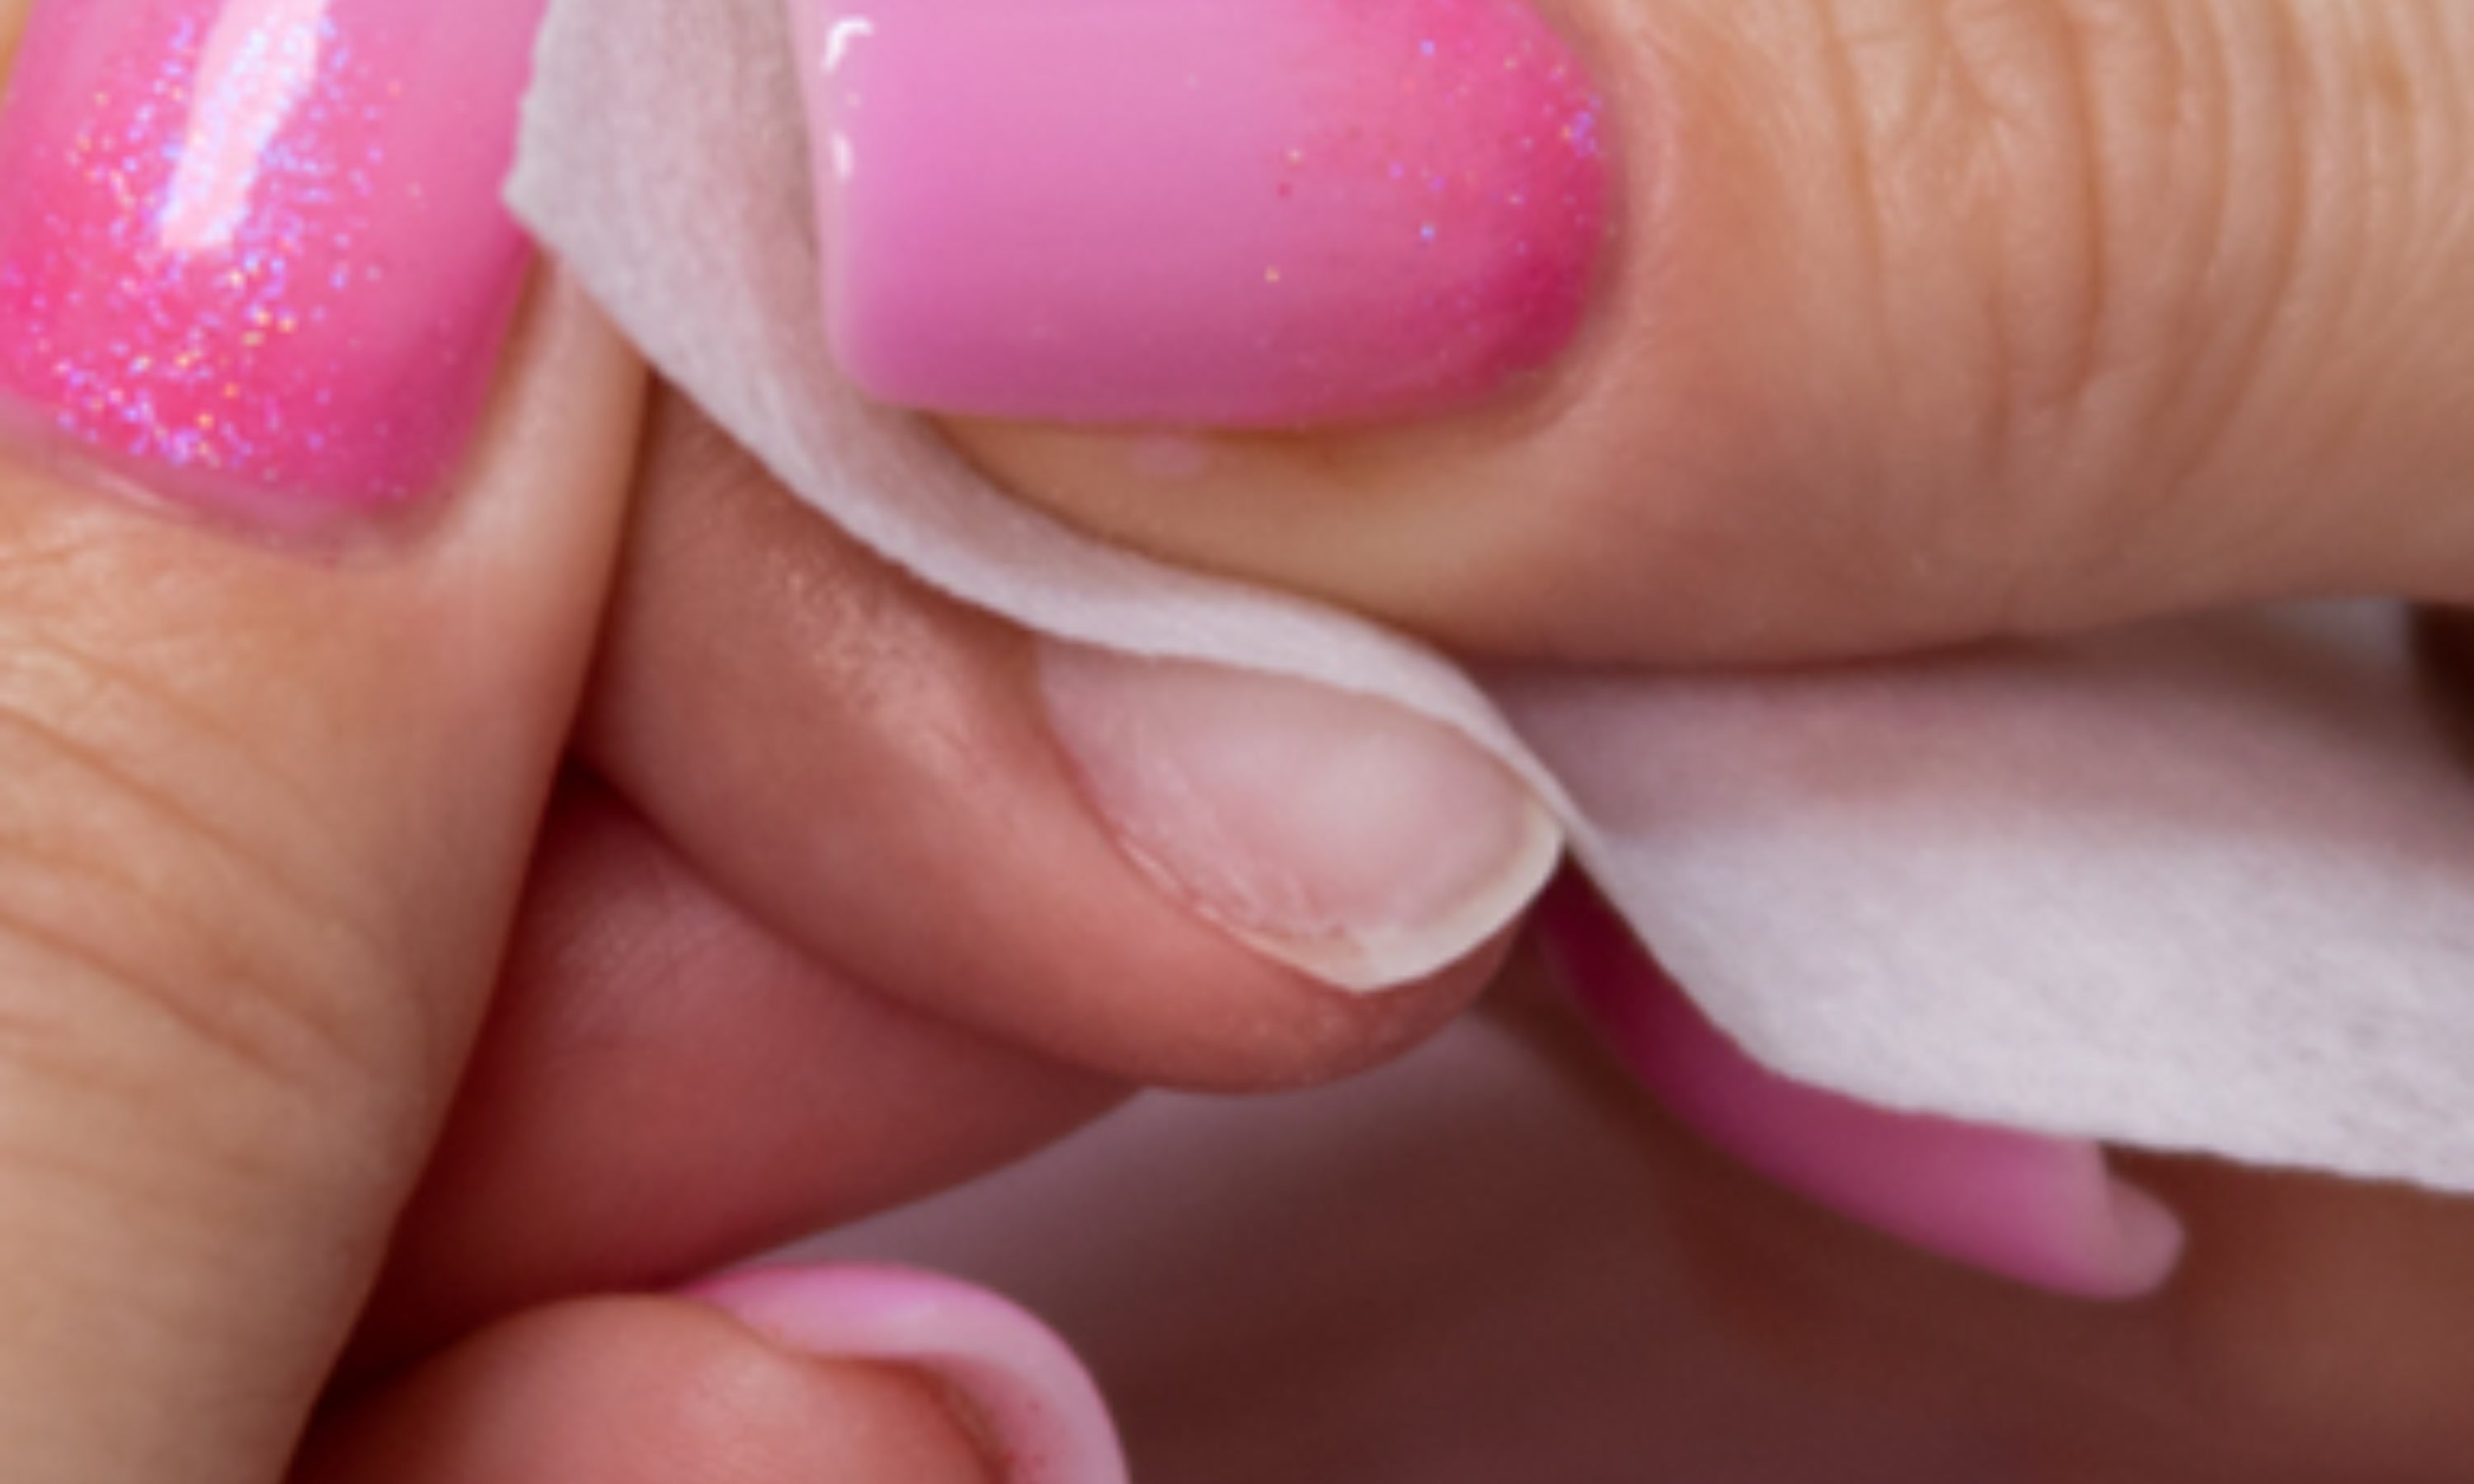
1. Disinfect nails with disinfectant or 90% alcohol soaked in cotton.
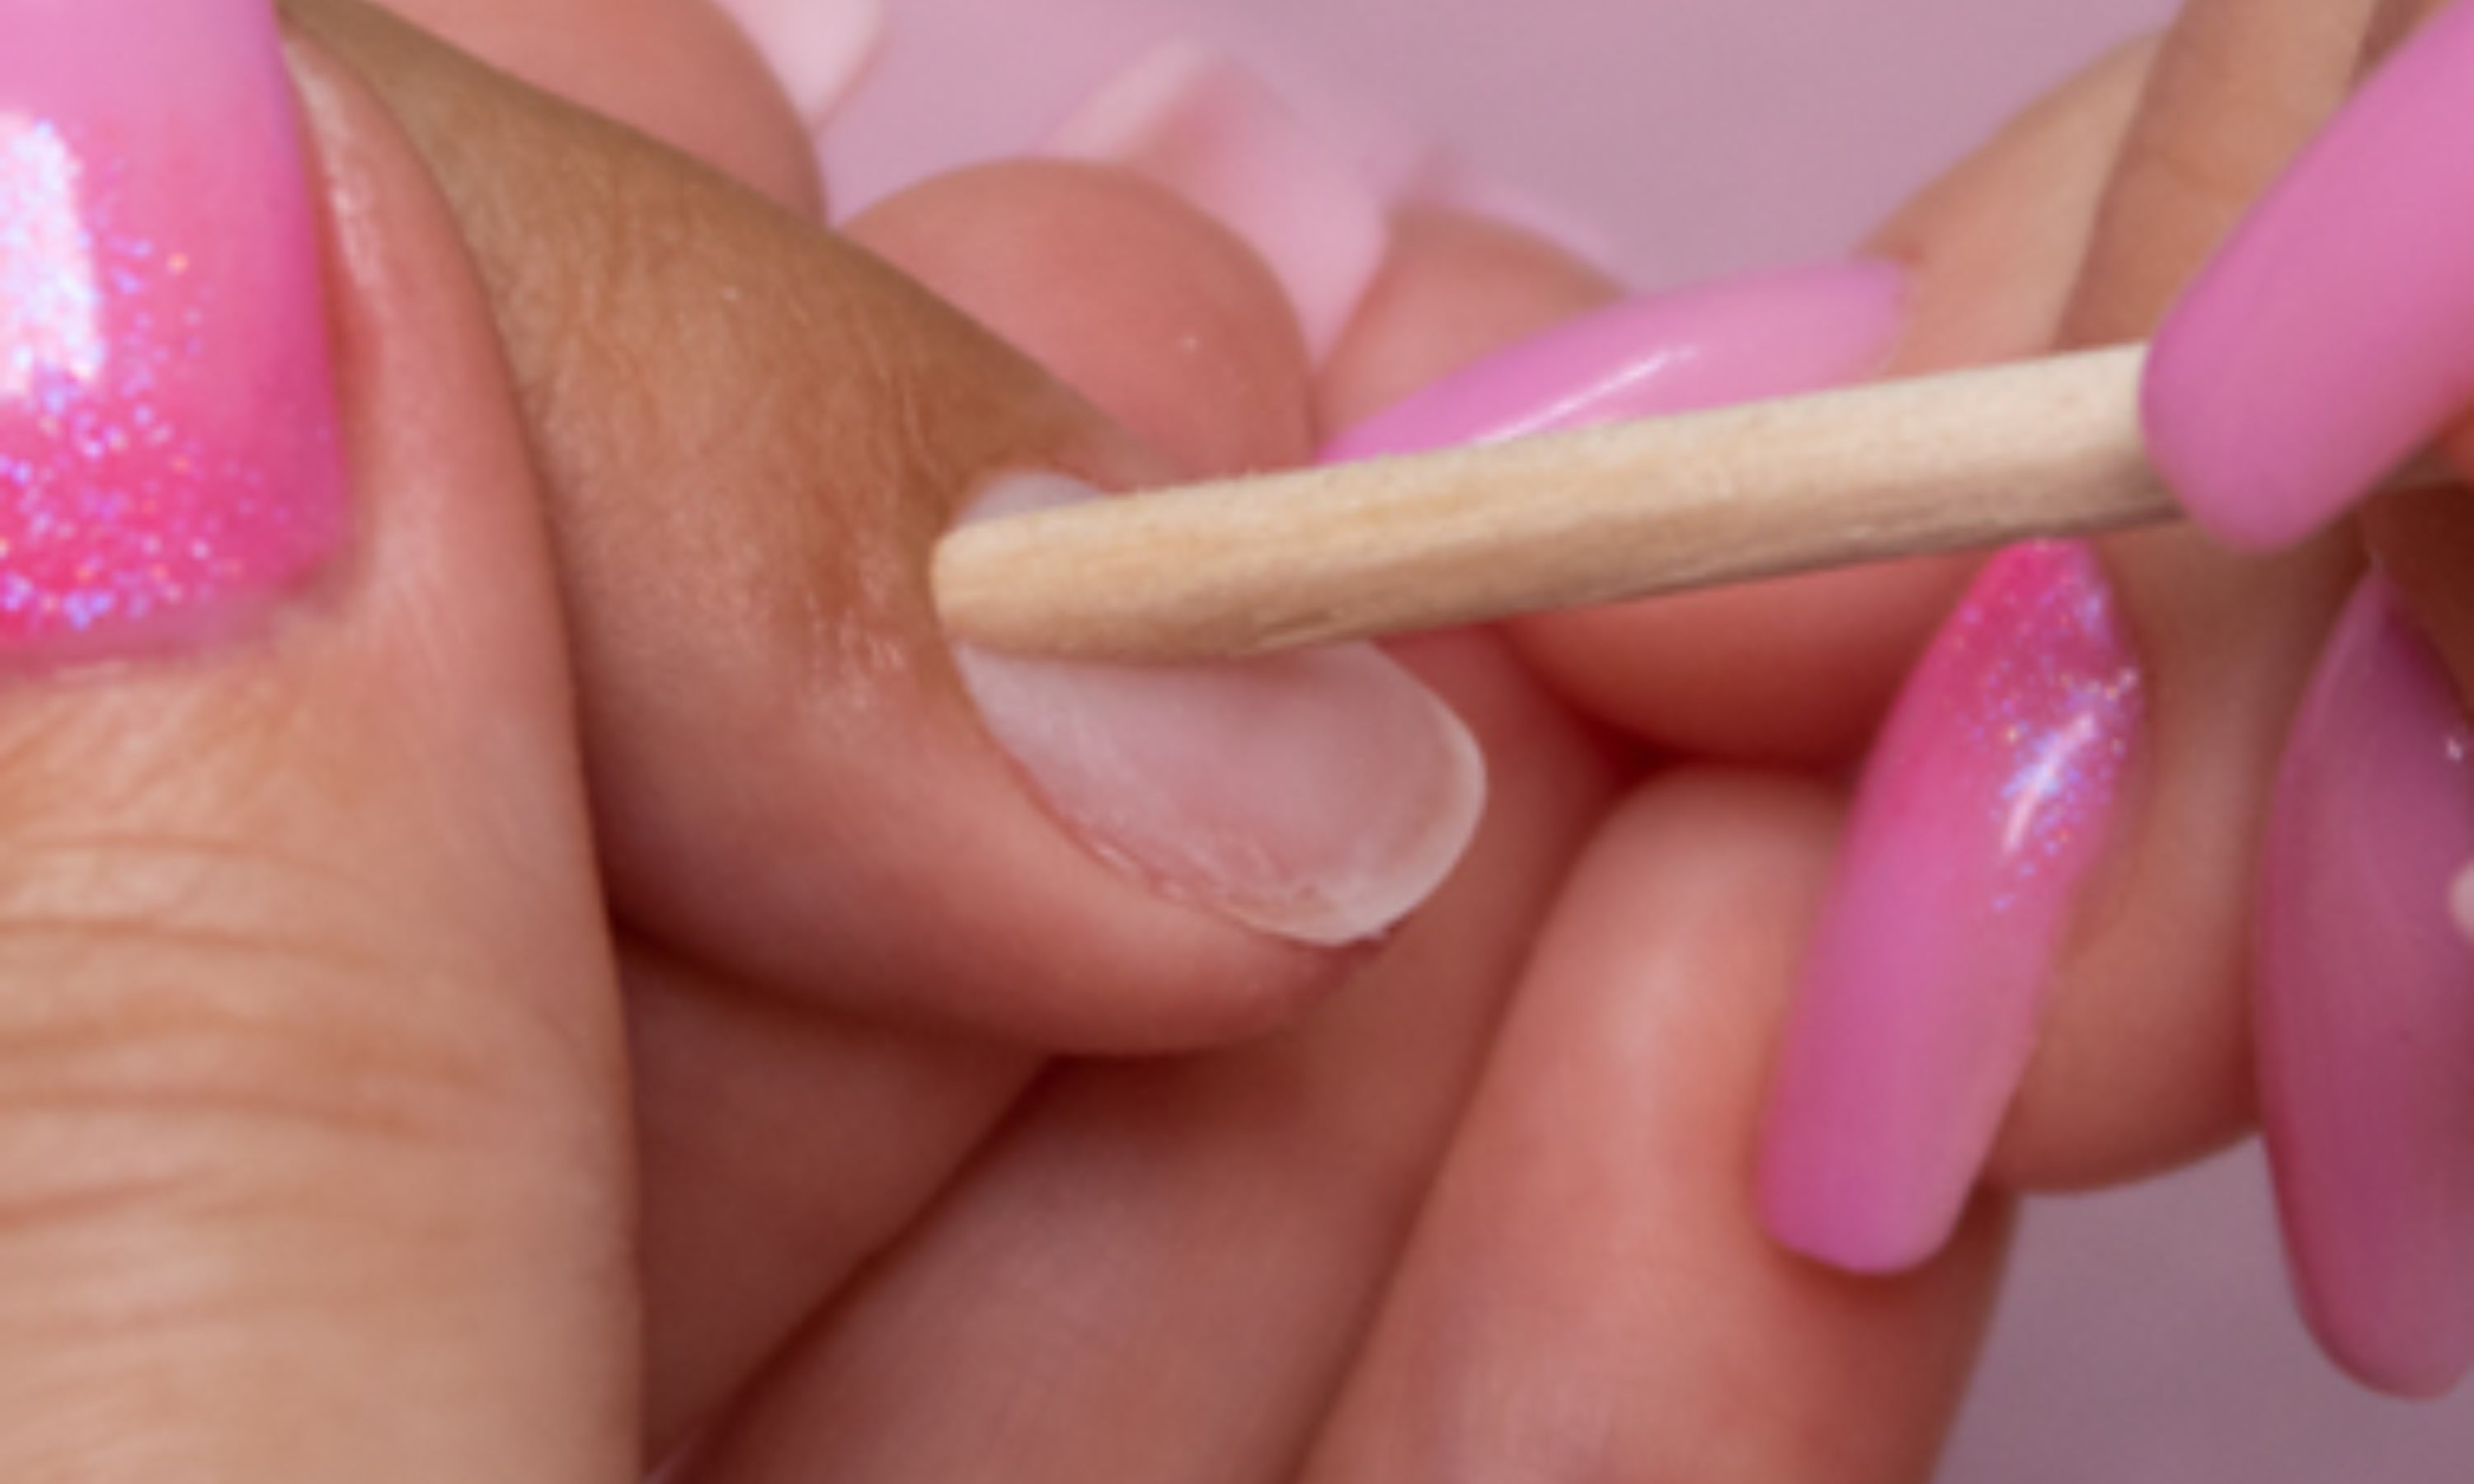
2. Push the cuticle back with an orange stick or cuticle pusher.
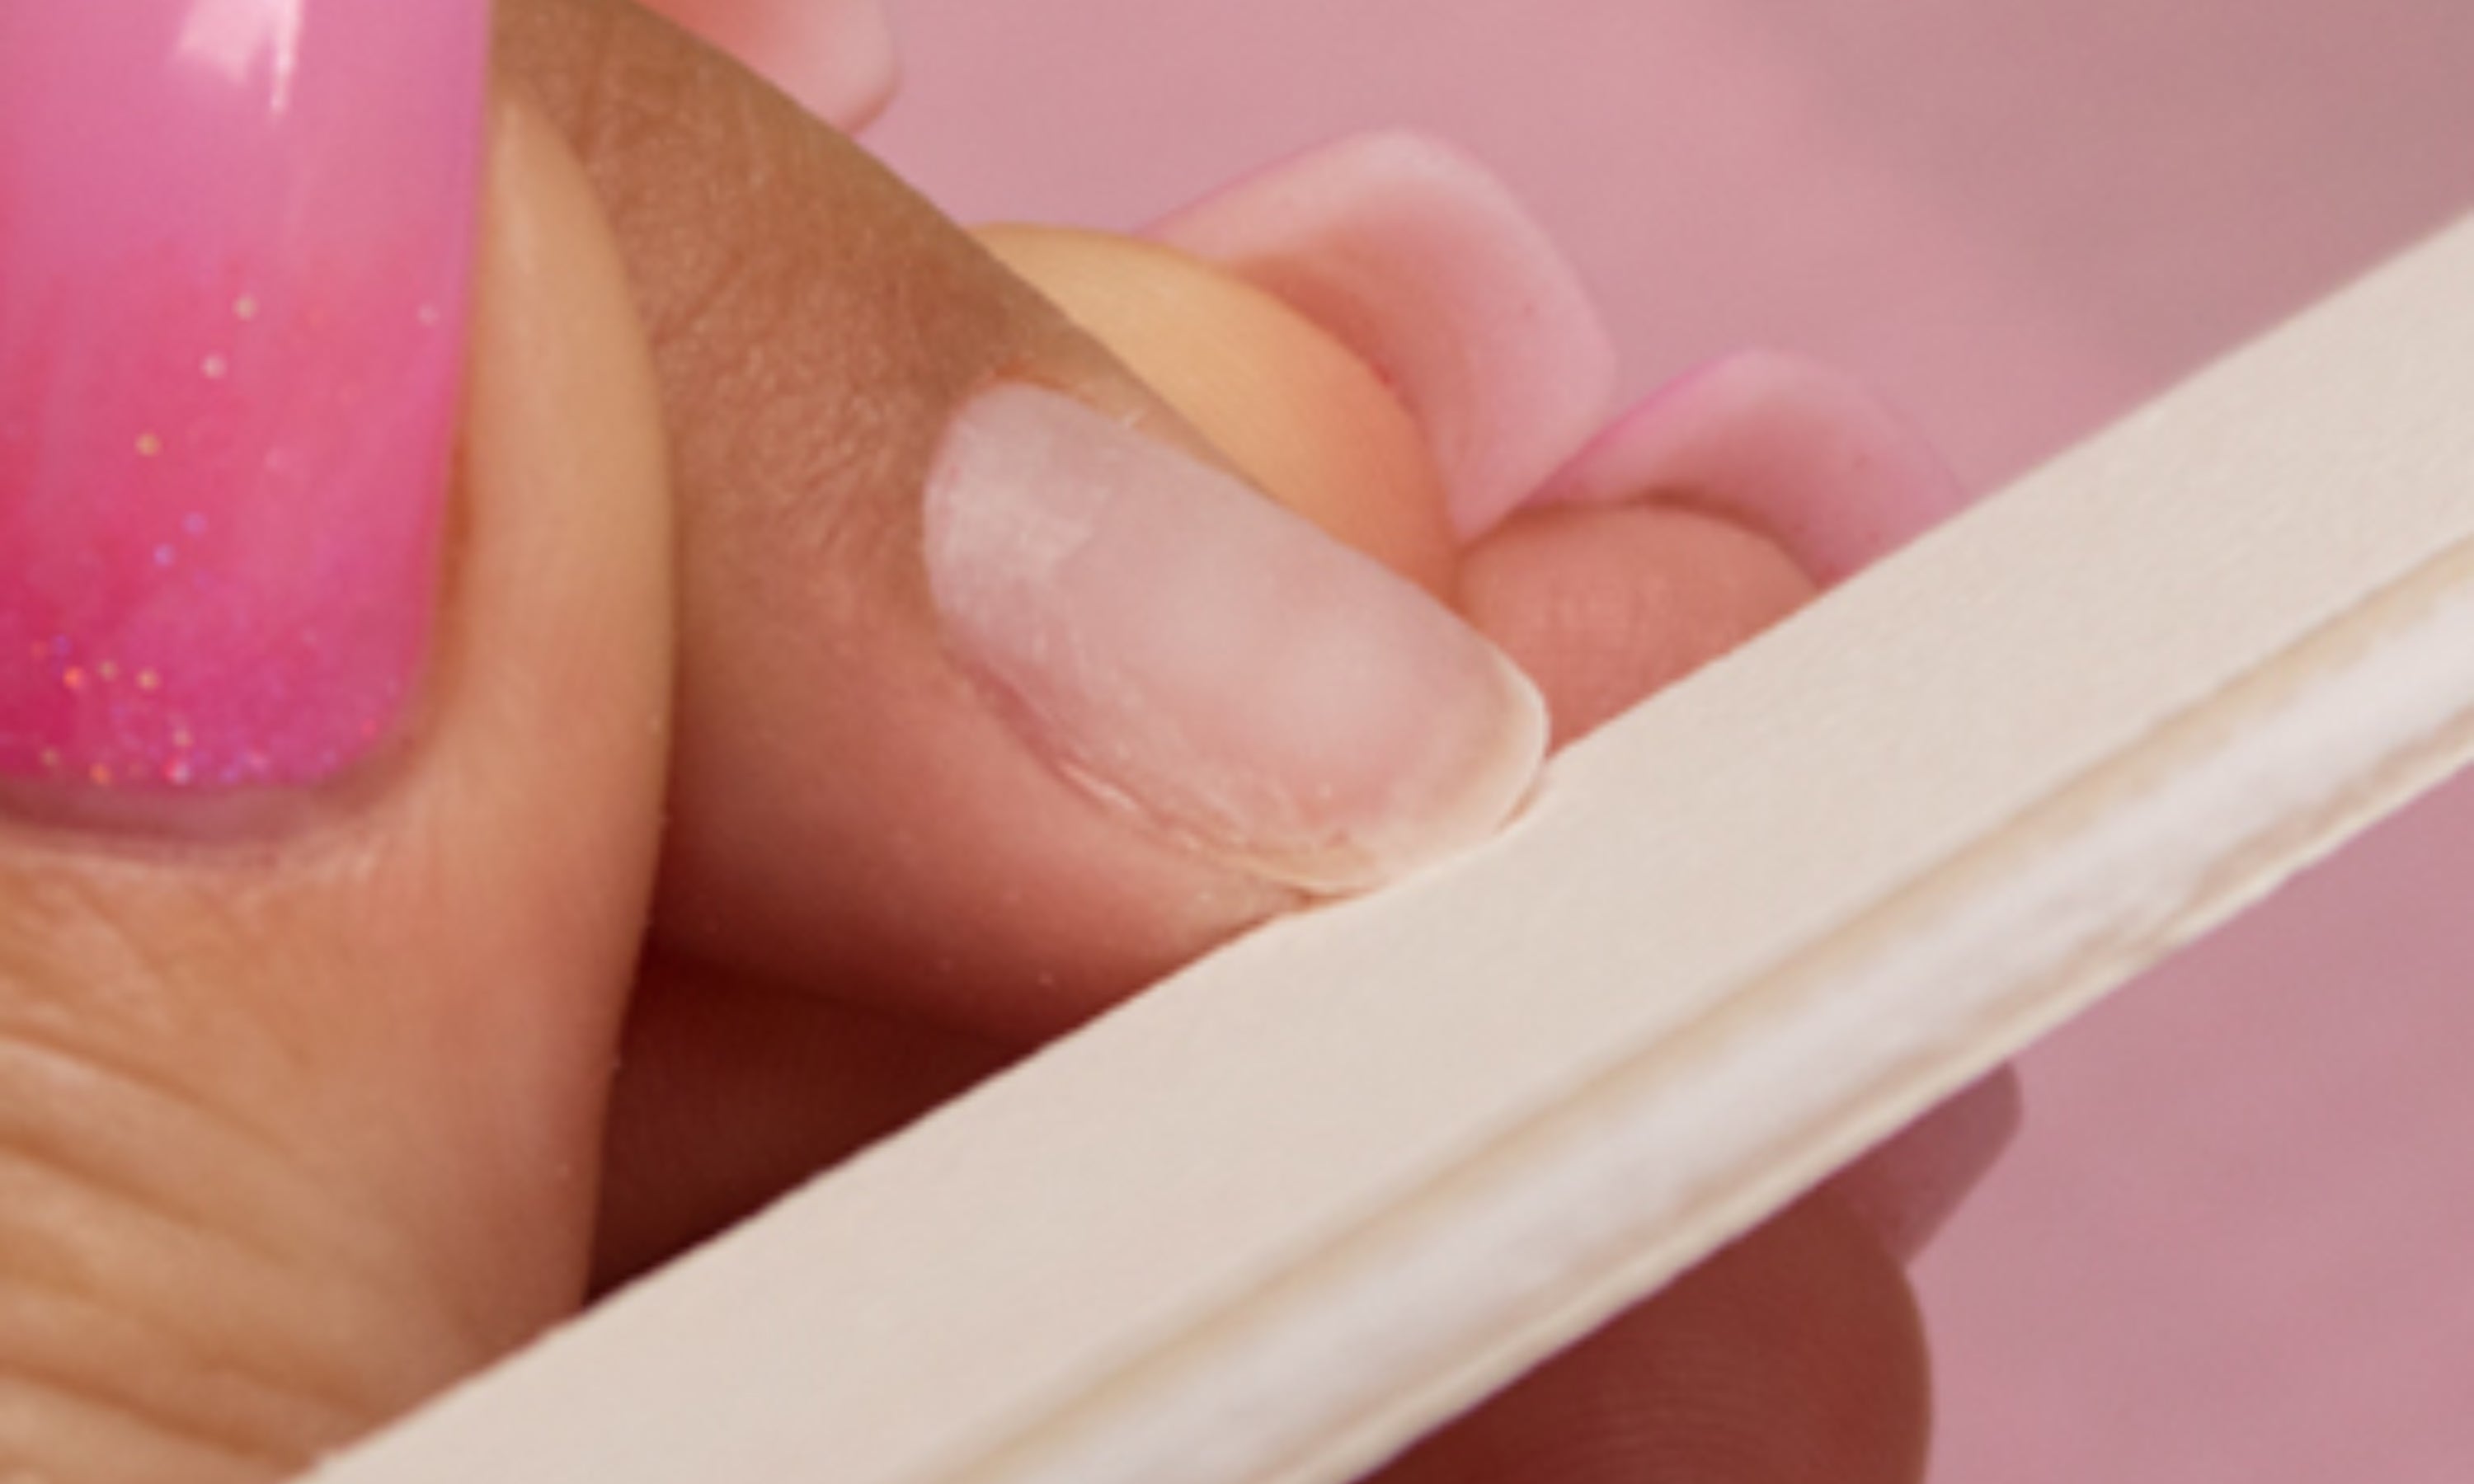
3. Shape the nail as desired. File the sides and cuticle area to remove any remaining skin.
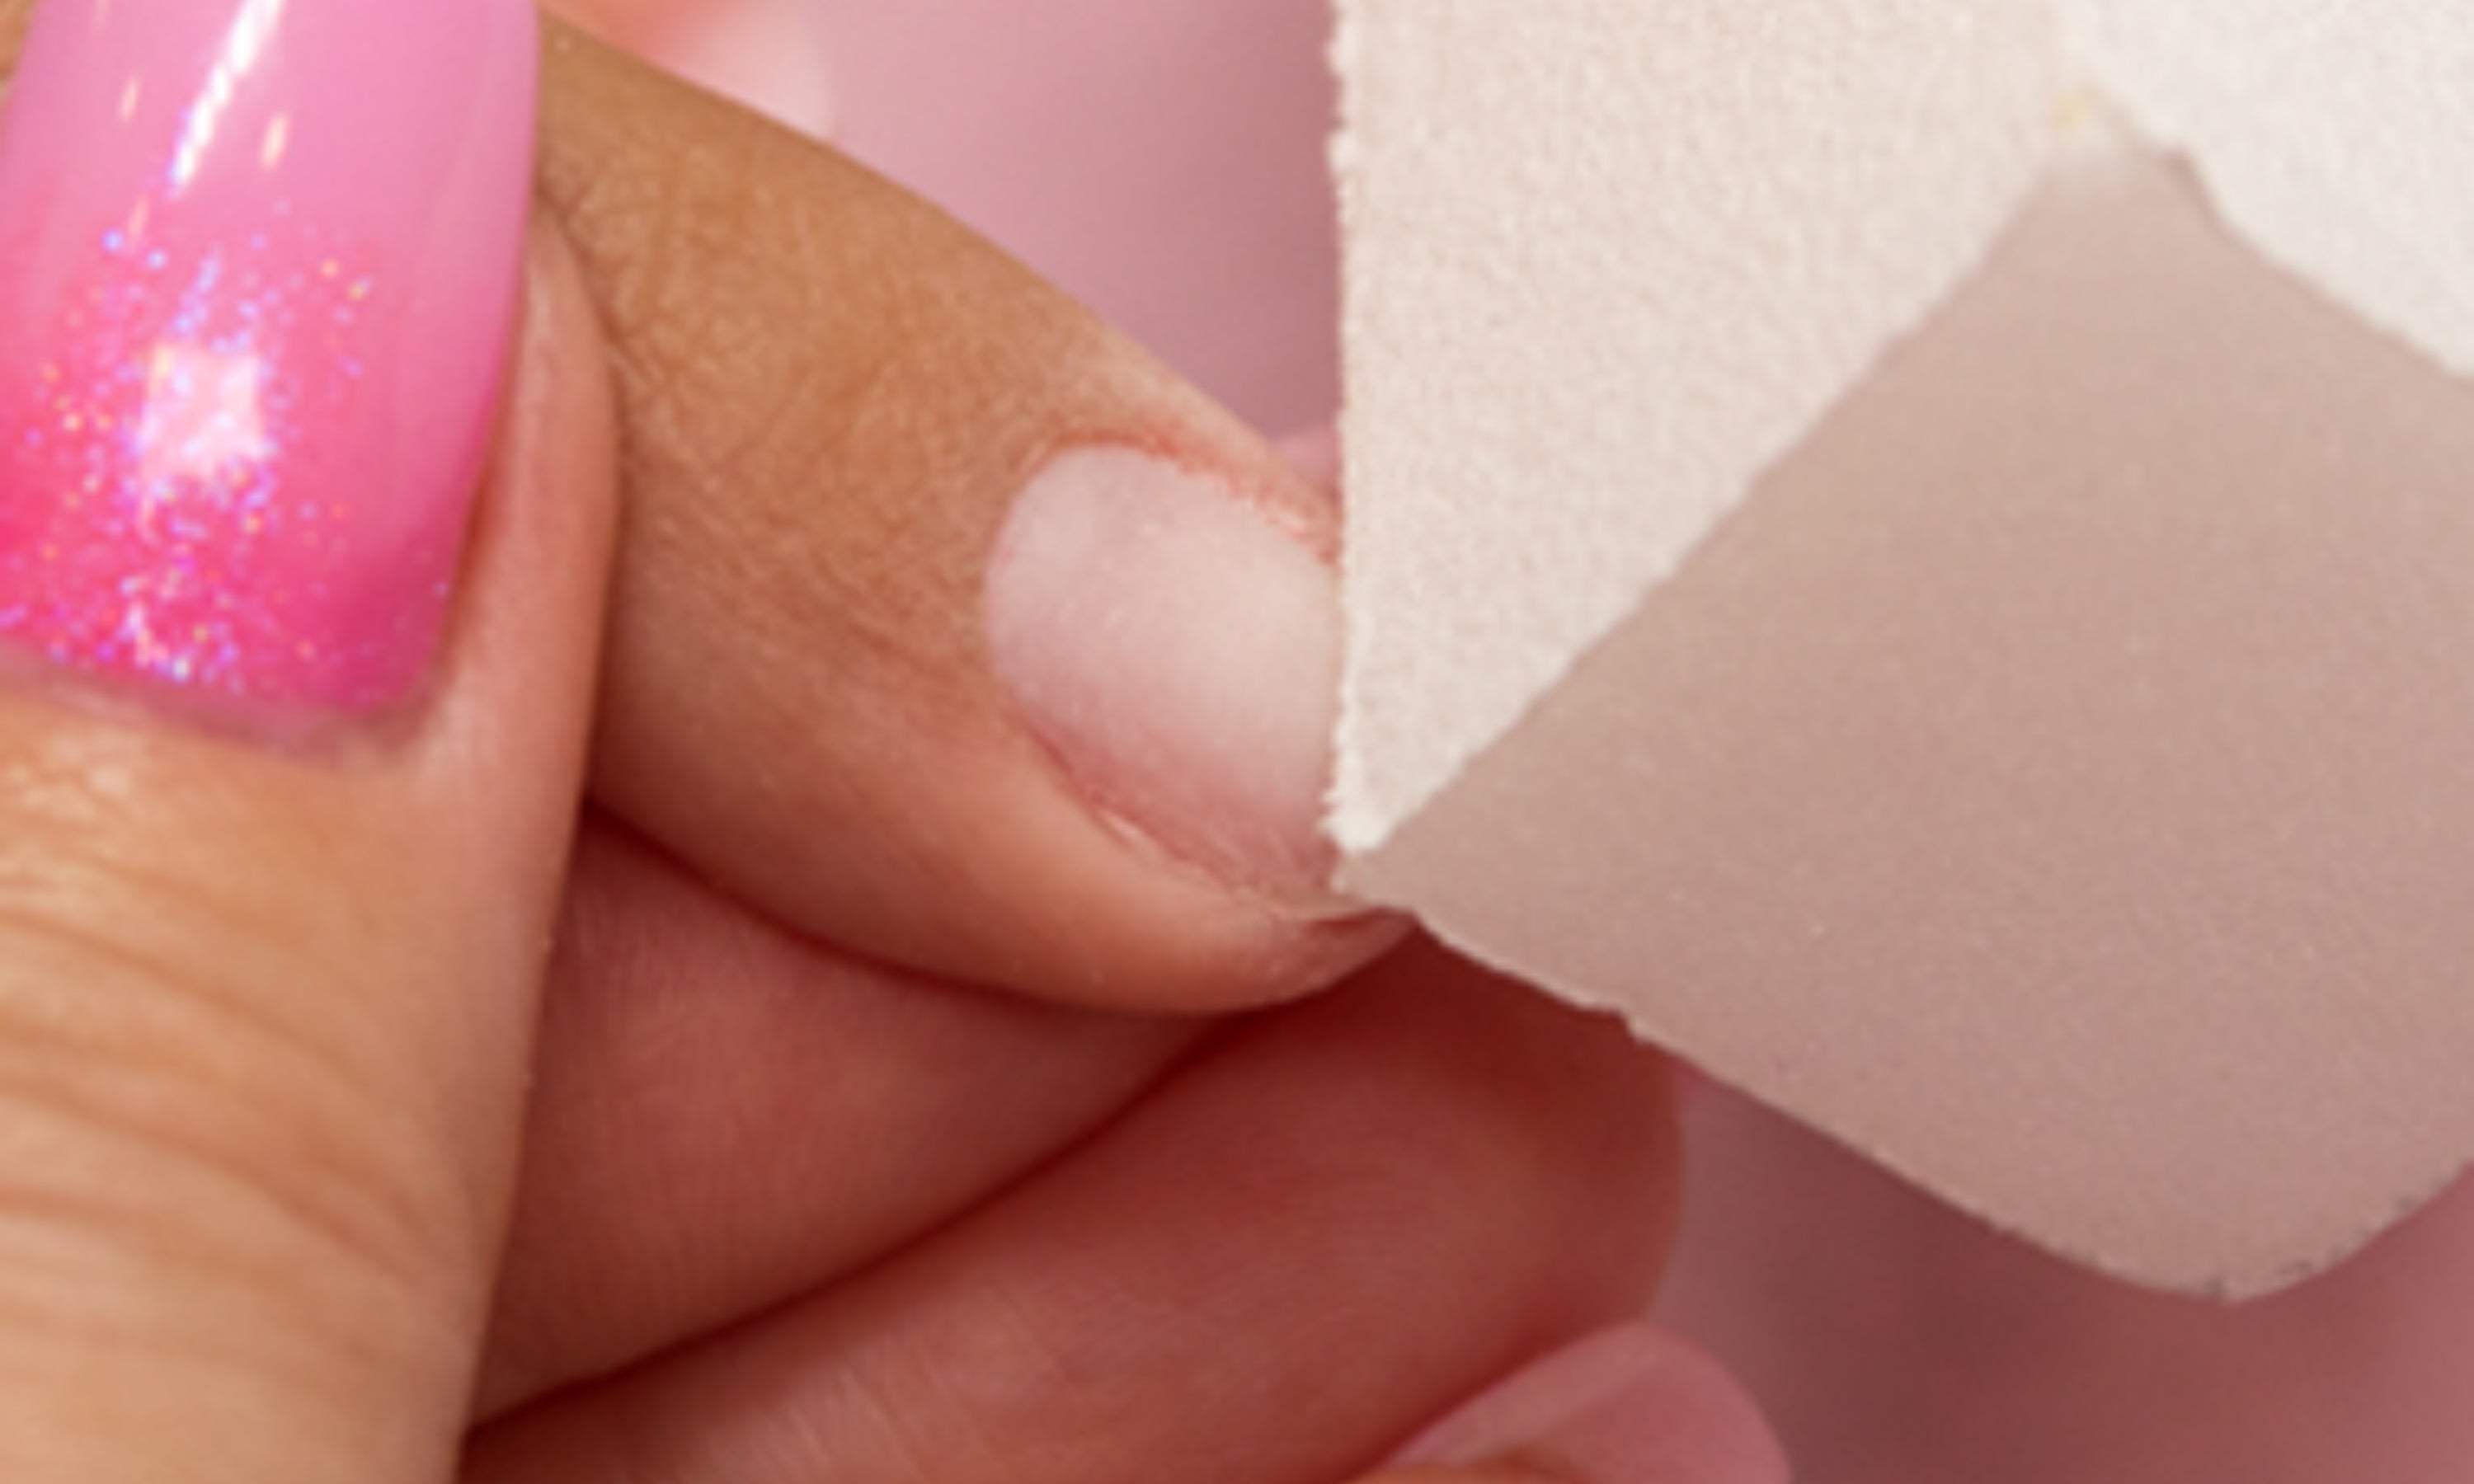
4. Remove the shine from the natural nail with the buffing block. This step is important to ensure the product adheres to the nail.
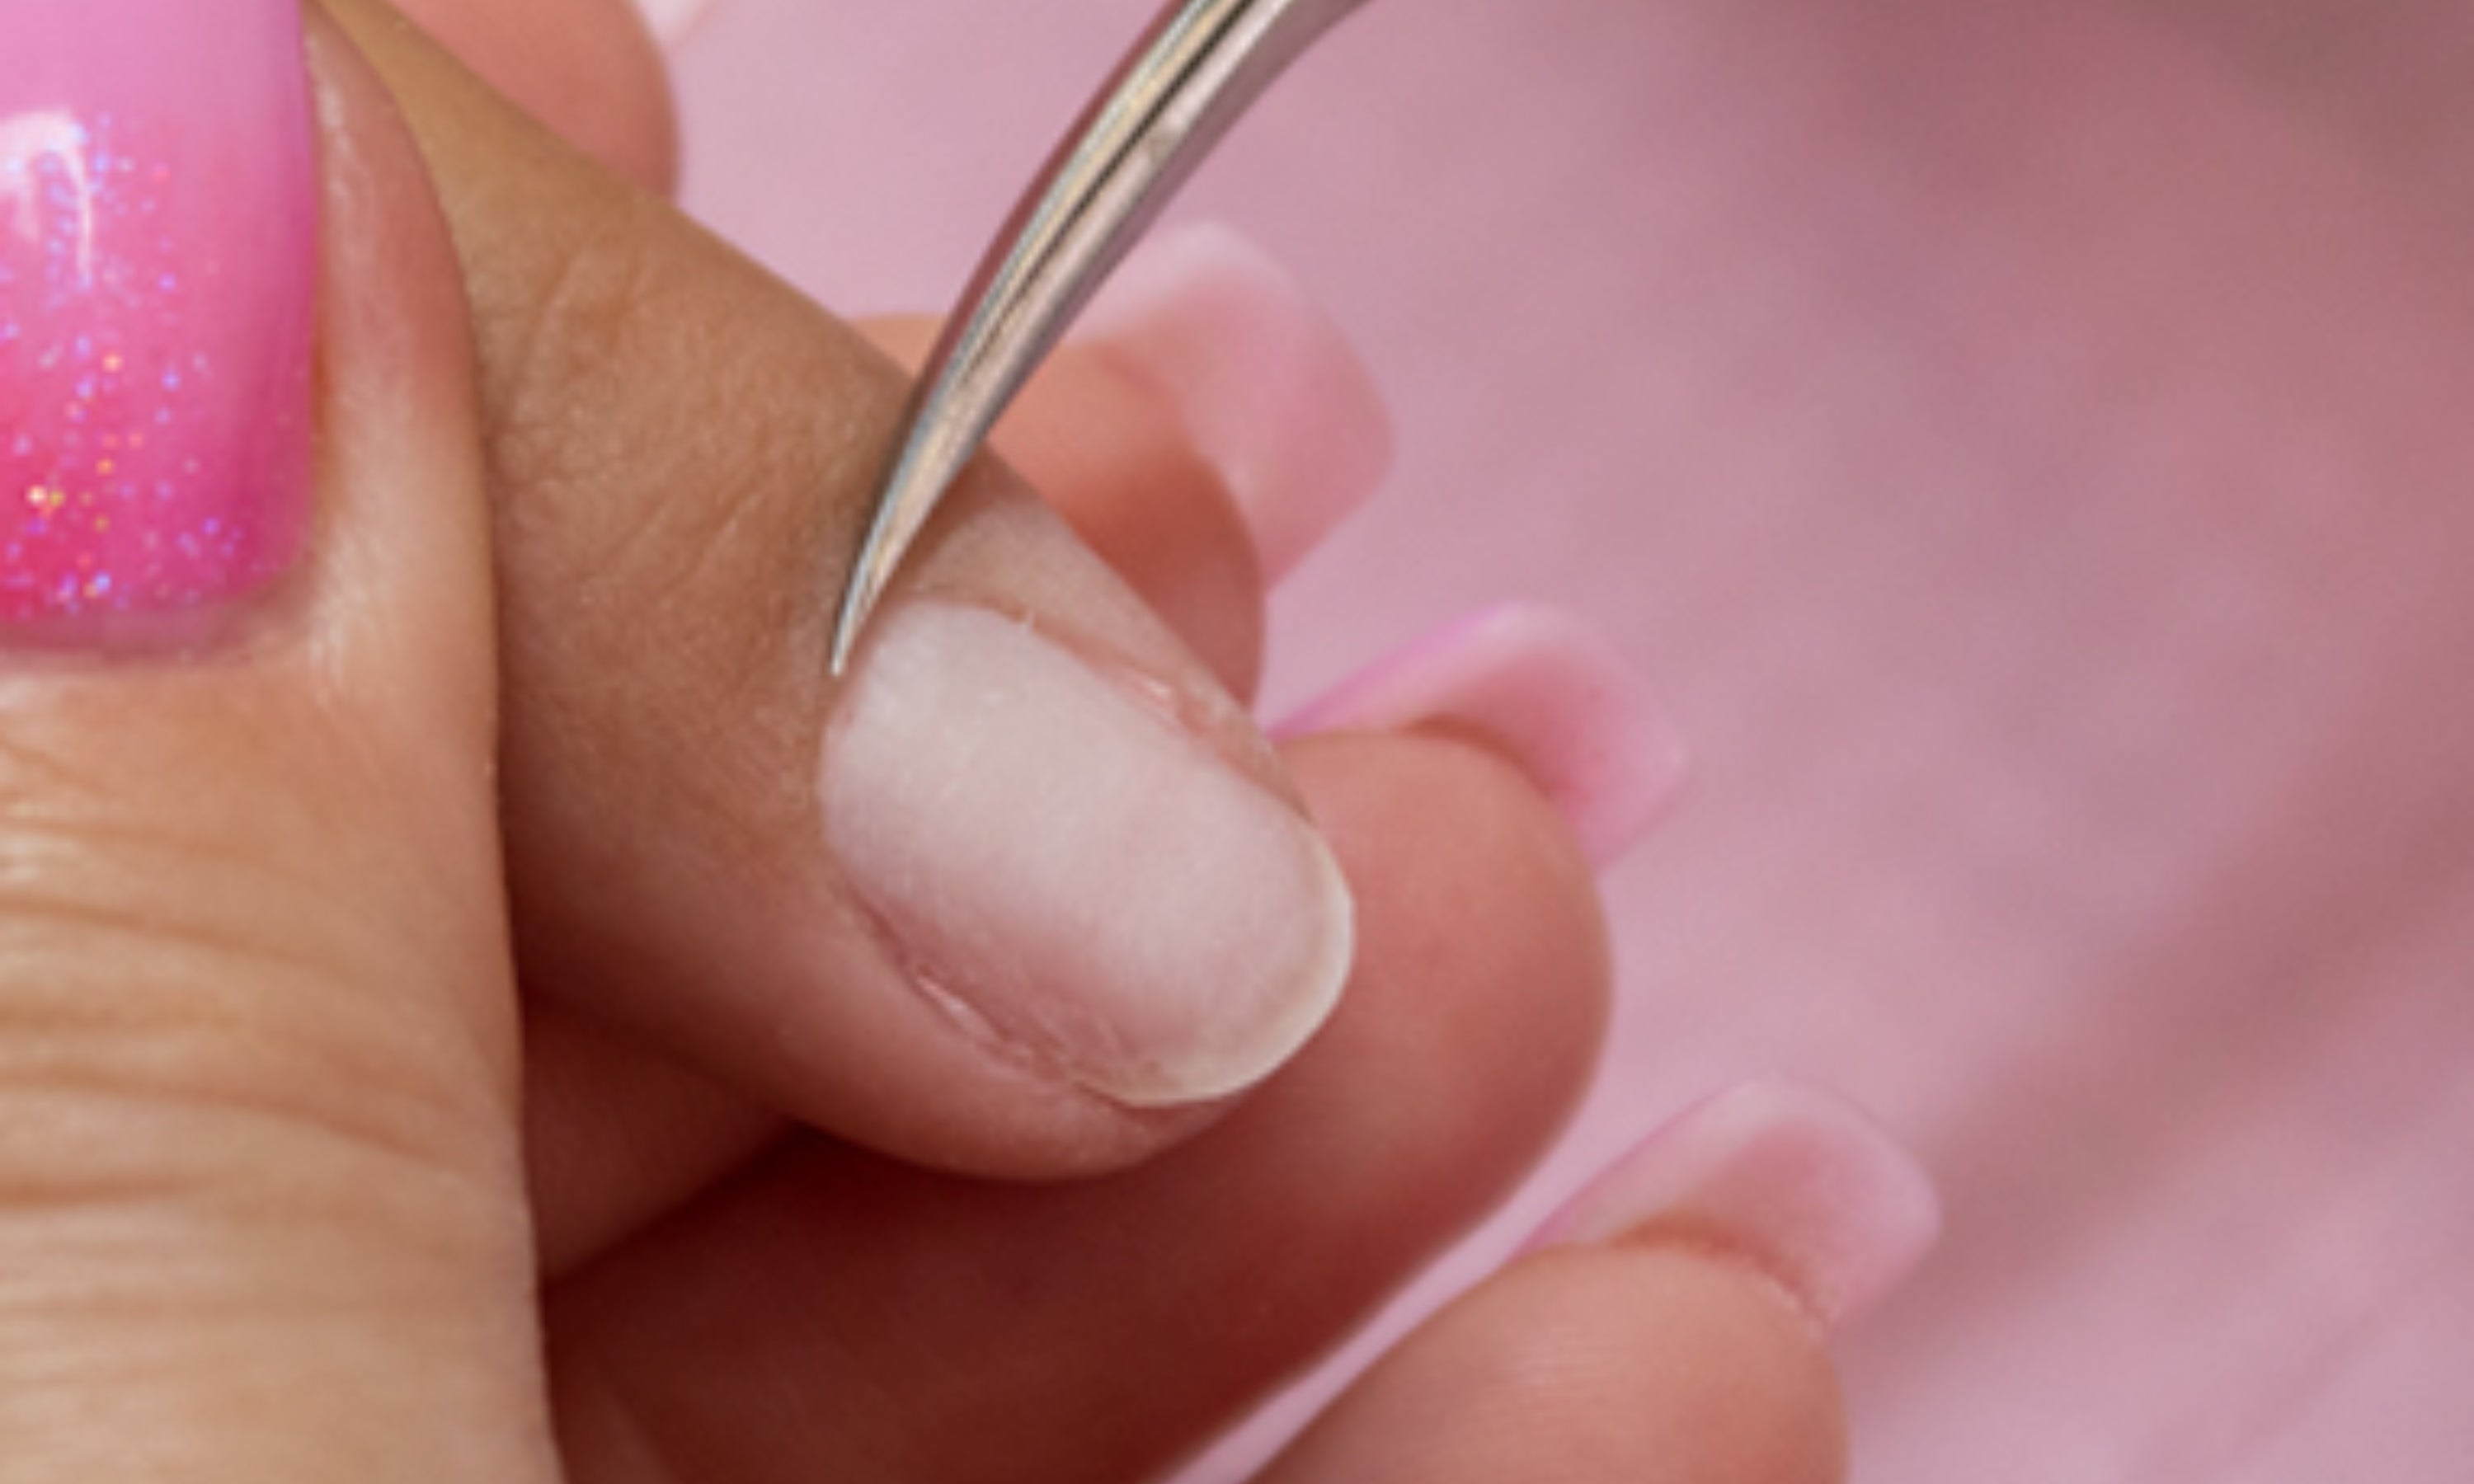
5. Finish removing any remaining skin using cuticle nippers or scissors. It is important not to touch the nail with your fingertips to ensure the gel adheres.
LENGTHEN WITH TIPS
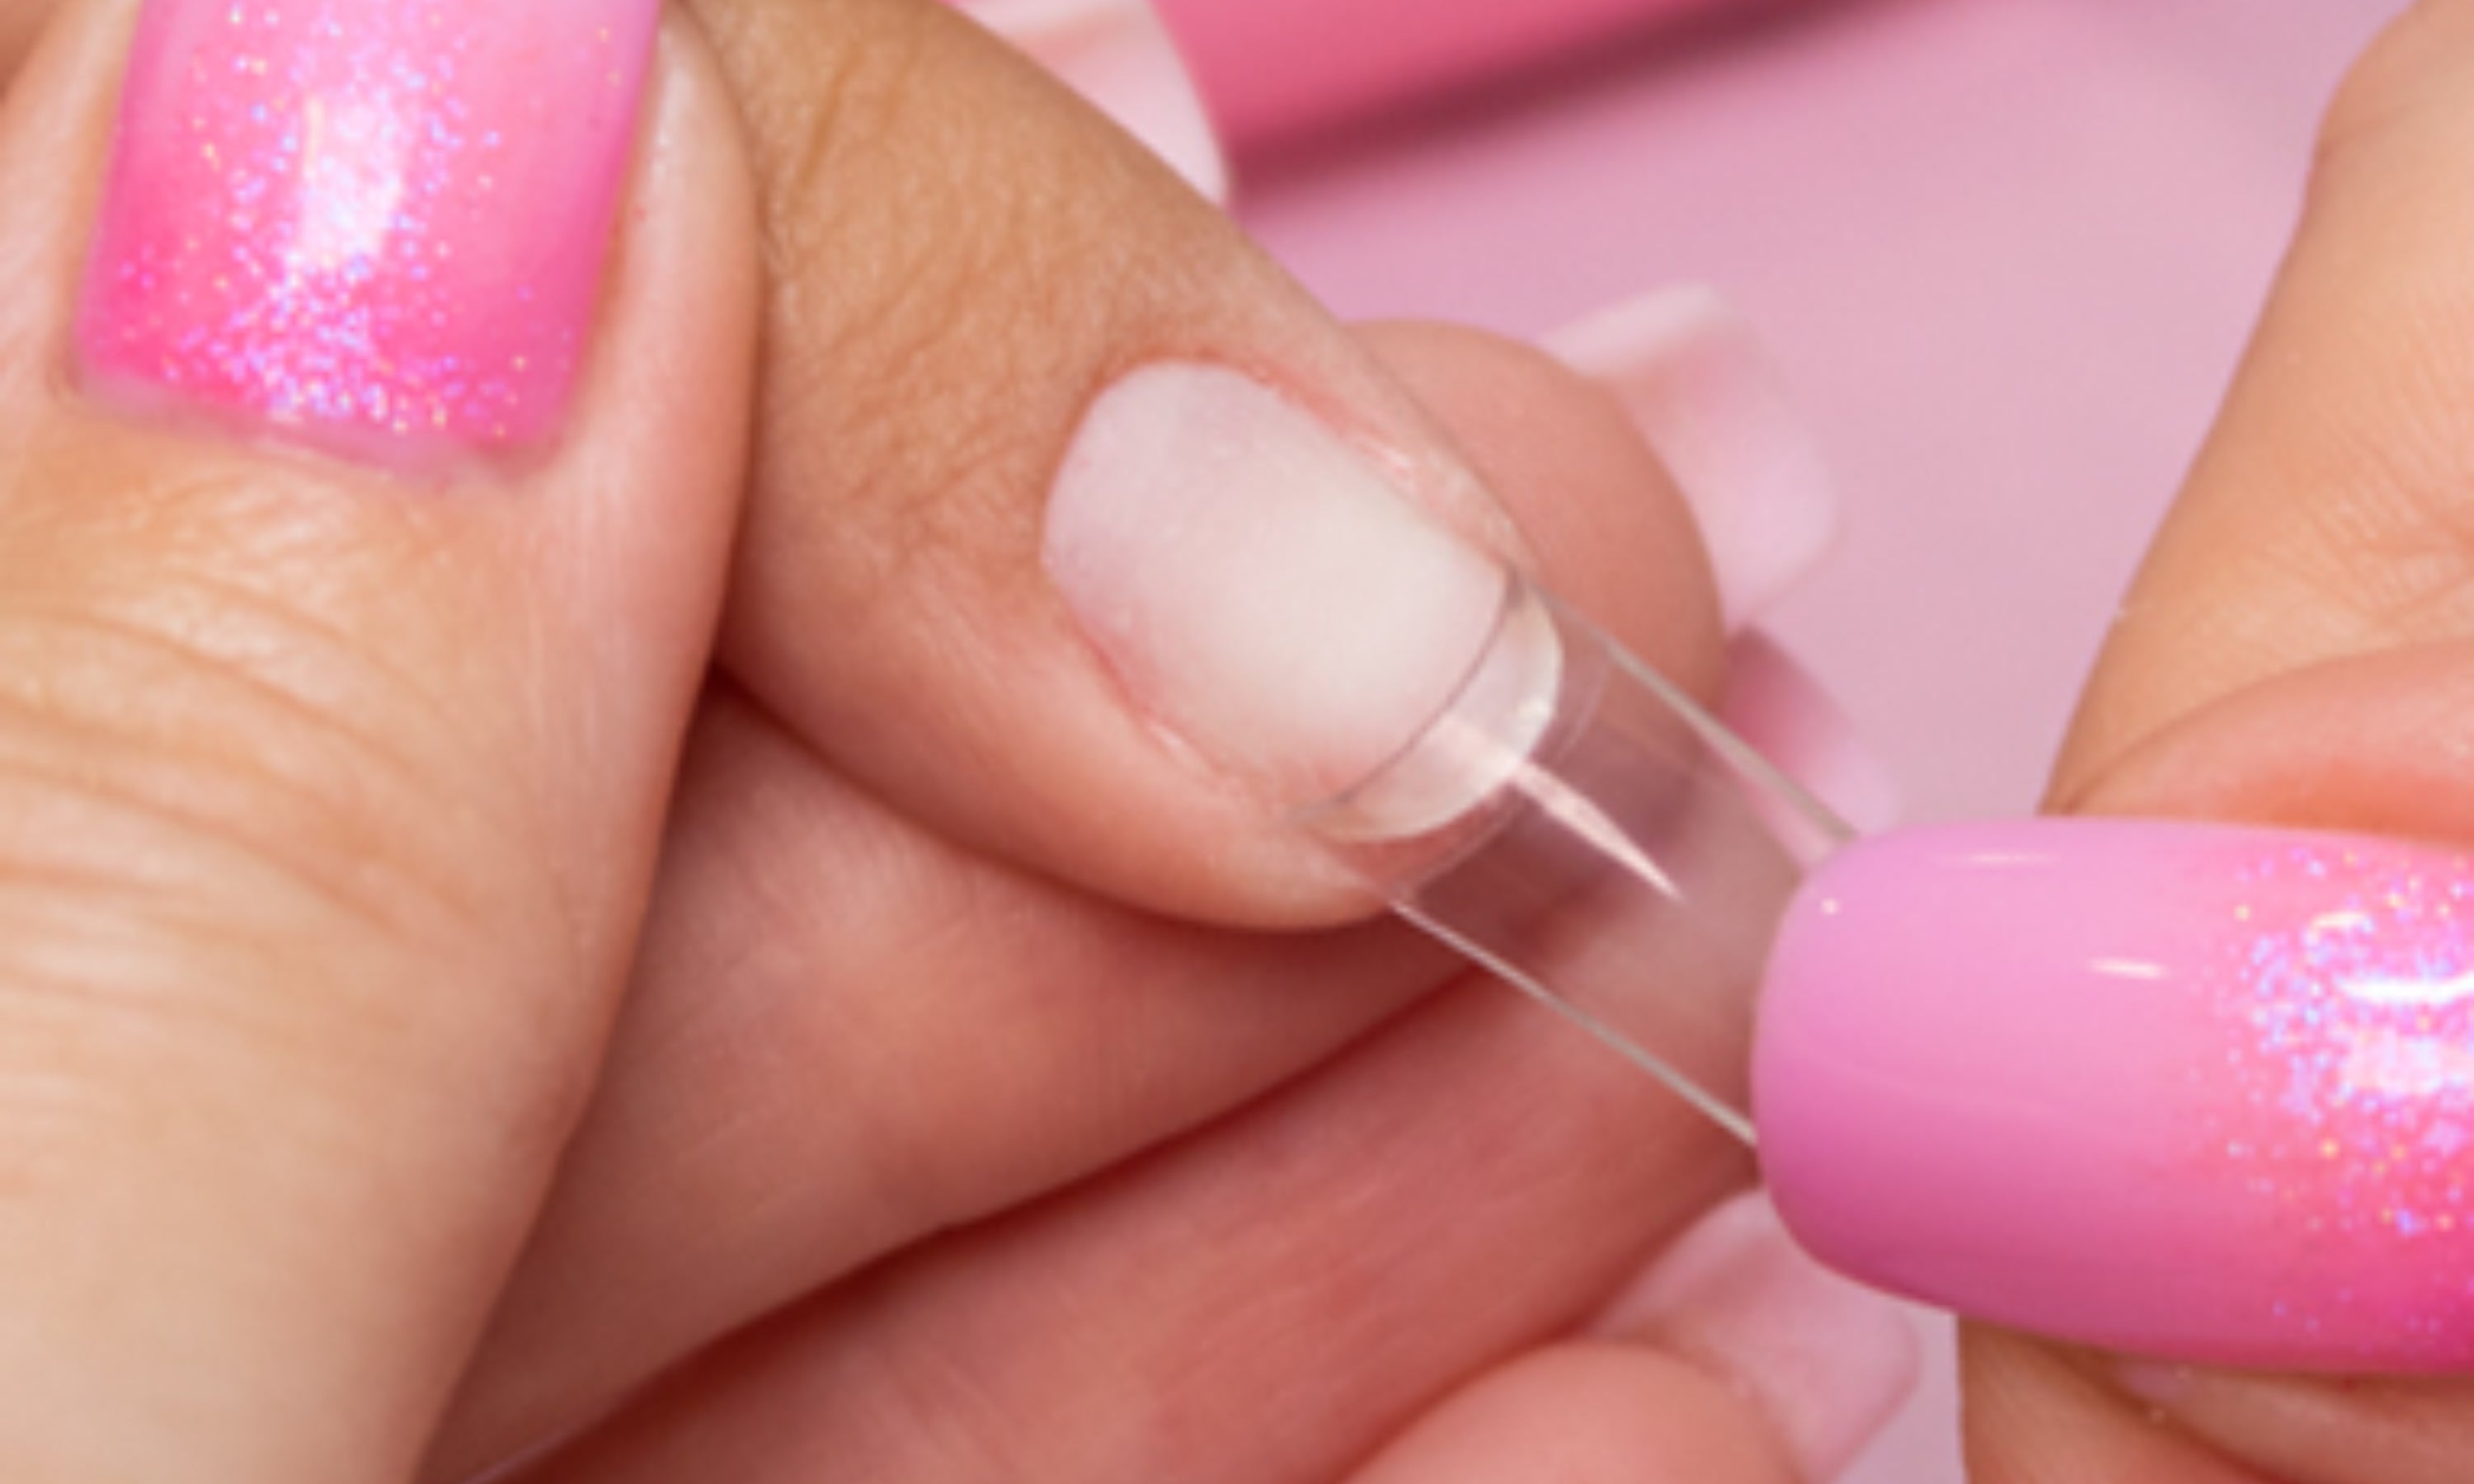
6. Choose the tip that best fits your nail size. If you can't find the right size, get a size up and file the sides so it fits better on the nail.
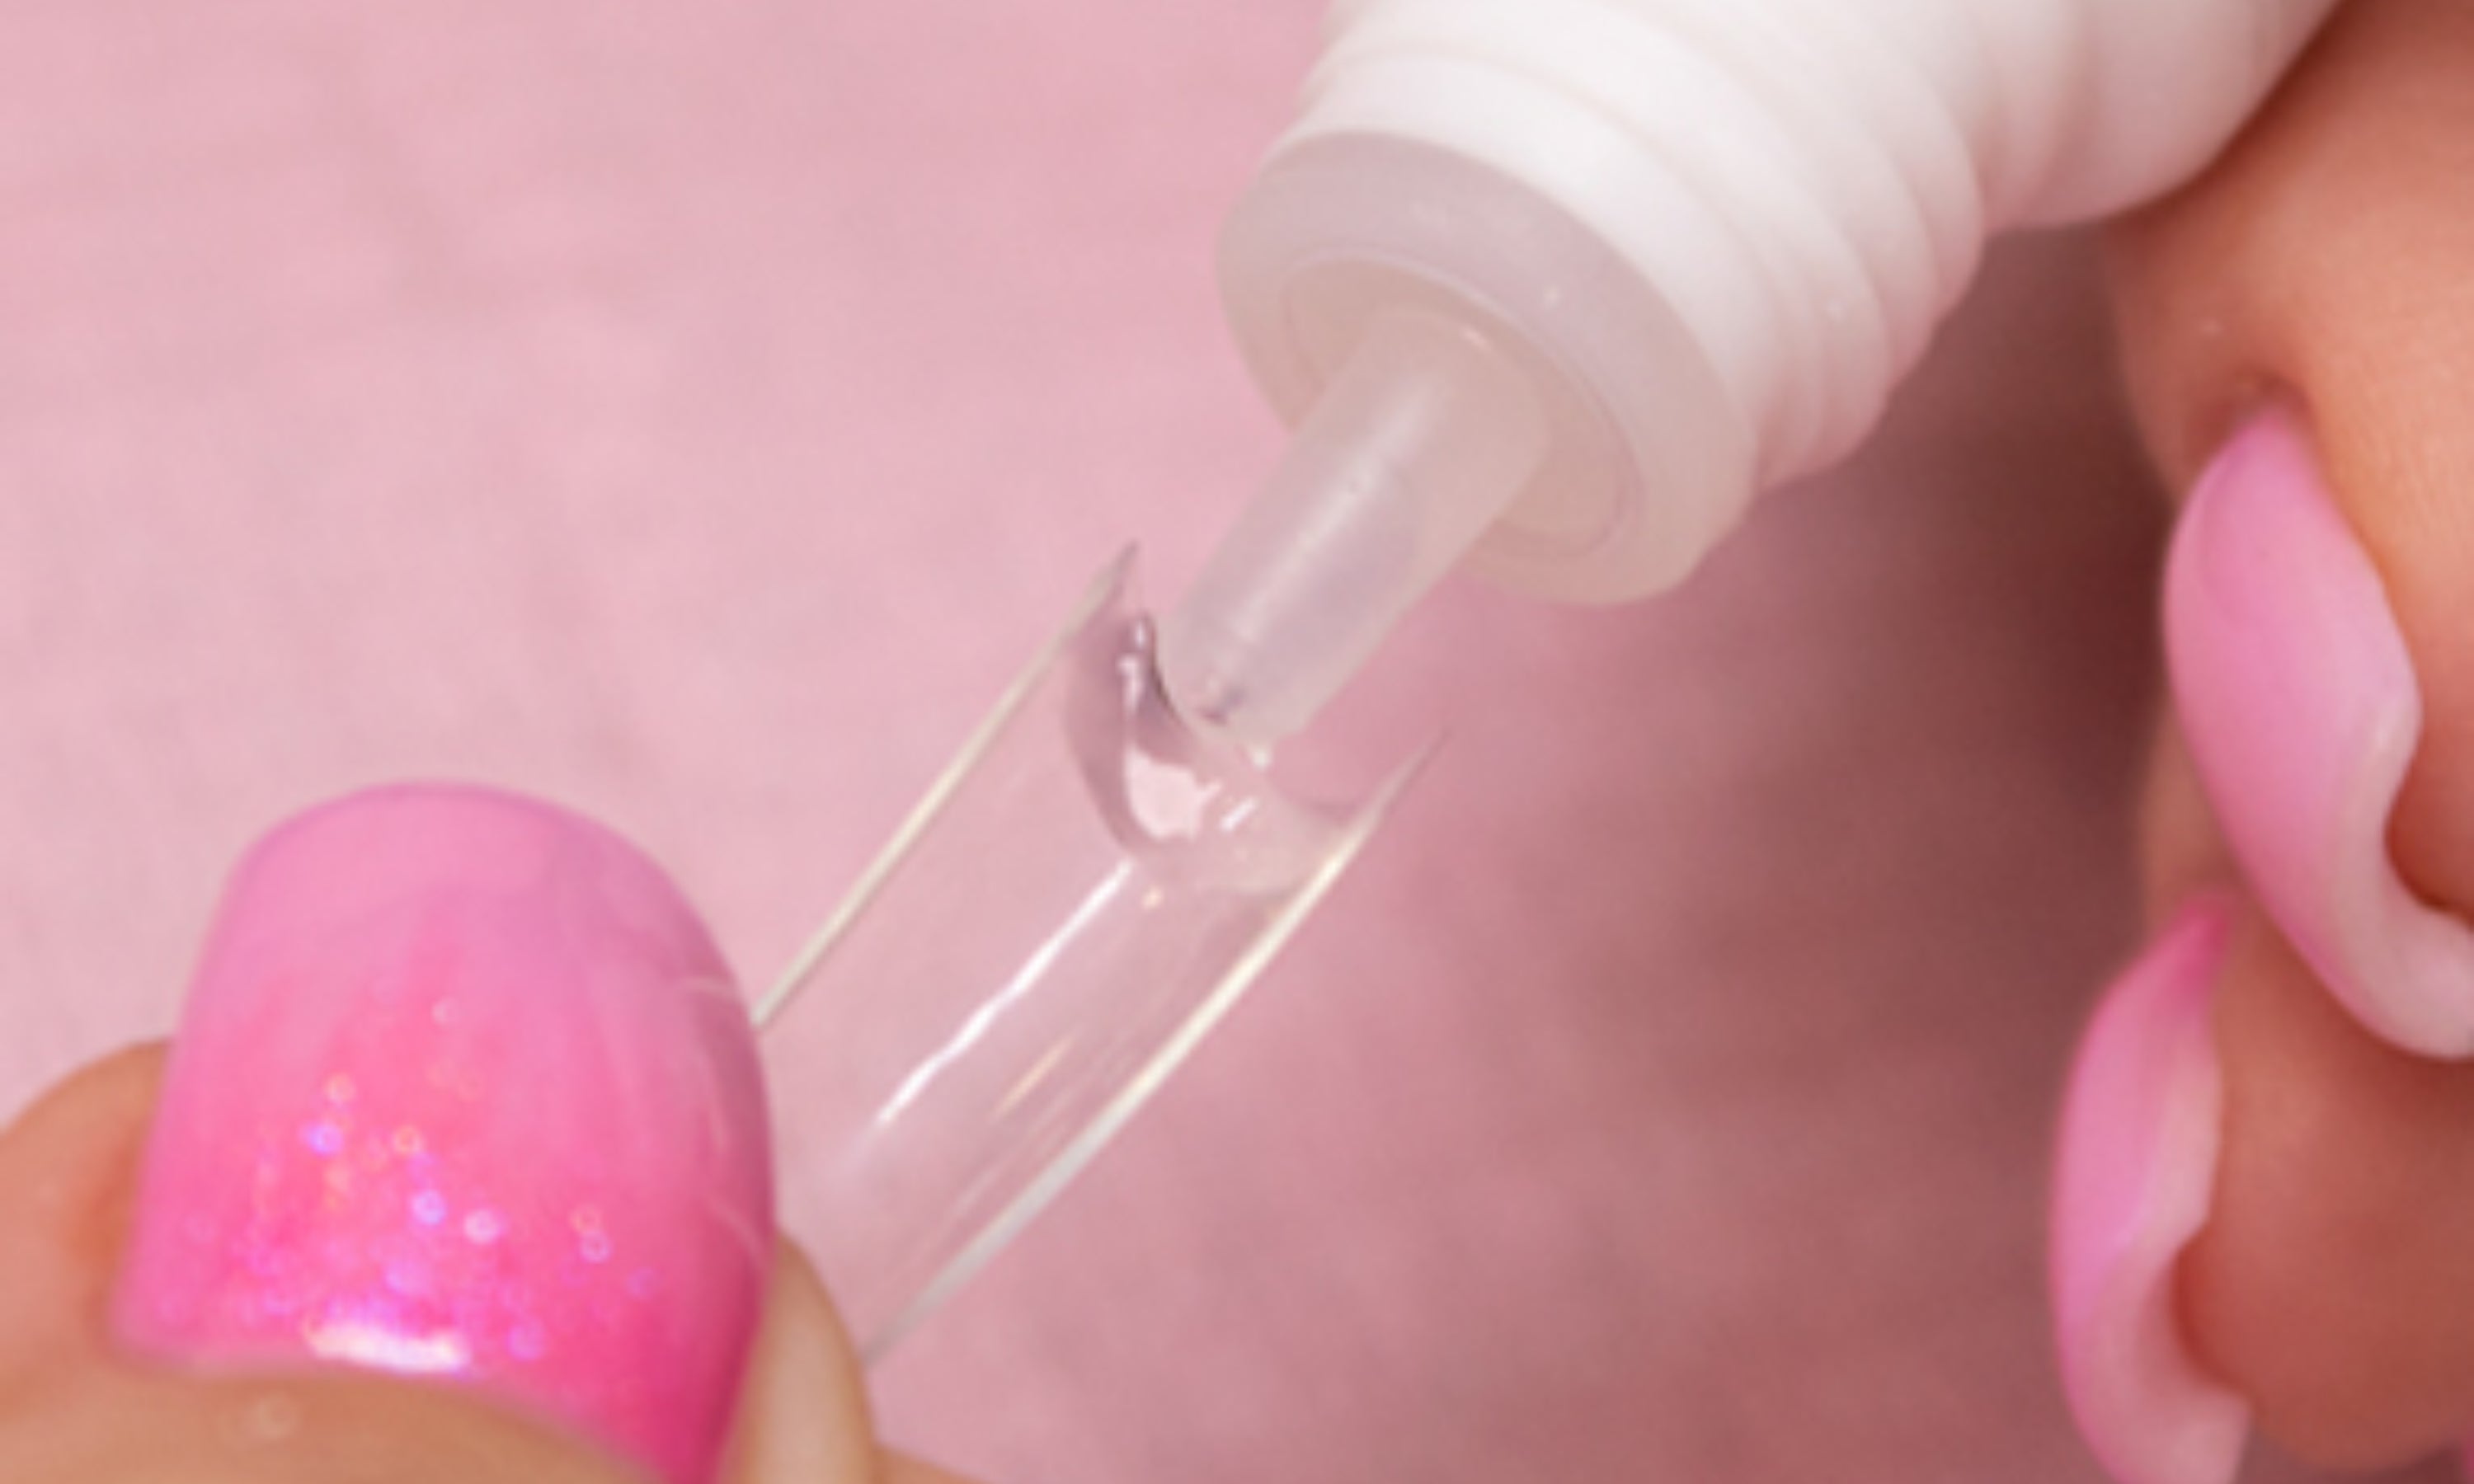
7. Apply the tip glue. It is important to apply just the right amount of product. If you apply too little, air pockets may appear. If you apply too much, it will stick out on the sides.
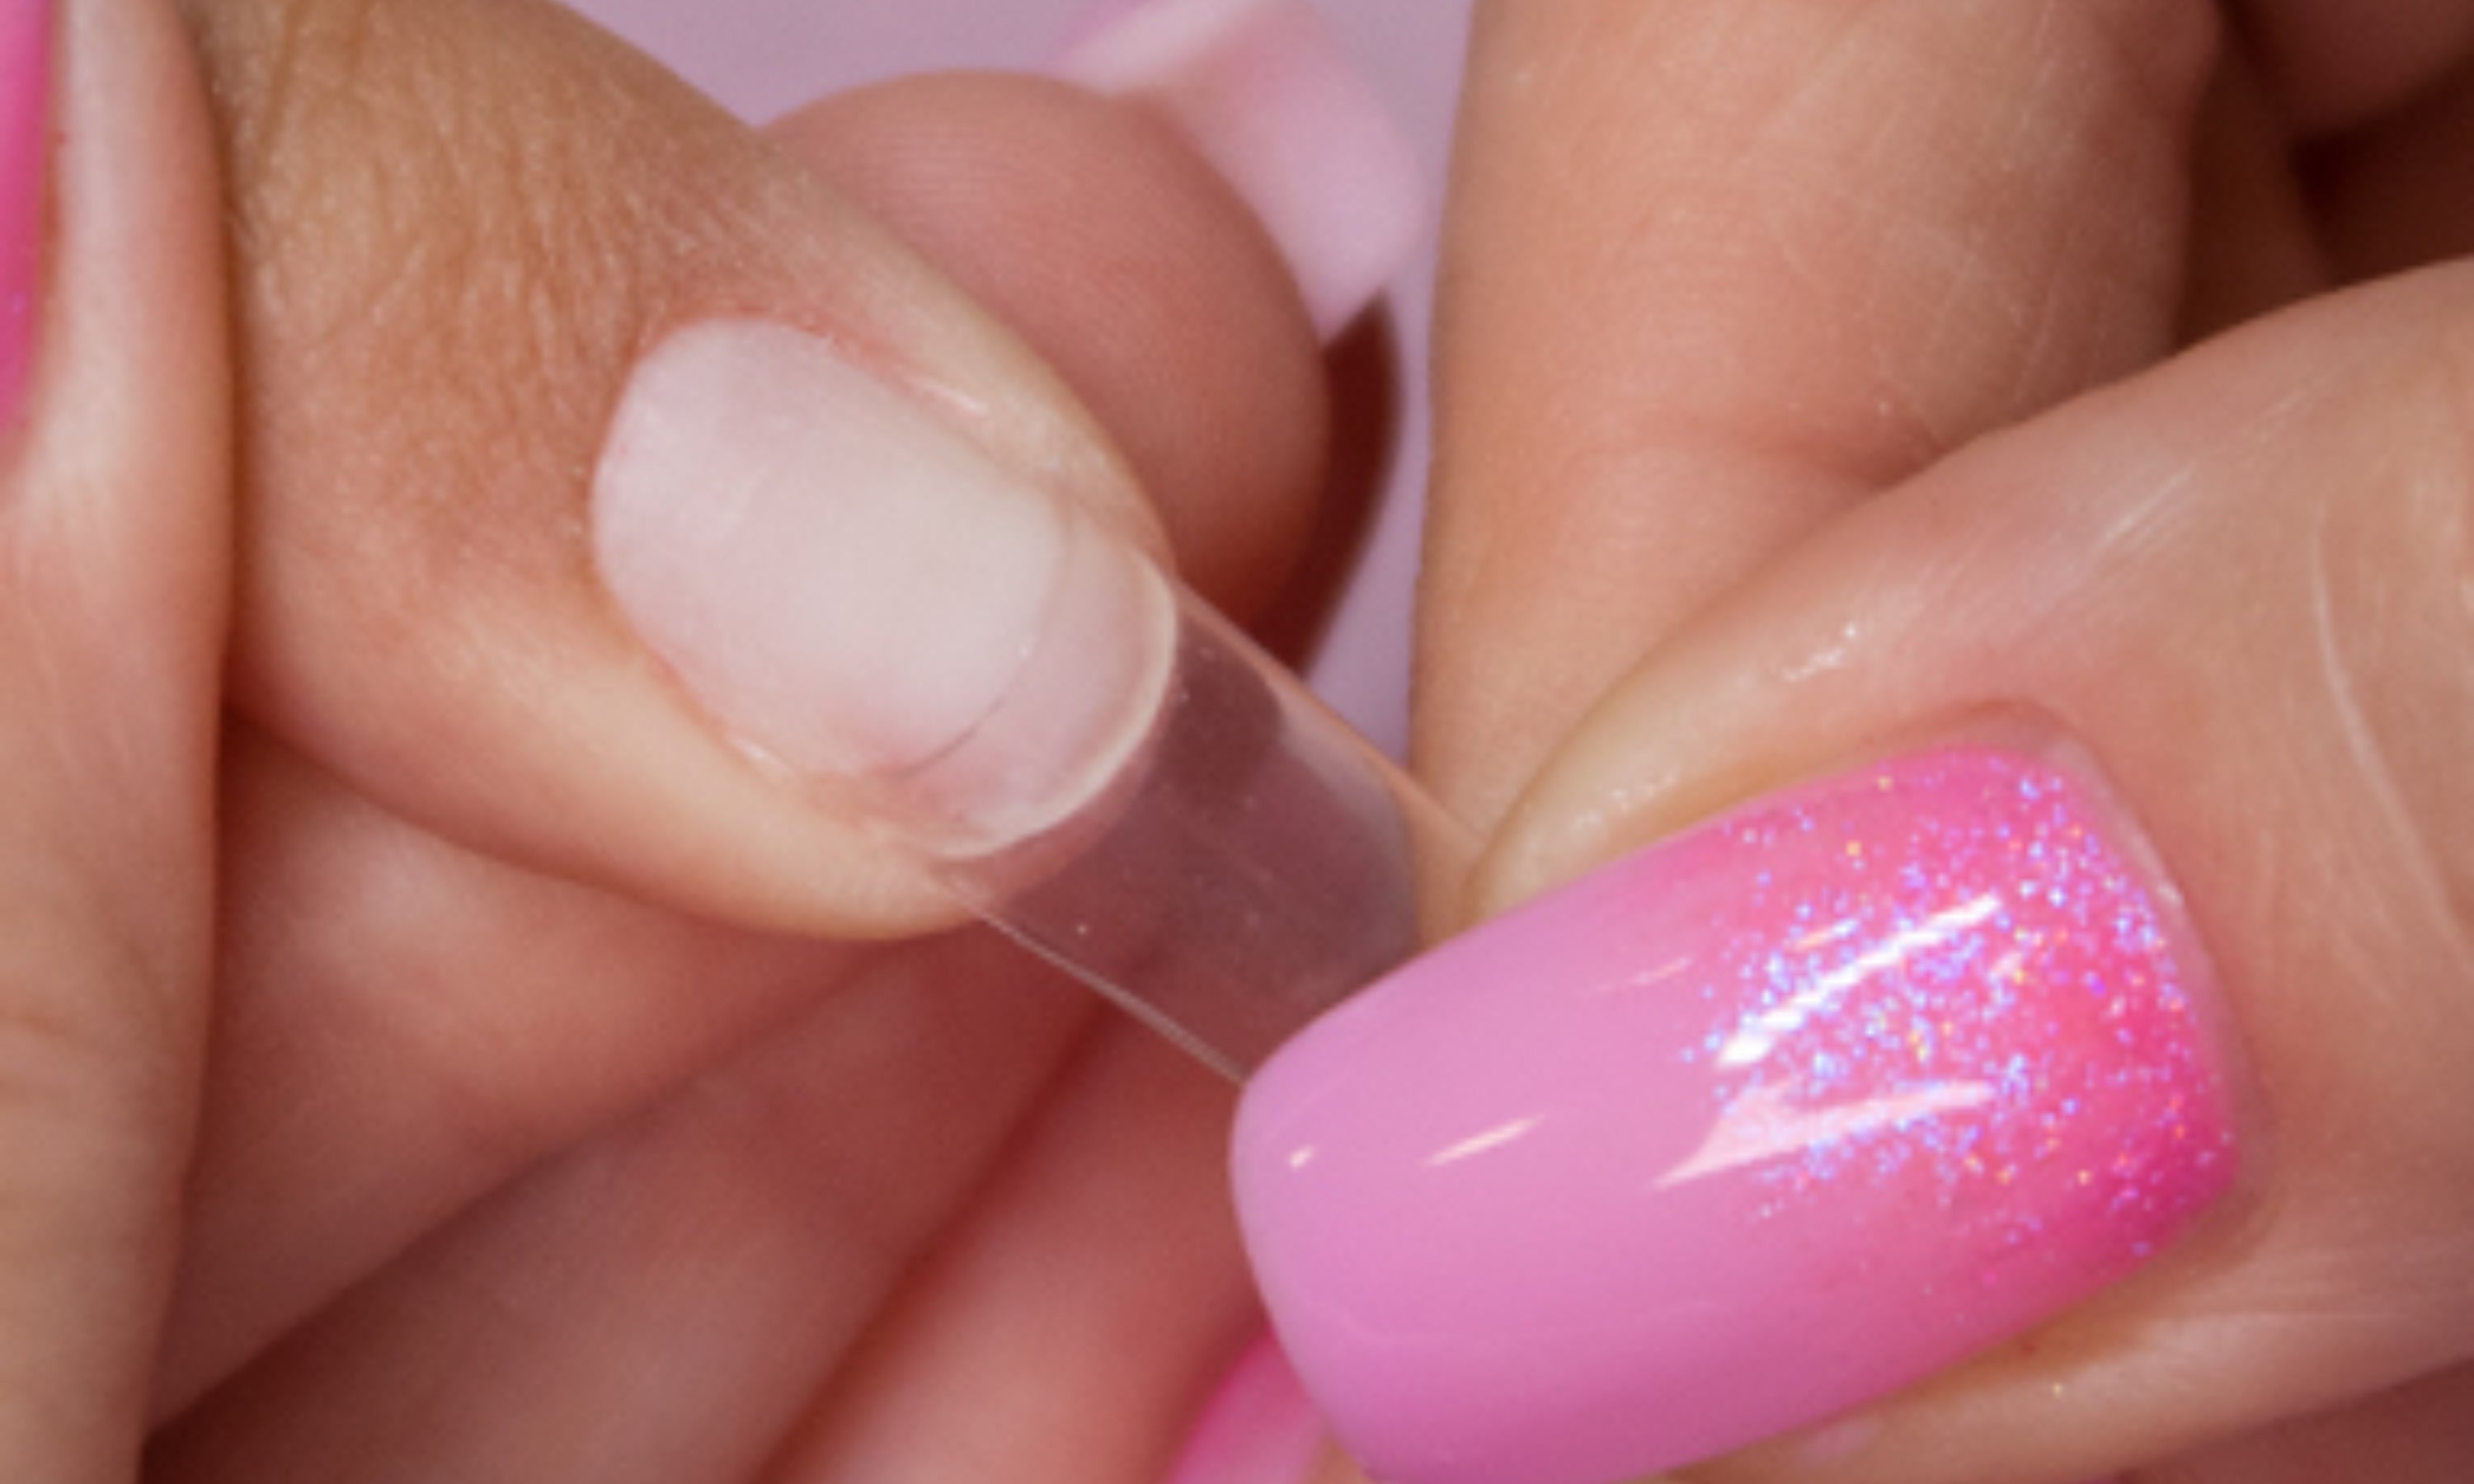
8. Place the tip on the nail and press for 10-20 seconds until the glue is completely dry. The tip has a marking that should be right on the edge of the nail.
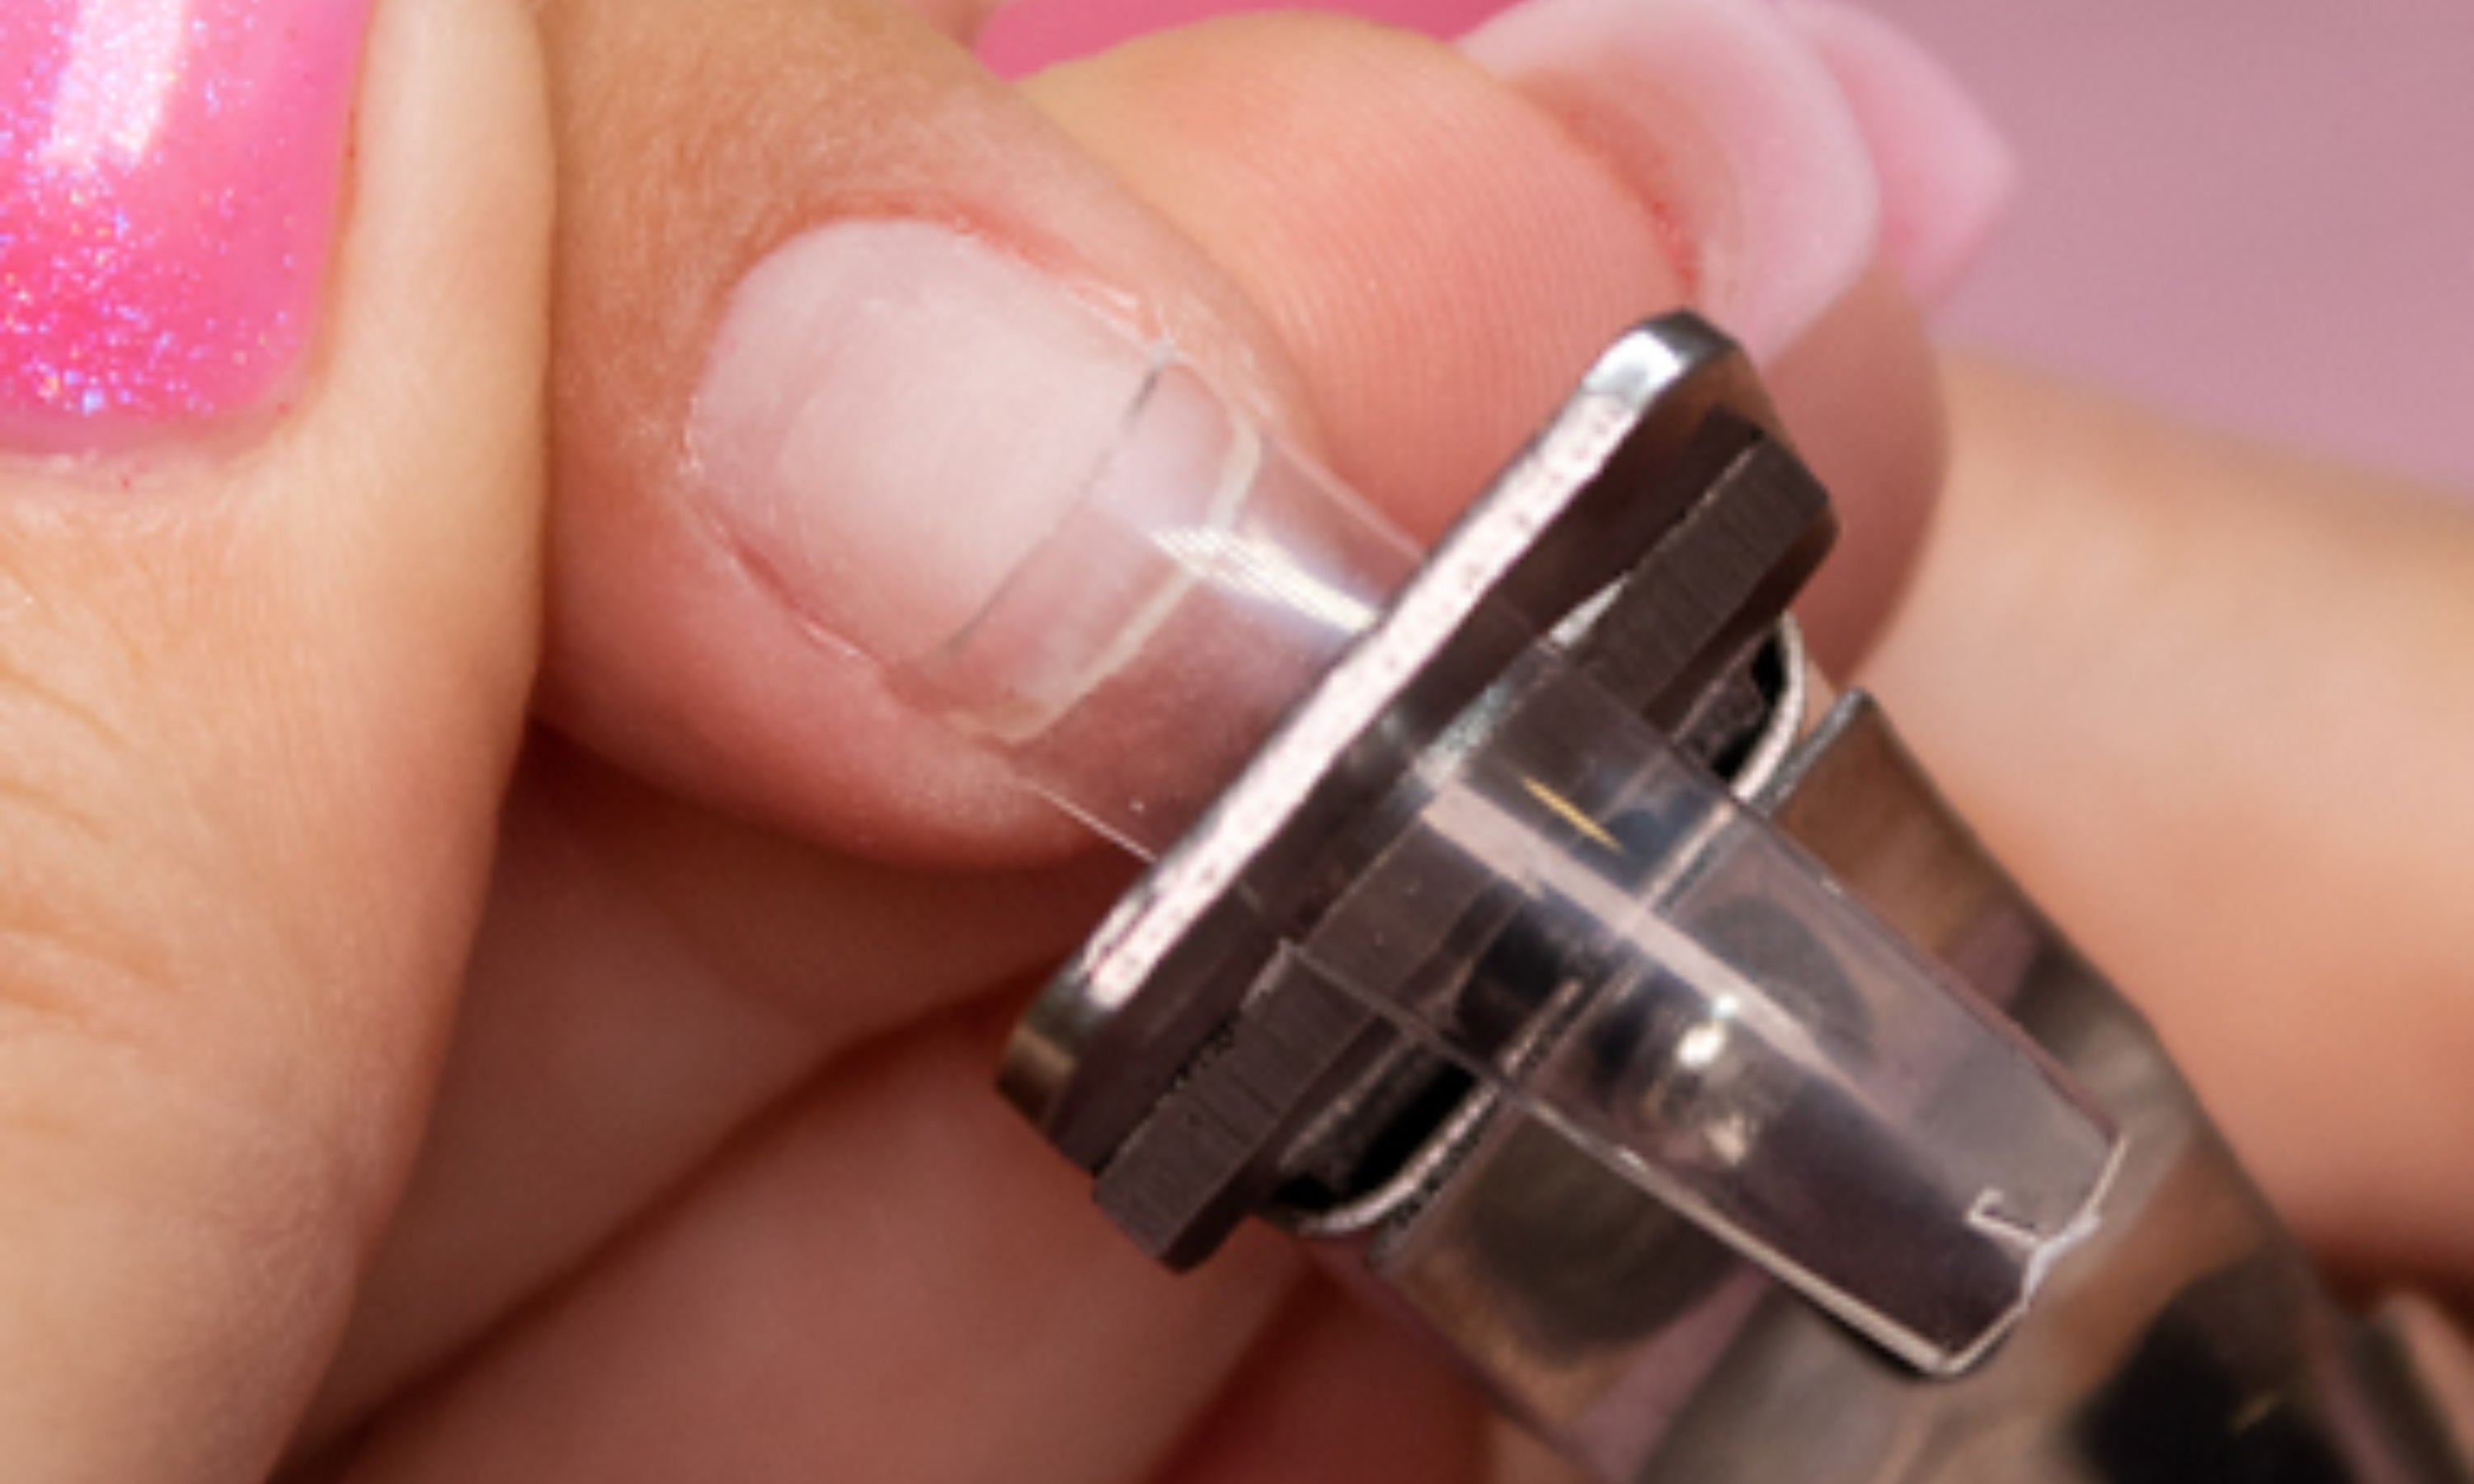
9. Clean off any glue residue with a dry cotton pad to avoid adhesion problems. Cut the tip to the desired length with the tip cutter.
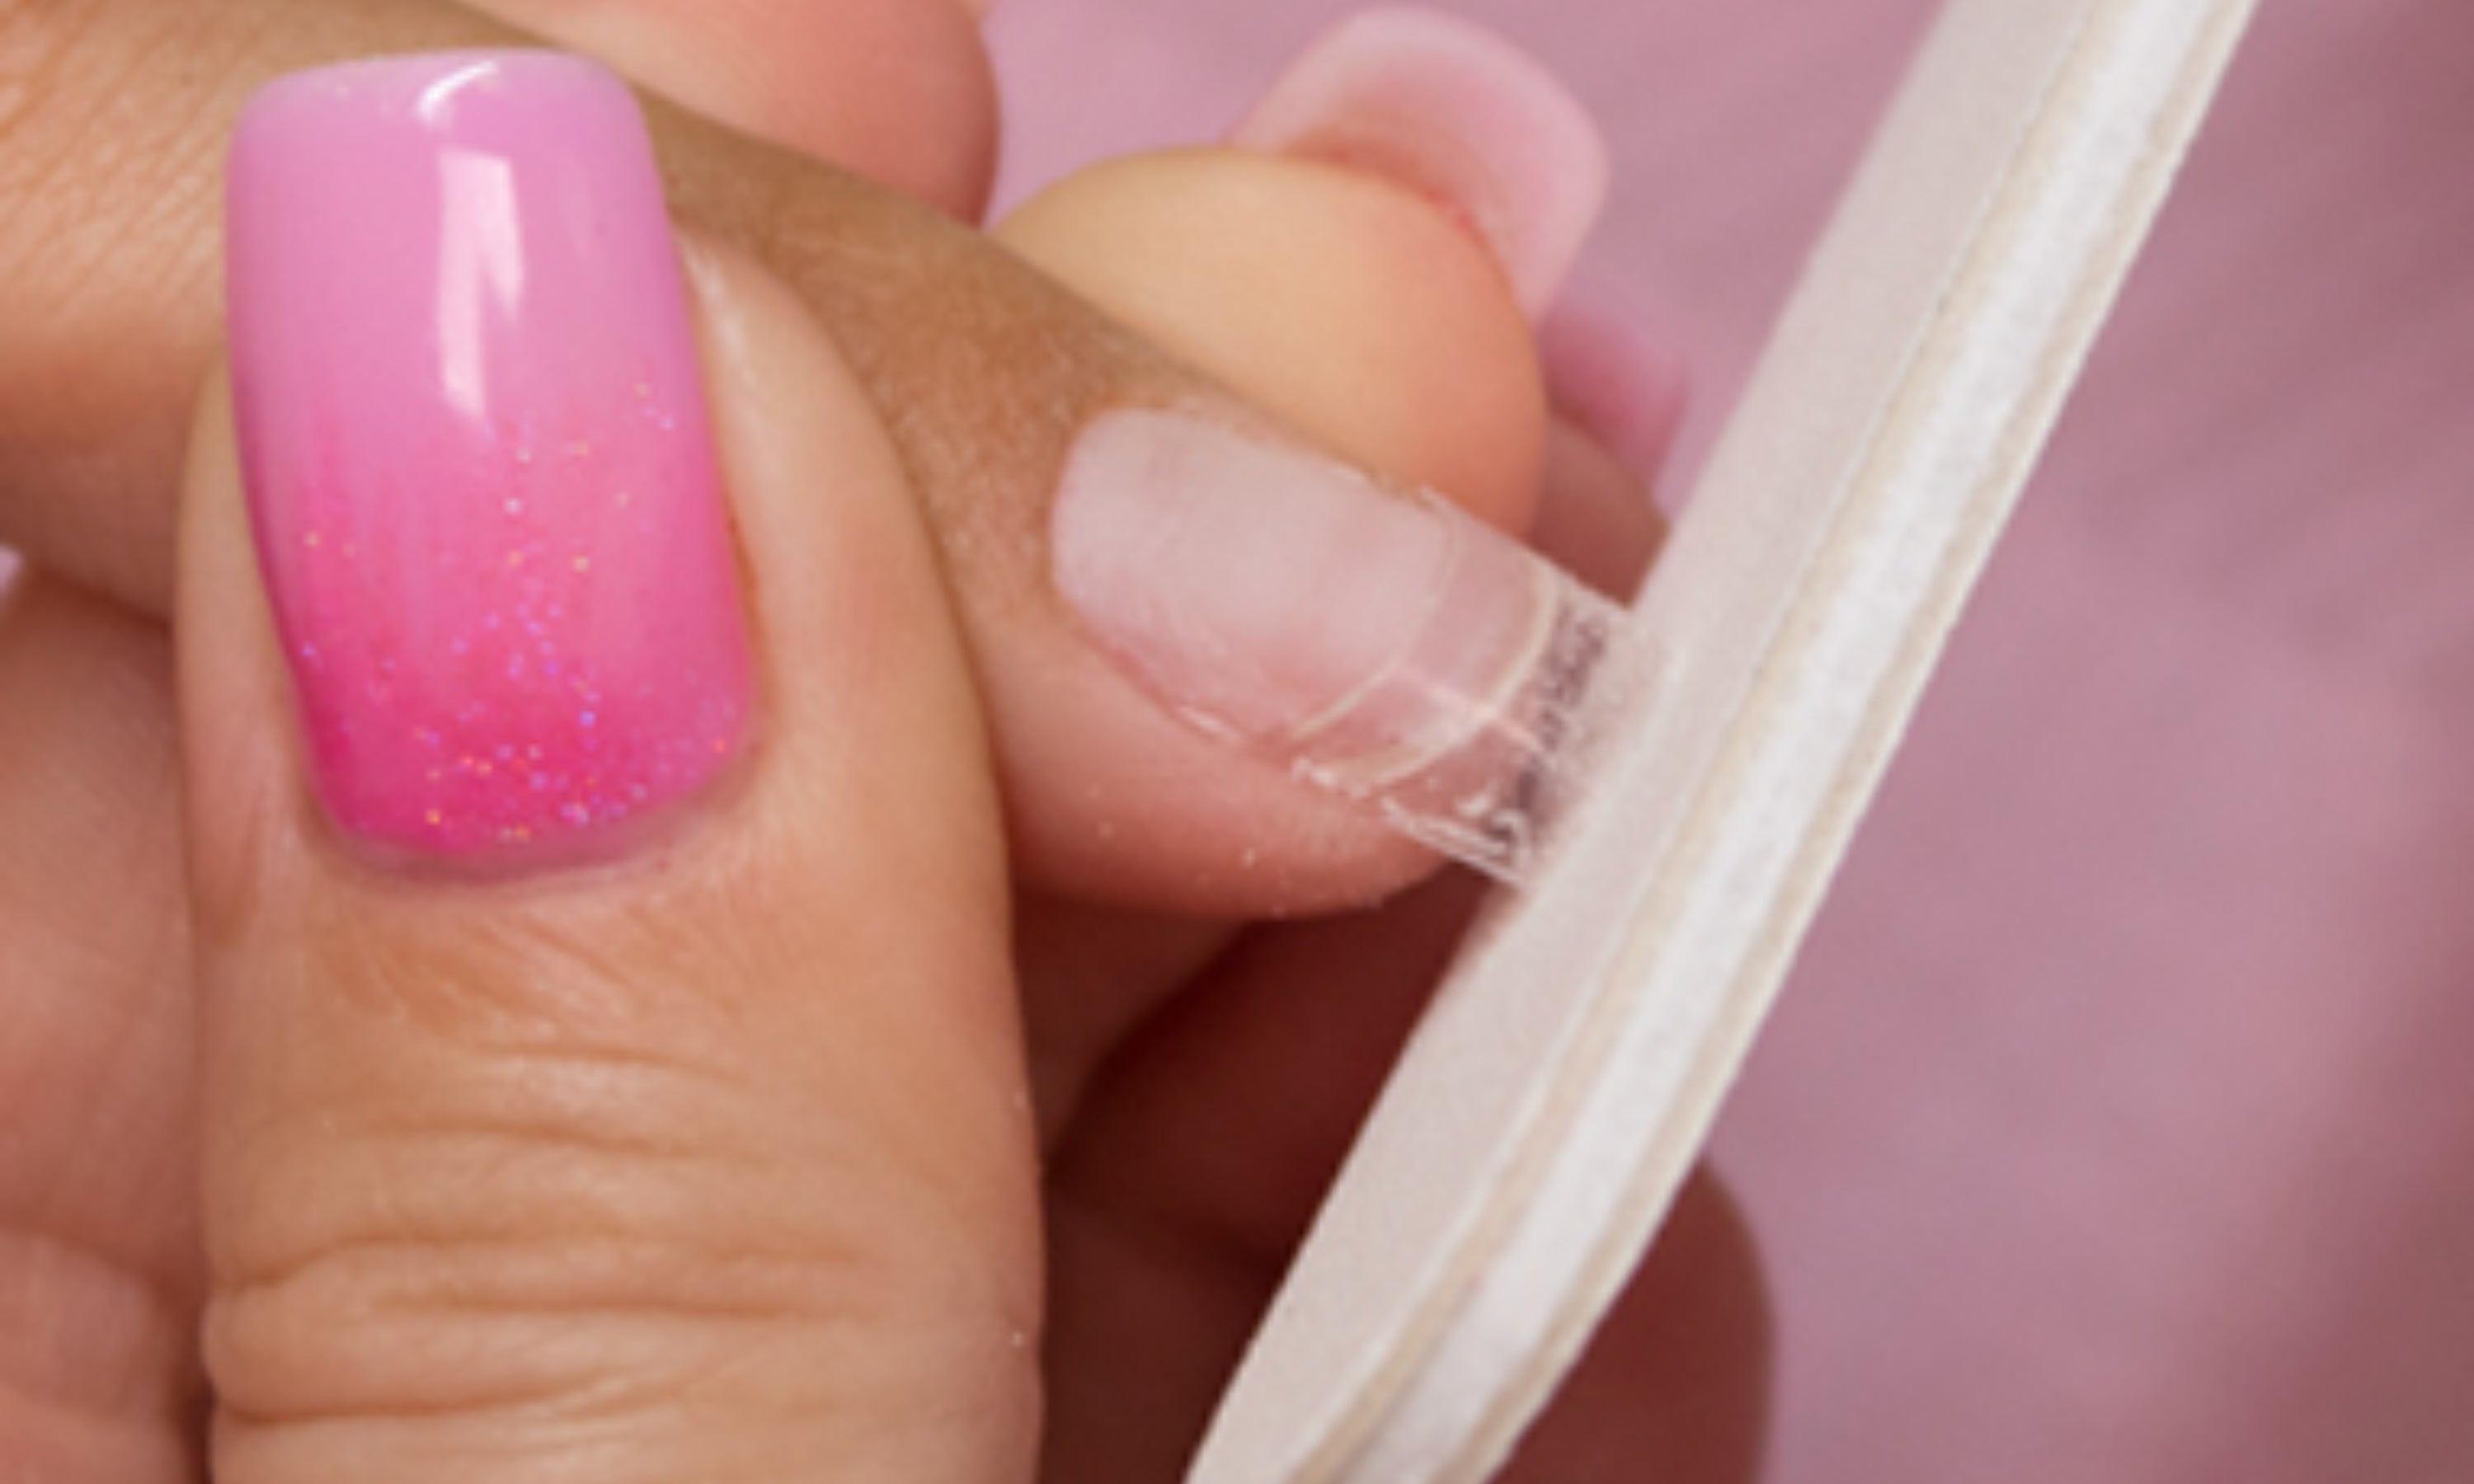
10. File the front part to give it the desired shape. Also file the area where it joins with your nail to make the step disappear.
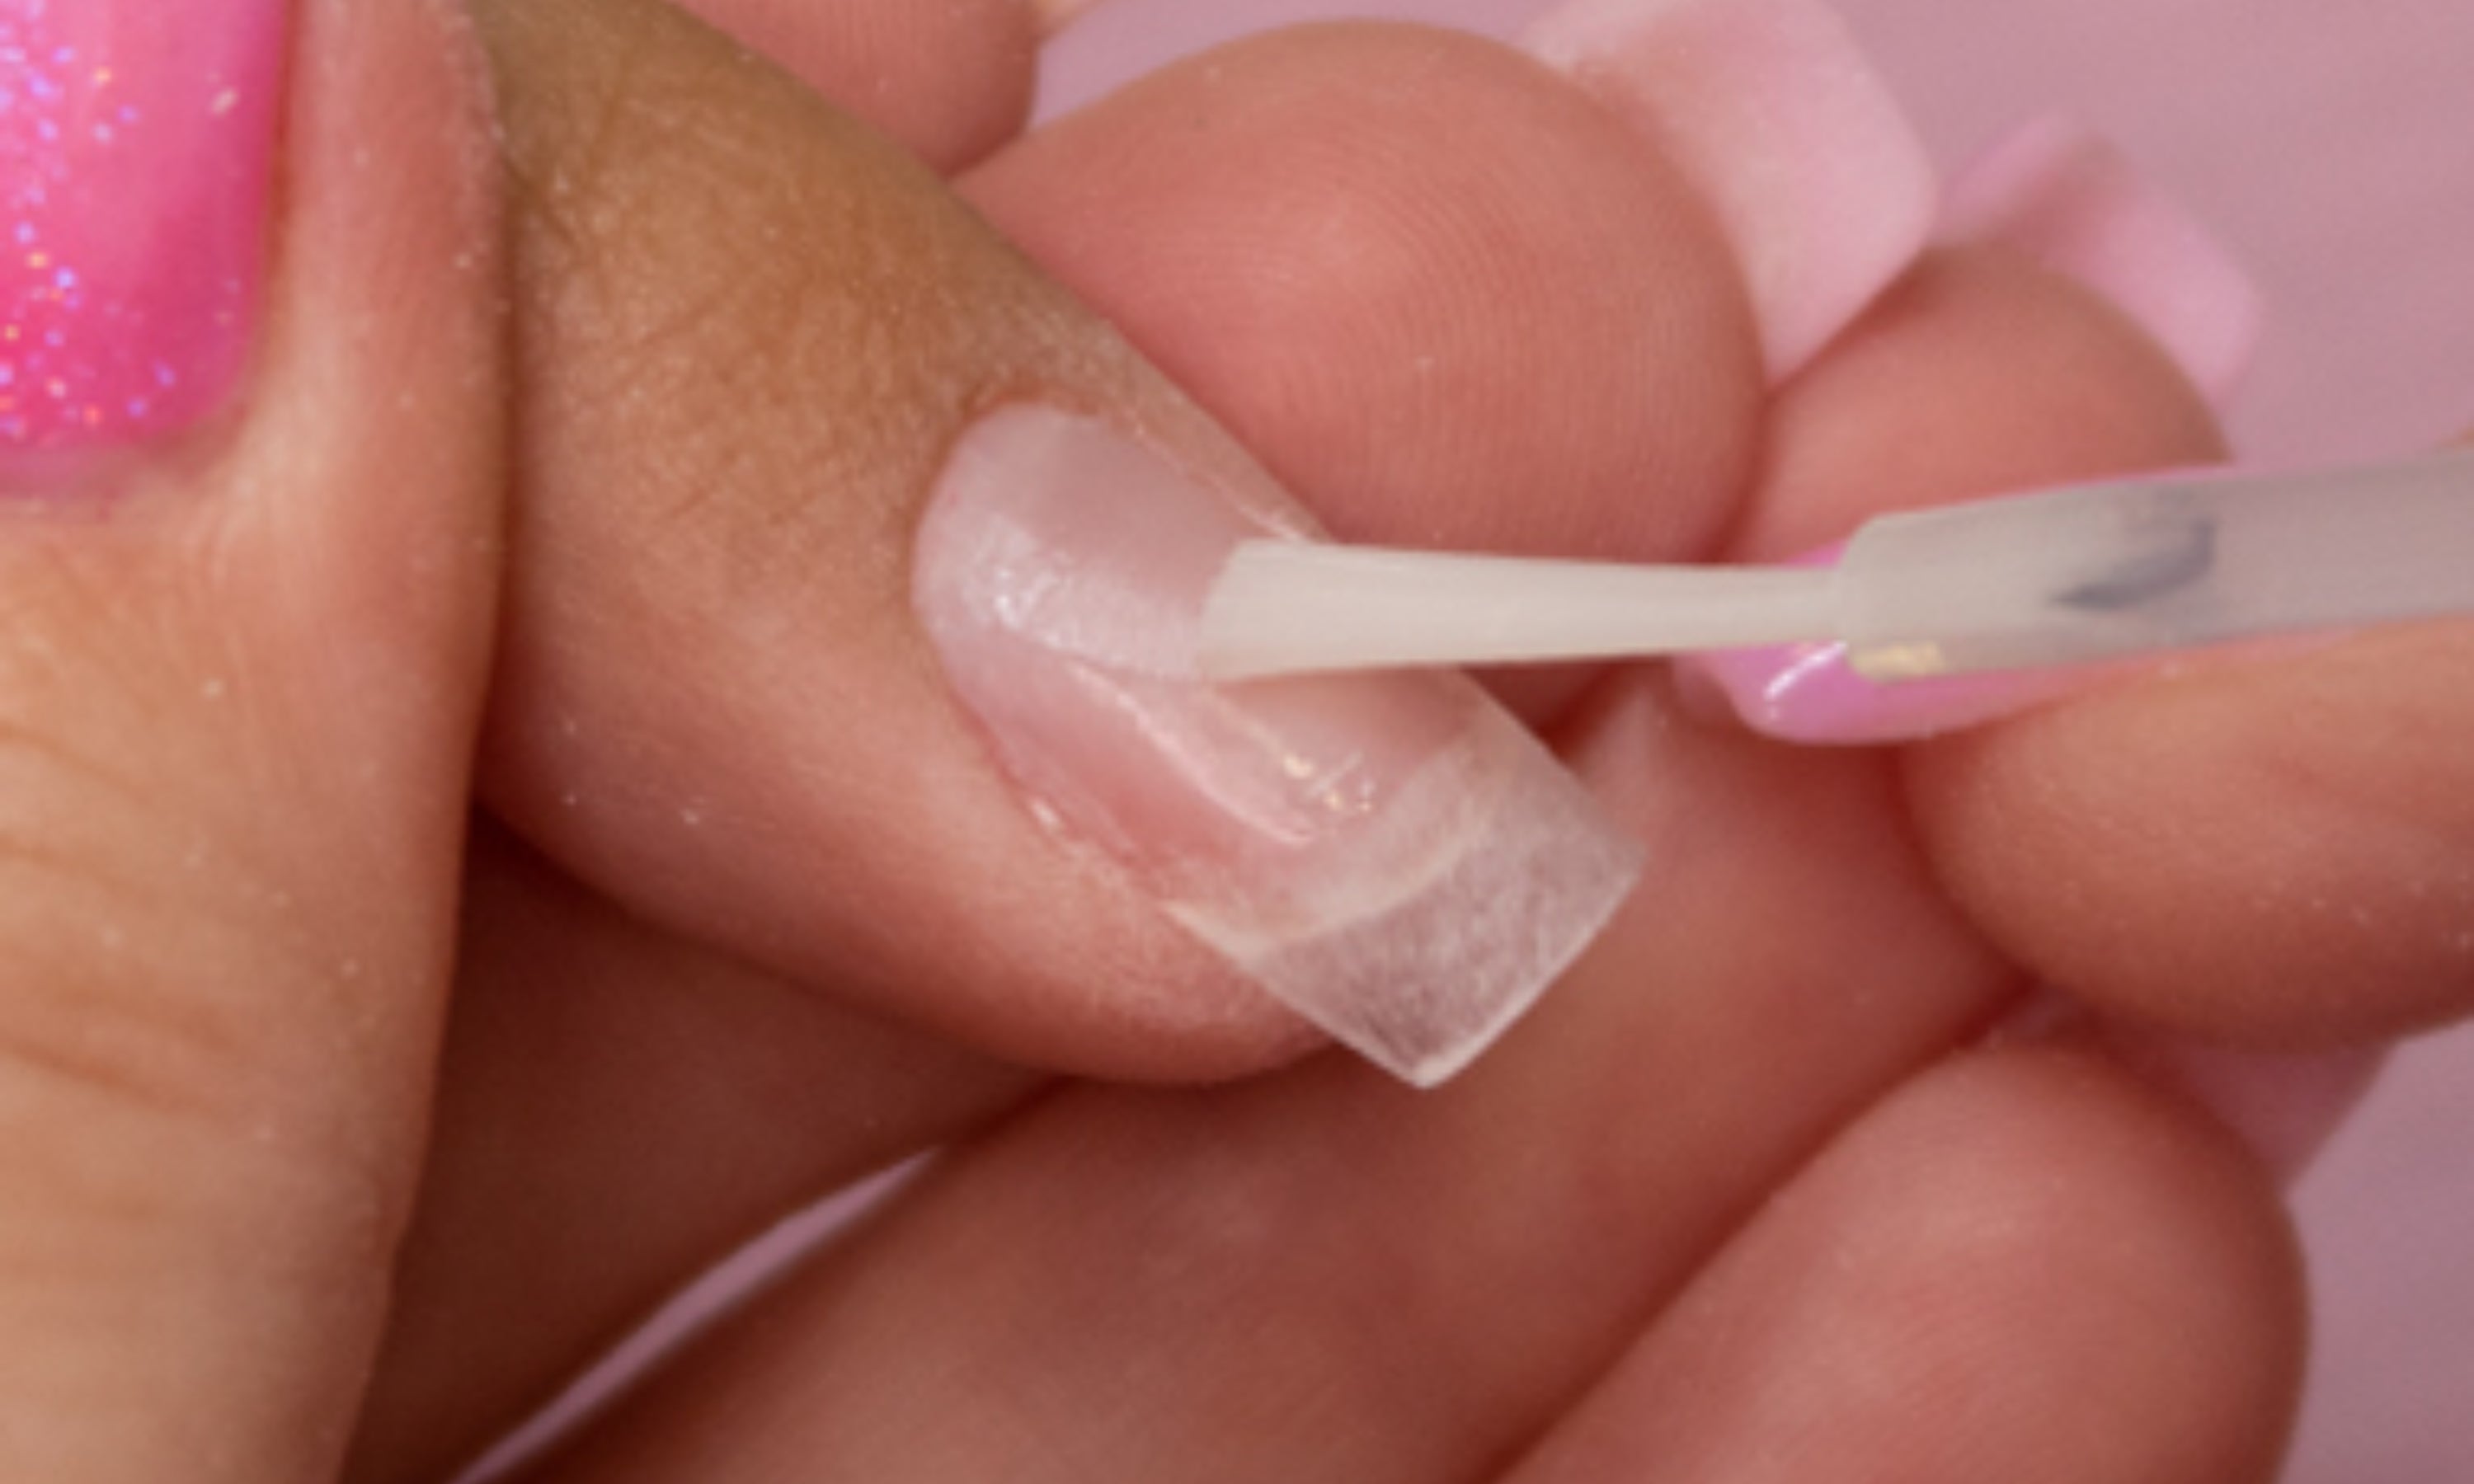
11. Apply Ultra-Bond Primer (acid-free adhesive) to the natural nail, without touching the tip or the skin or cuticle. If the nail is very oily, it is recommended to apply Nail Prep first to degrease it.
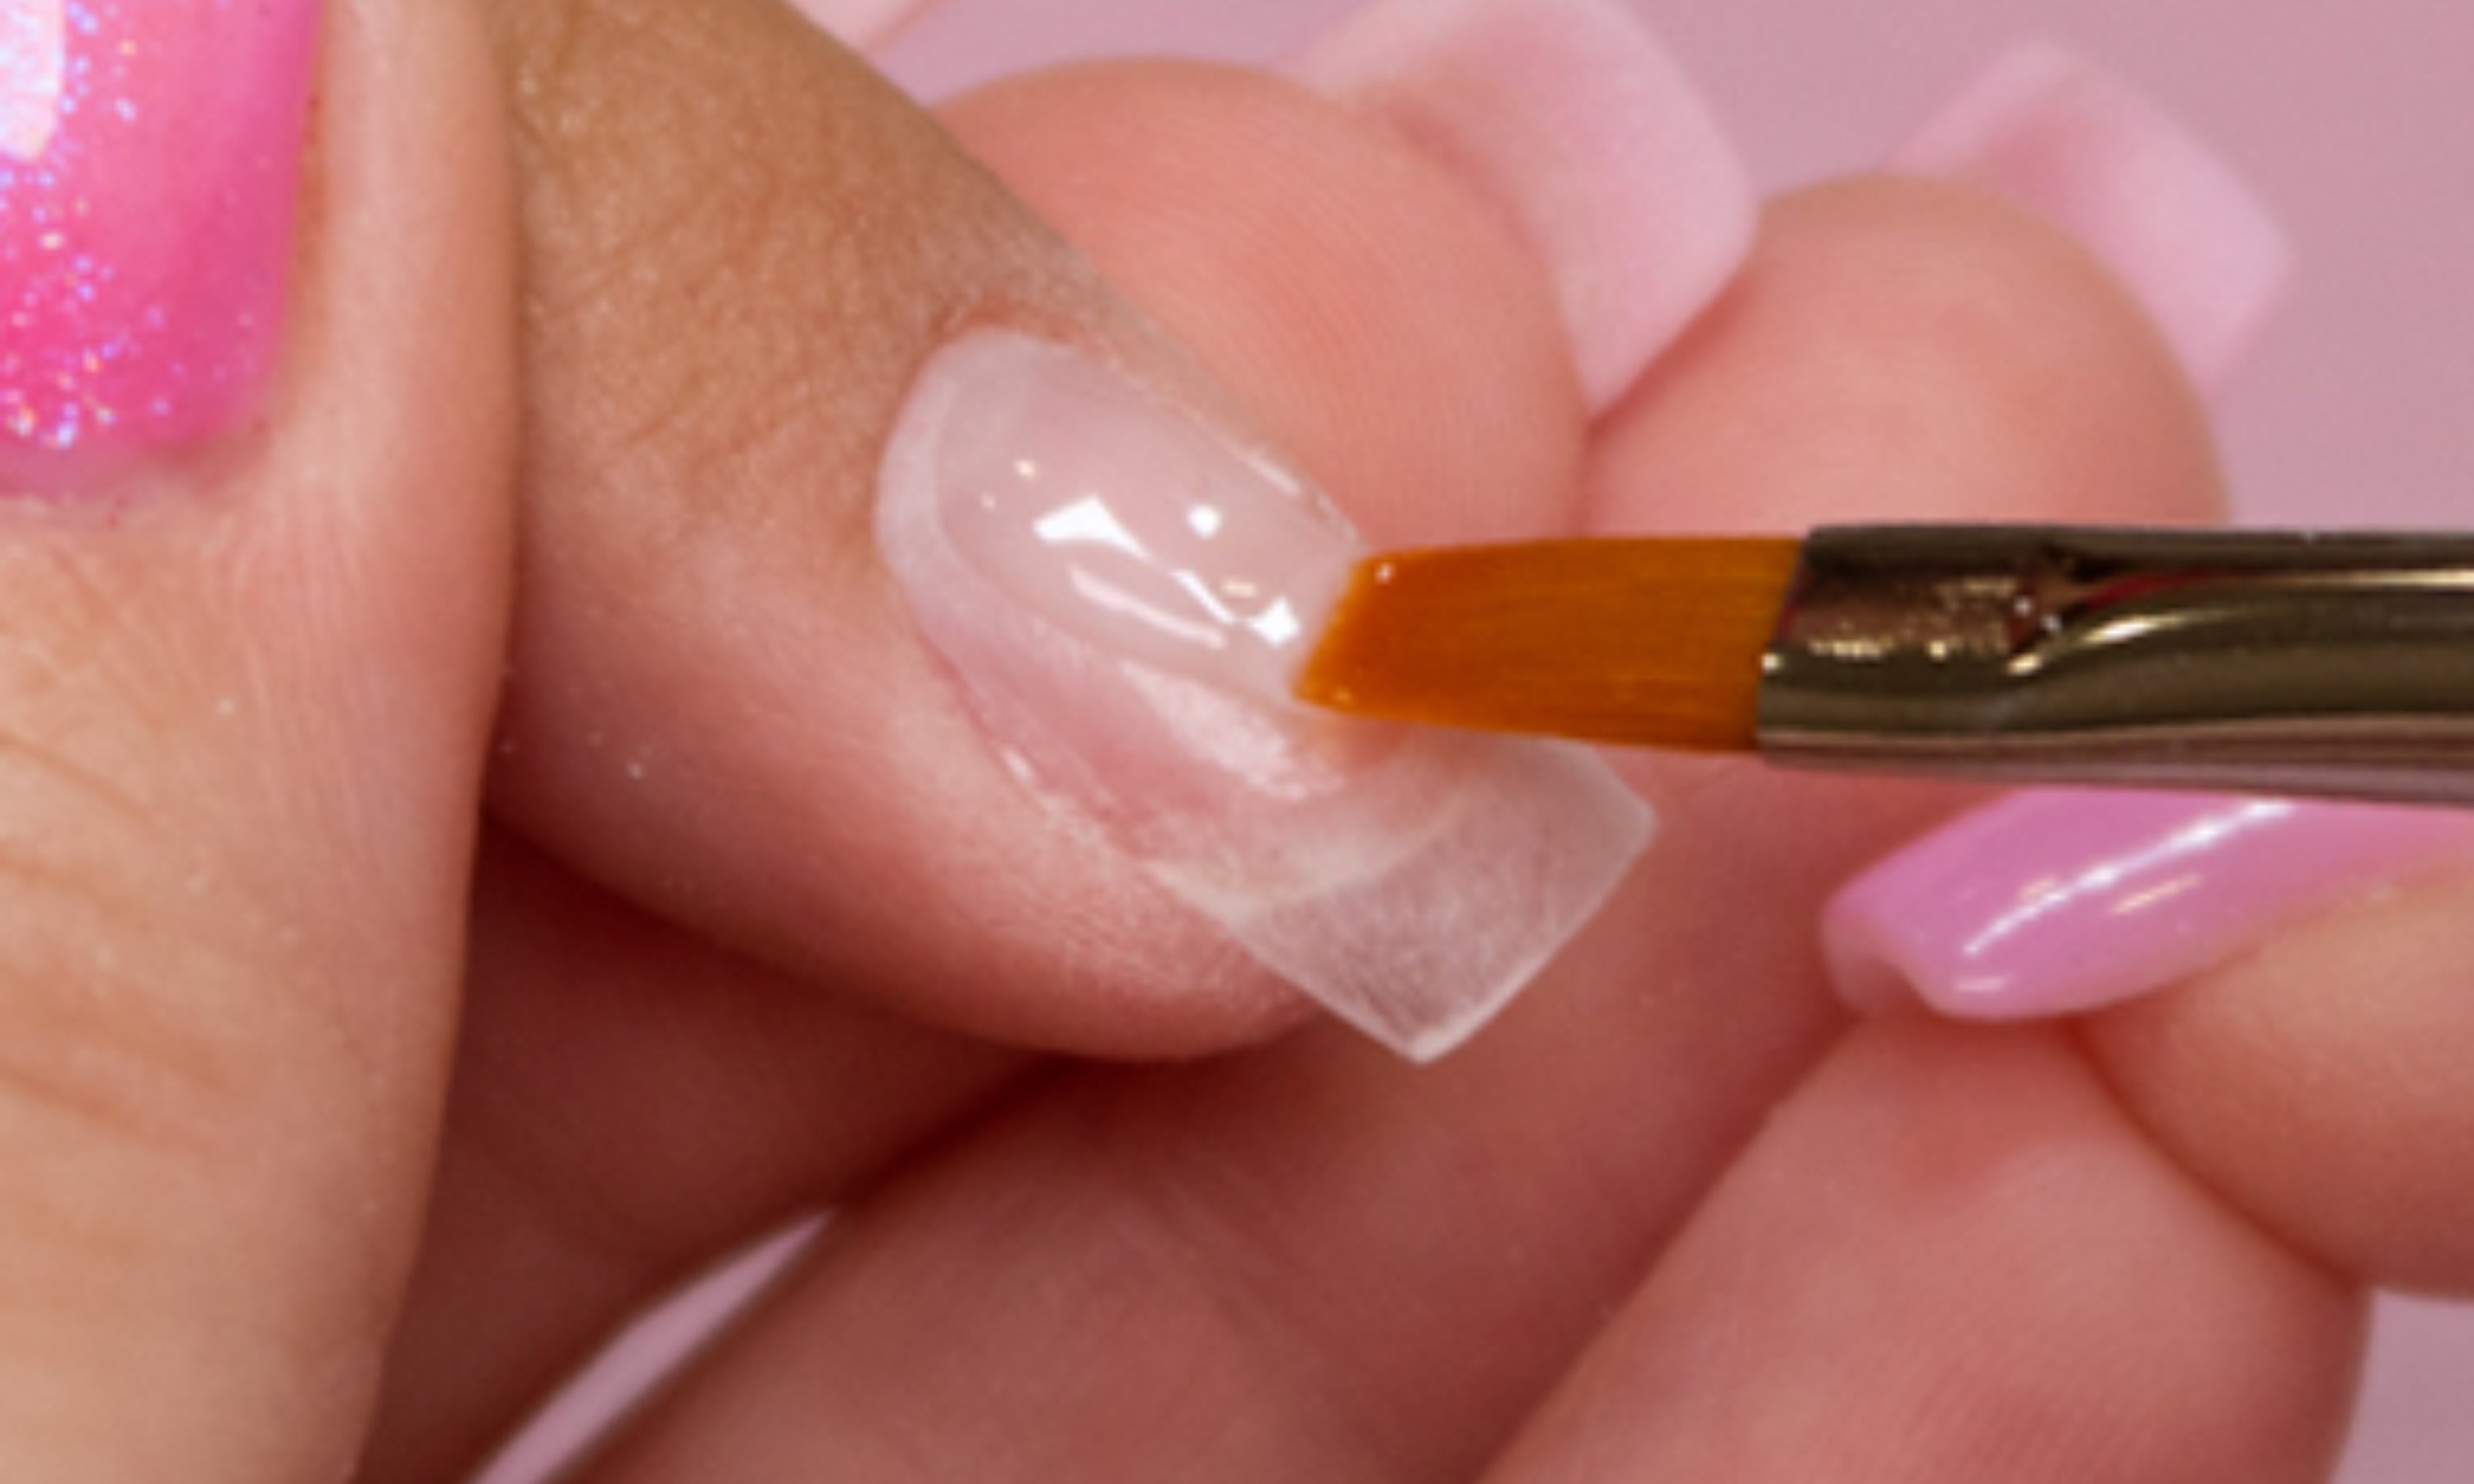
12. Apply a first thin layer of Builder Gel Clear and spread evenly over the entire nail. Cure in lamp: UV/LED – 30 sec / UV – 2 min.
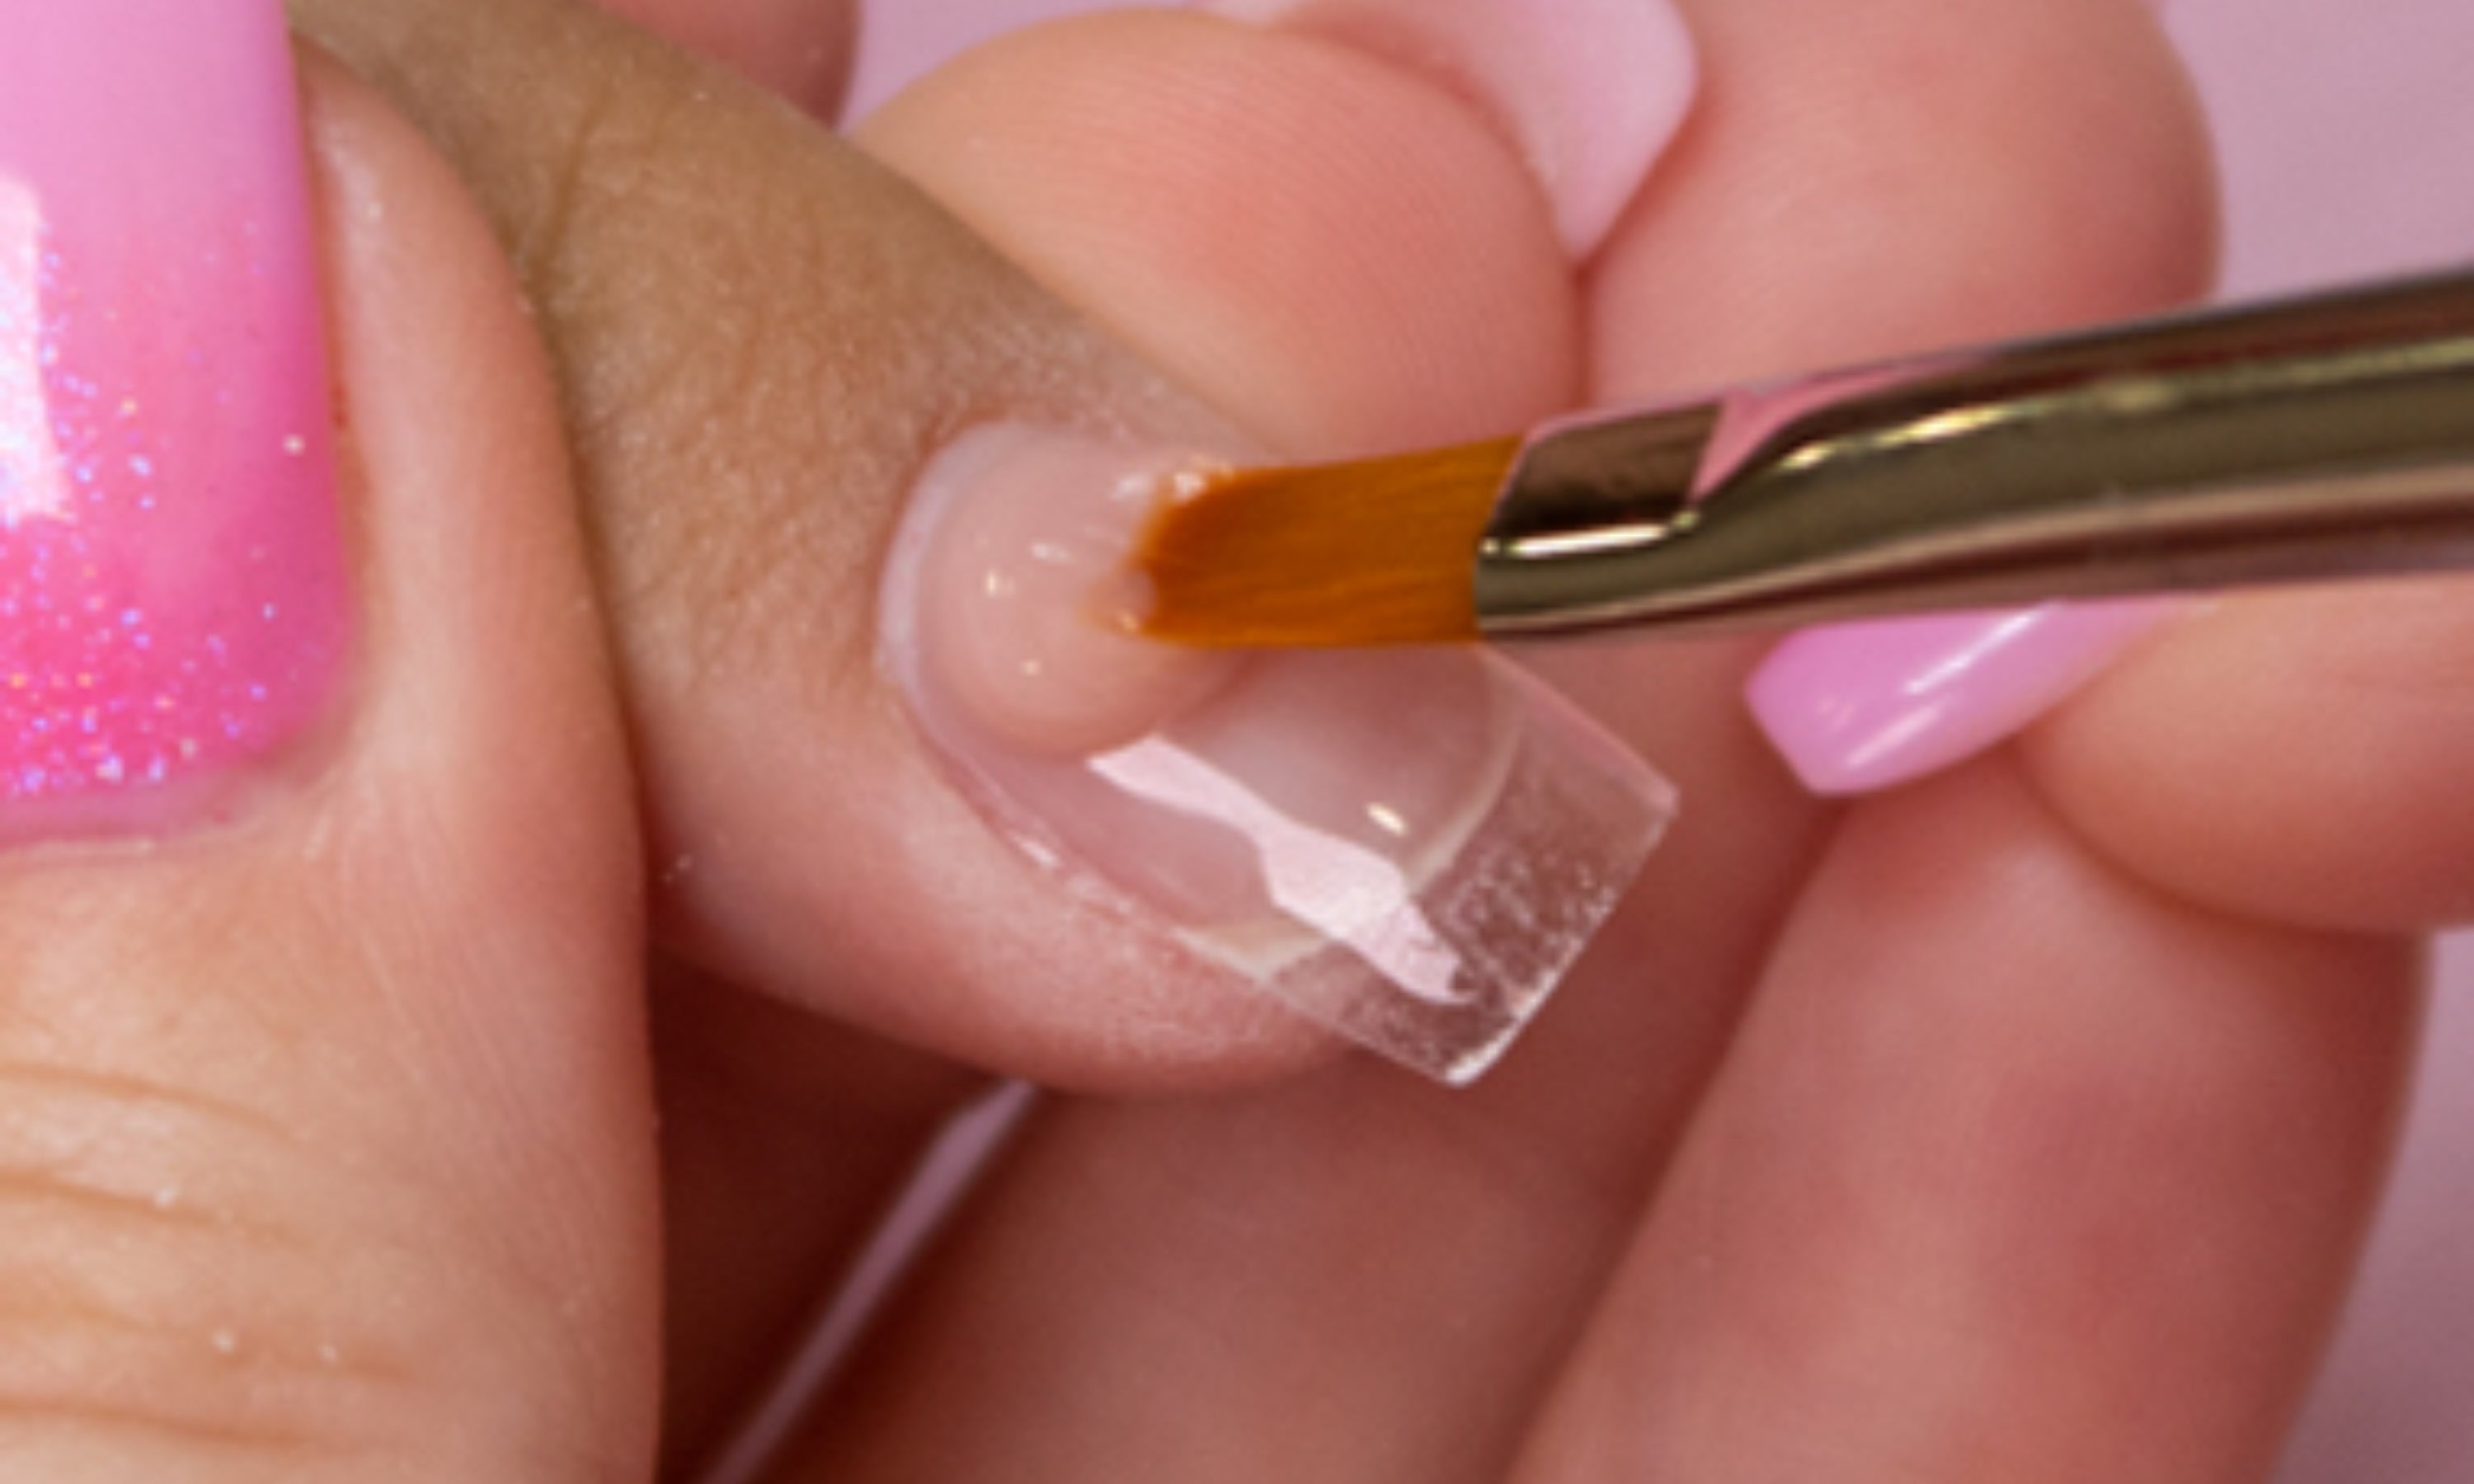
13. Take a small ball of Builder Gel Cover Blush and apply it all over the nail, leaving less product on the cuticle and tip area and more product in the centre. Cure in lamp: UV/LED – 60 sec / UV – 2 min.
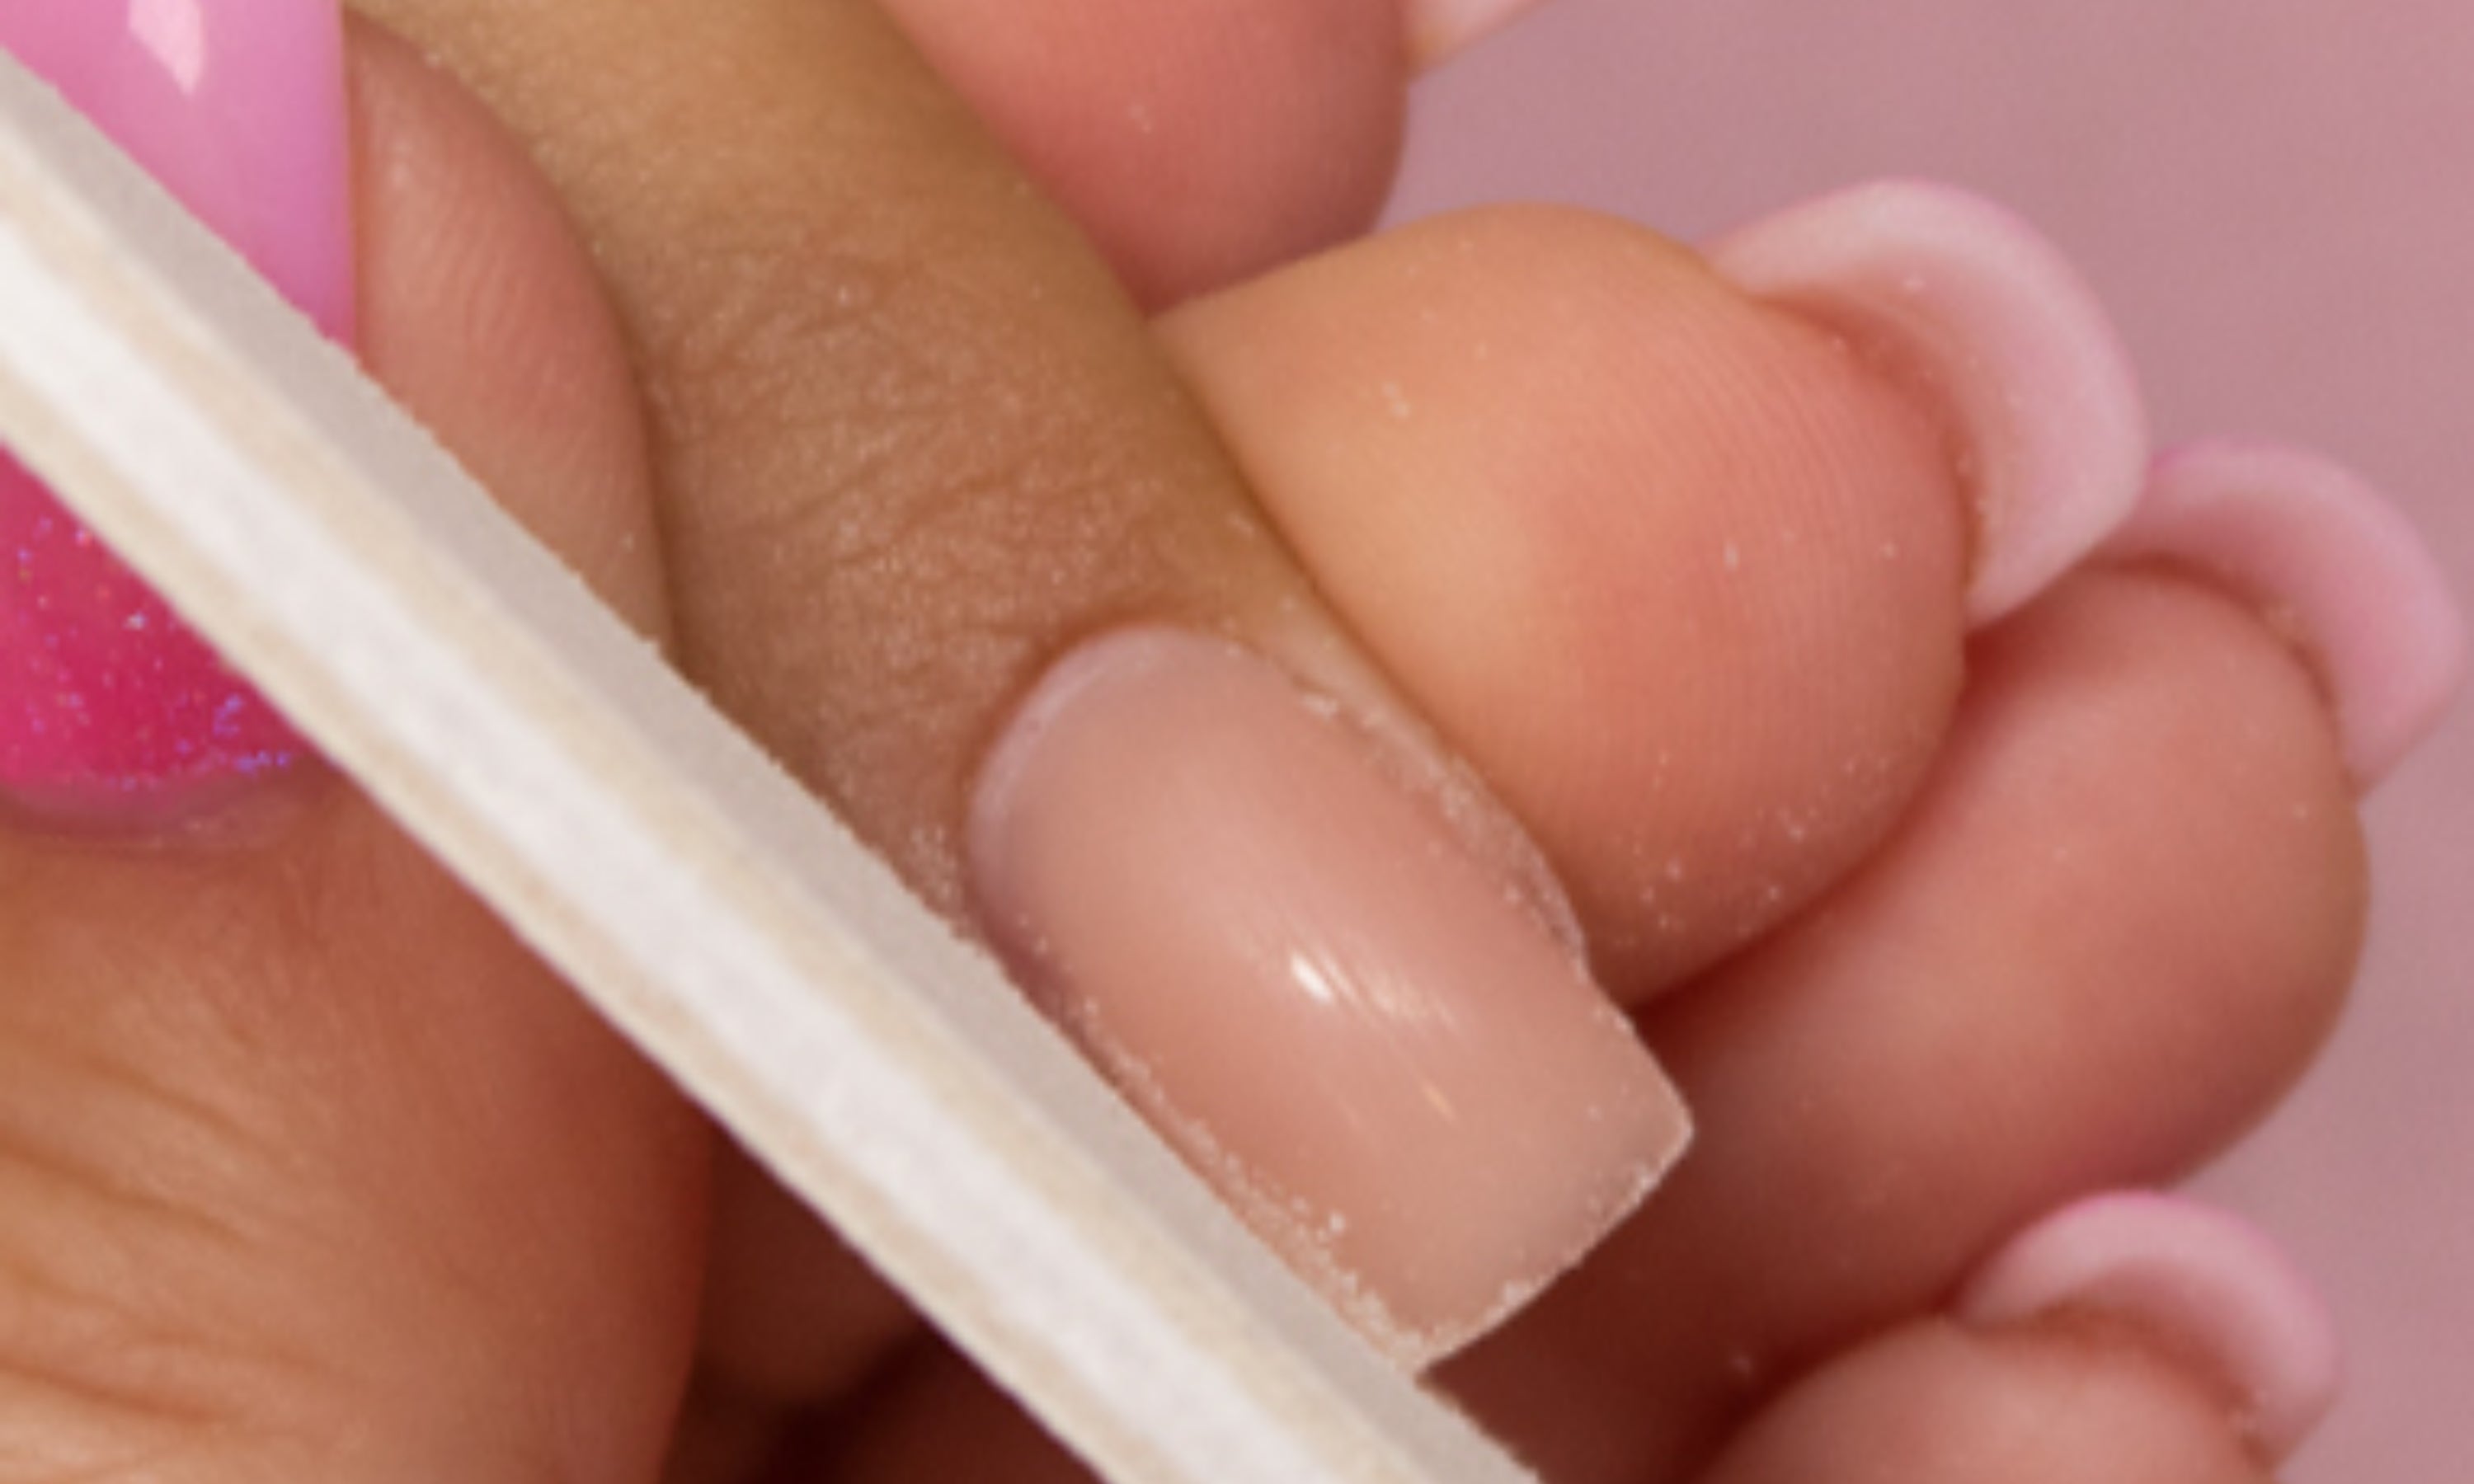
14. Clean with Cleaner and gently file the entire nail to remove any gaps and imperfections. Remove dust with the brush and clean again with Cleaner if necessary.
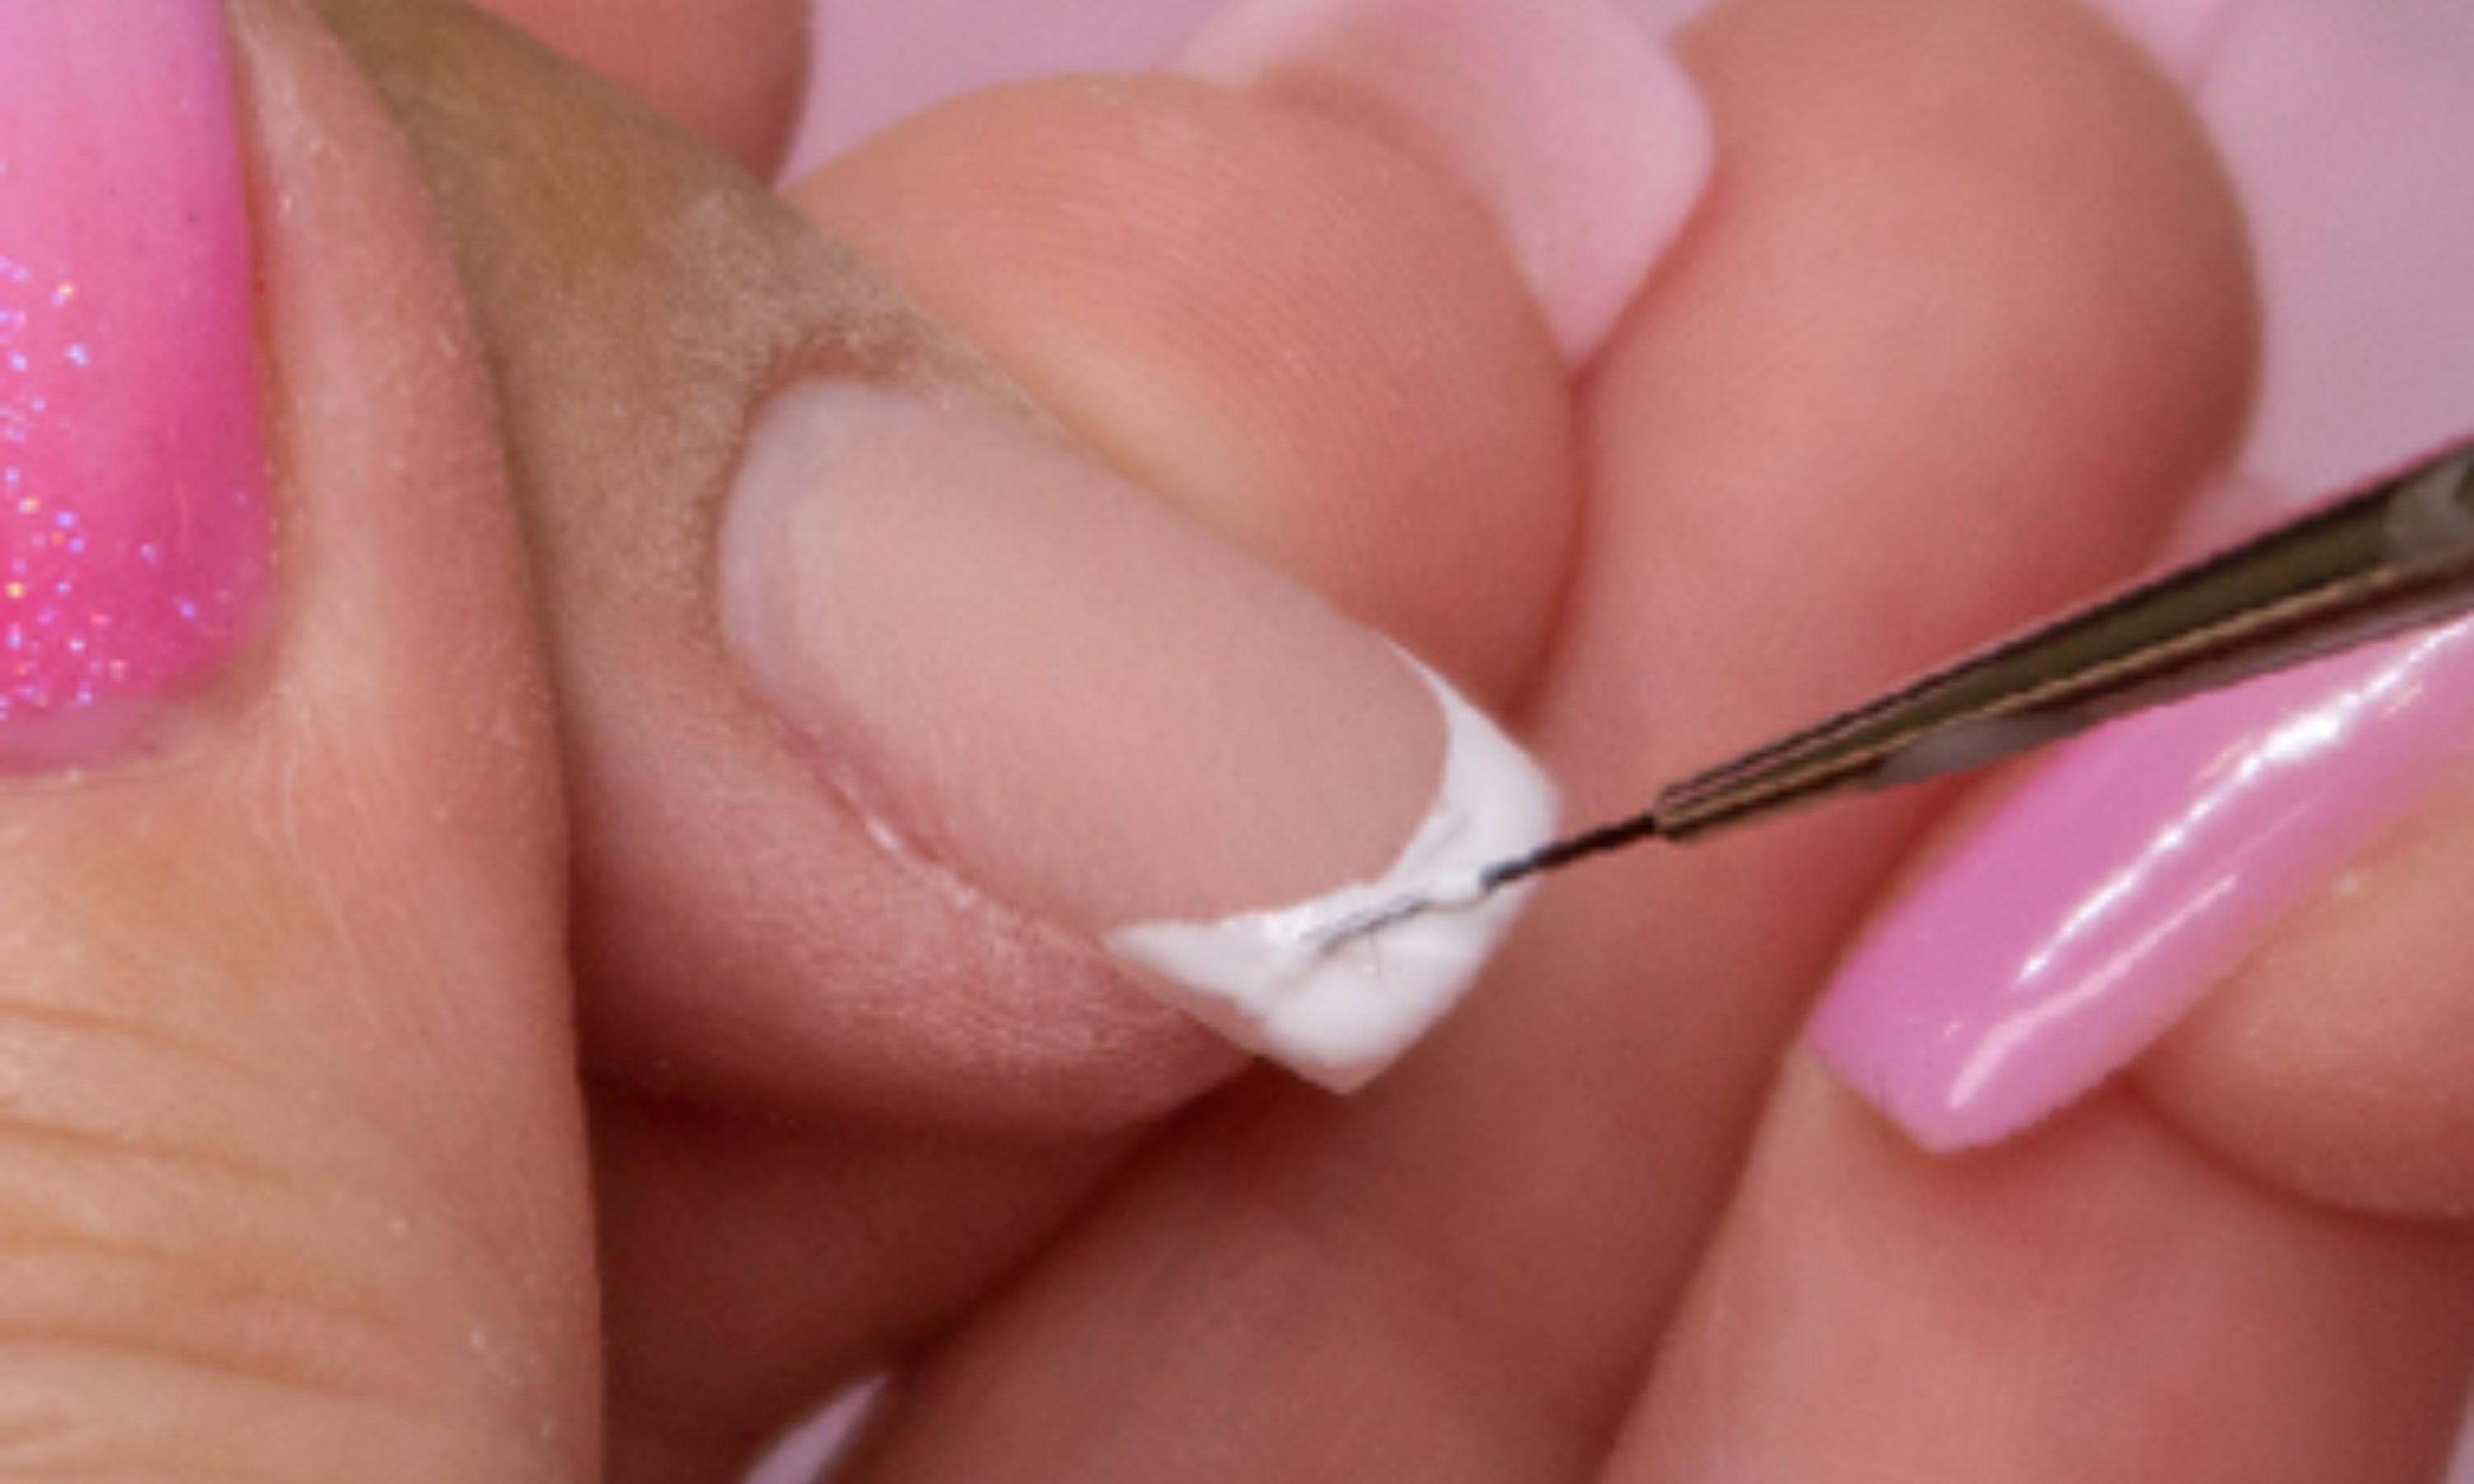
15. Perform a French manicure with French Gel Ultra White. First, mark the smile and then fill in with colour. Cure in lamp: UV/LED – 60 sec / UV – 2 min.
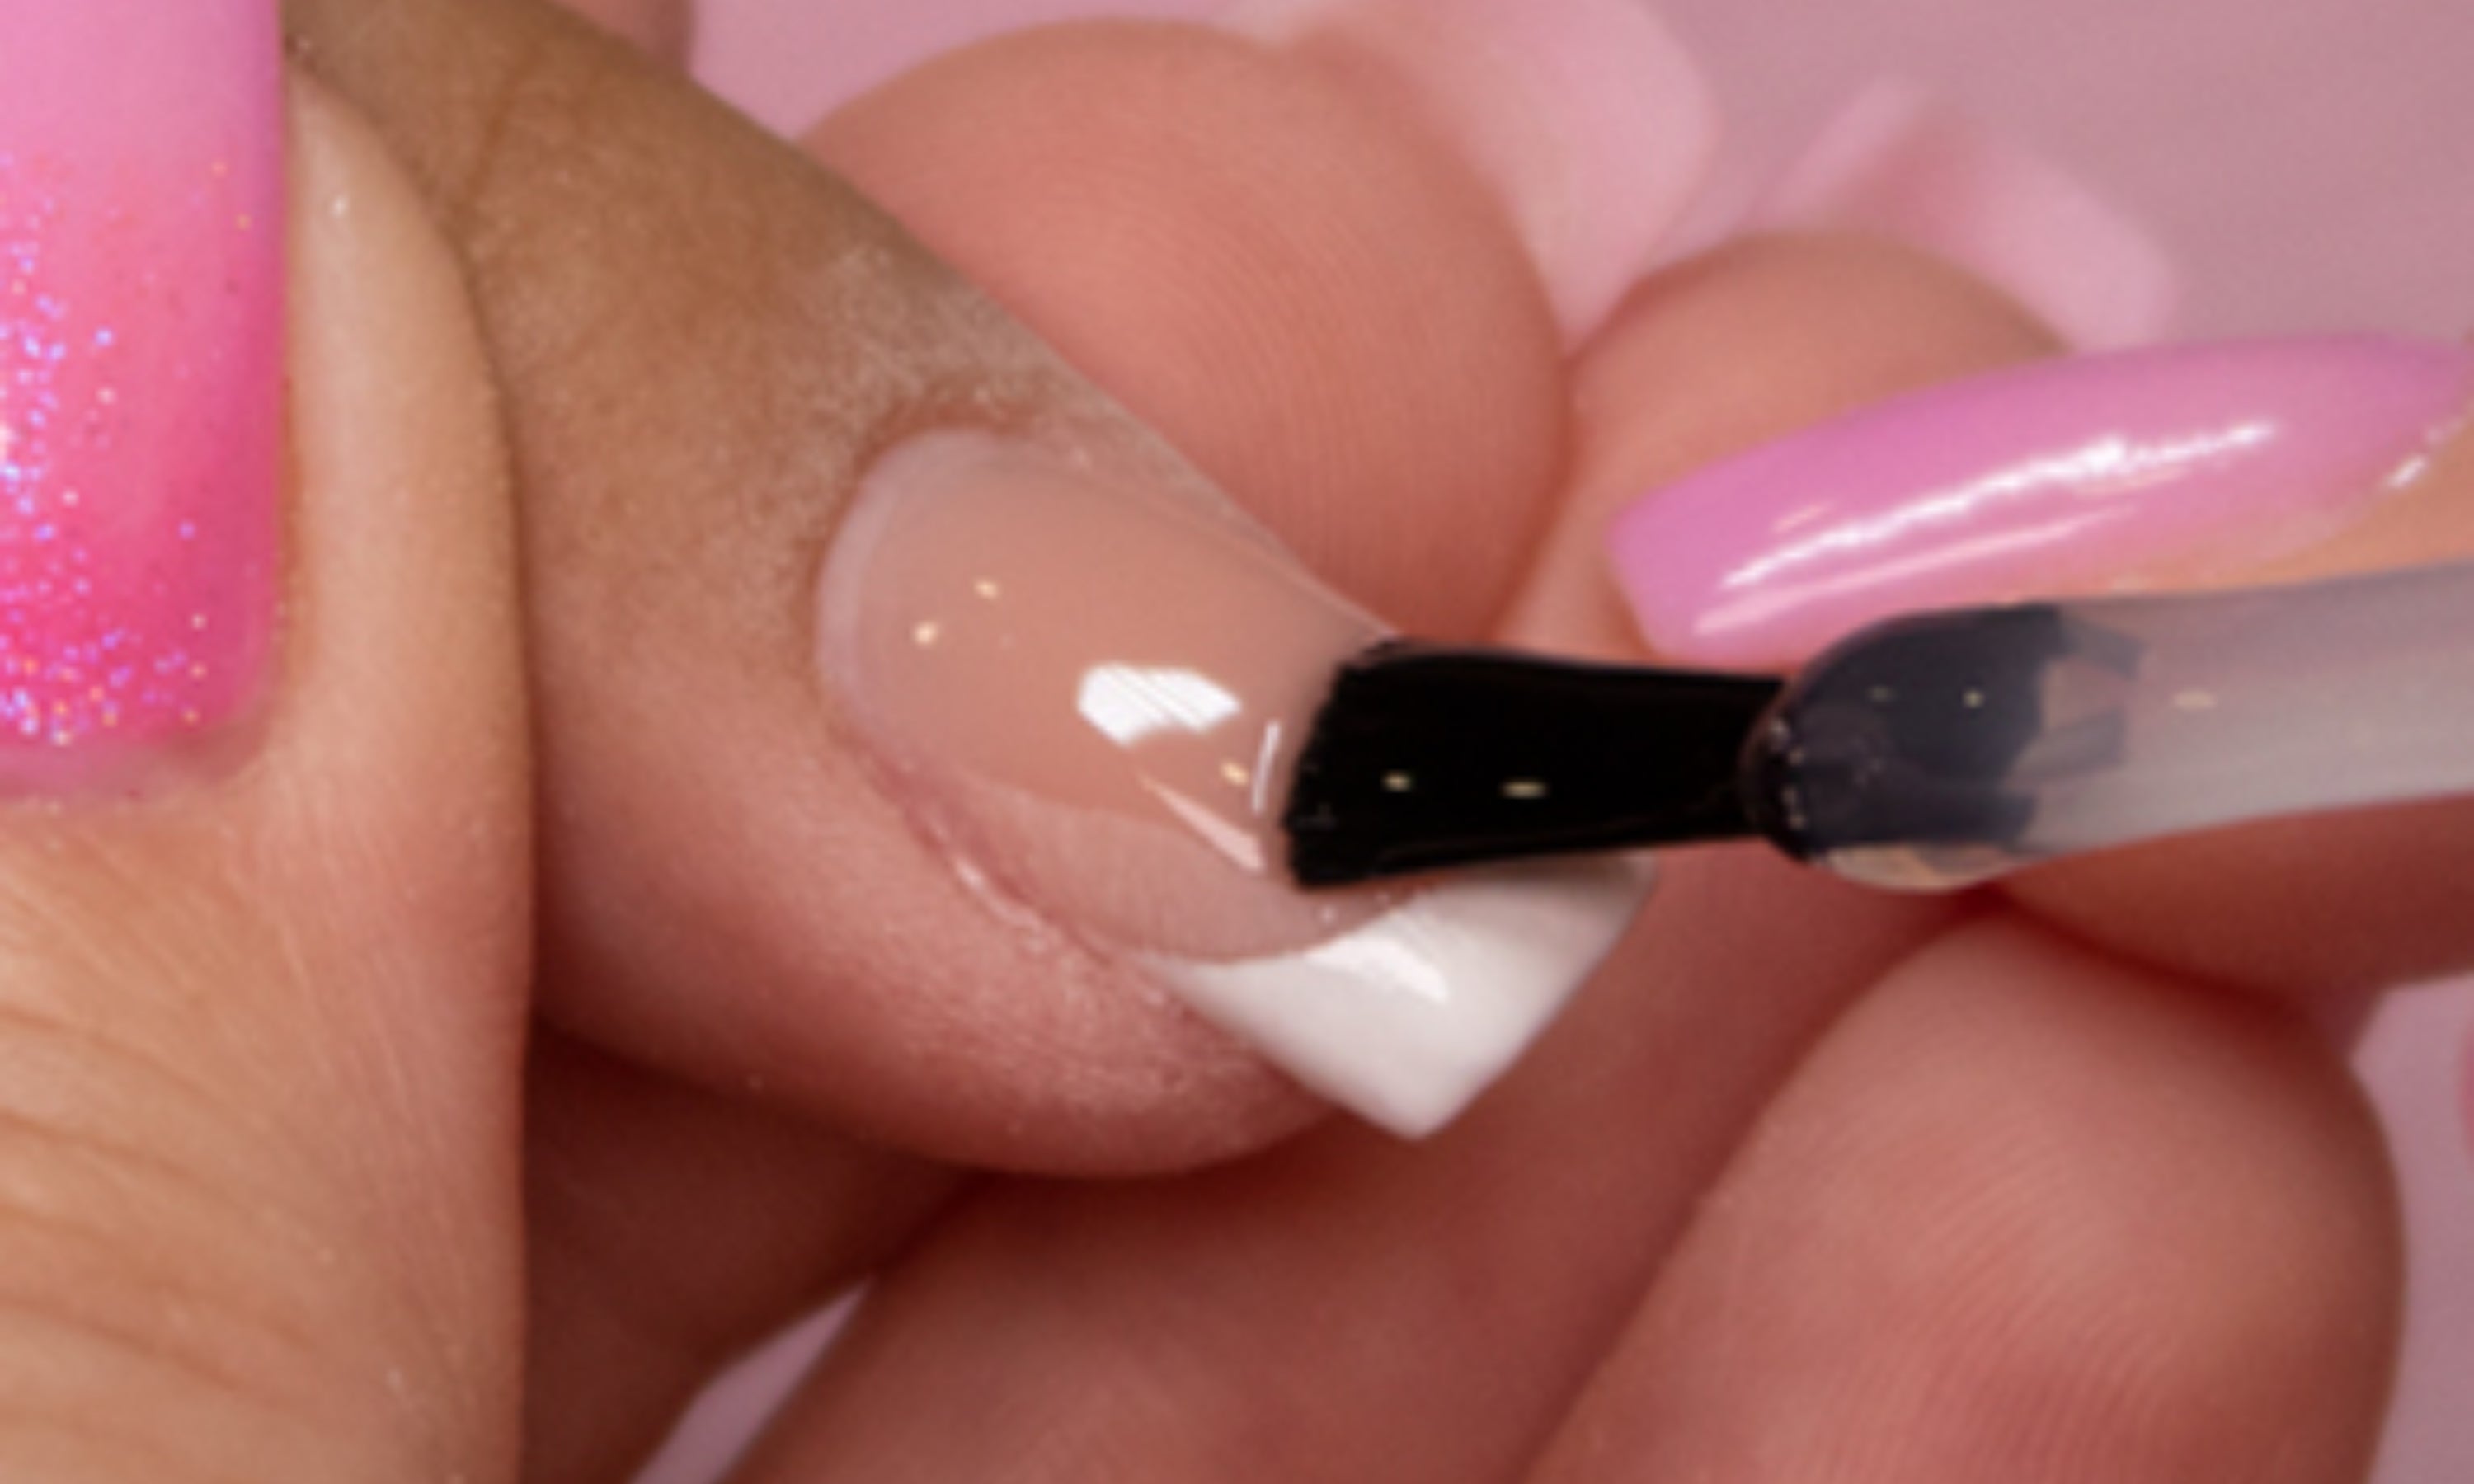
16. Apply a top coat, such as Crystal Top Gel, to give the nails a shine. Cure in lamp: UV/LED – 60 sec / UV – 2 min
EXTEND WITH MOLDS
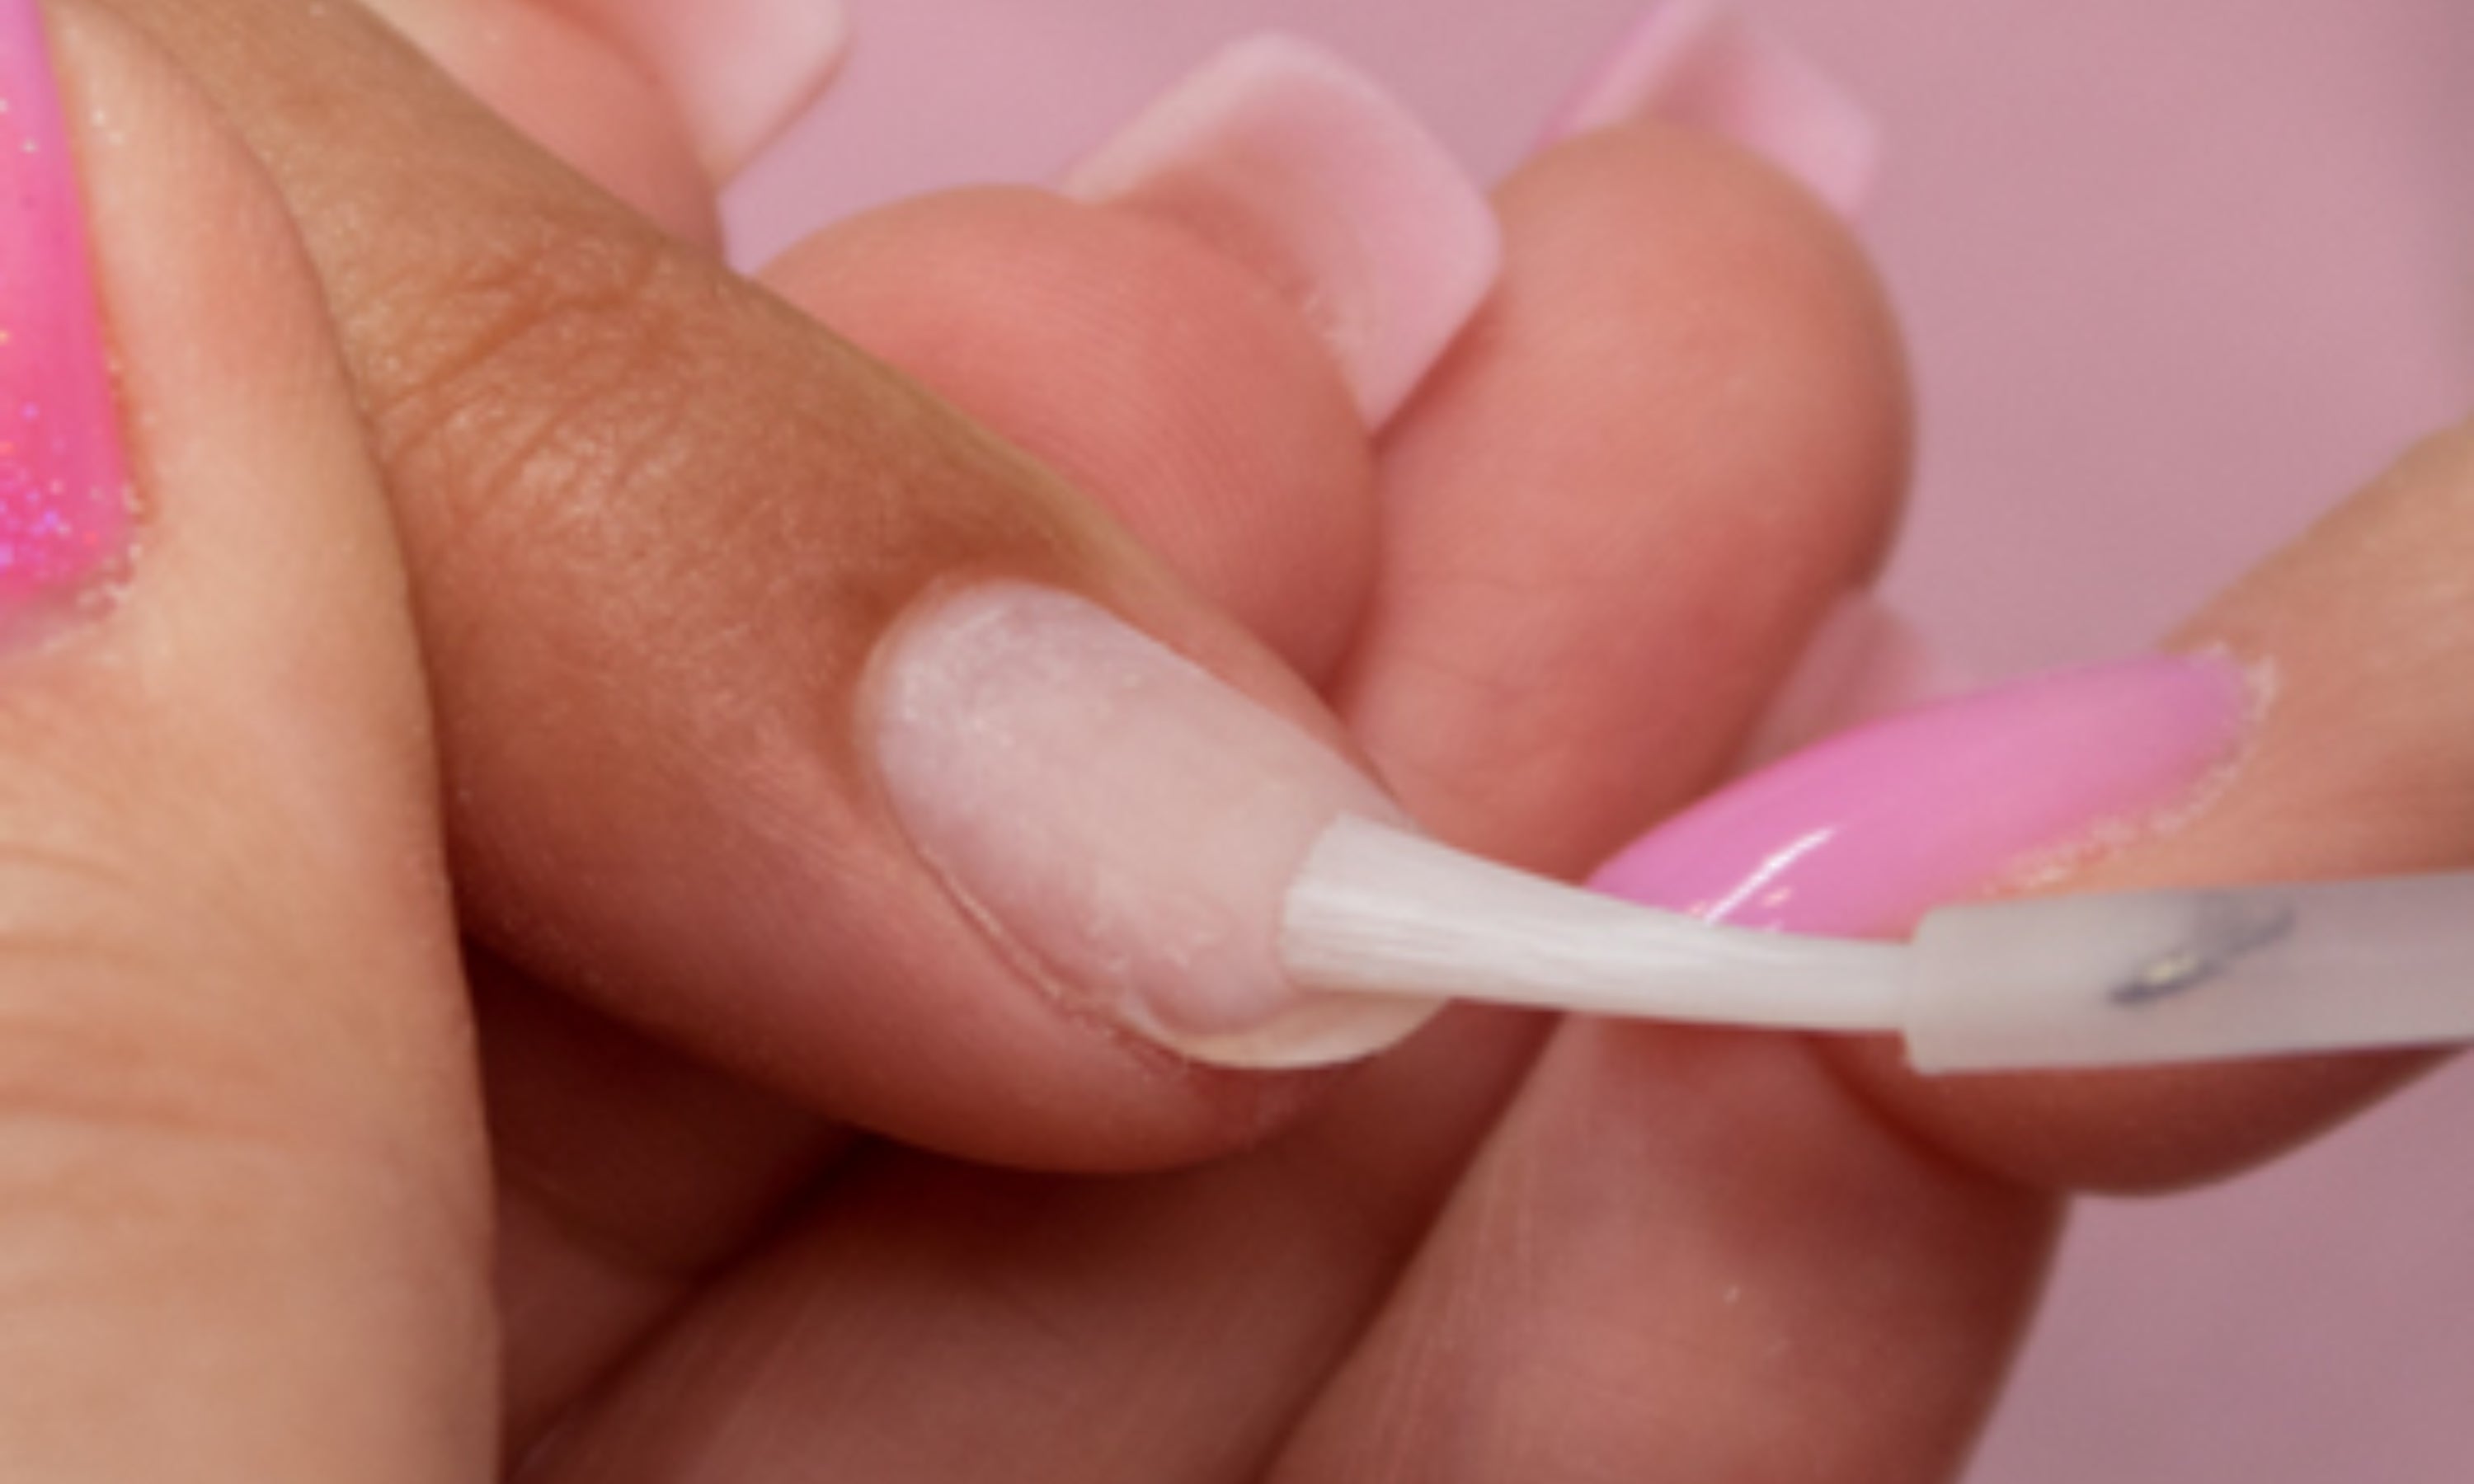
17. Apply Ultra-Bond Primer (acid-free adhesive) to the entire nail without touching the skin or cuticle. If the nail is very oily, it is recommended to apply Nail Prep beforehand to degrease.
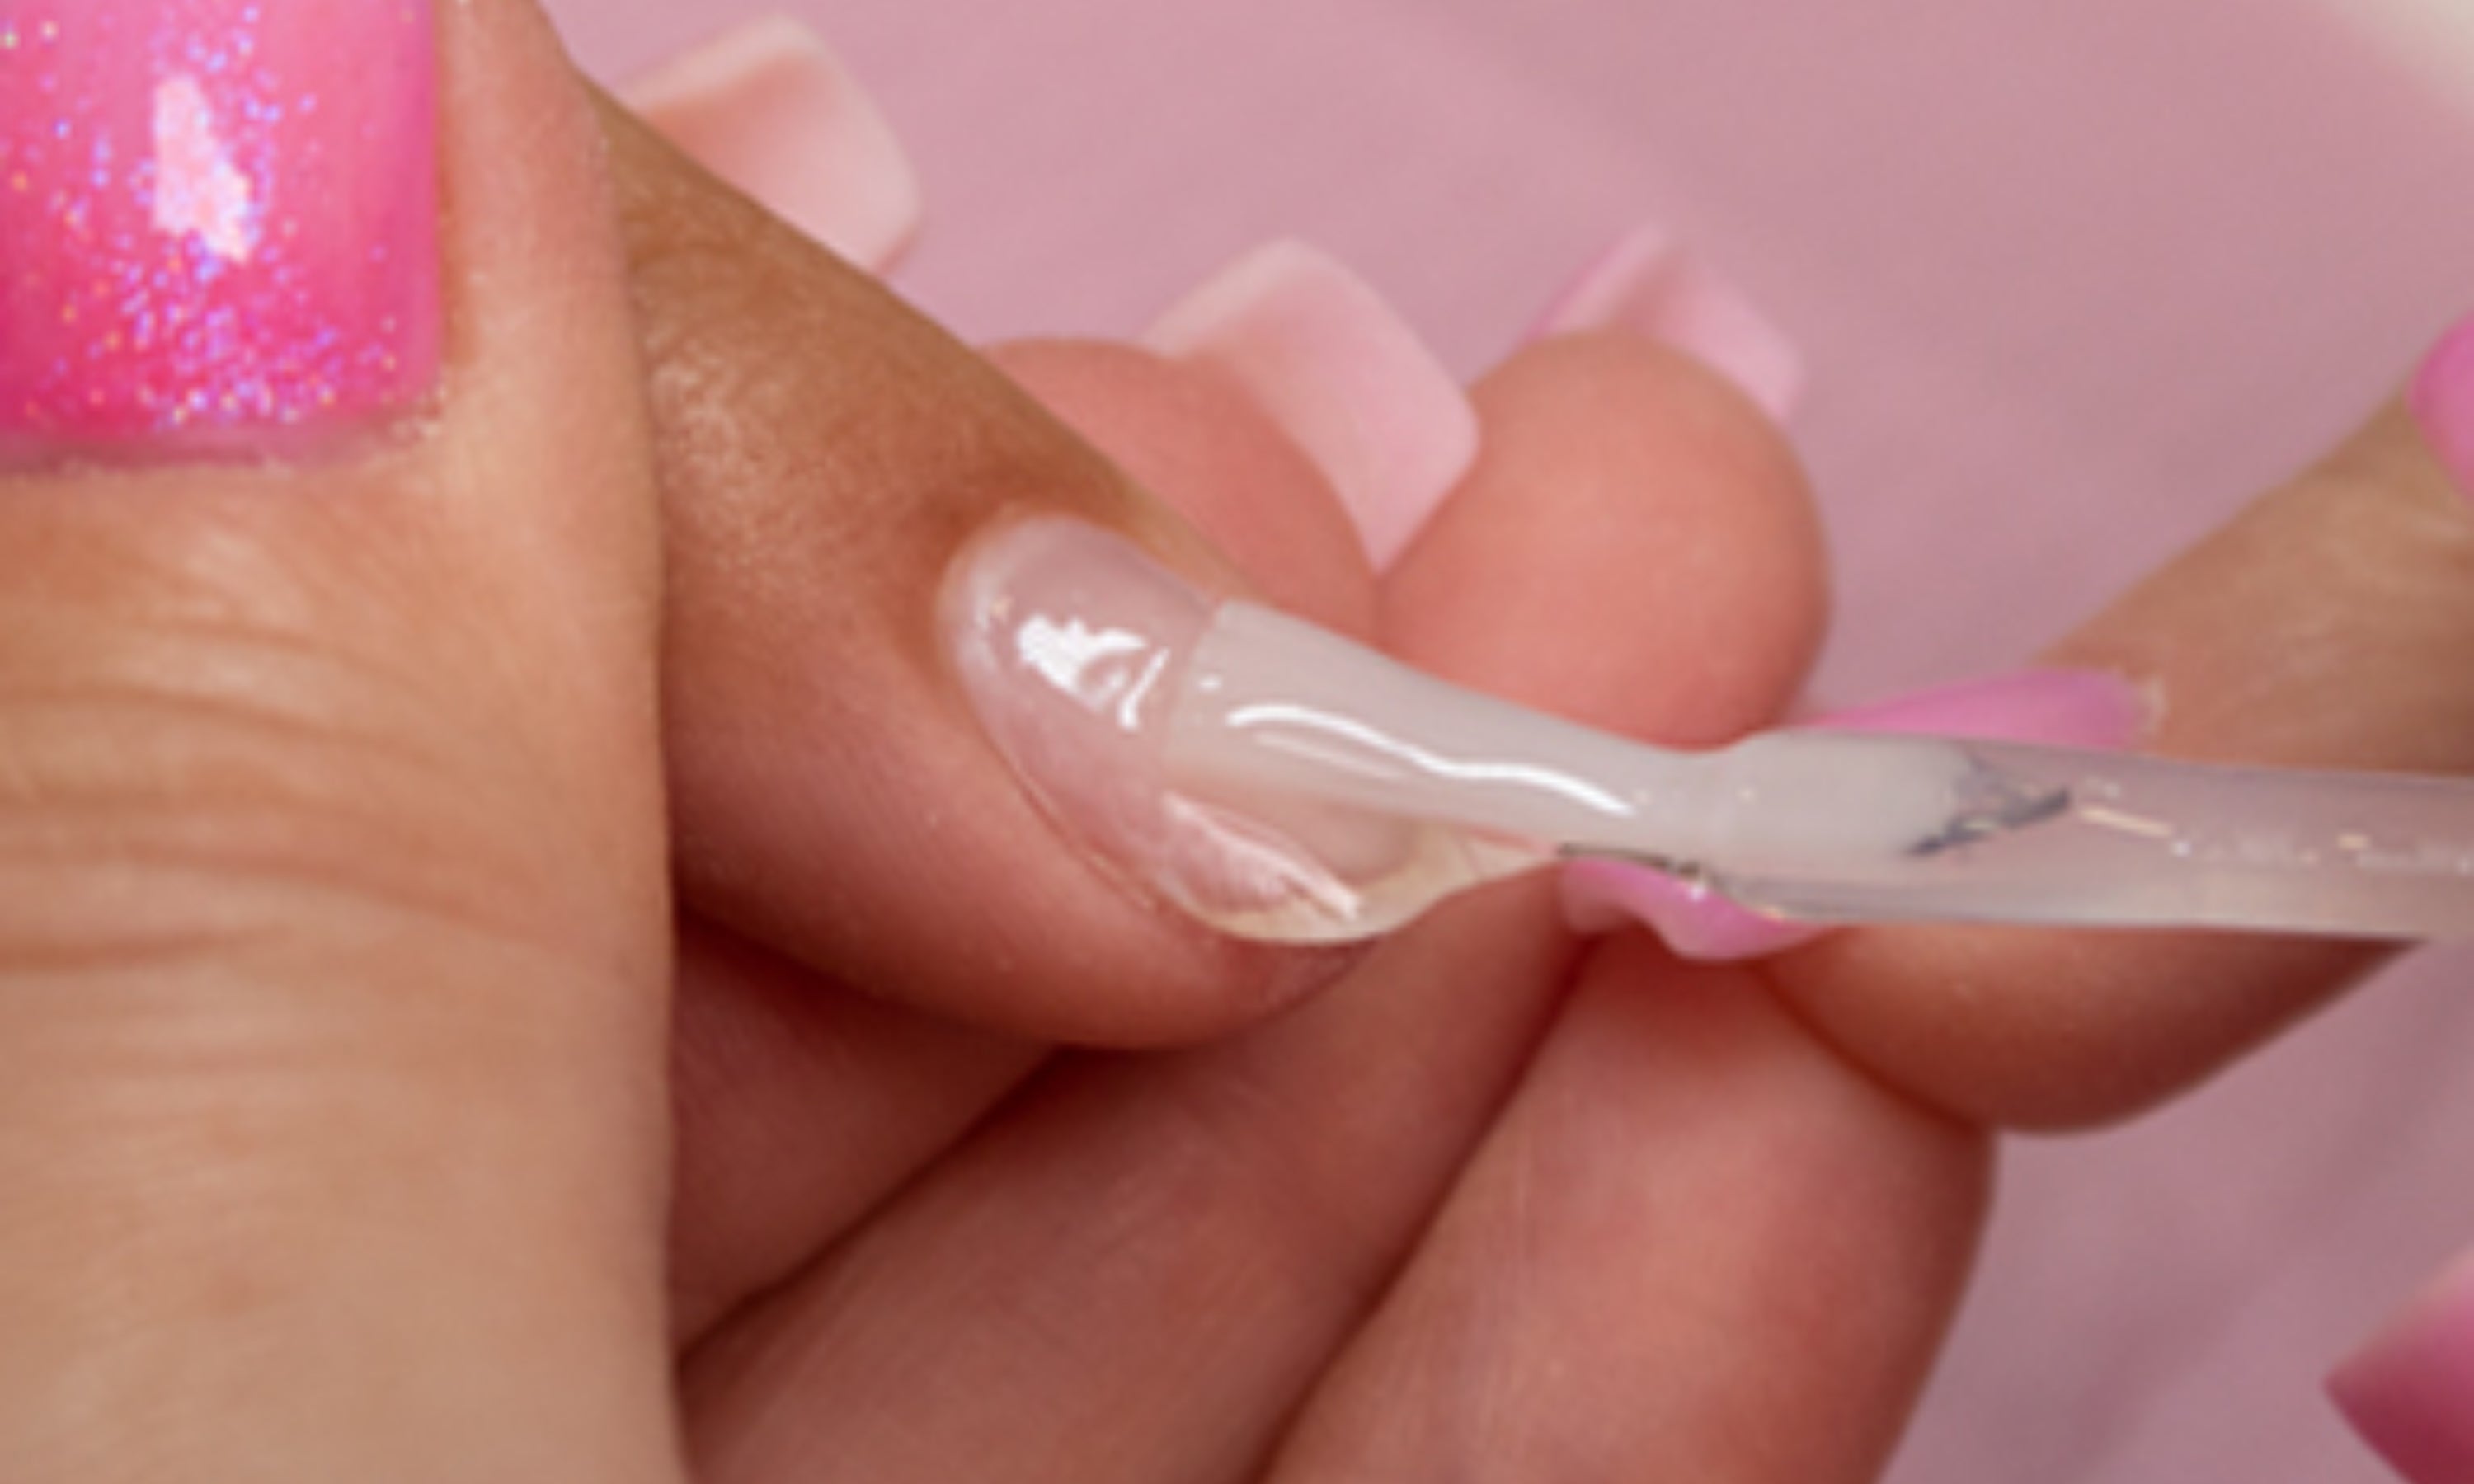
18. We apply a thin layer of any permanent enamel base to improve the adhesion of the product.
Cure in lamp: UV/LED – 60 sec / UV – 2 min.
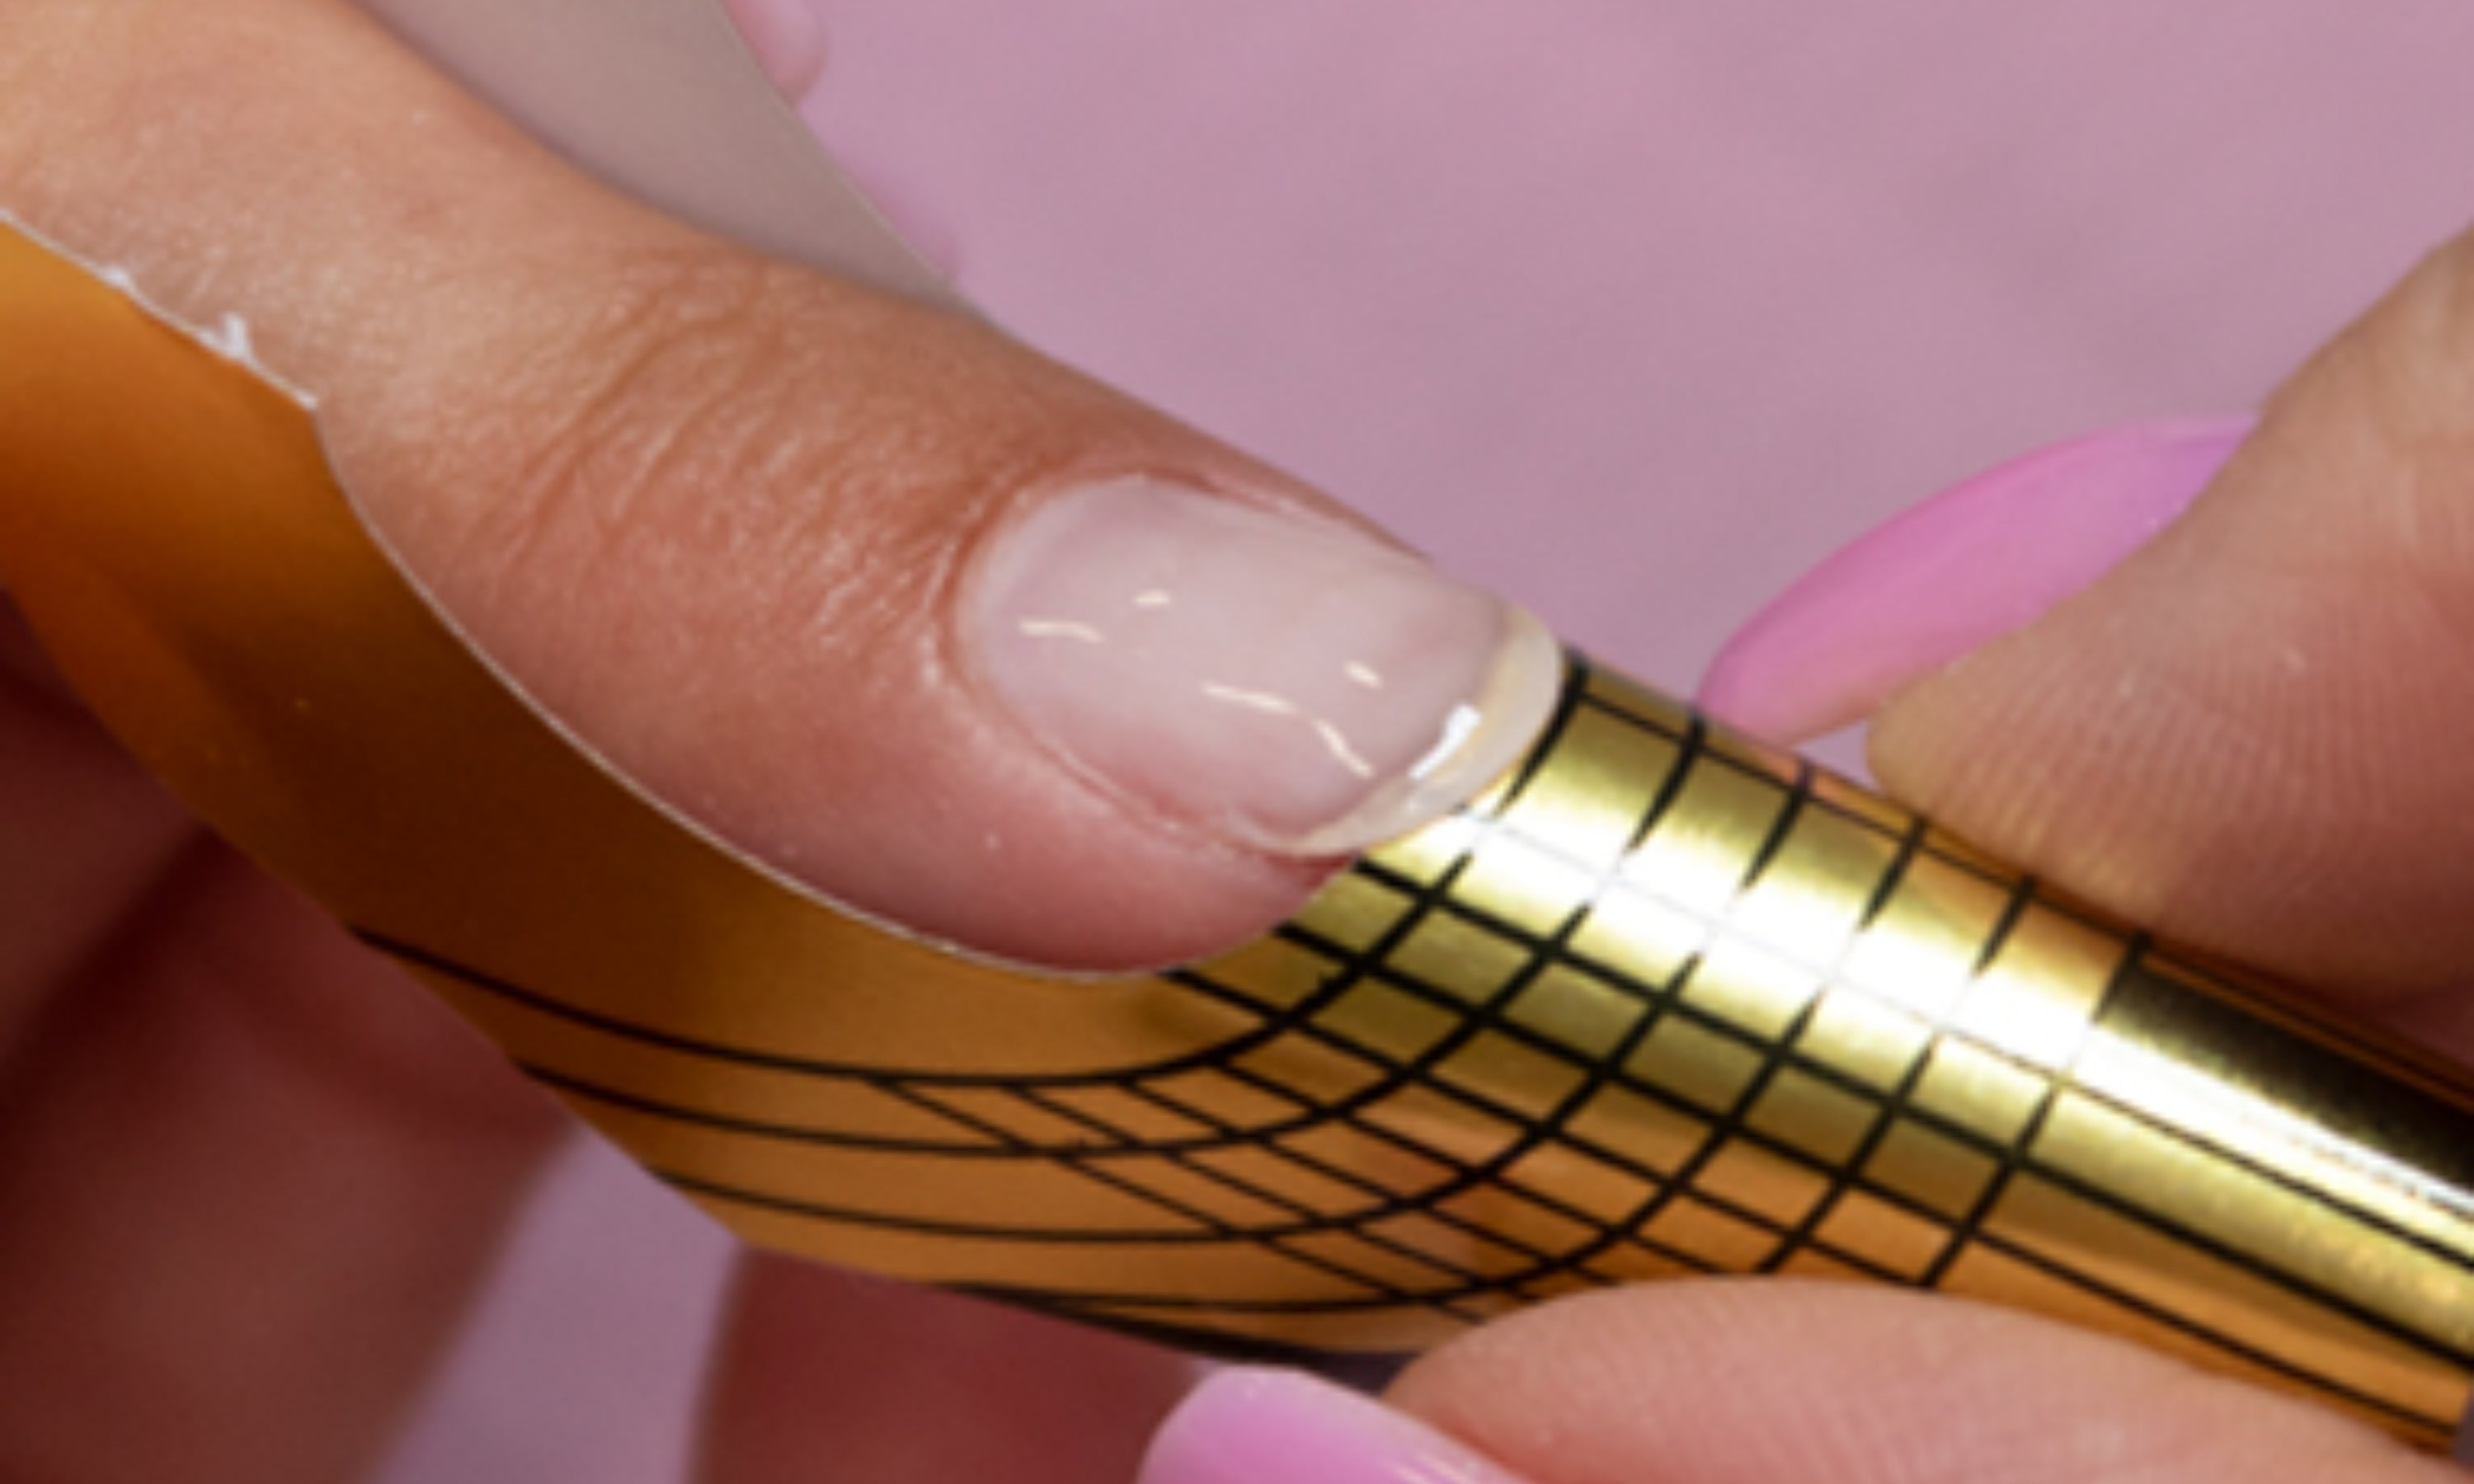
19. Peel the mold off the paper and try to make sure it fits on your nail. Each finger is different and some may fit on the first try and others may not.
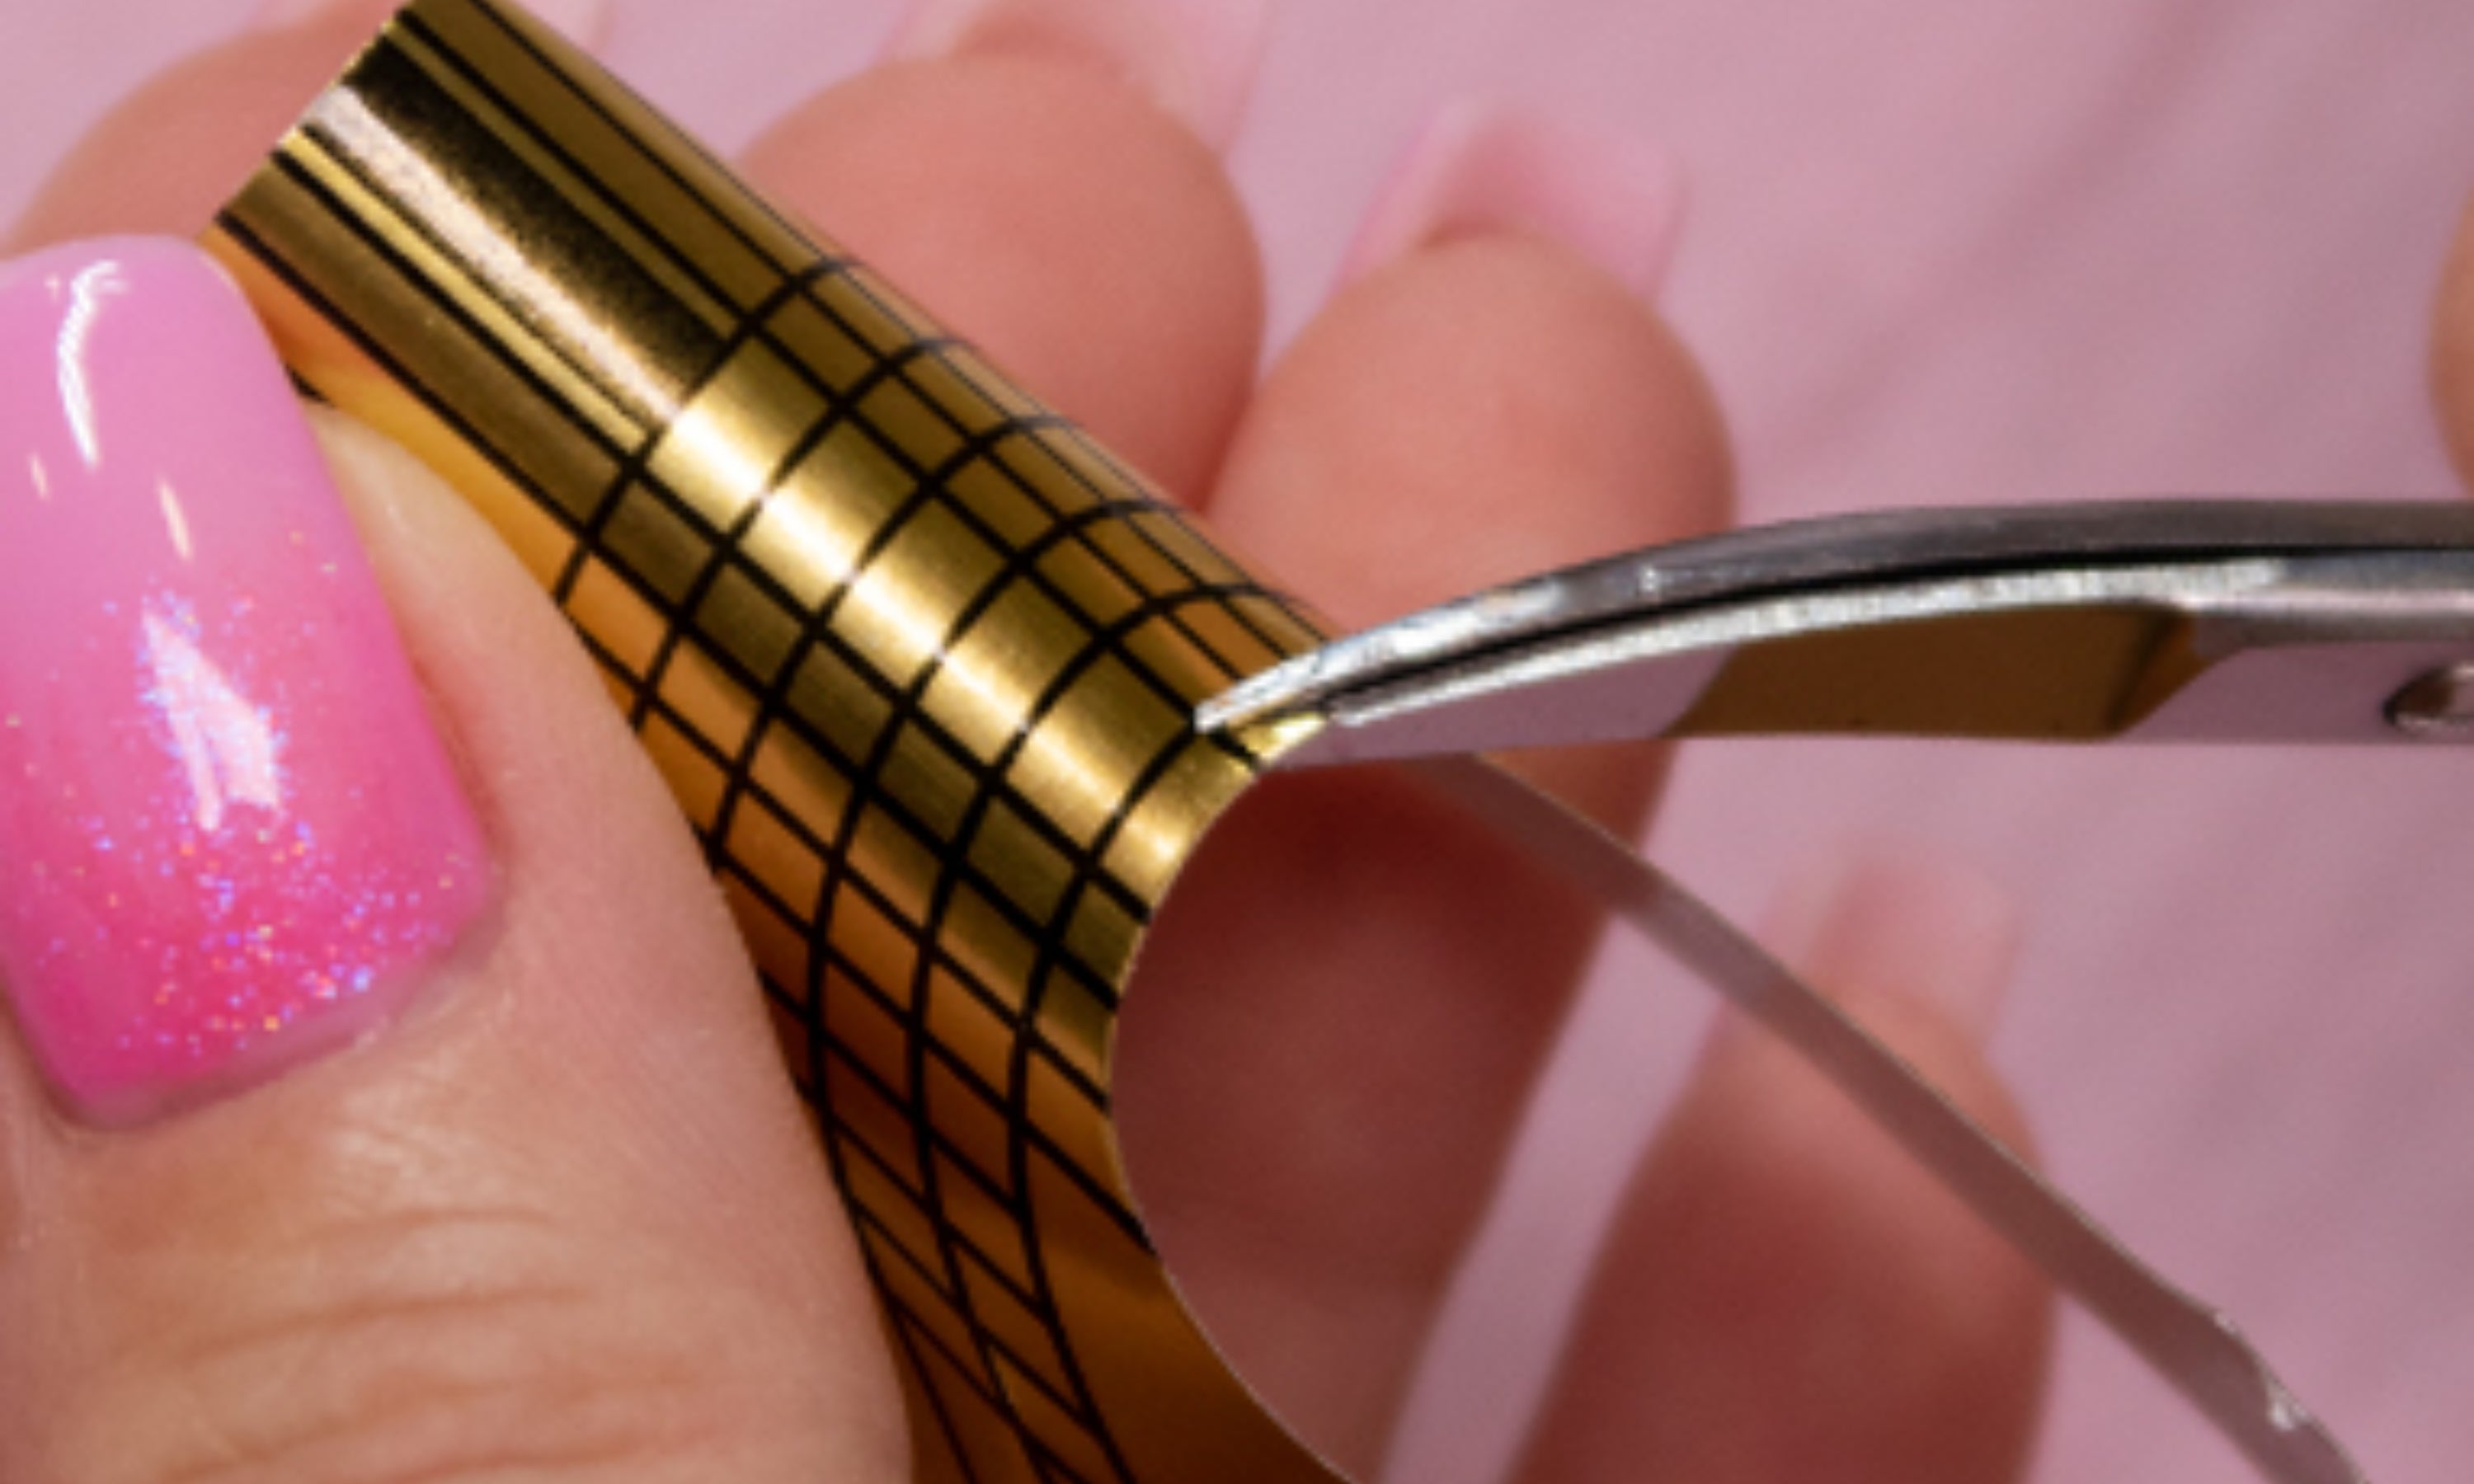
20. Make small triangle-shaped cuts in the area where the finger fits. This step is a little more complex, but with practice it is a process that improves.
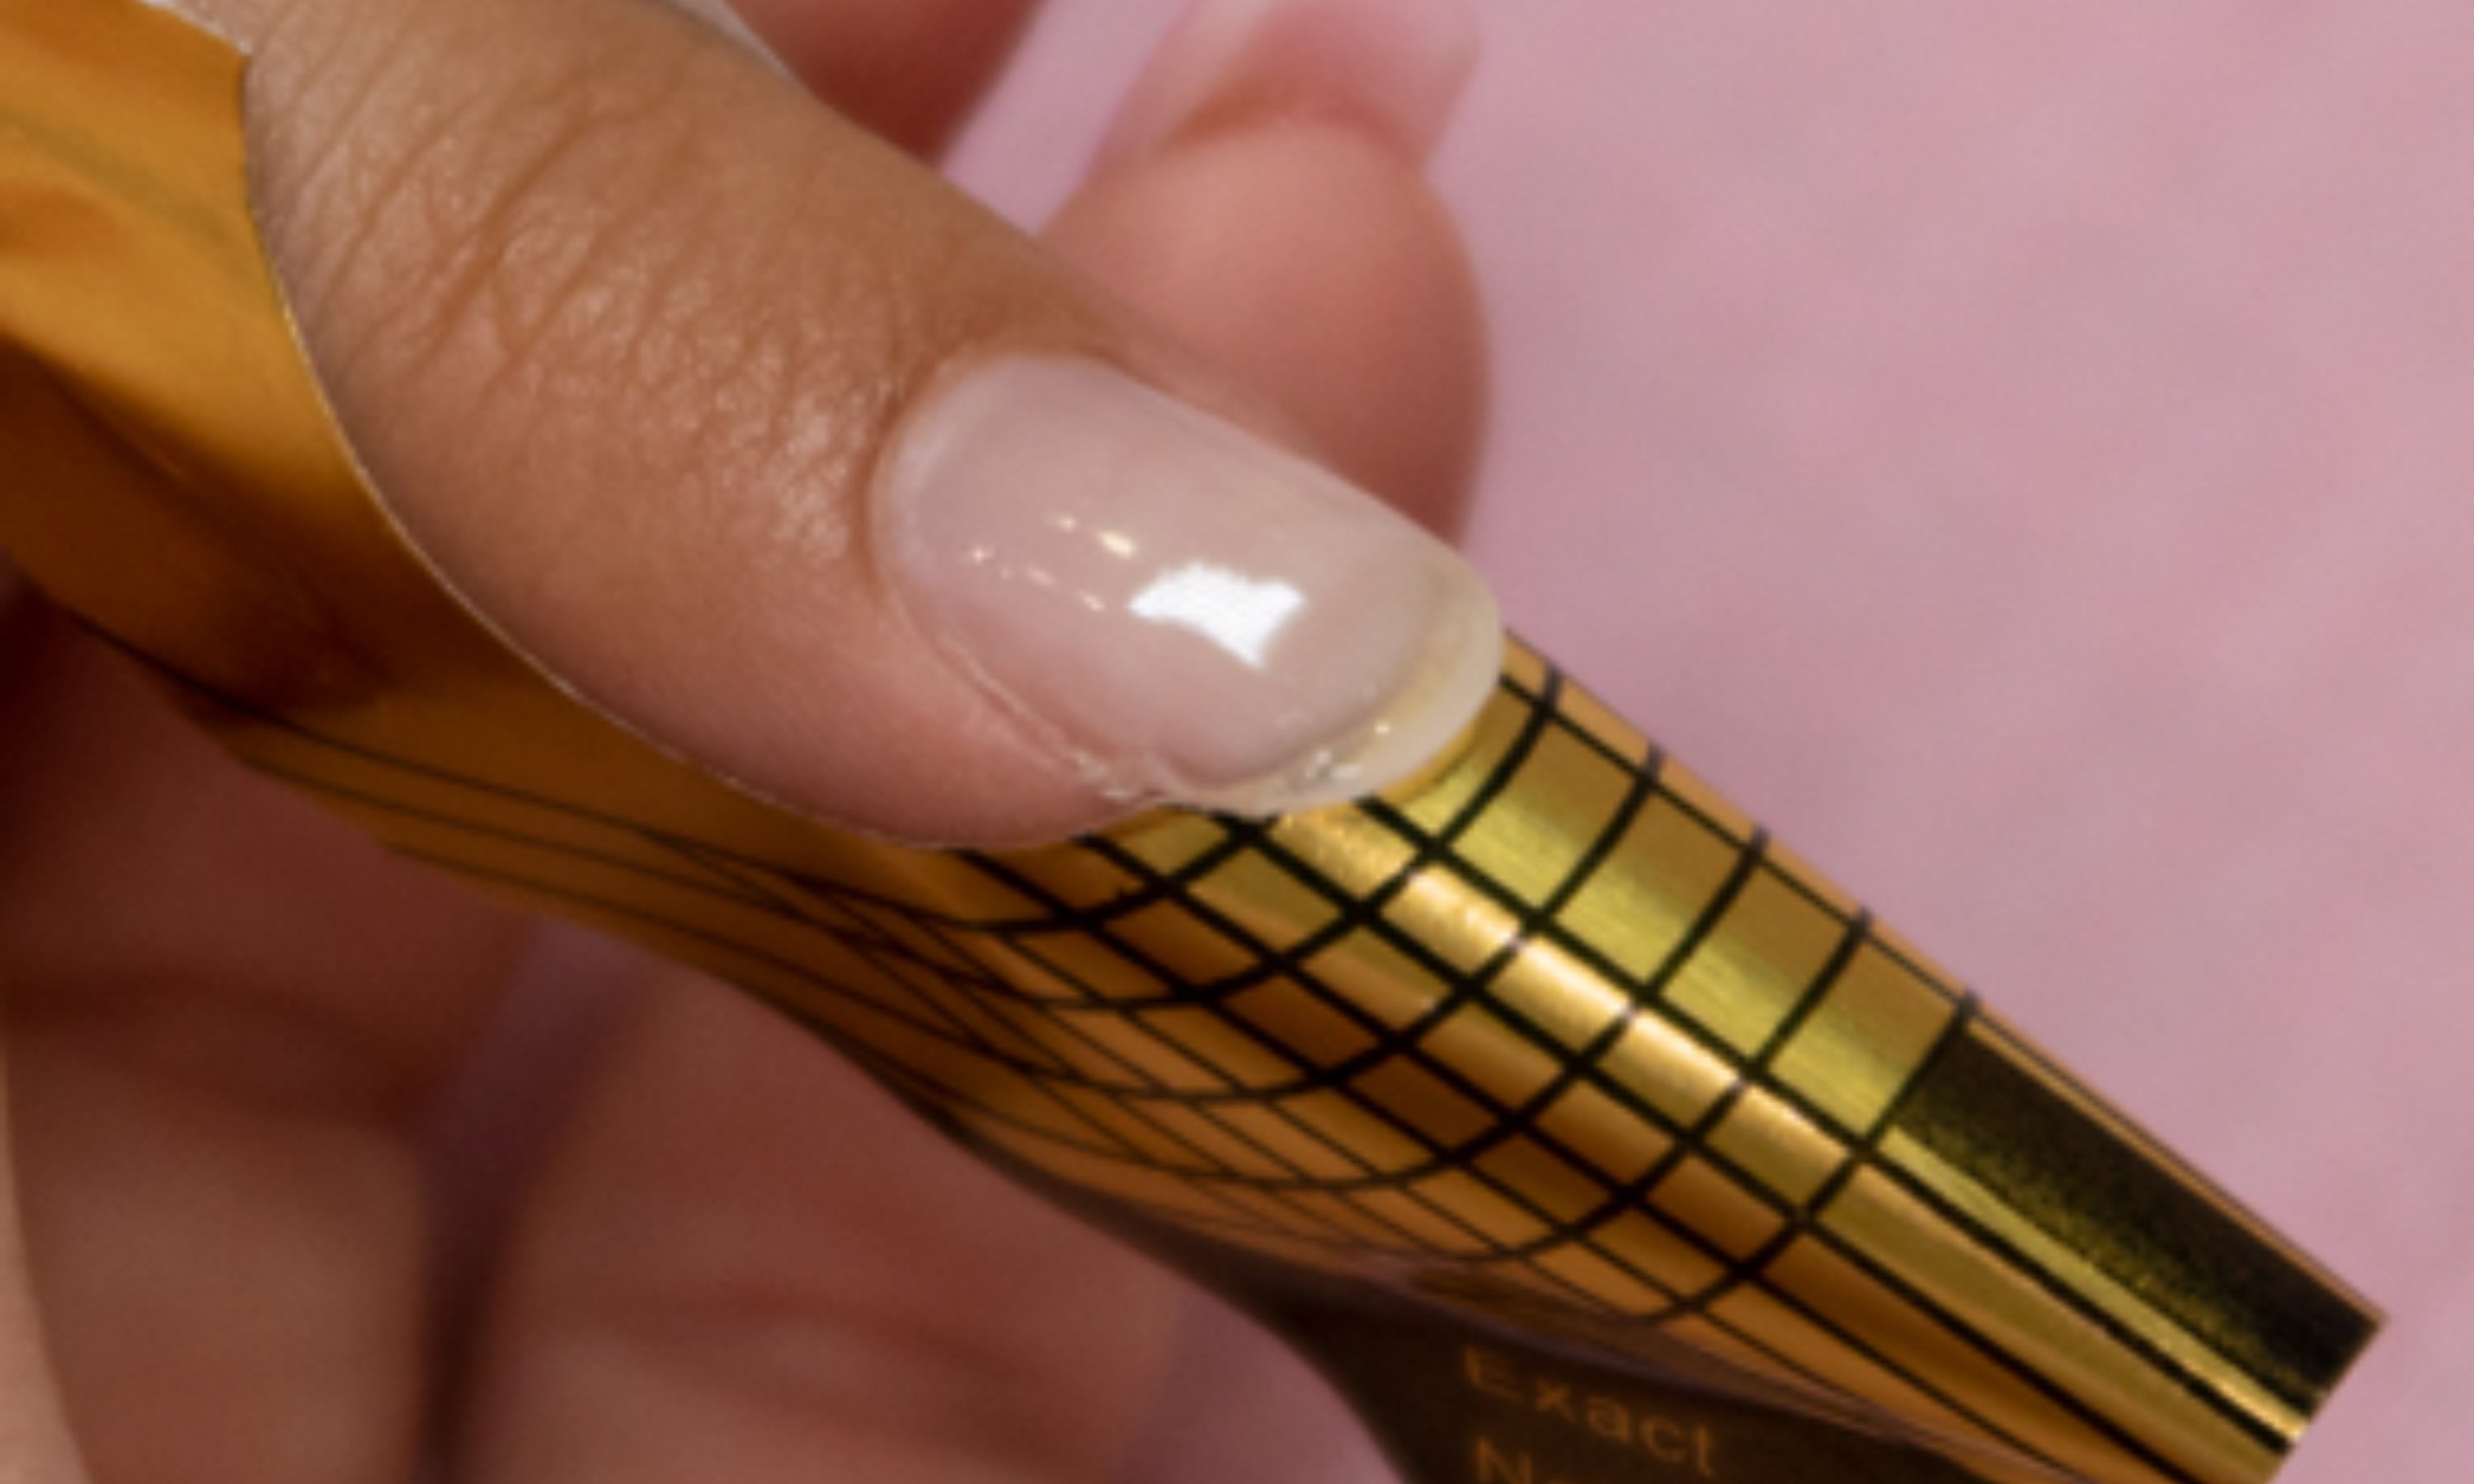
21. We check again if the mold fits correctly, and if so, we stick the tabs to secure it. We will also check that there is no space at the top between the nail and the mold.
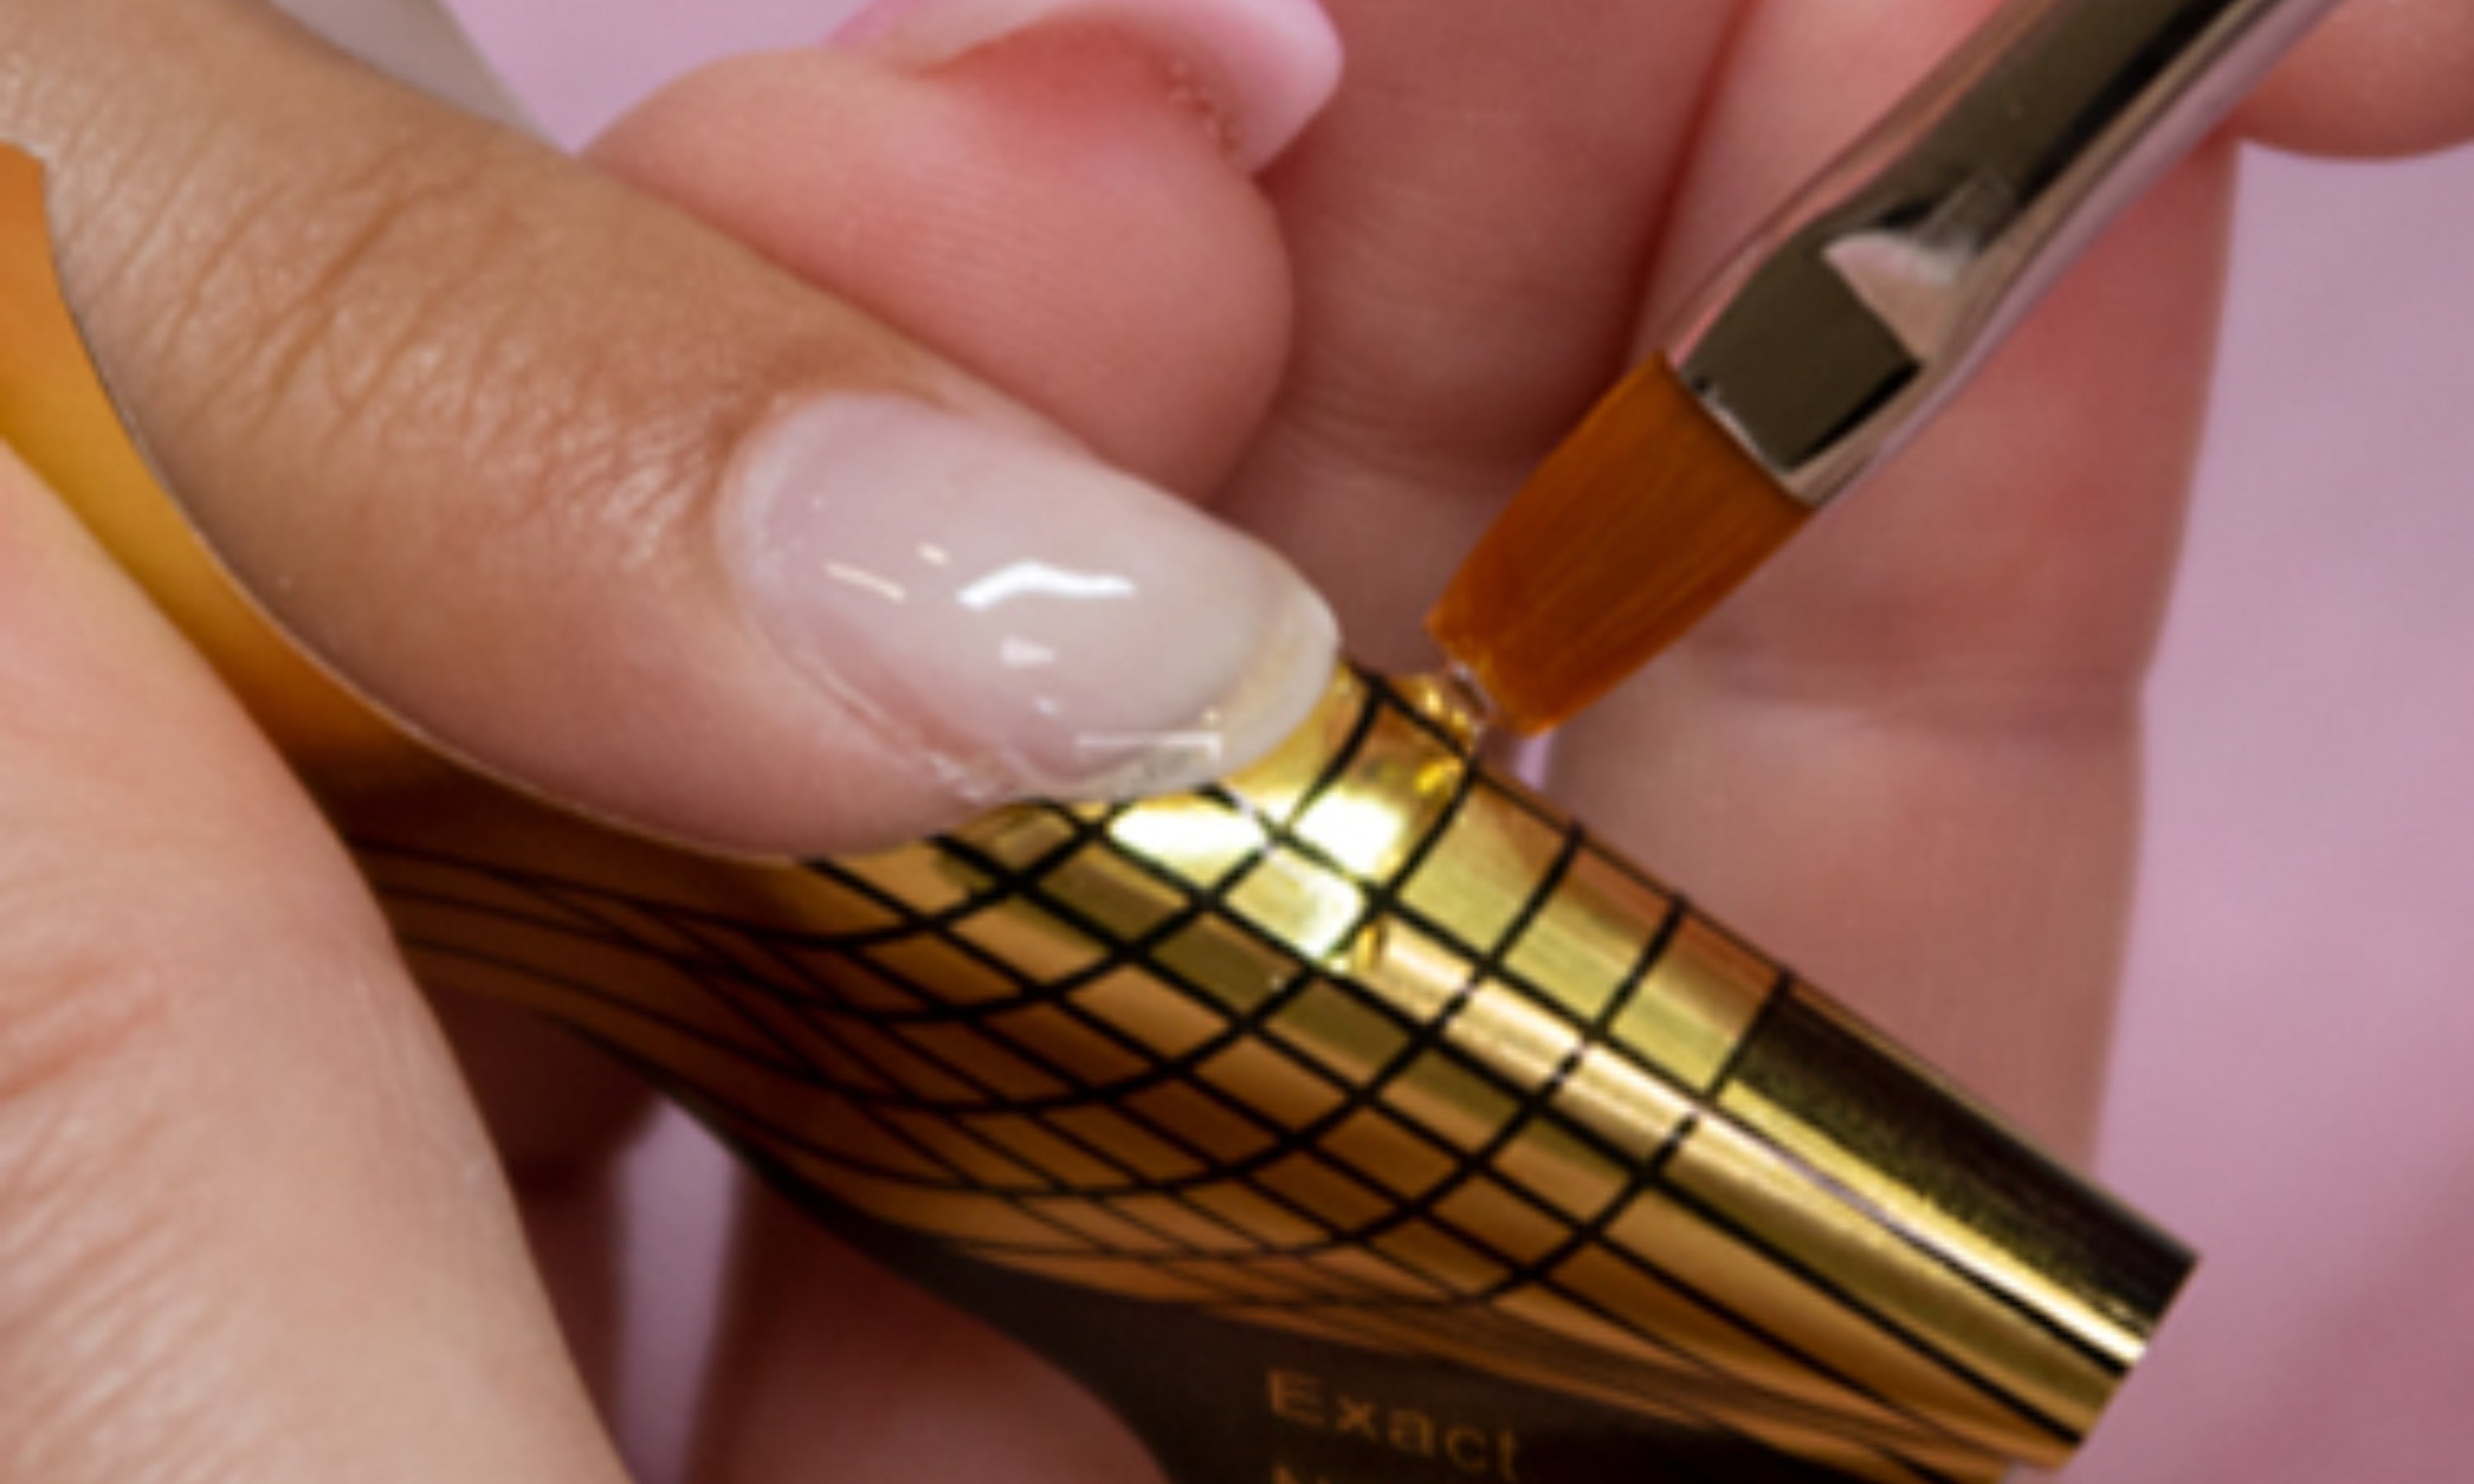
23. Apply a ball of Builder Gel Clear to create the extension and dry in a lamp: UV/LED – 10 sec / UV – 20 sec.
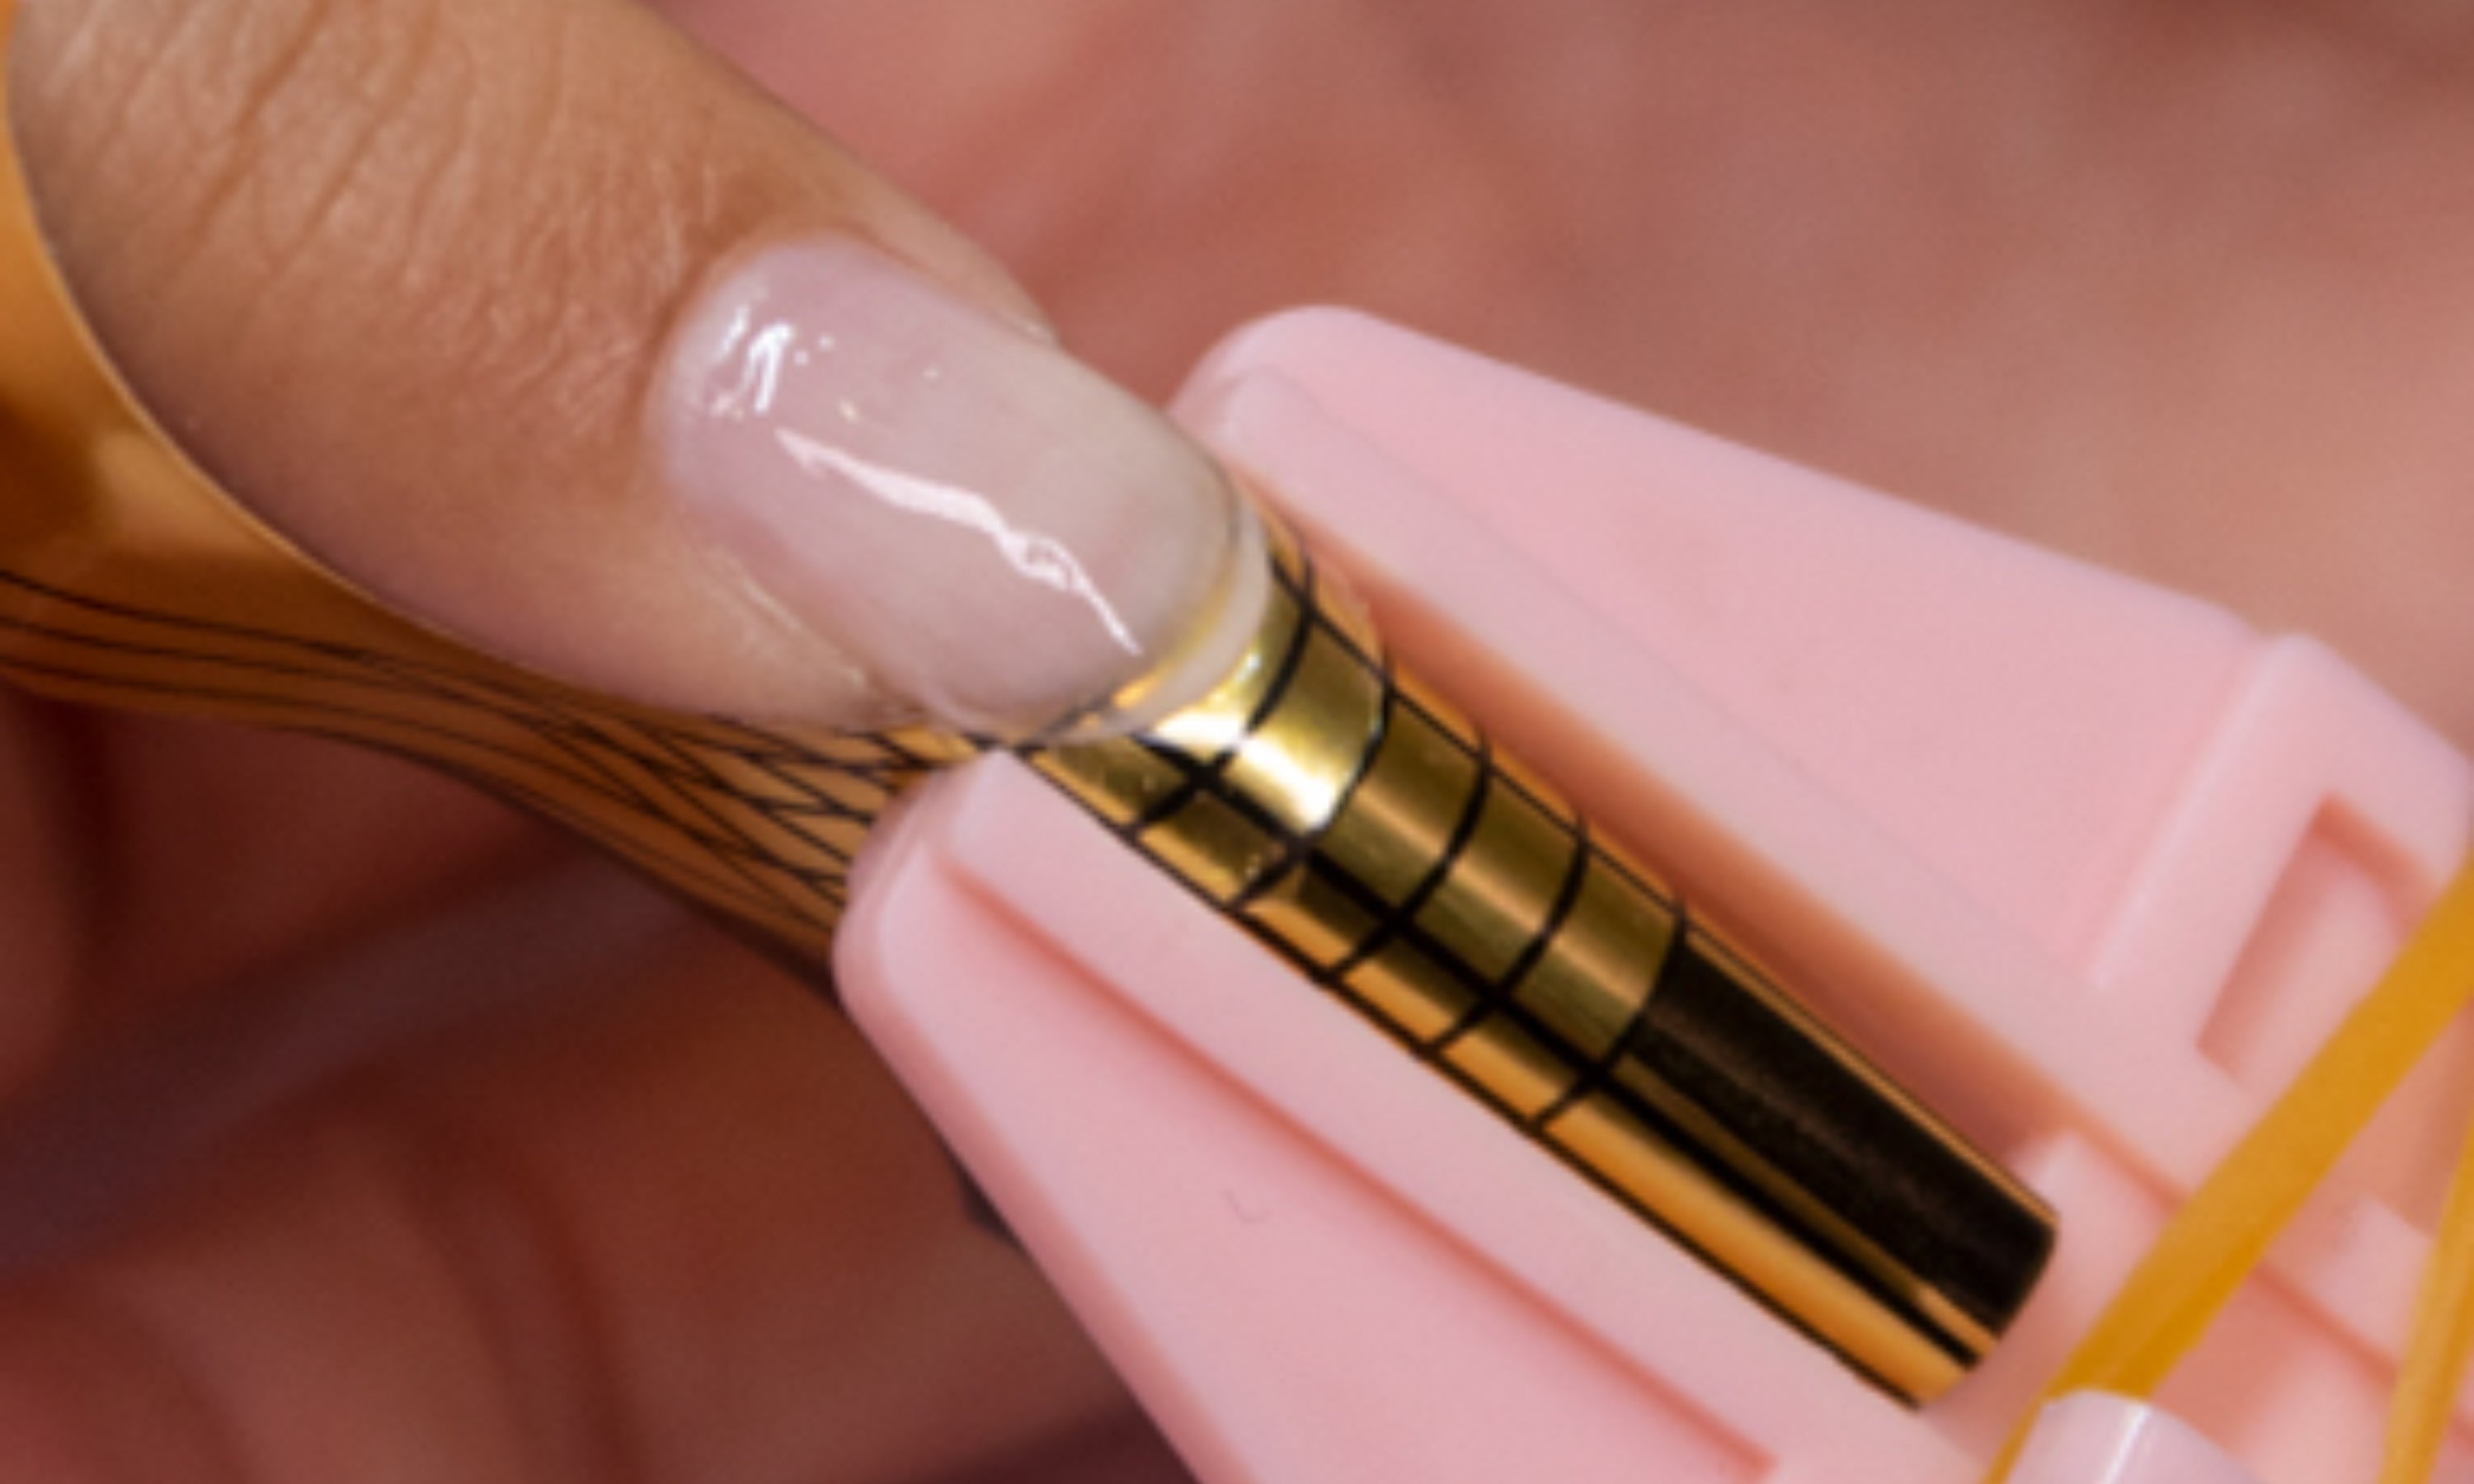
24. Place the pinching pliers so that they press on the side of the finger and the nail. Cure in lamp with the pliers: UV/LED – 60 sec / UV – 2 min.
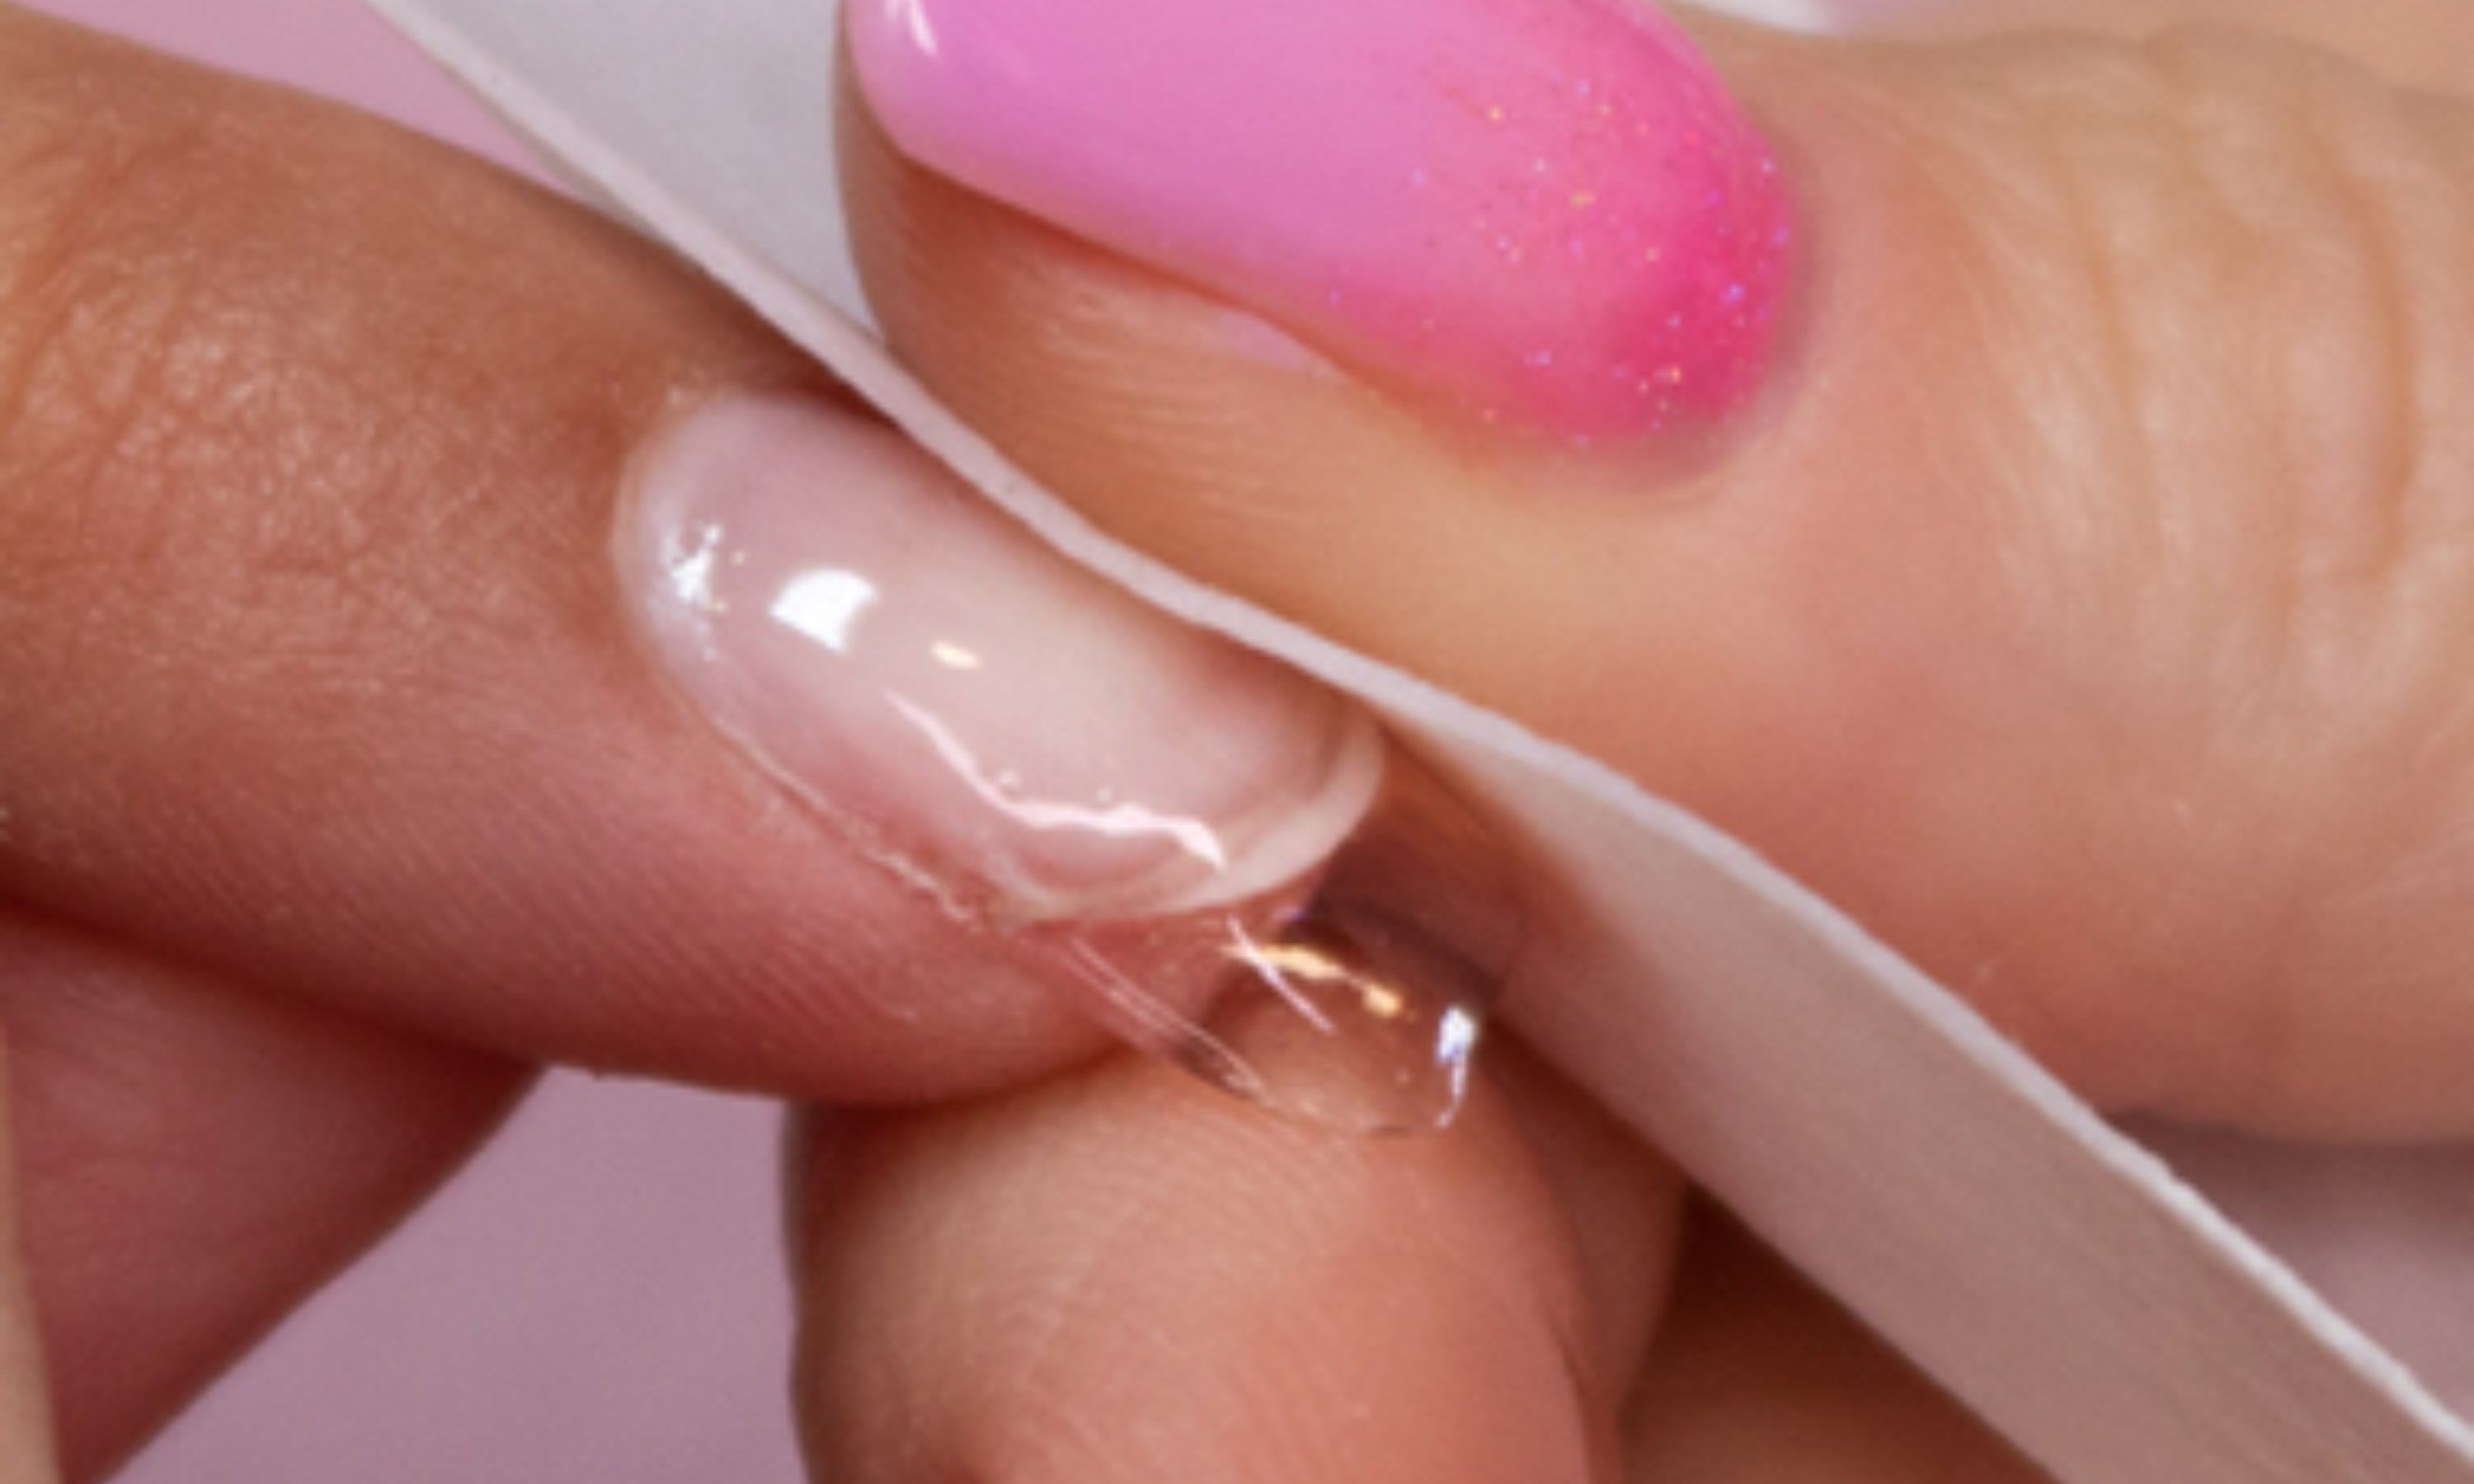
25. Remove the pinching clamp and clean the sticky layer of gel with cleaner.
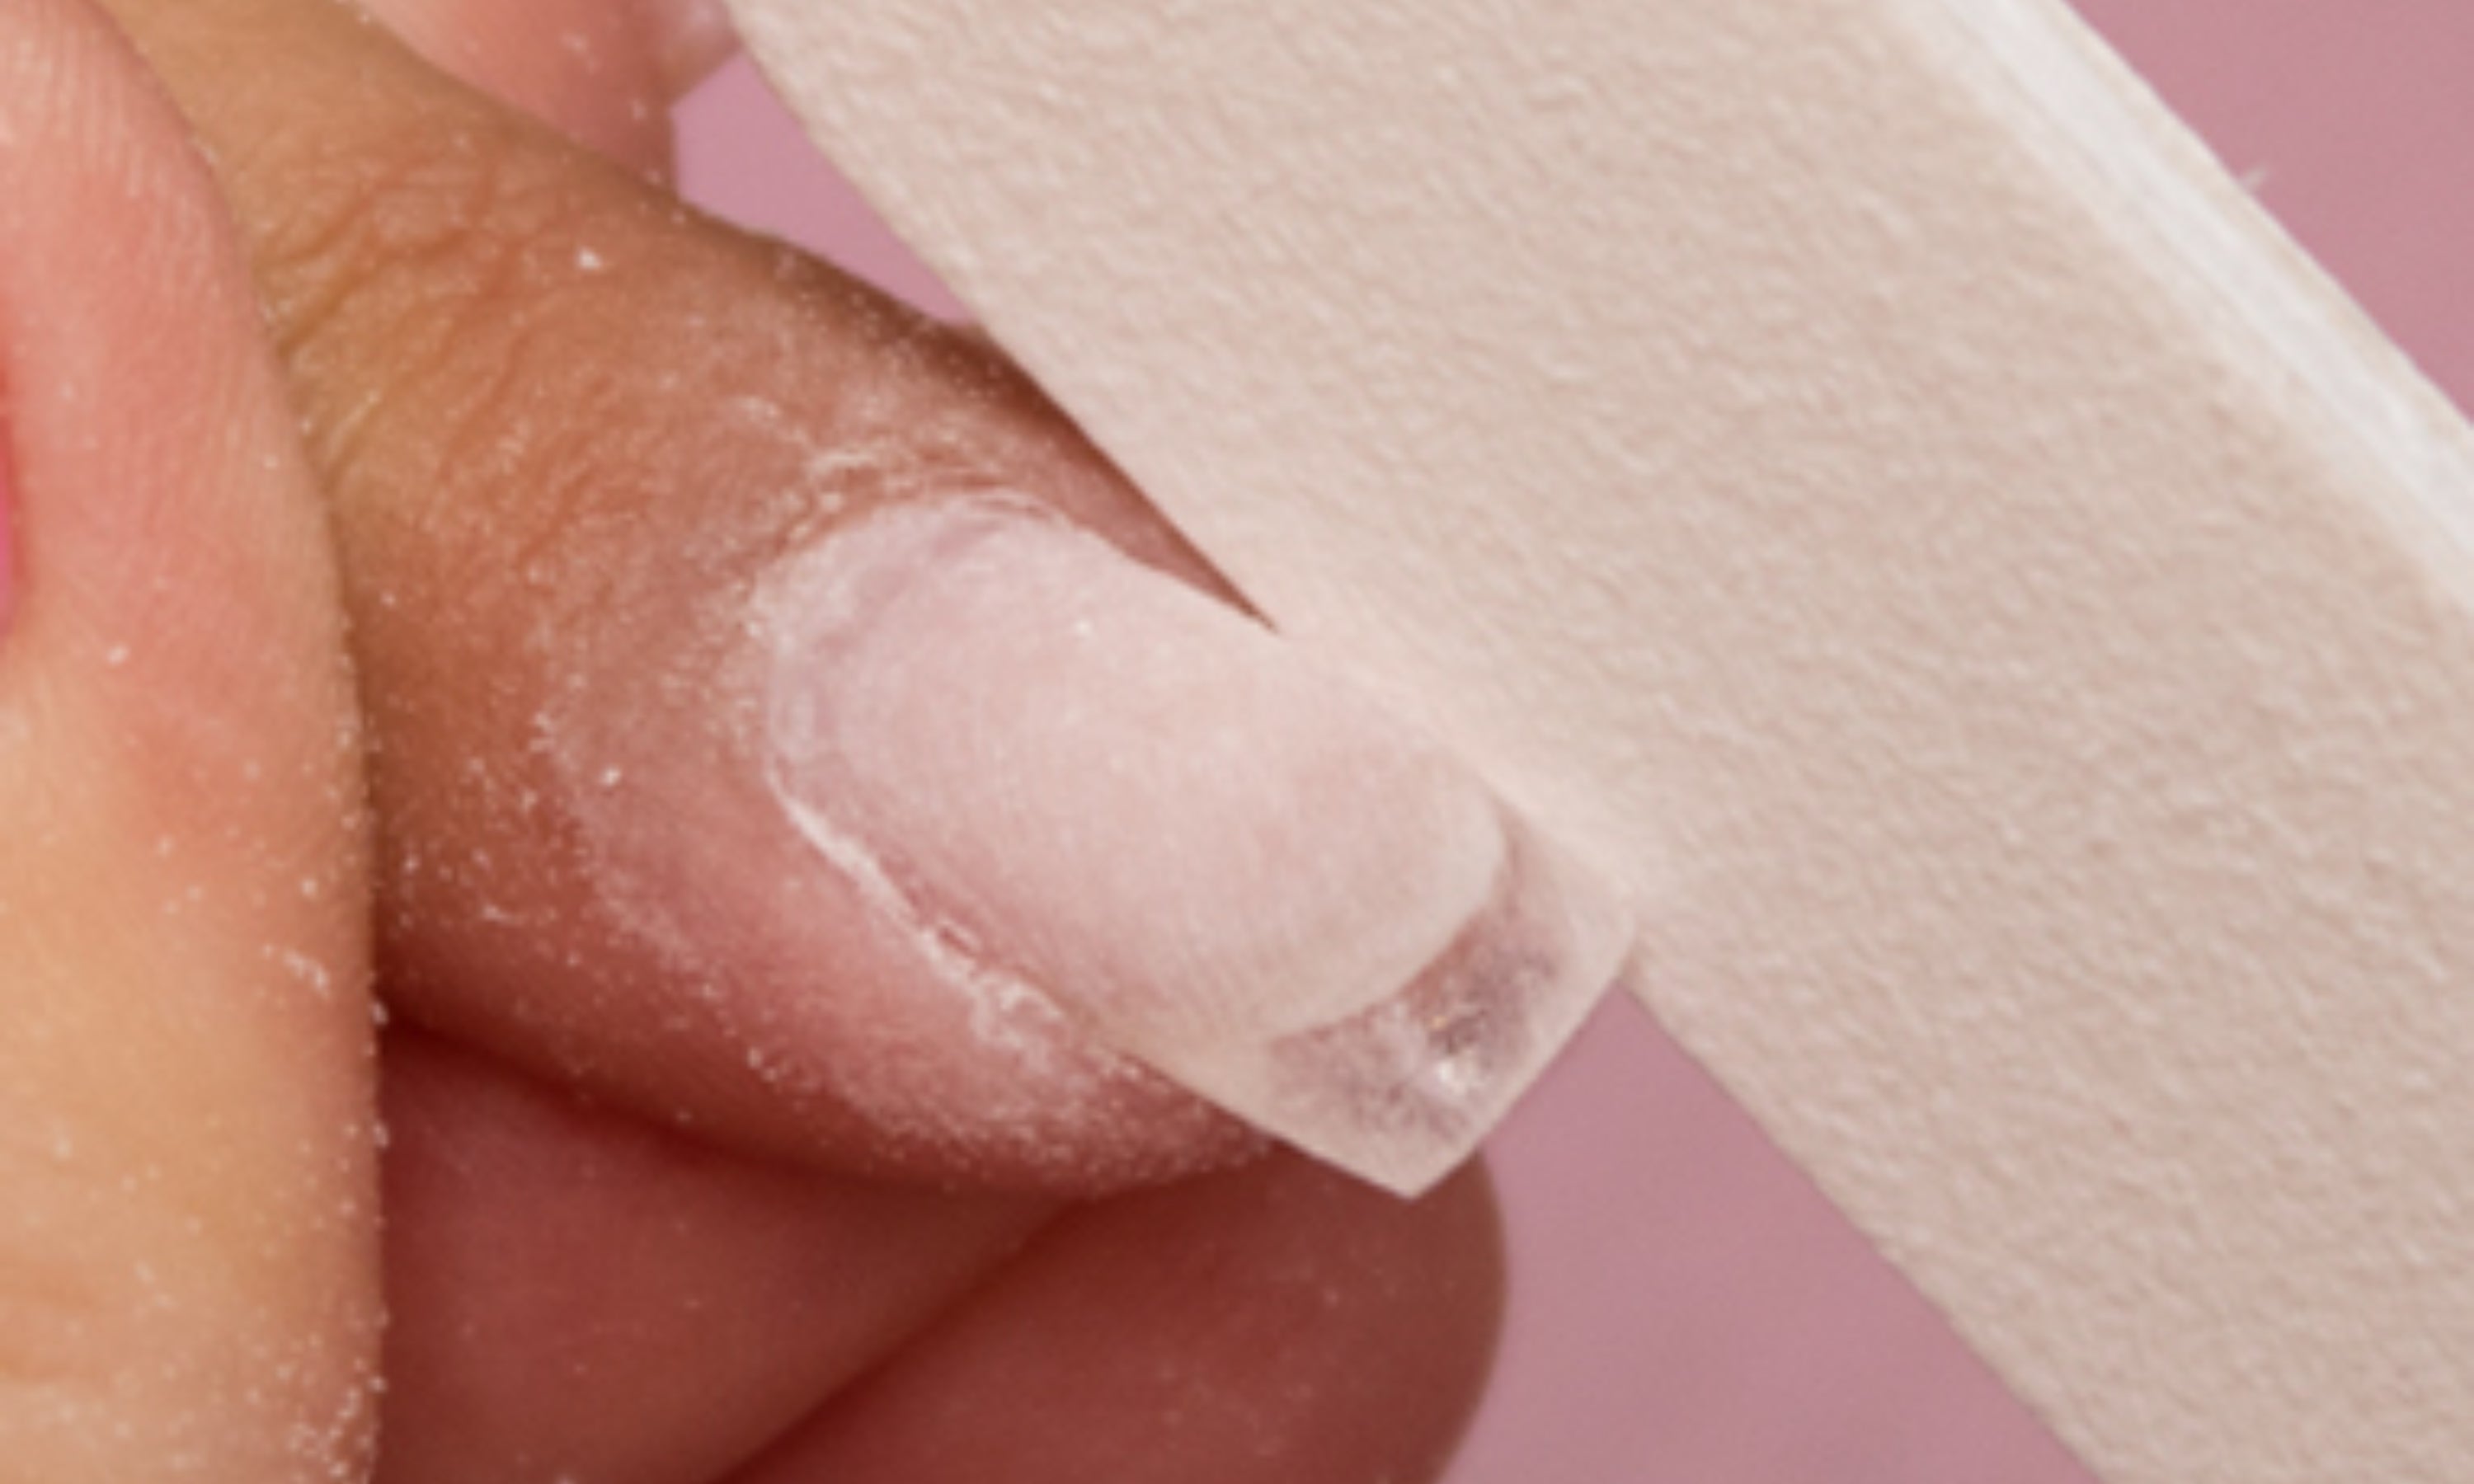
26. File the entire nail to eliminate any gaps and imperfections and finish giving it the desired shape.
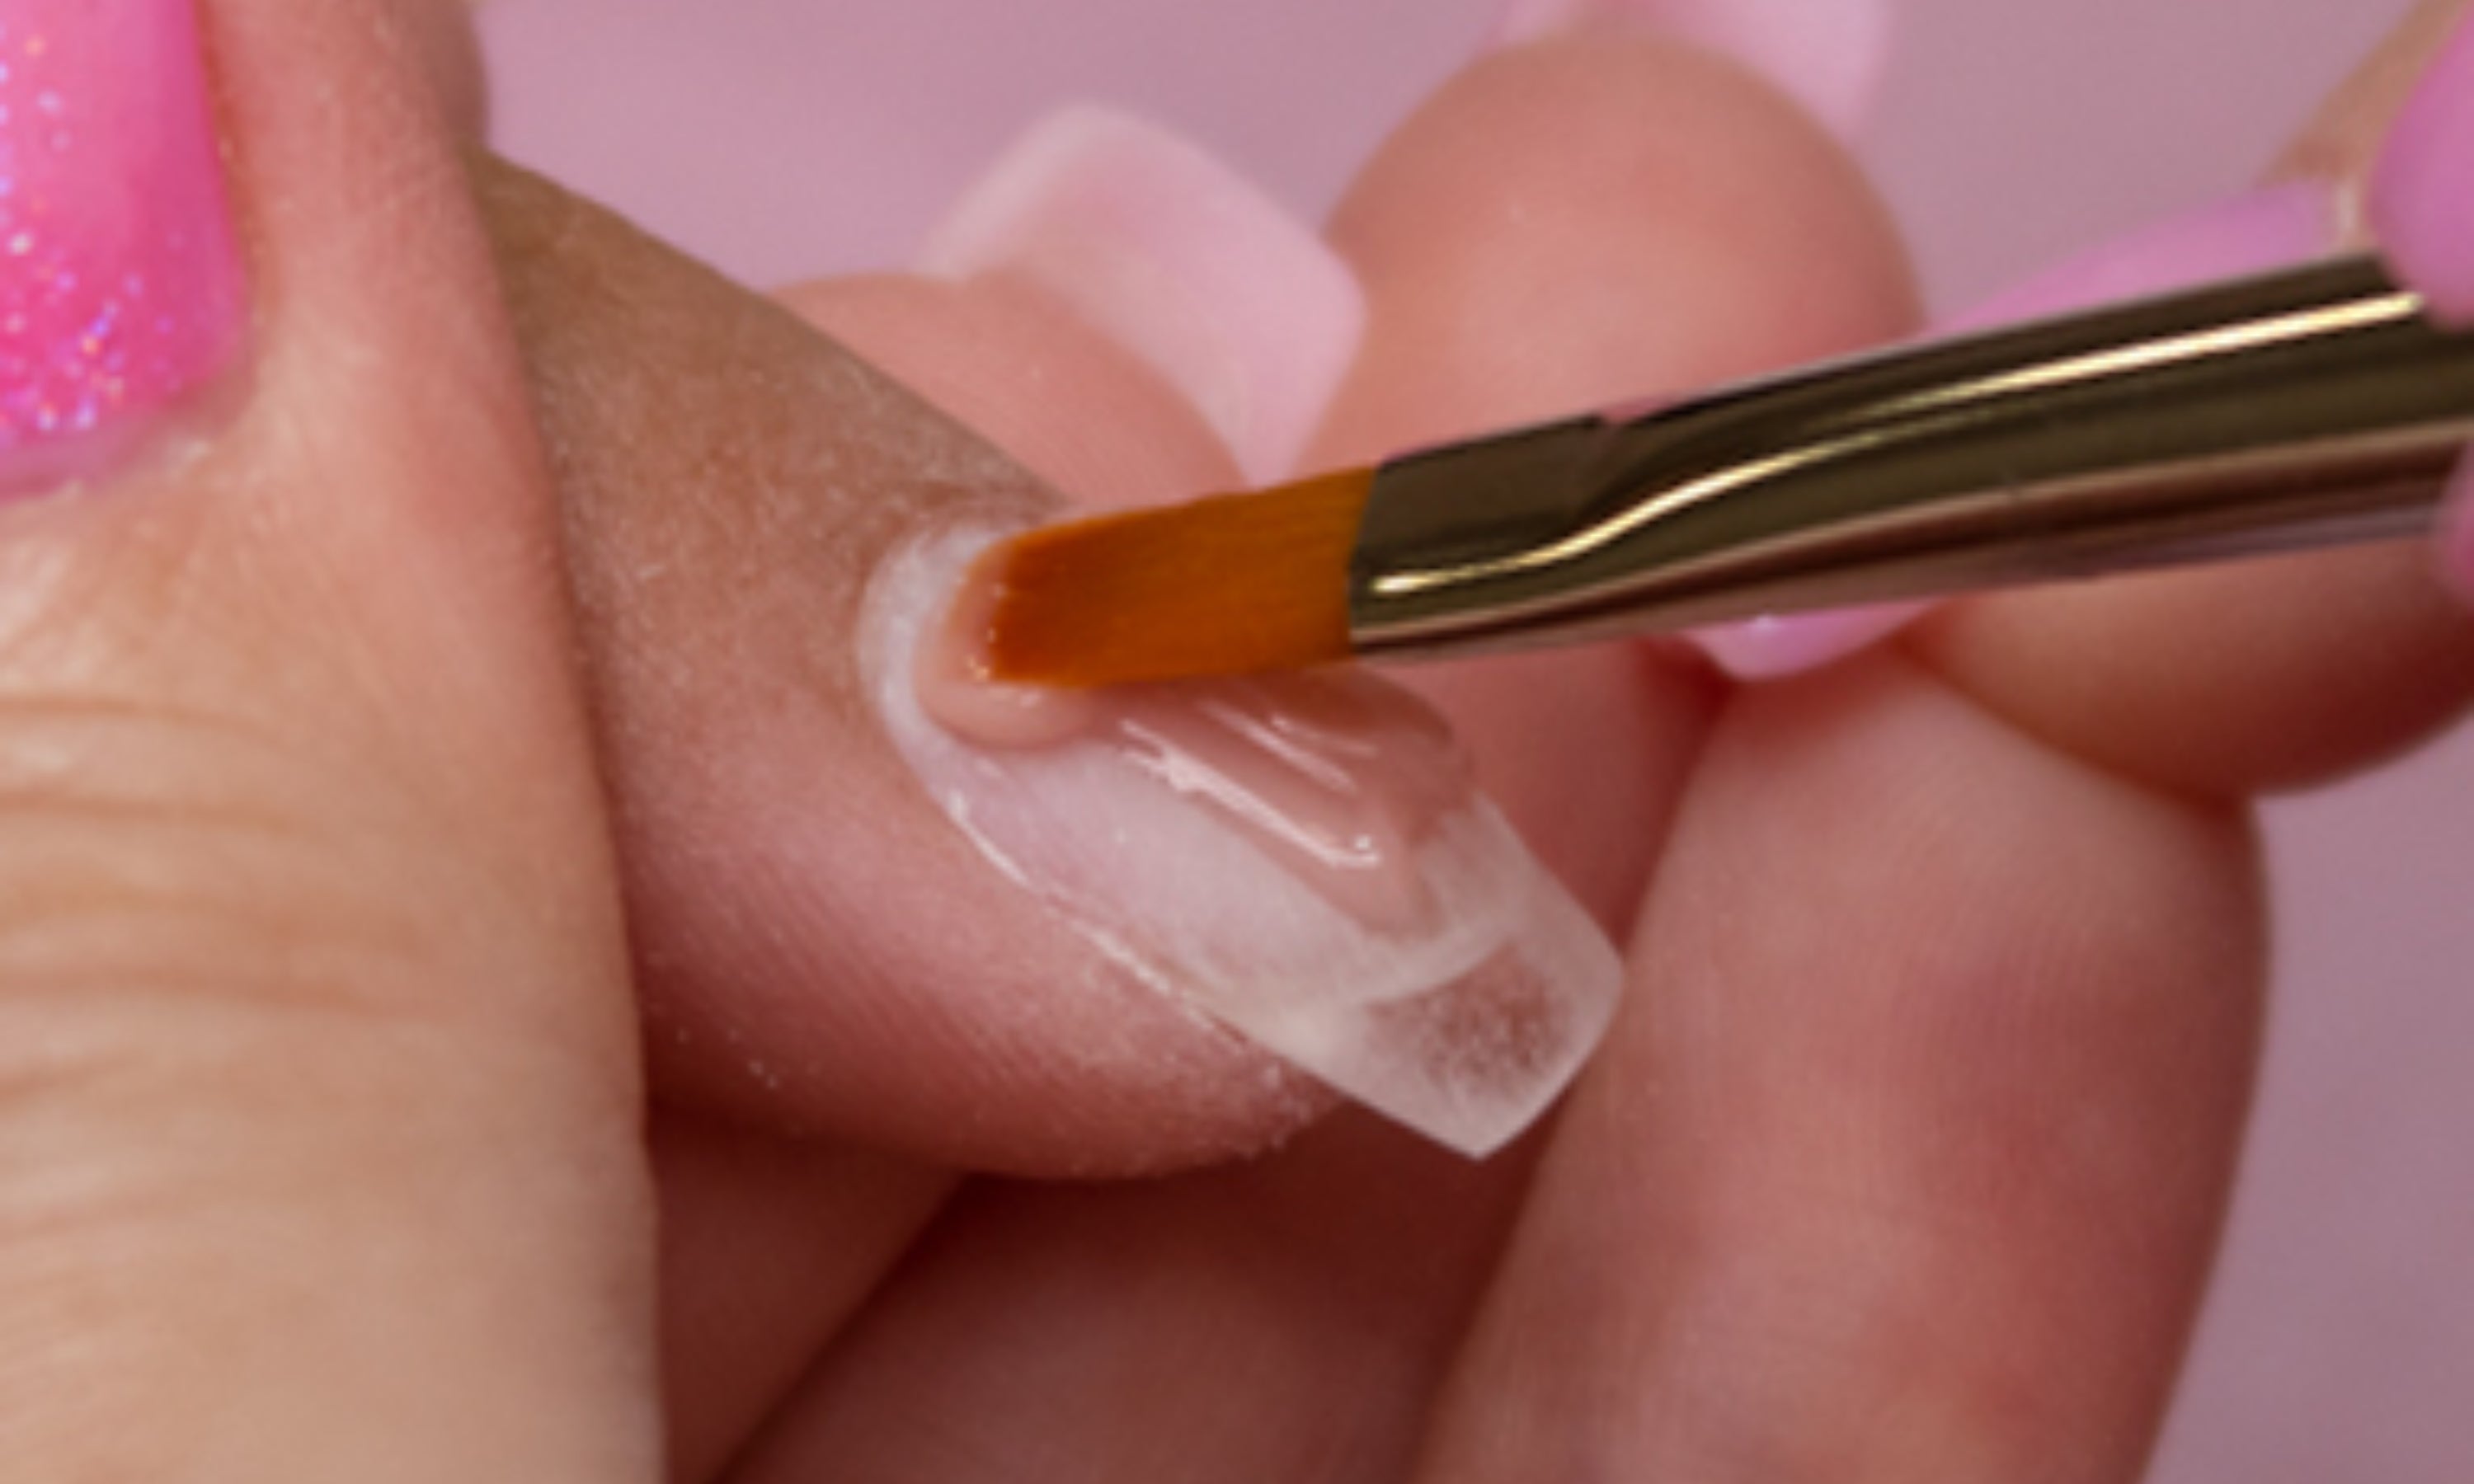
27. Apply a thin layer of Builder Gel Cover Blush and spread it from the base to the tips.
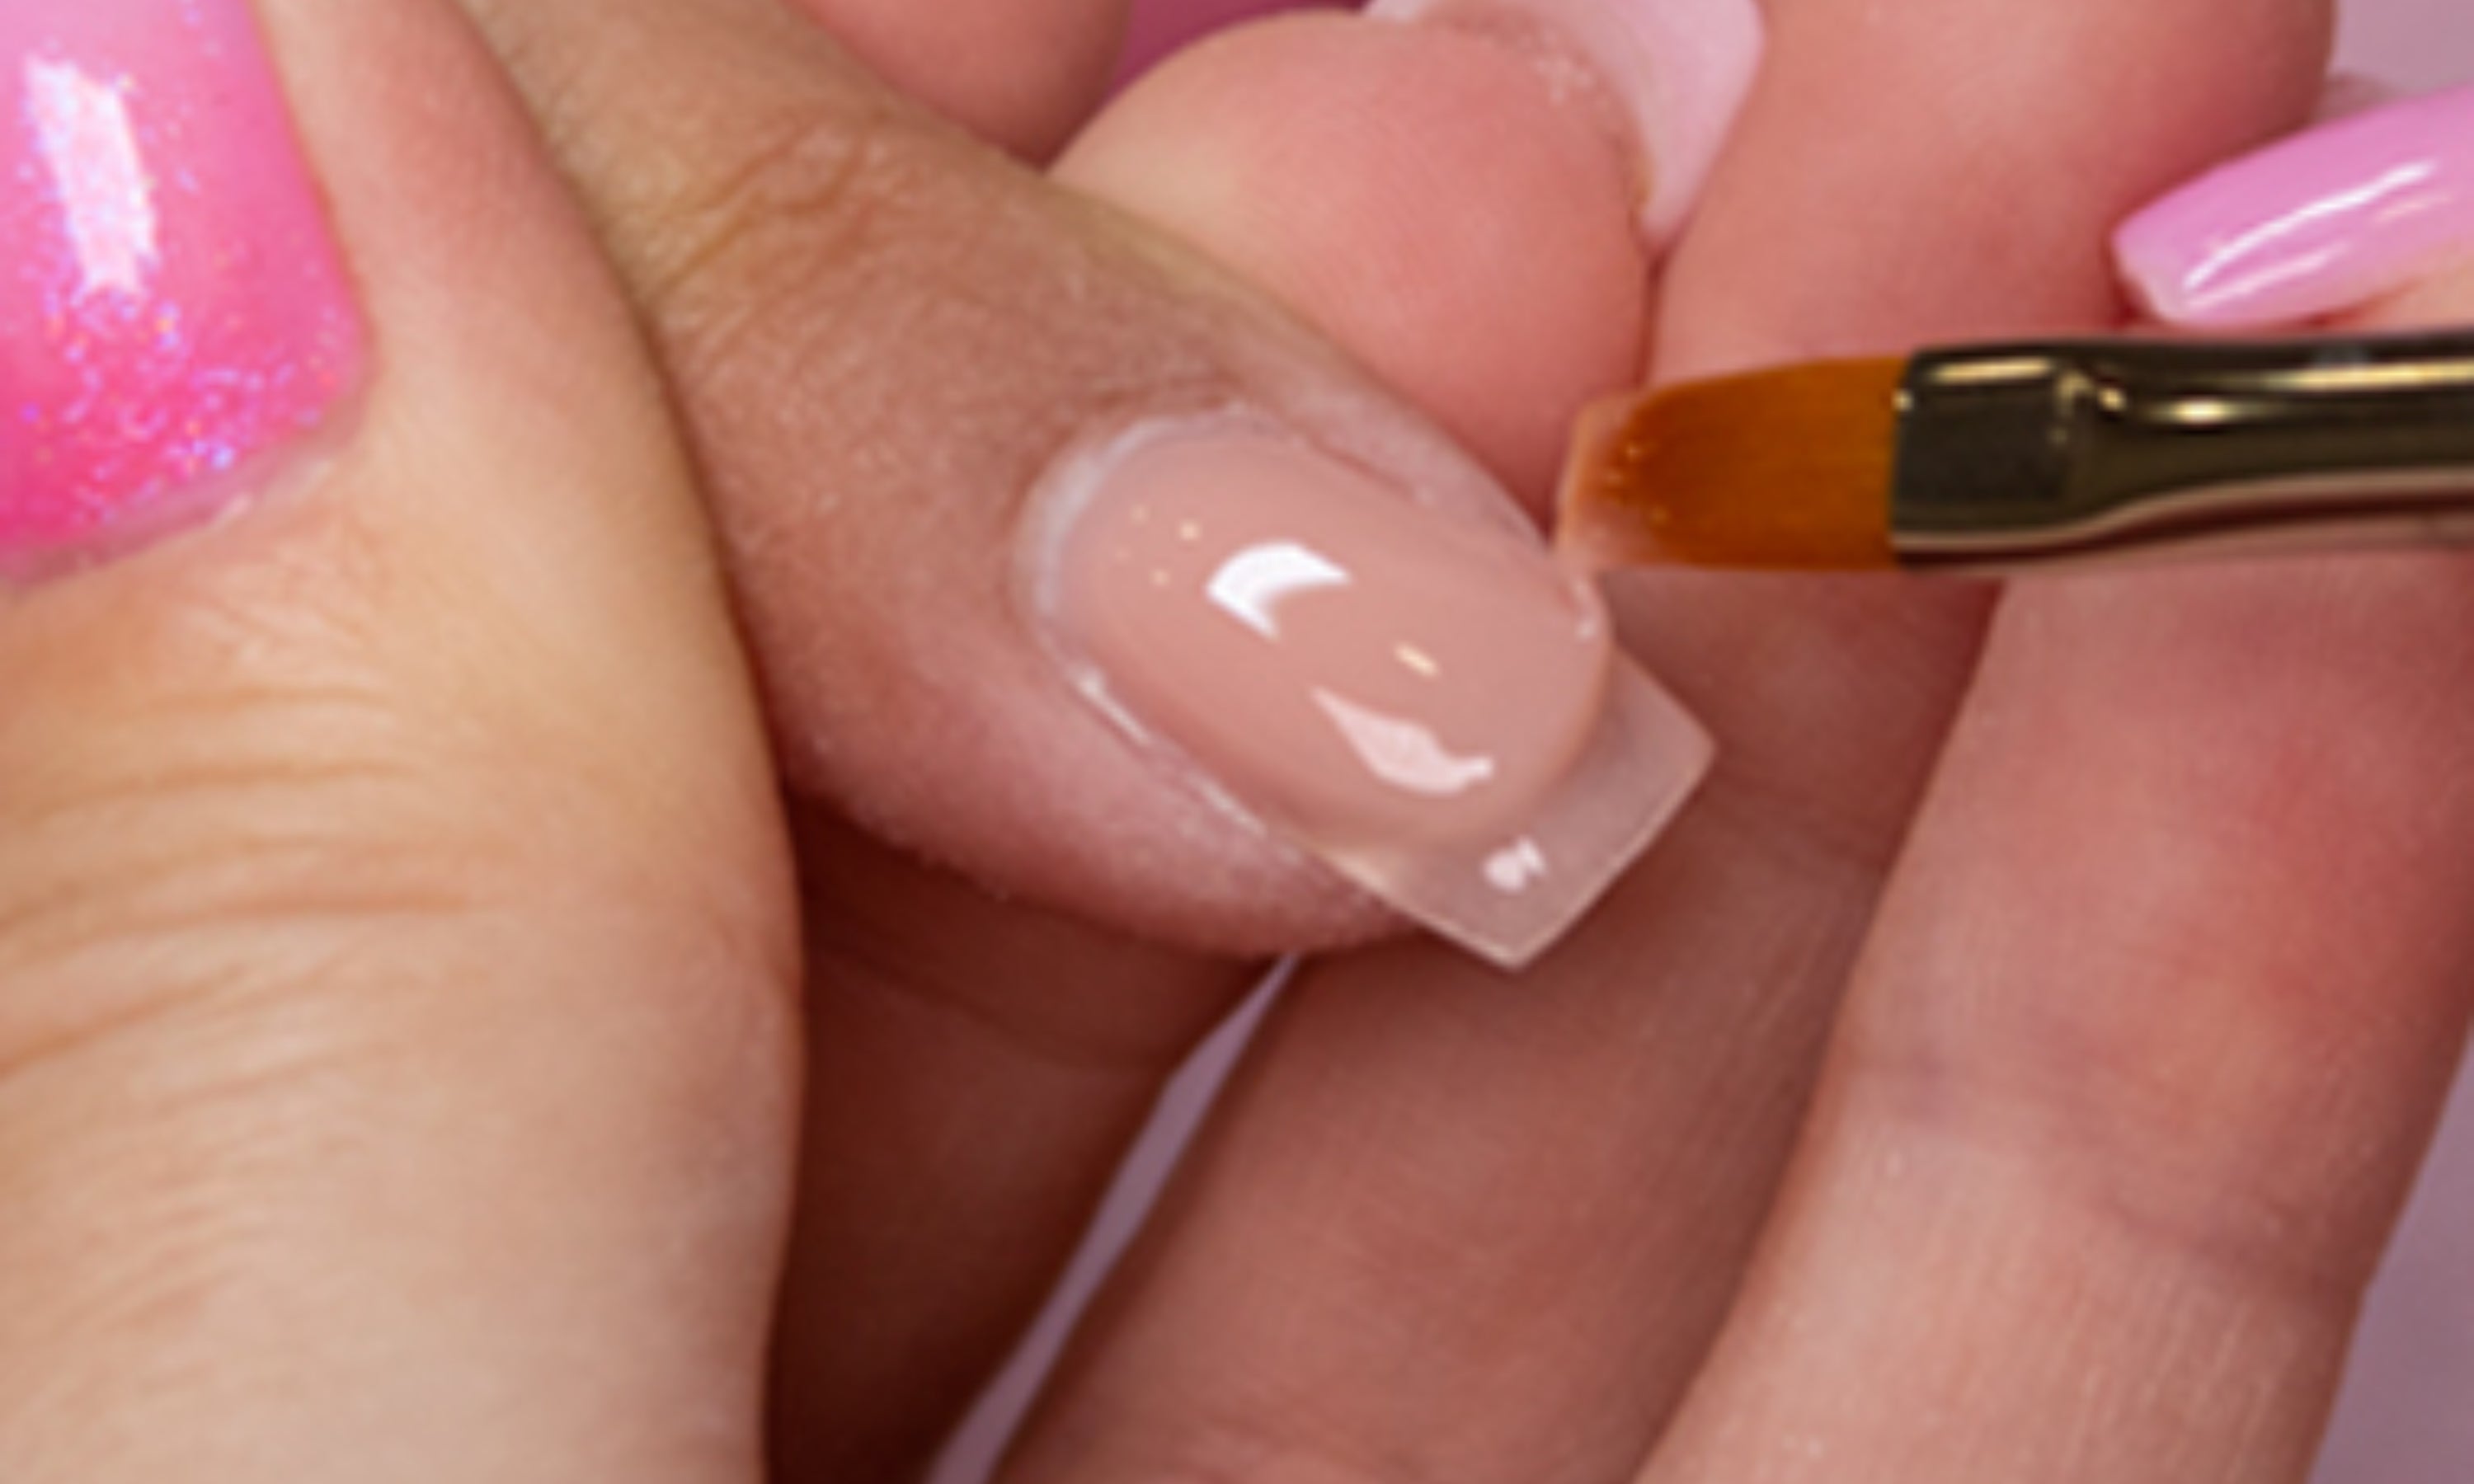
28. Add a little more product to give volume and distribute it so that more is in the center and less at the base and tip, thus giving a more natural and beautiful shape. Dry in lamp: UV/LED – 60 sec / UV – 2 min.
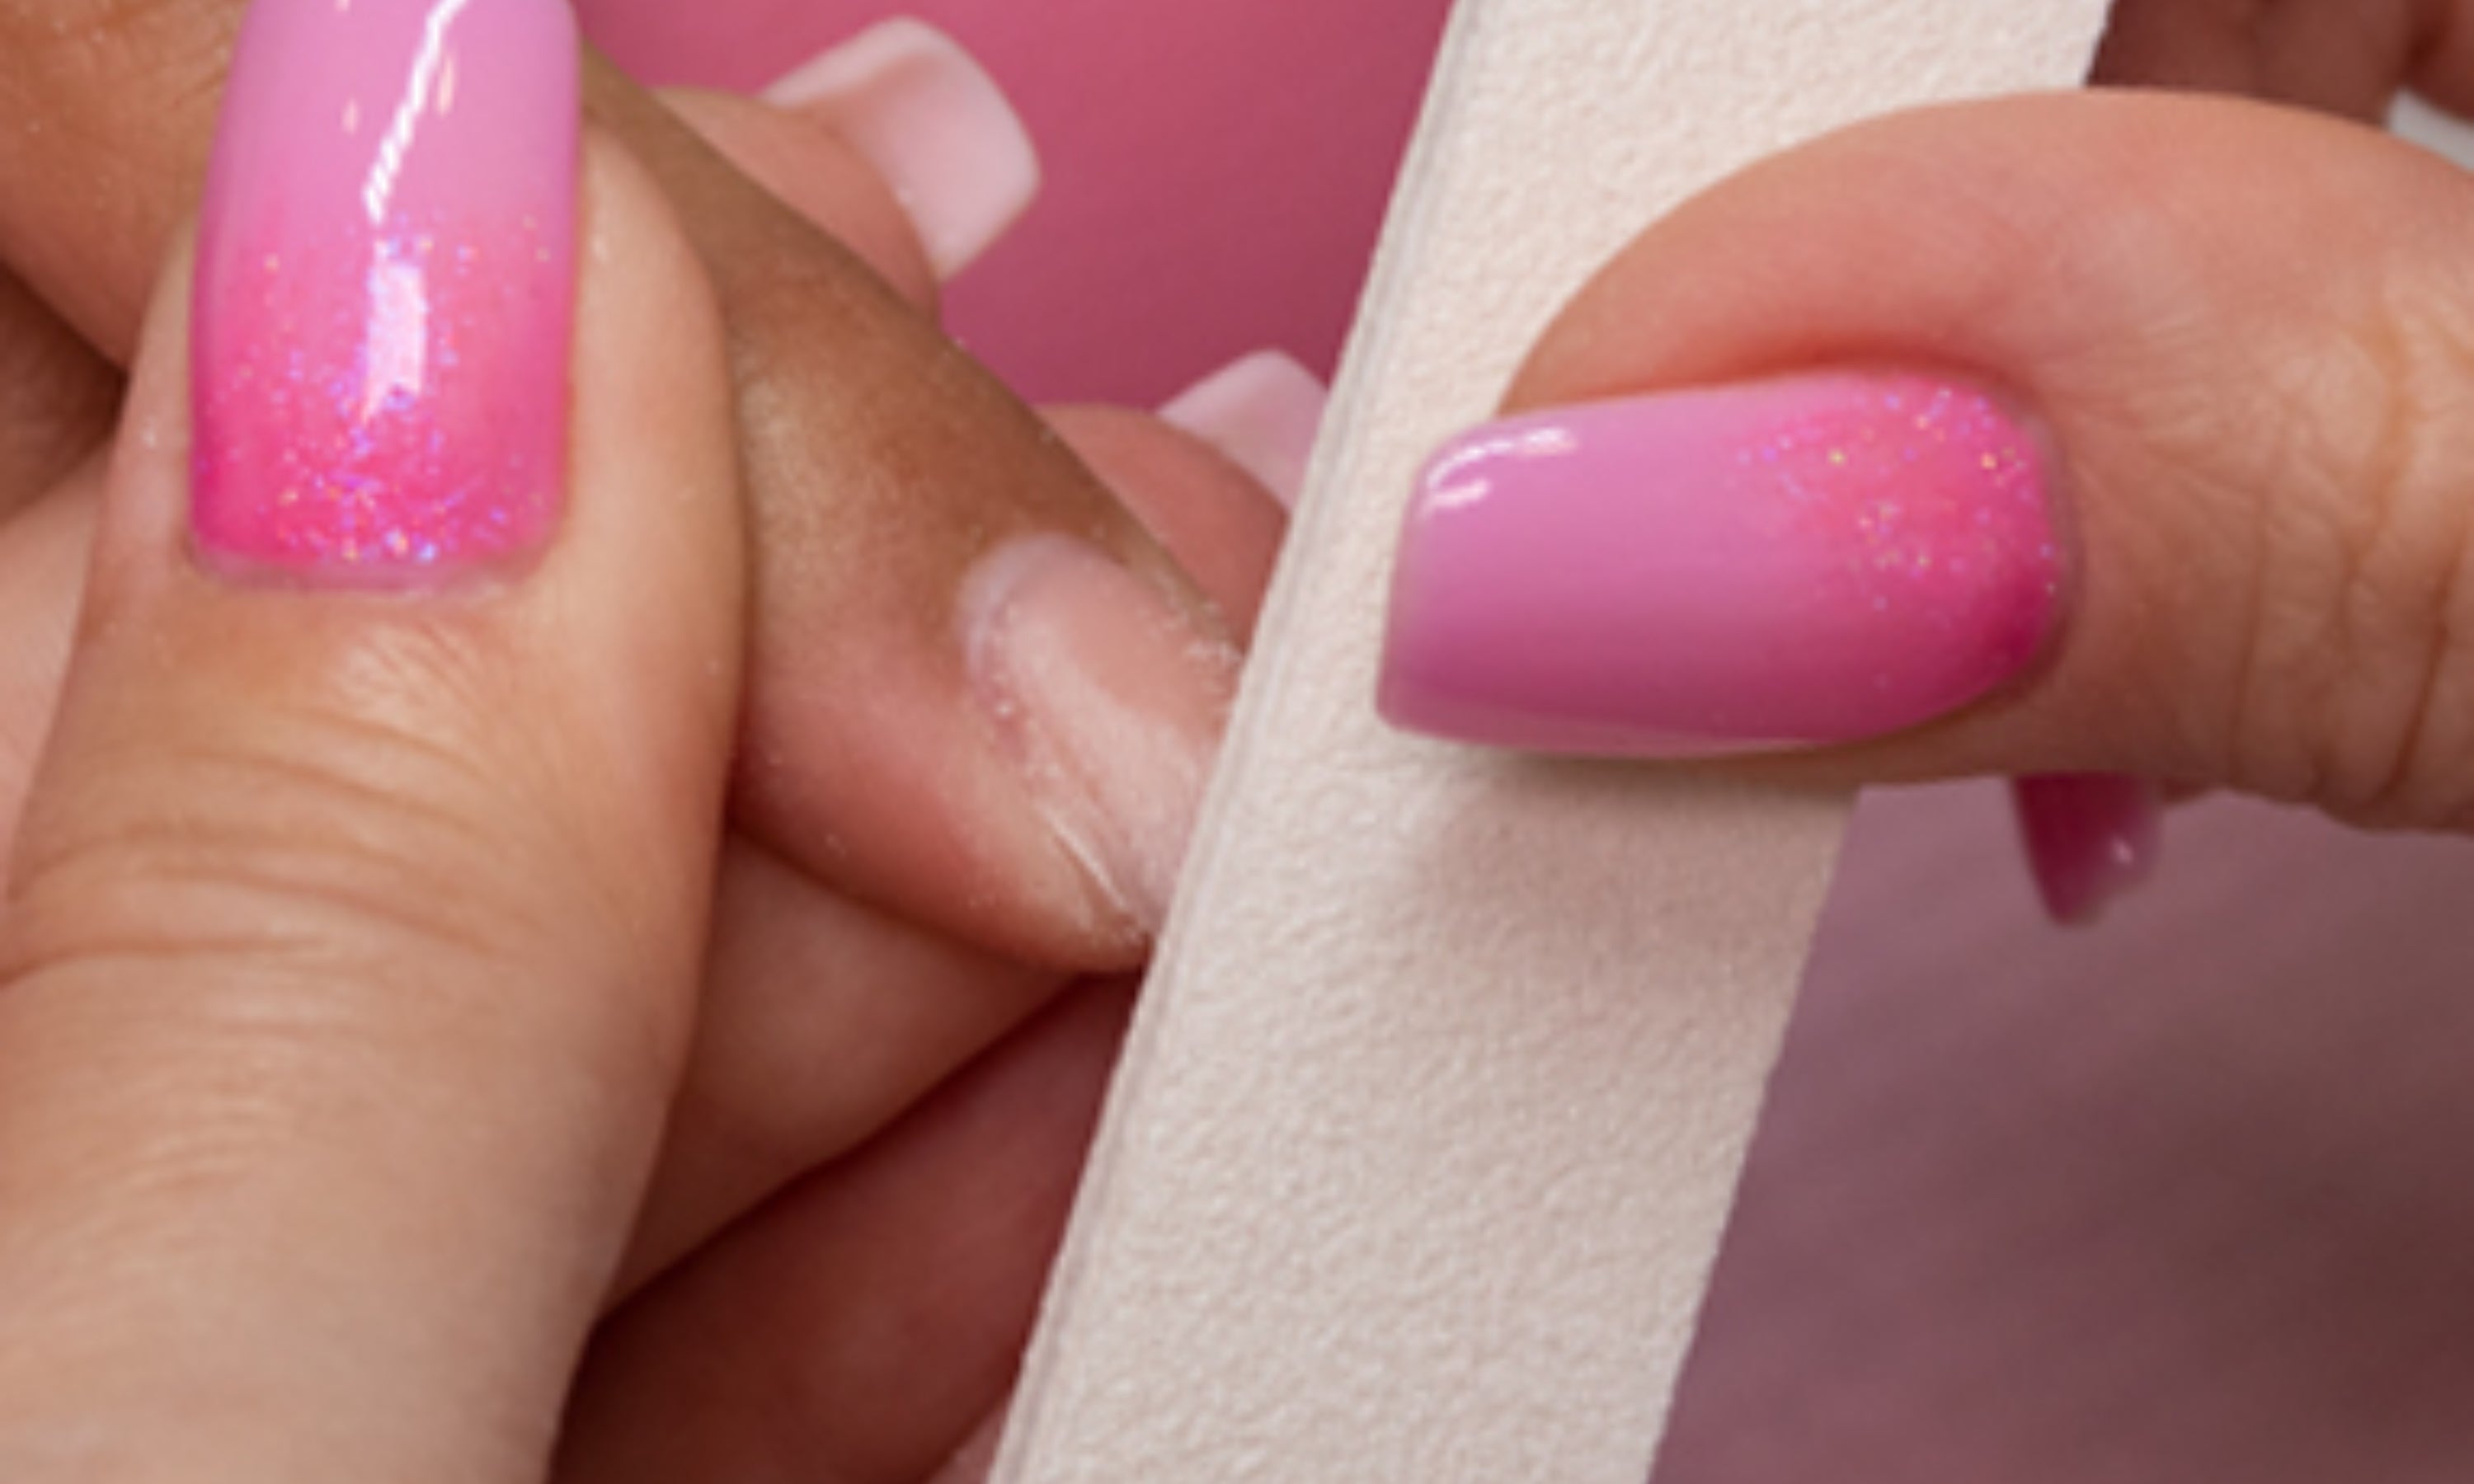
29. Clean with Cleaner and file to remove any imperfections.
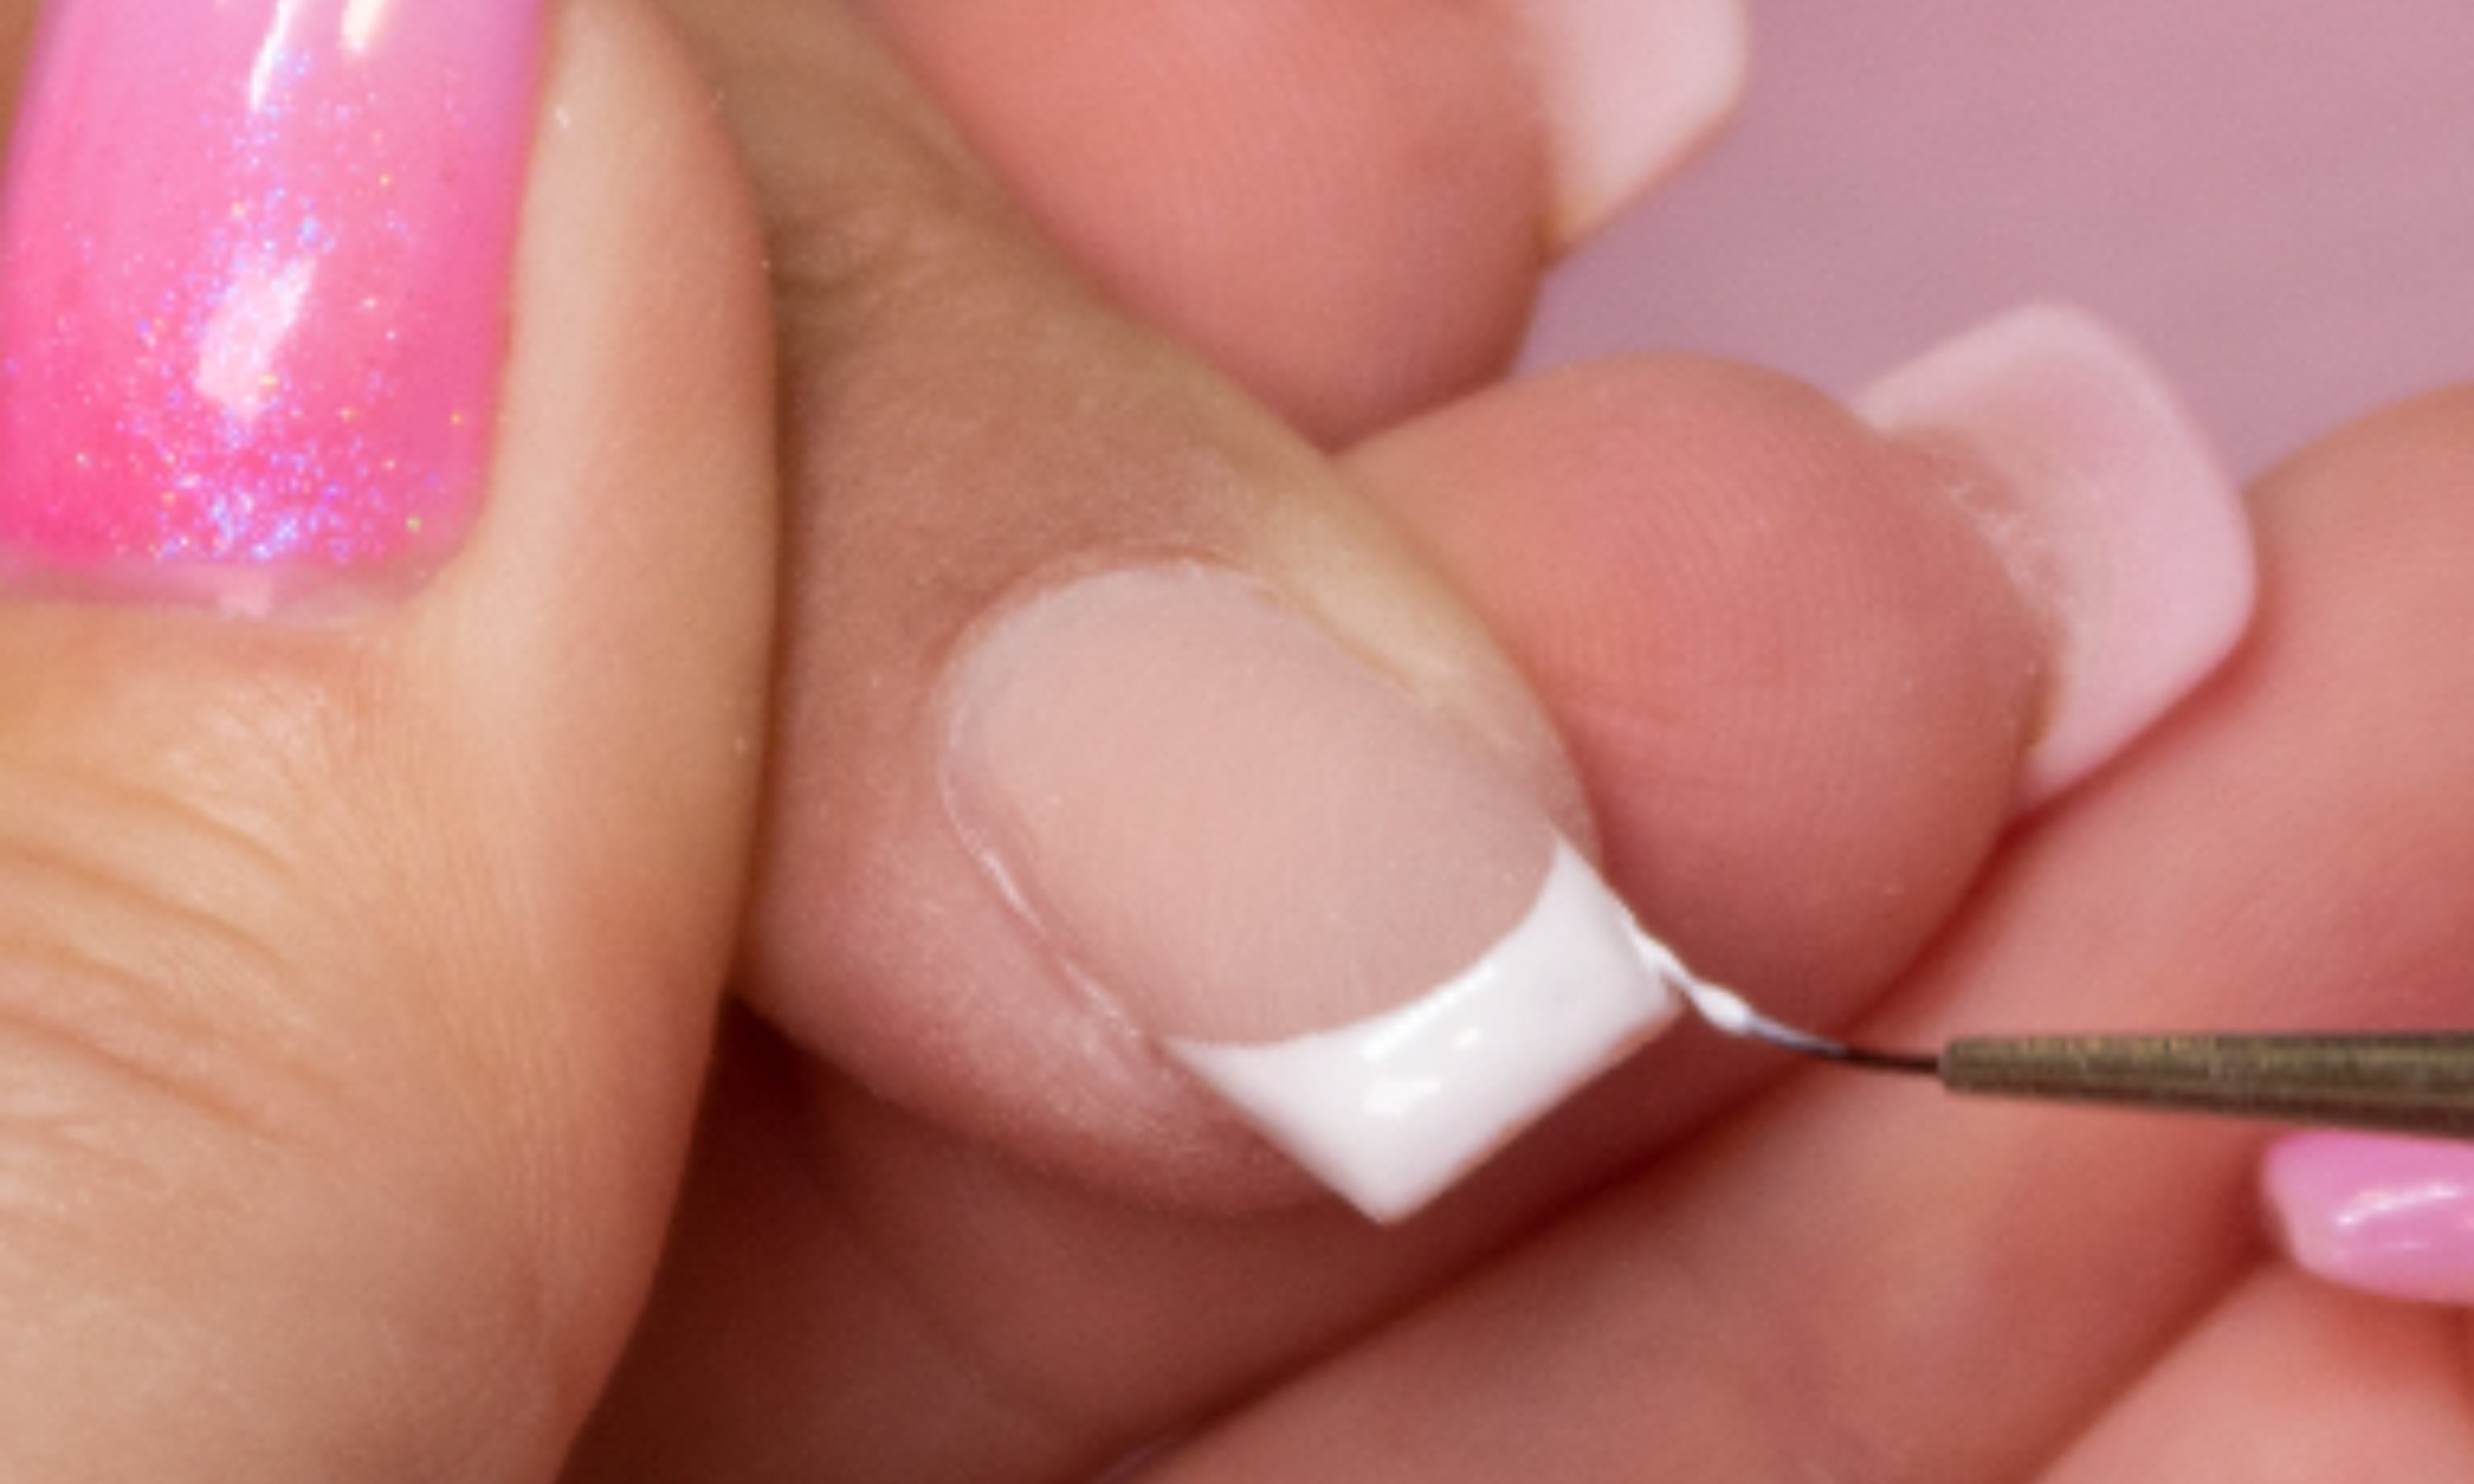
30. Perform a French manicure with French Gel Ultra White. First, mark the smile and then fill in with colour. Cure in lamp: UV/LED – 60 sec / UV – 2 min.
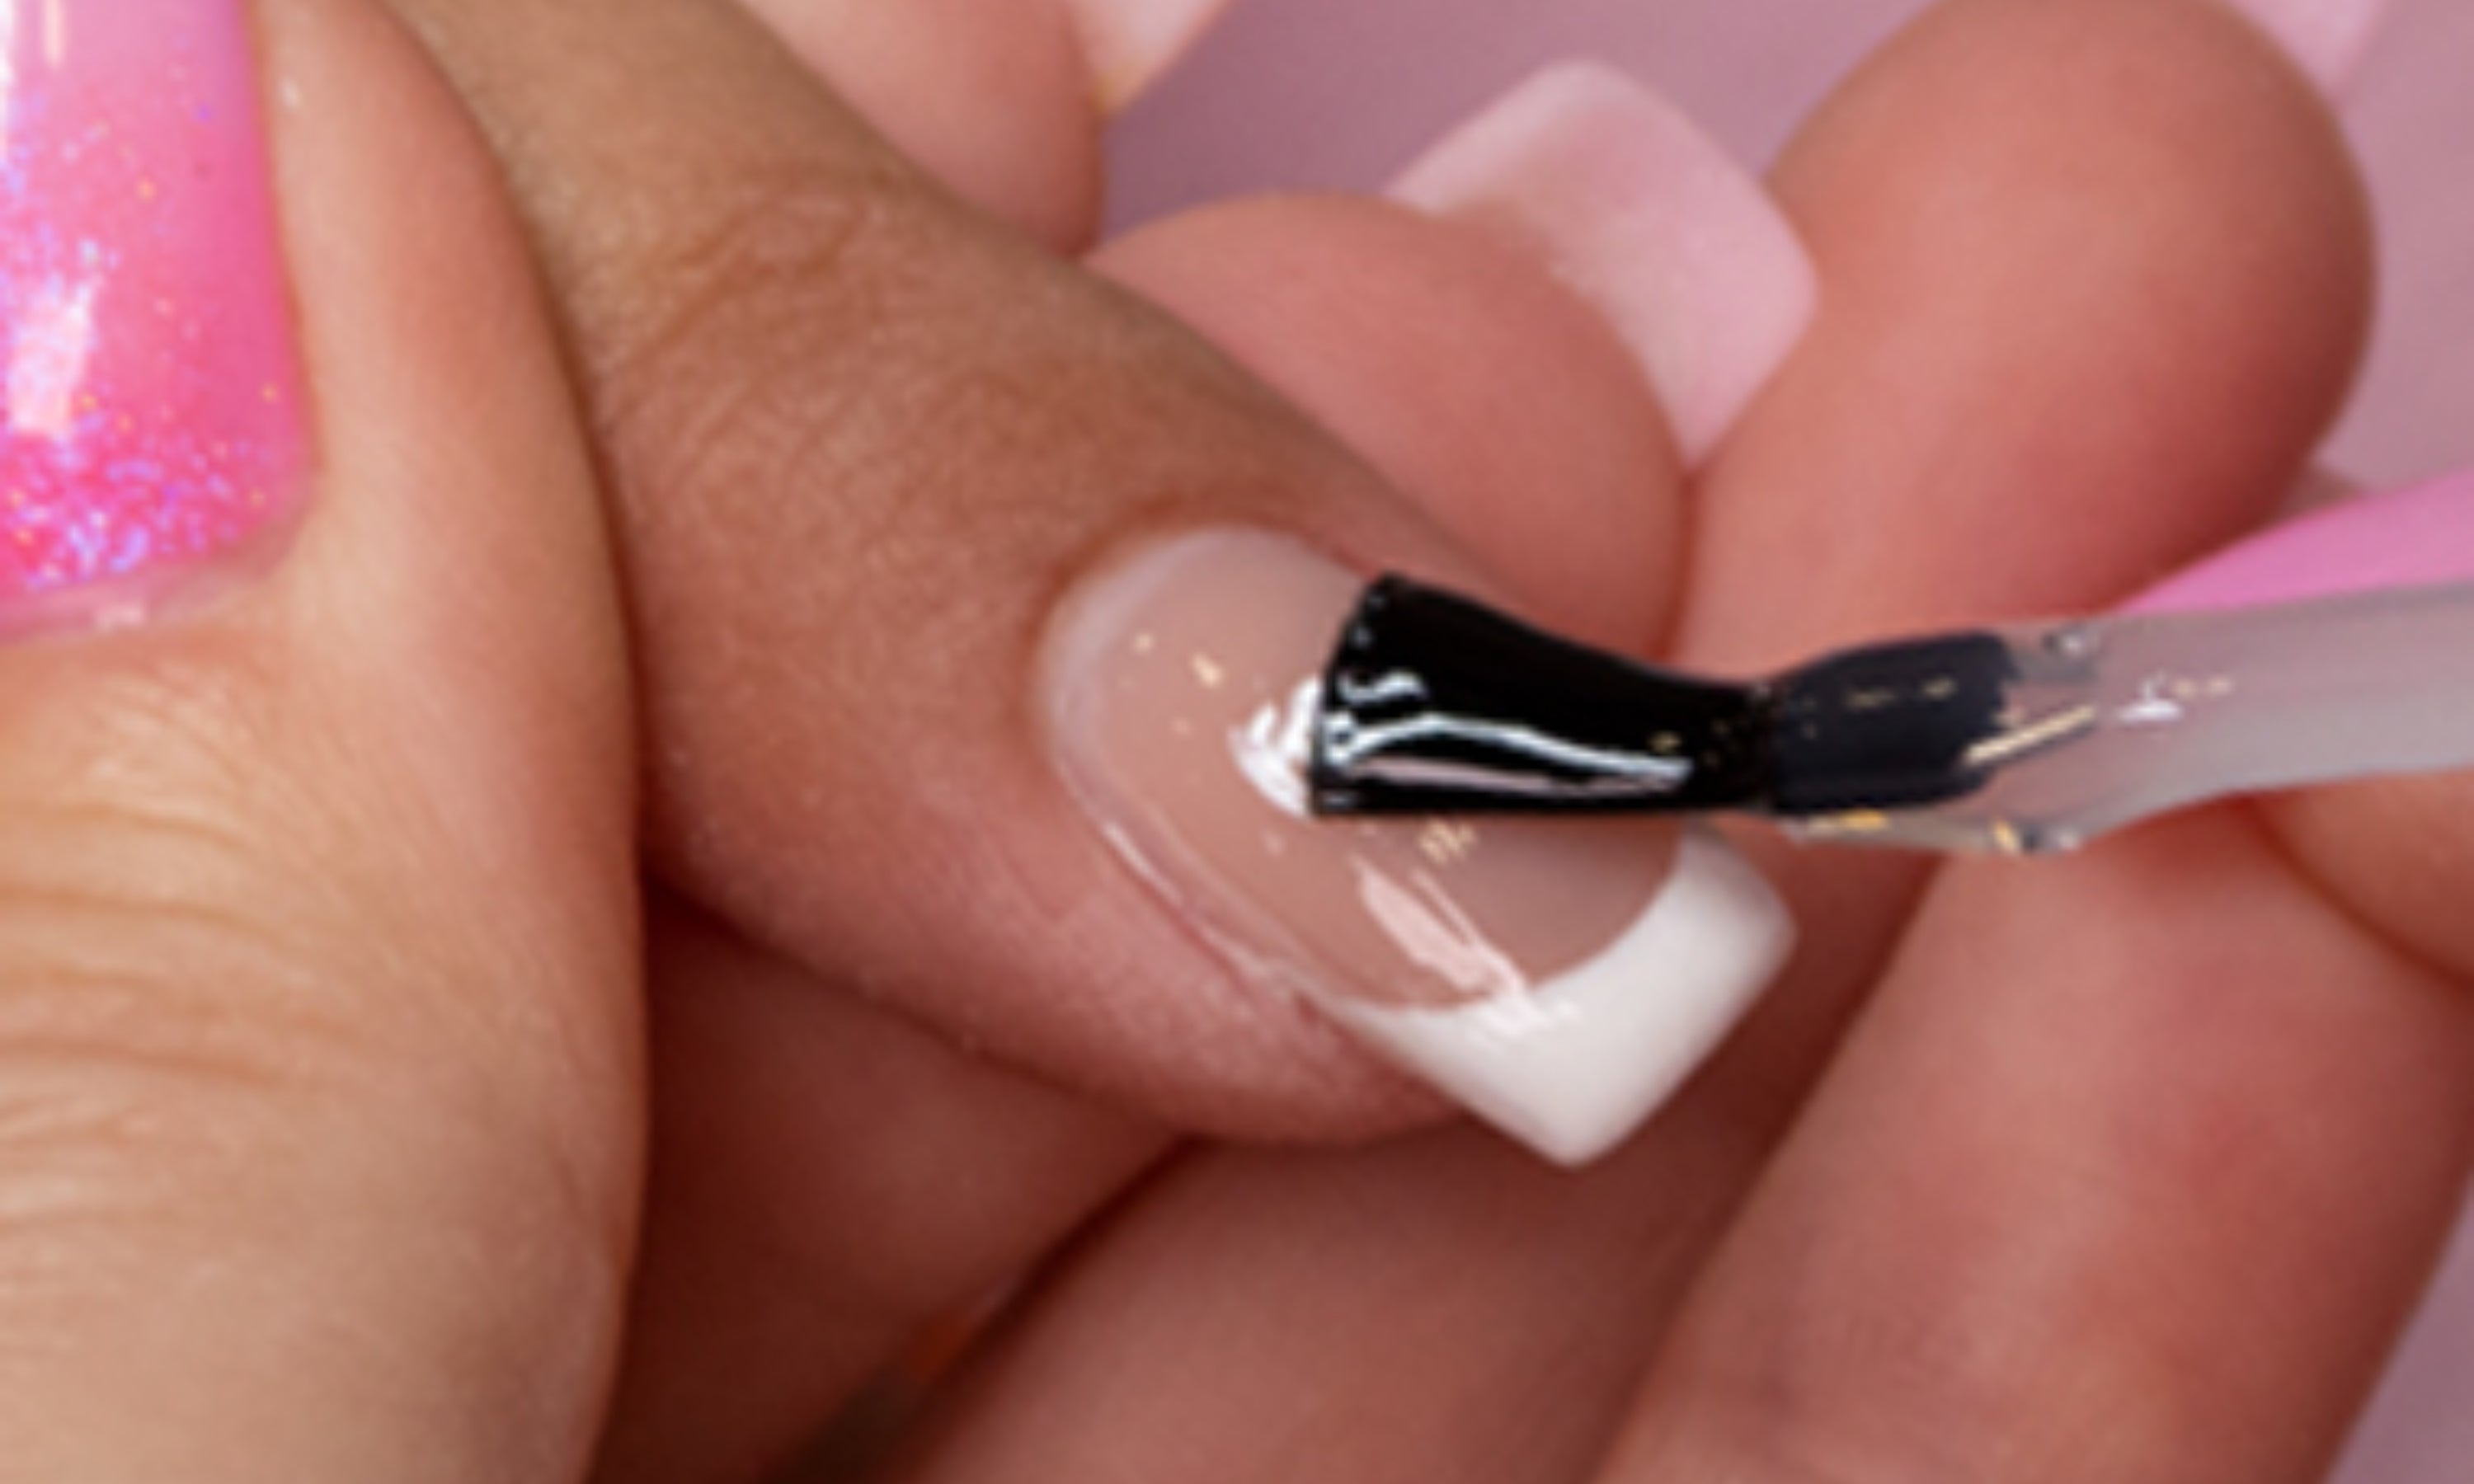
31. Apply a top coat, such as Crystal Top Gel, to give the nails a shine. Cure in a lamp: UV/LED – 60 sec / UV – 2 min. Clean with Cleaner and you’re done!
Materials for gel nails
FREQUENTLY ASKED QUESTIONS ABOUT GEL NAILS
The main difference between acrylic and gel is the way the product is hardened/dried. Gel is cured using an LED, UV or combination lamp, whereas acrylic is a product that hardens in the air without the need for a lamp.
On top of a gel construction we can apply colour gel, permanent polish and normal air-drying polish.
With the gel it is recommended to apply the Ultra-Bond Primer (without acids). It is also possible to apply the Adhesive Primer (with acids).
The sensation of heat or burning in your nails can be noticed for several reasons:
- Excess product on the nails
- Contact of the product with the cuticle or skin
- Excessive filing and as a result the nails are damaged and more sensitive
The main difference between Sculpting and Builder gels is viscosity. Sculpting is more viscous and harder to shape (high viscosity). Builder, on the other hand, is less viscous (medium viscosity). This difference in viscosity does not affect the durability of the nails, but simply means that they are worked differently.
It is not necessary, since our builder gels are both a base and a builder. We recommend applying a thin first coat (without drying under a lamp) to then work the extension better with more product.
Still, you can apply a layer of Volume Base Clear to improve the adhesion of the builder gel.
To finish a gel manicure we can use the following glitters:
- Crystal Top Gel : Extra shiny and long-lasting finishing gloss, without sticky layer. Prevents nails from staining or yellowing.
- Base & Gloss : permanent lamp-drying polish gloss with a sticky layer.
- Top Gloss : permanent nail polish gloss that dries under a lamp with a sticky layer (ideal for light colours).
- Diamond Gloss : finishing gloss with fine diamond glitter sparkles, ideal for any permanent, gel or acrylic nail polish colour. Once dried in the lamp, it does not leave an excess layer.
- Matt Top Coat : velvety effect finisher to apply over any gel, acrylic or permanent polish color.
- Eggshell Top Coat : Clear matte finish finisher with irregular black dots without sticky layer.
Glitter or color can chip on gel nails when the initial build is too thin.
Correct removal of gel nails is done by filing, either with an electric lathe or manually. It is recommended to use a file with a roughness of 80/80 .
Gel nails usually last between 2 and 4 weeks.
All our gels, permanent polishes, polygels and acrylics have been manufactured in the EU and do not contain any of the prohibited ingredients. For more information, please visit the Quality Certificate section.
On the other hand, as with any cosmetic product on the market, there may be cases of allergies. If you notice any abnormality, please contact us.


