Permanent nail polish instructions
Learn how to apply and remove permanent nail polishes with the step-by-step instructions below. For more information on this technique, you can watch our video tutorial and discover which semi-permanent nail products you need to achieve a flawless manicure.
HOW TO APPLY PERMANENT NAIL POLISH?
We detail the steps to apply permanent nail polish, from preparing the nail to the final shine.
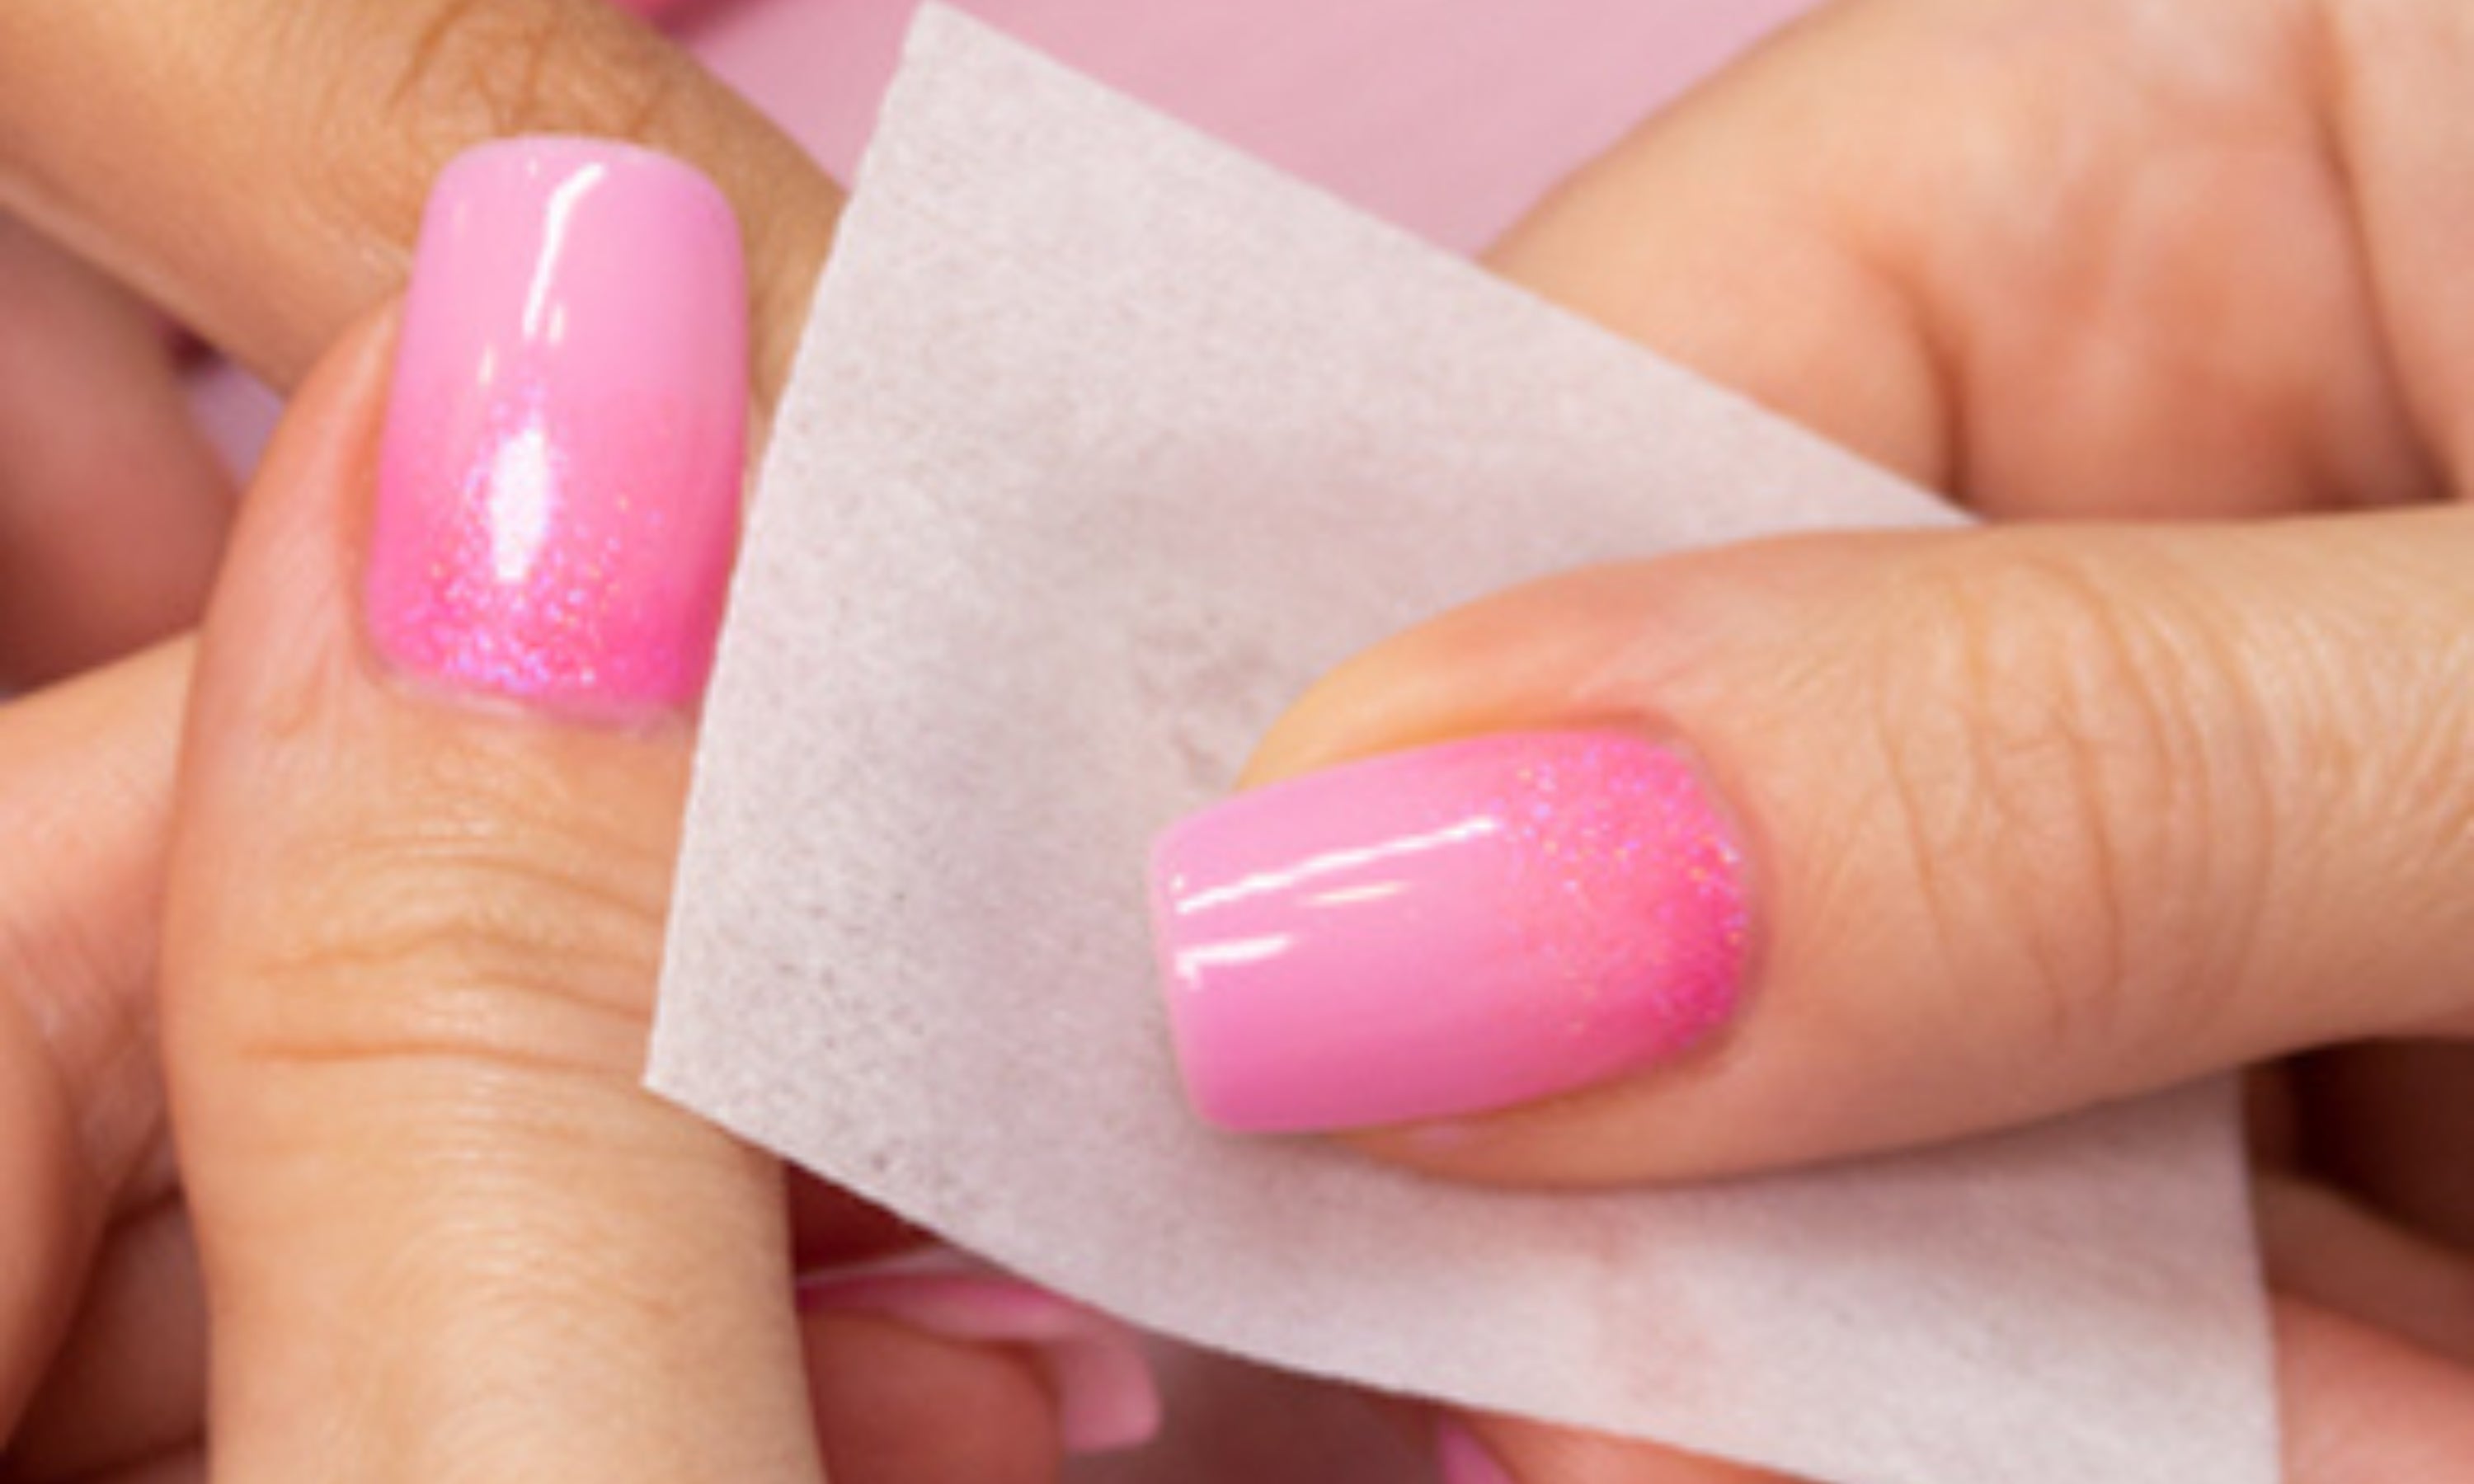
1. Disinfect nails with disinfectant or 90% alcohol soaked in cotton.
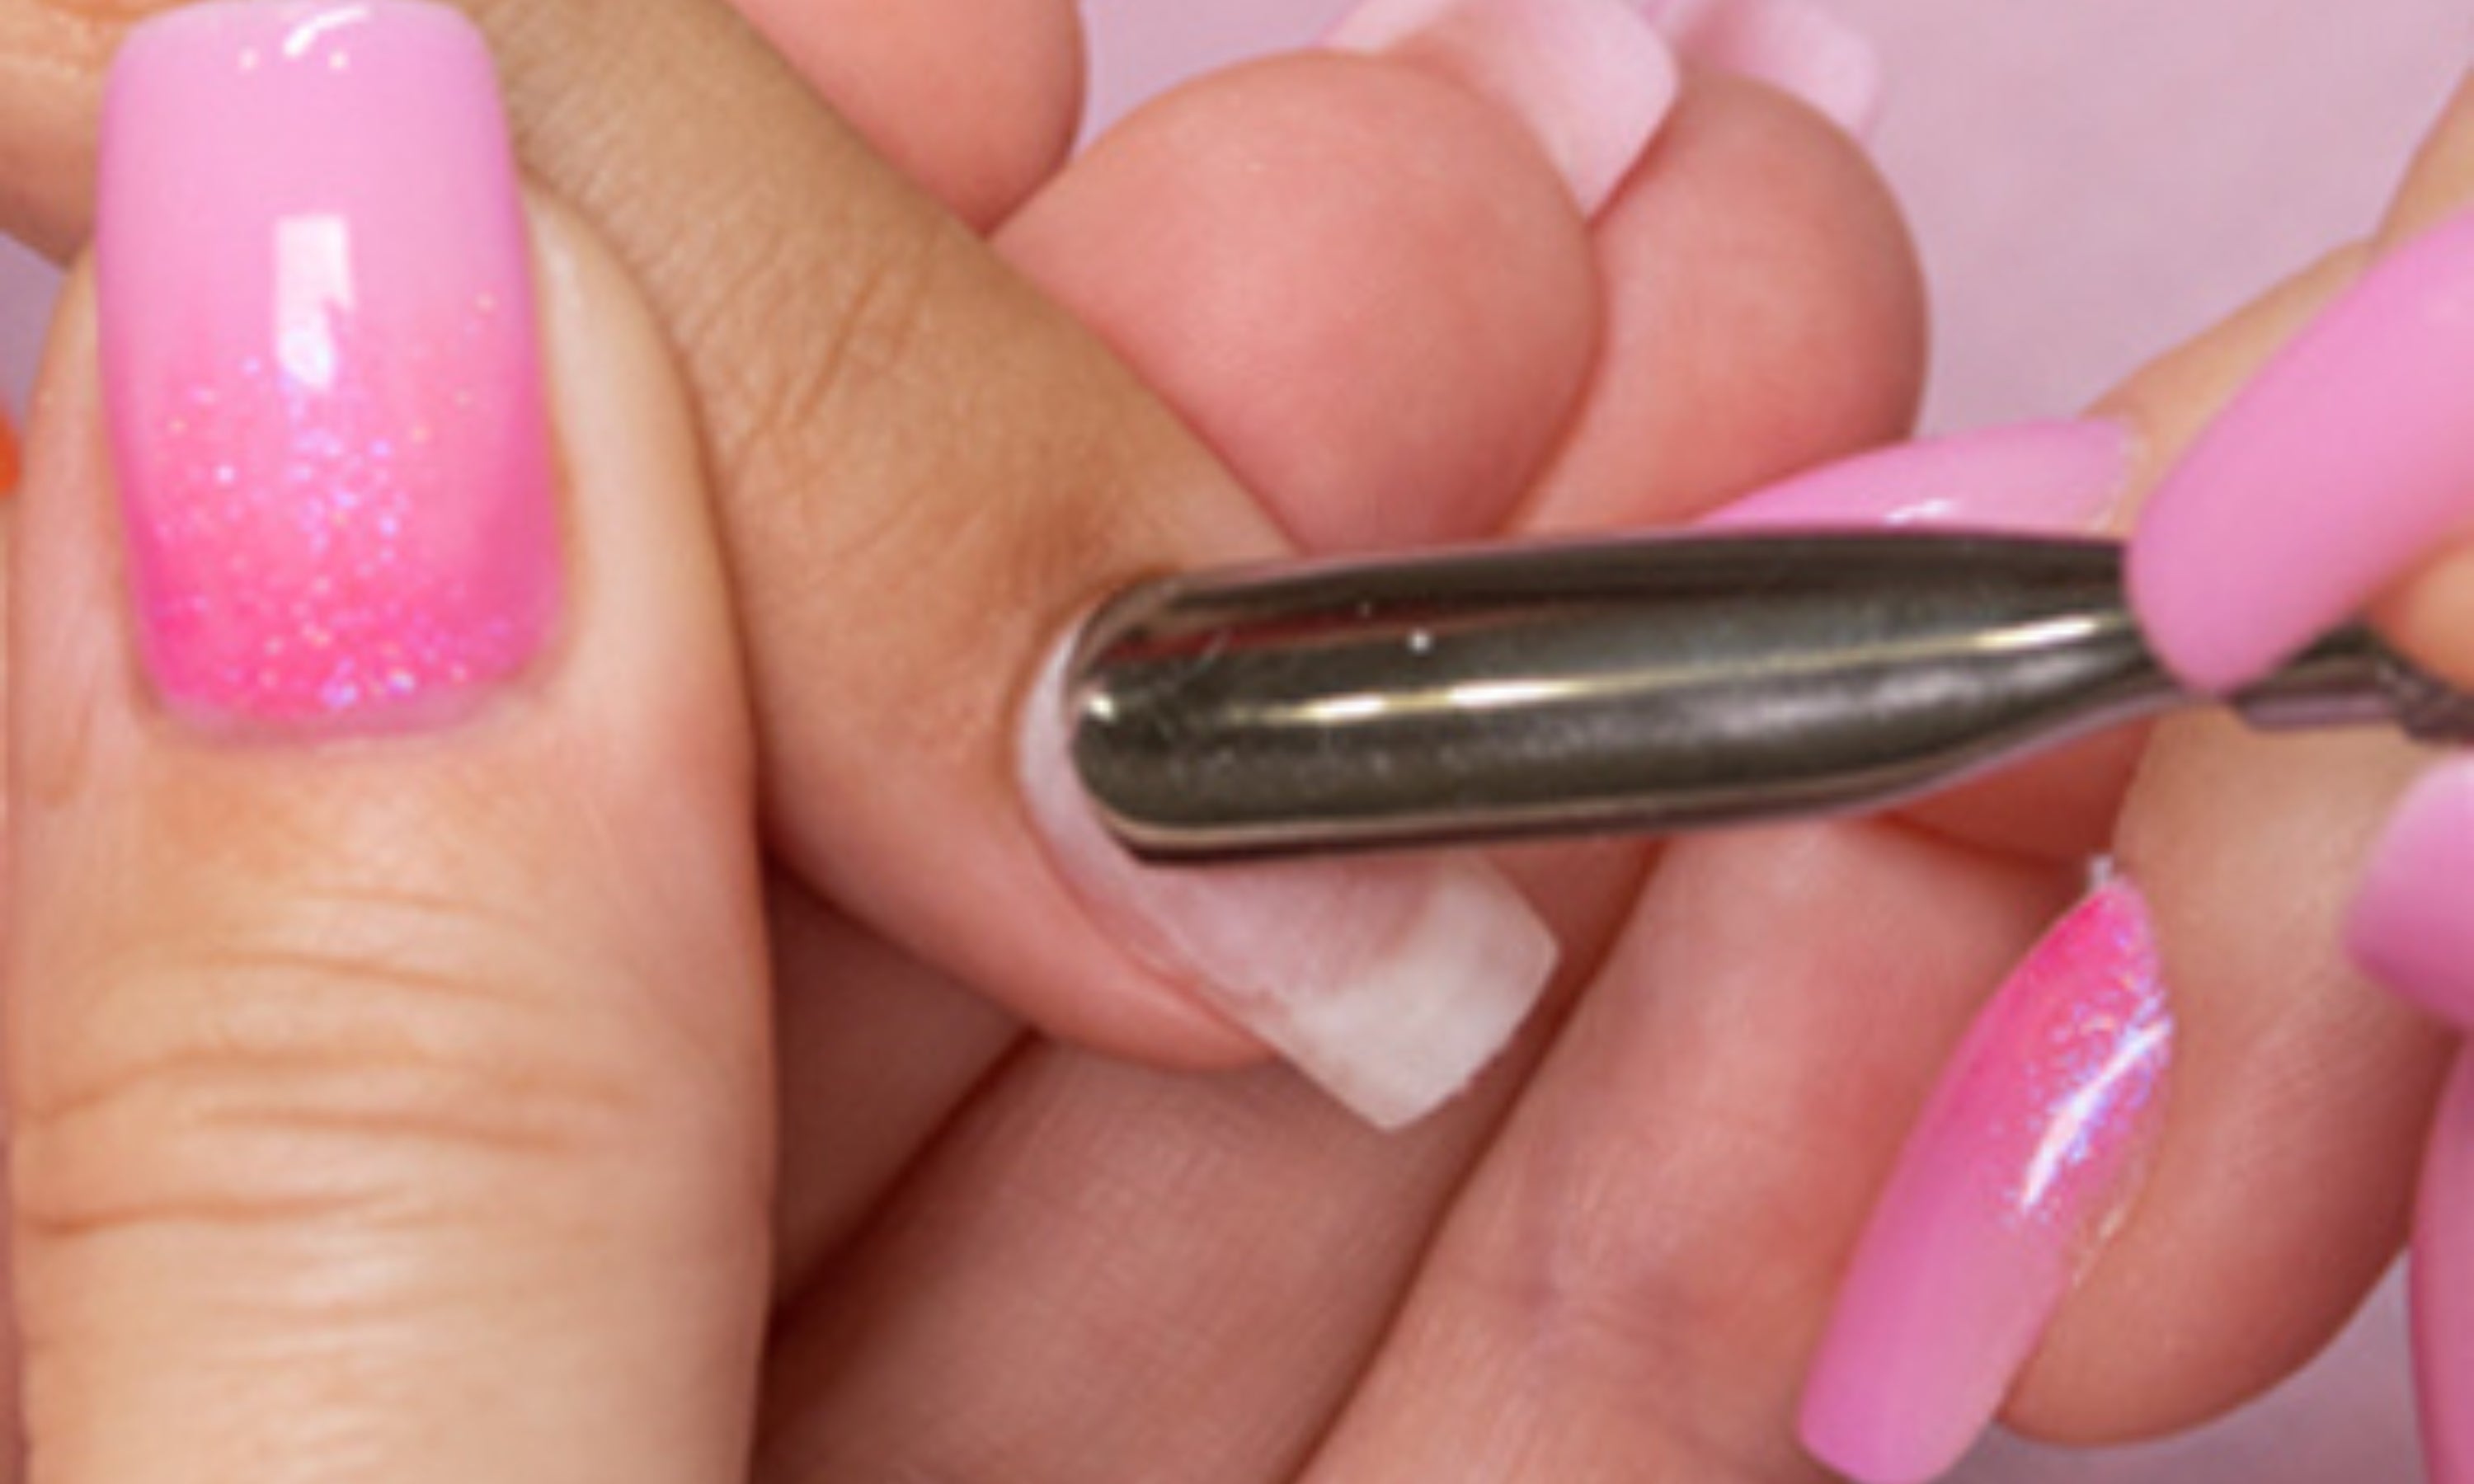
2. Push the cuticle back with an orange stick or cuticle pusher.
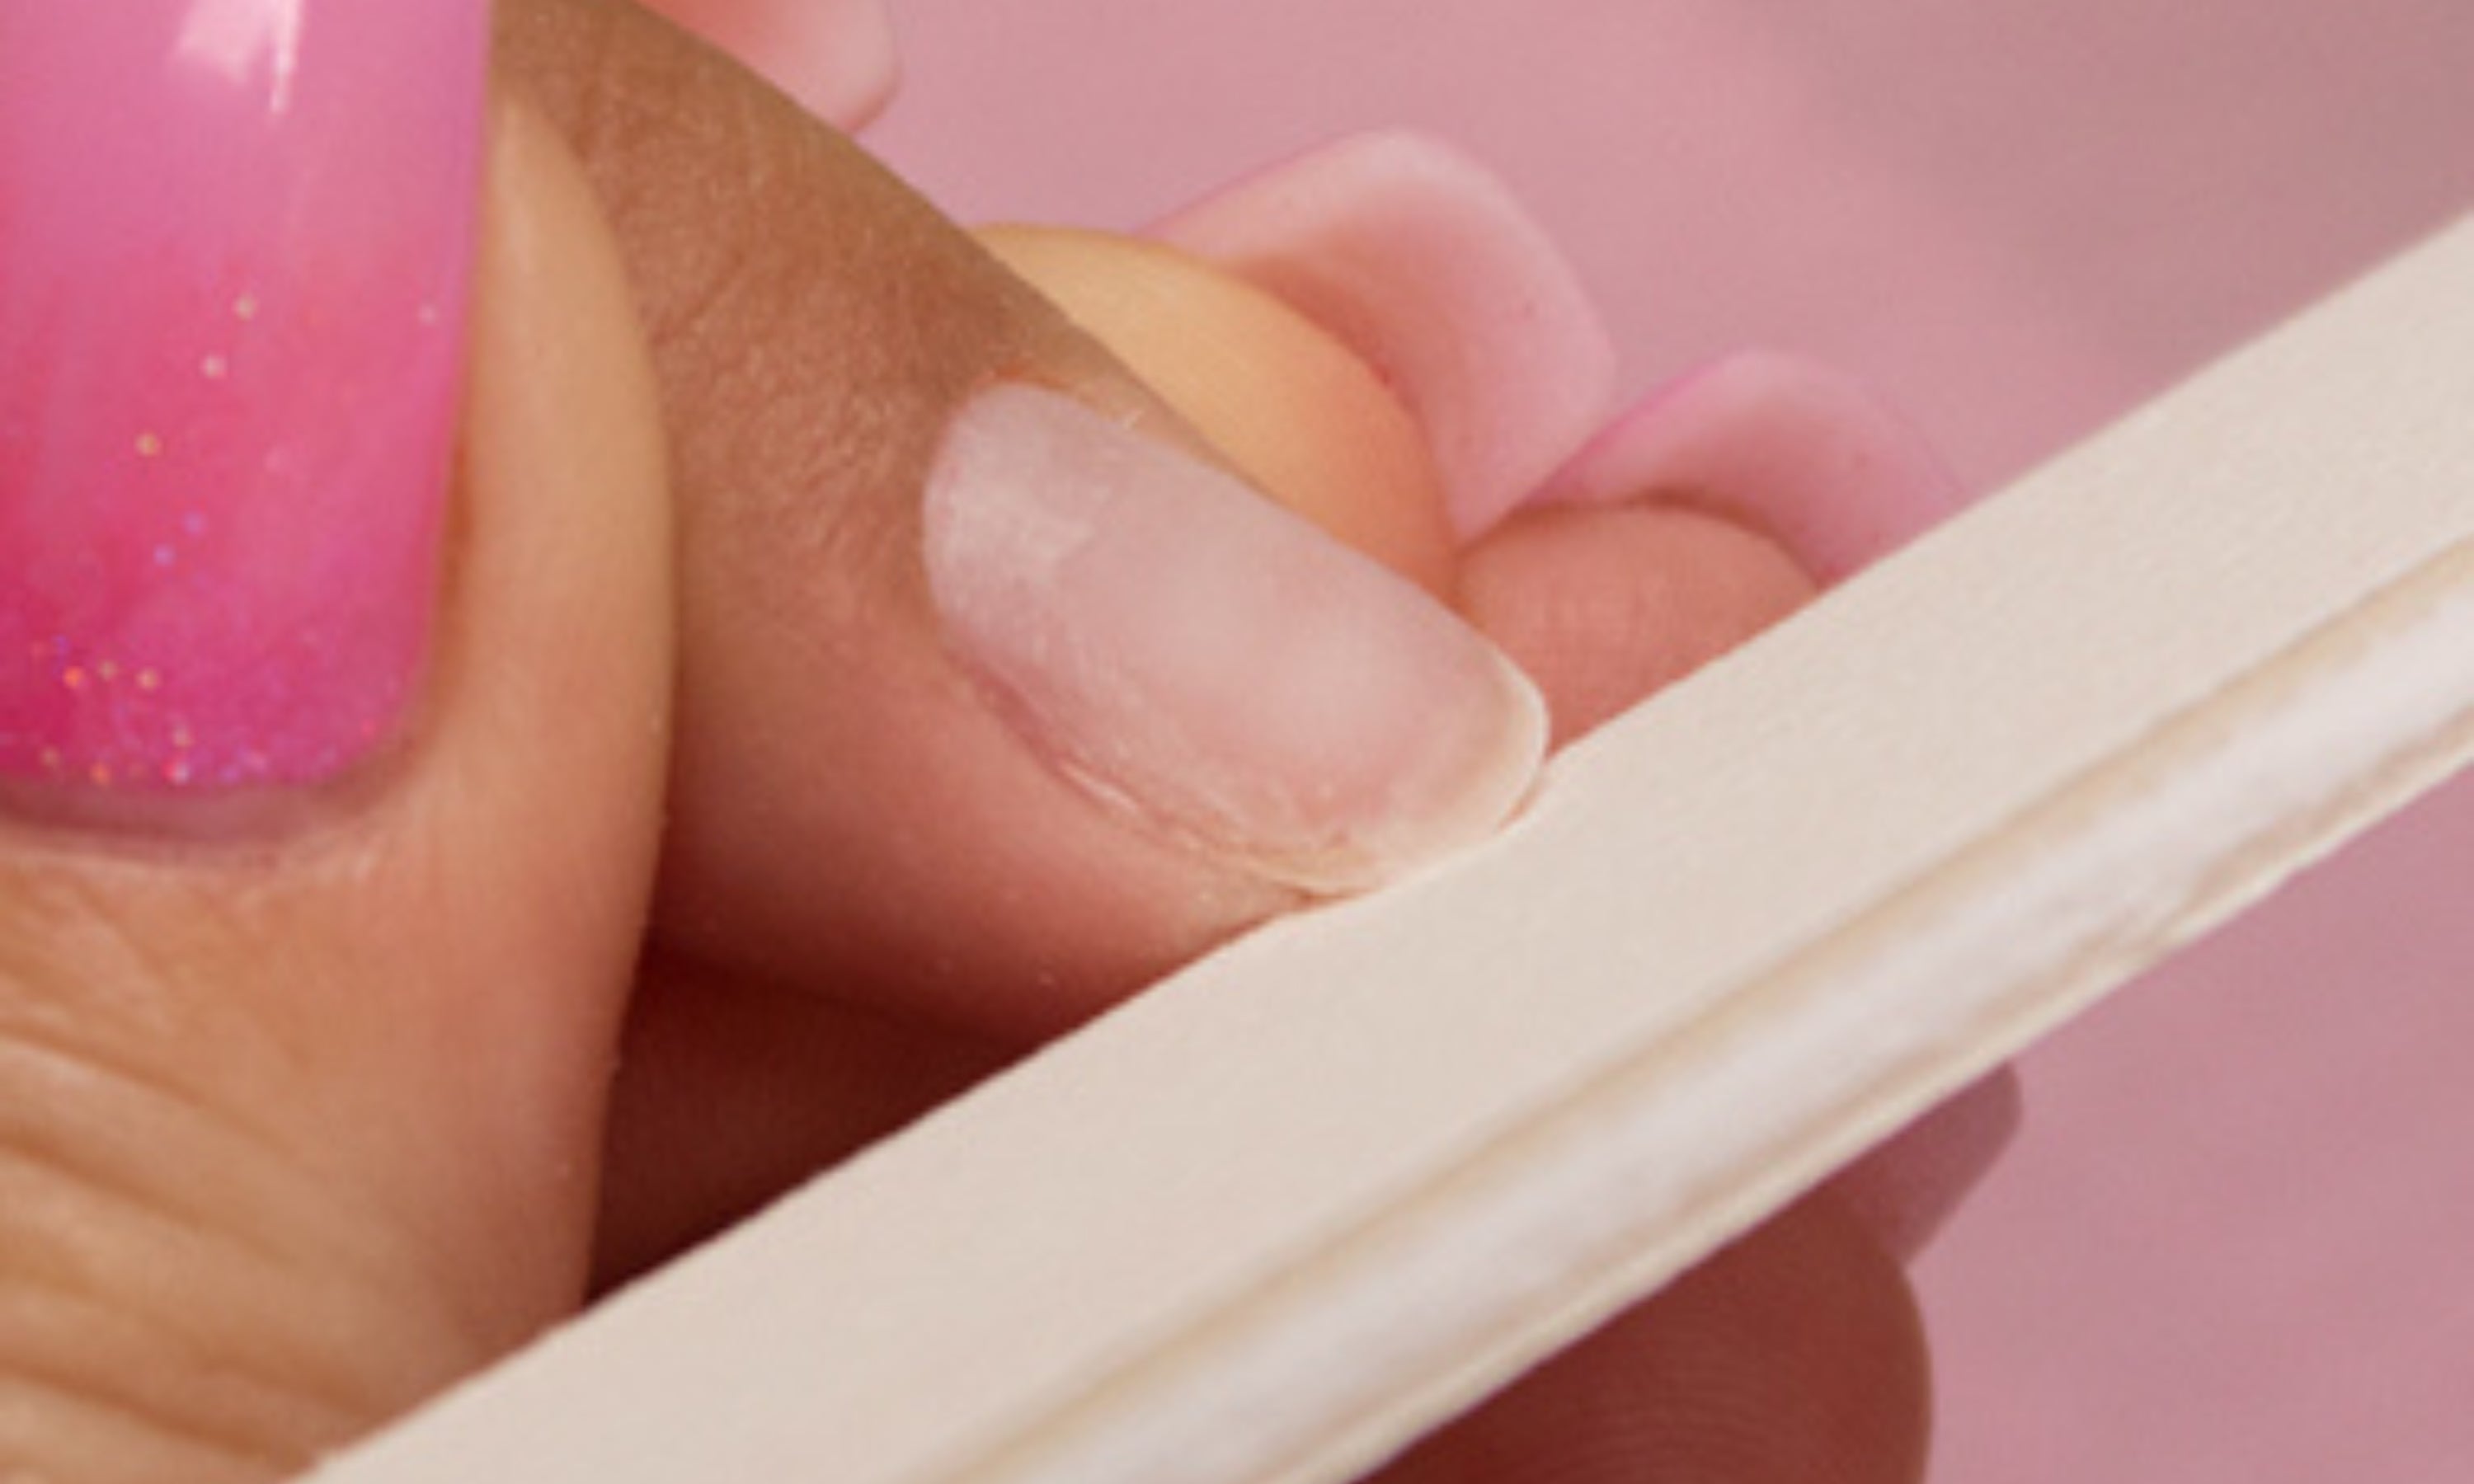
3. Shape the nail as desired. File the sides and cuticle area to remove any remaining skin.
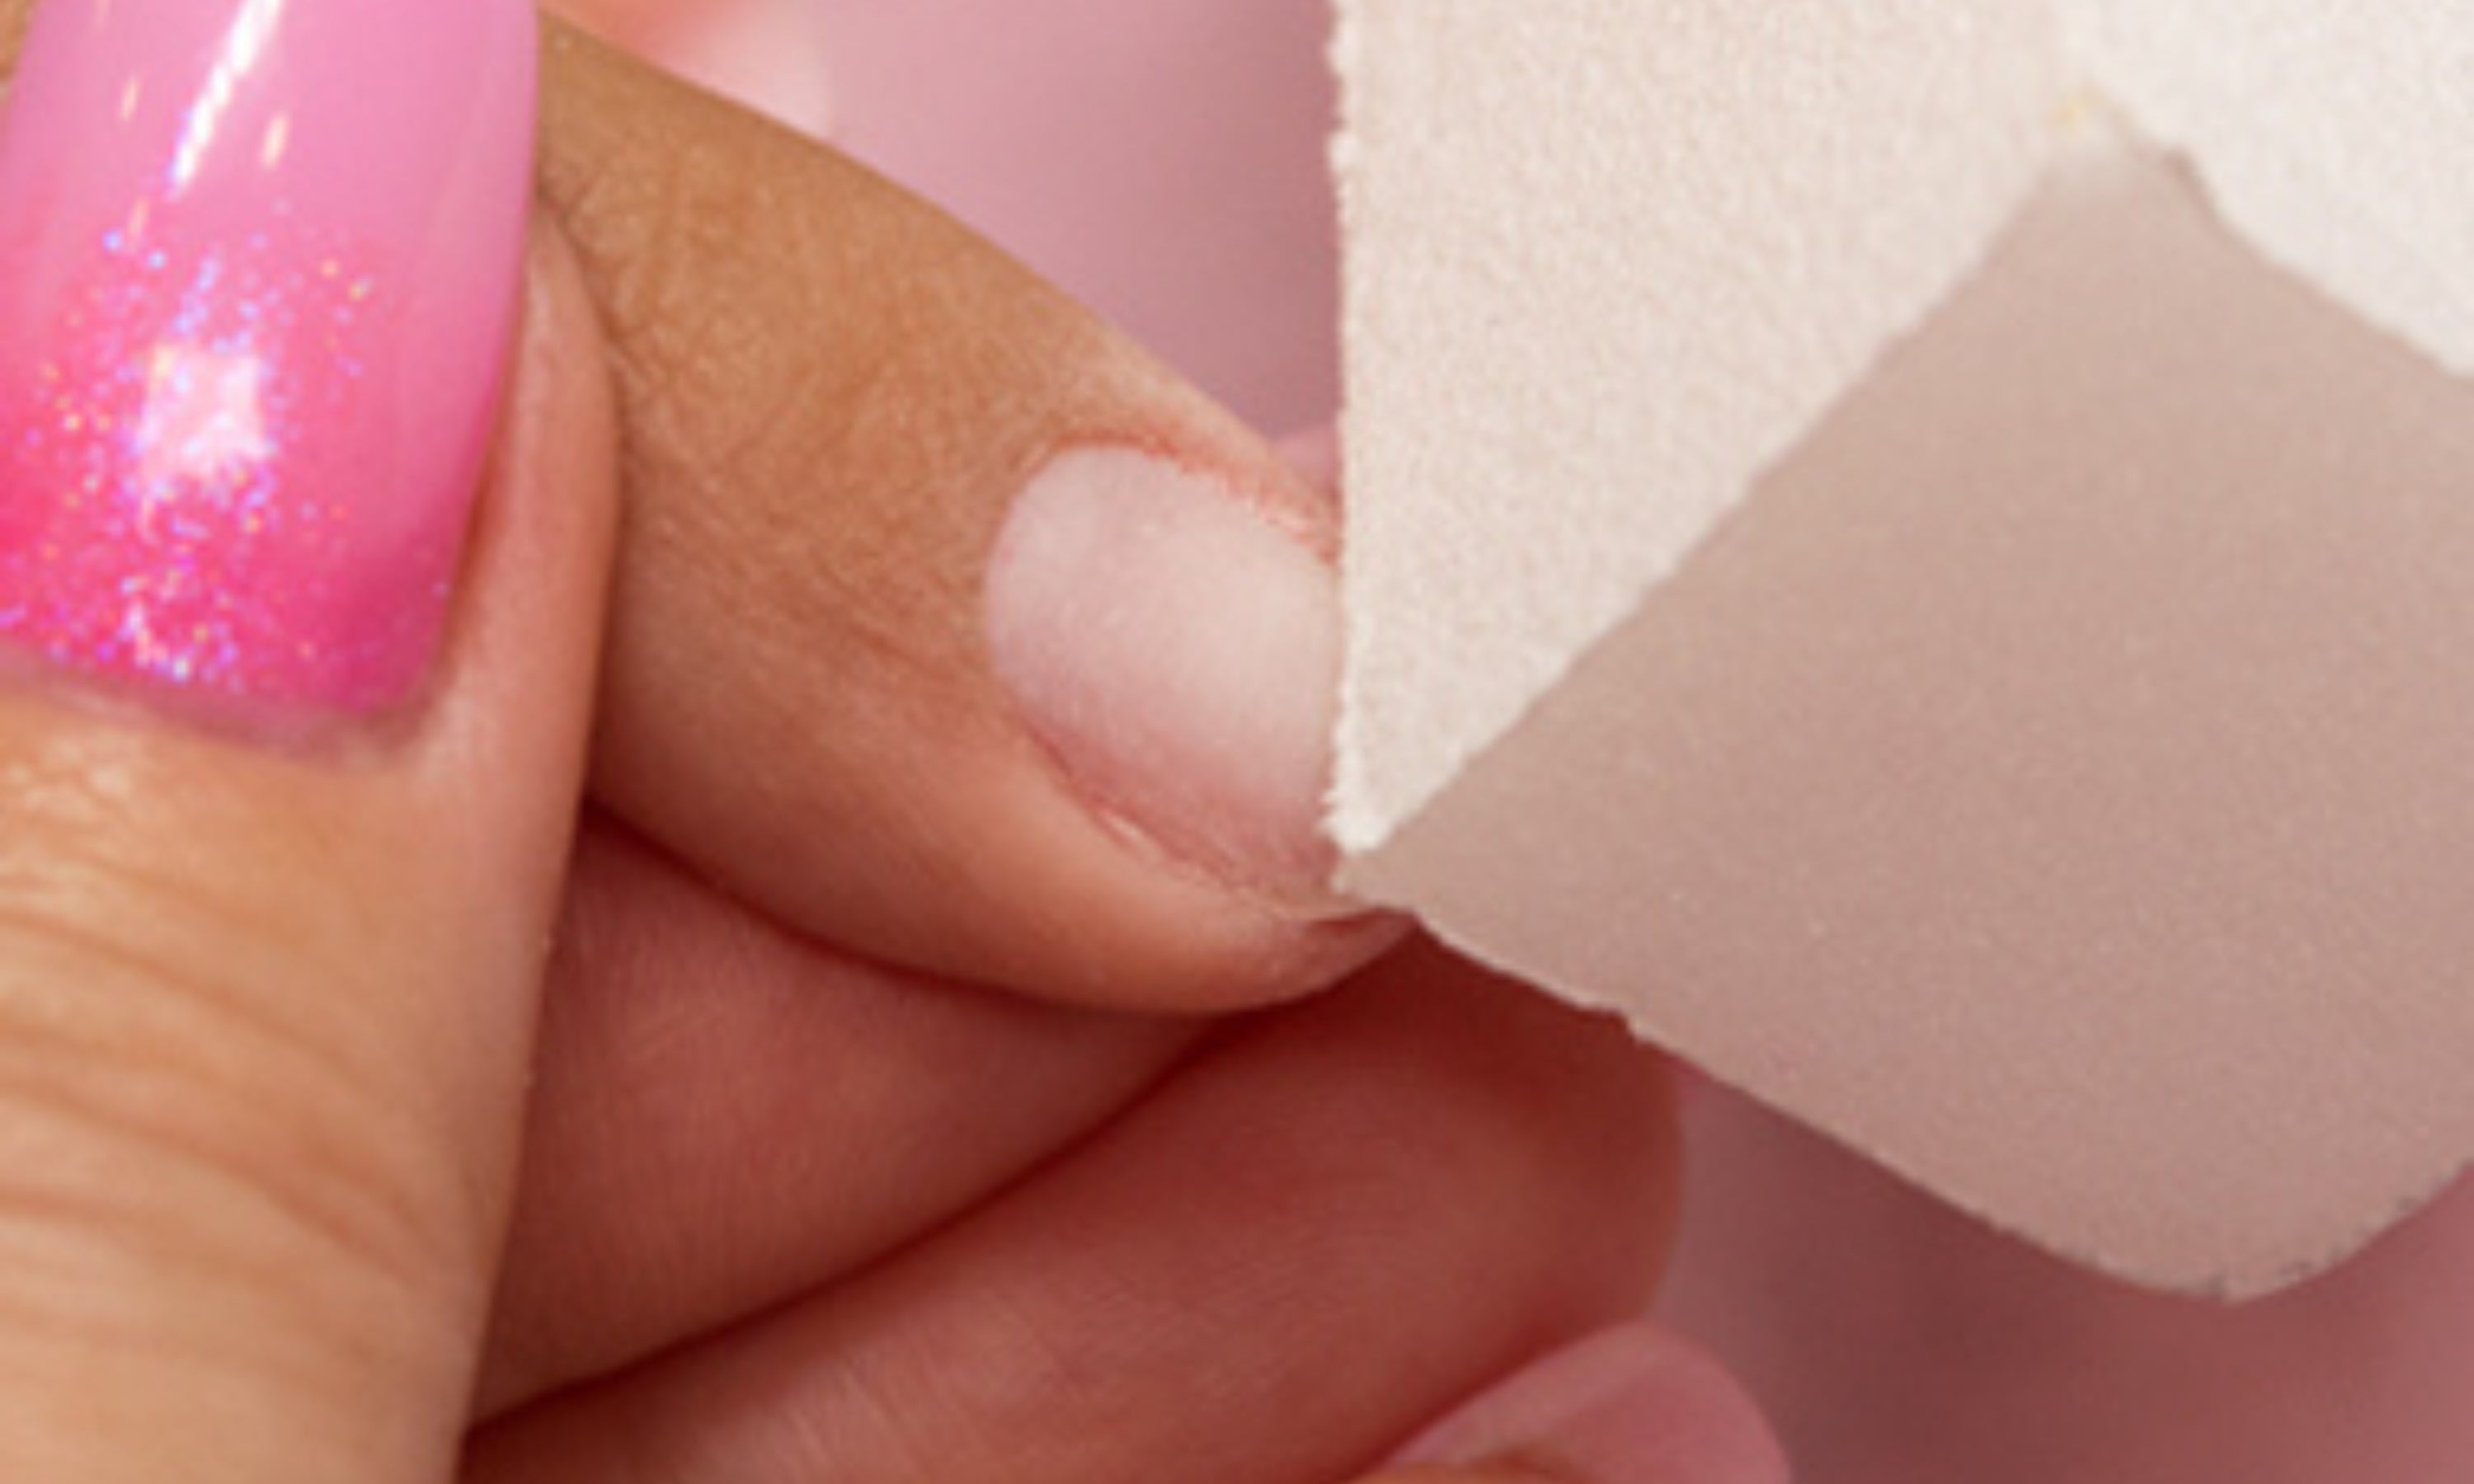
4. Remove the shine from the natural nail with the buffing block. This step is important to ensure the product adheres to the nail.
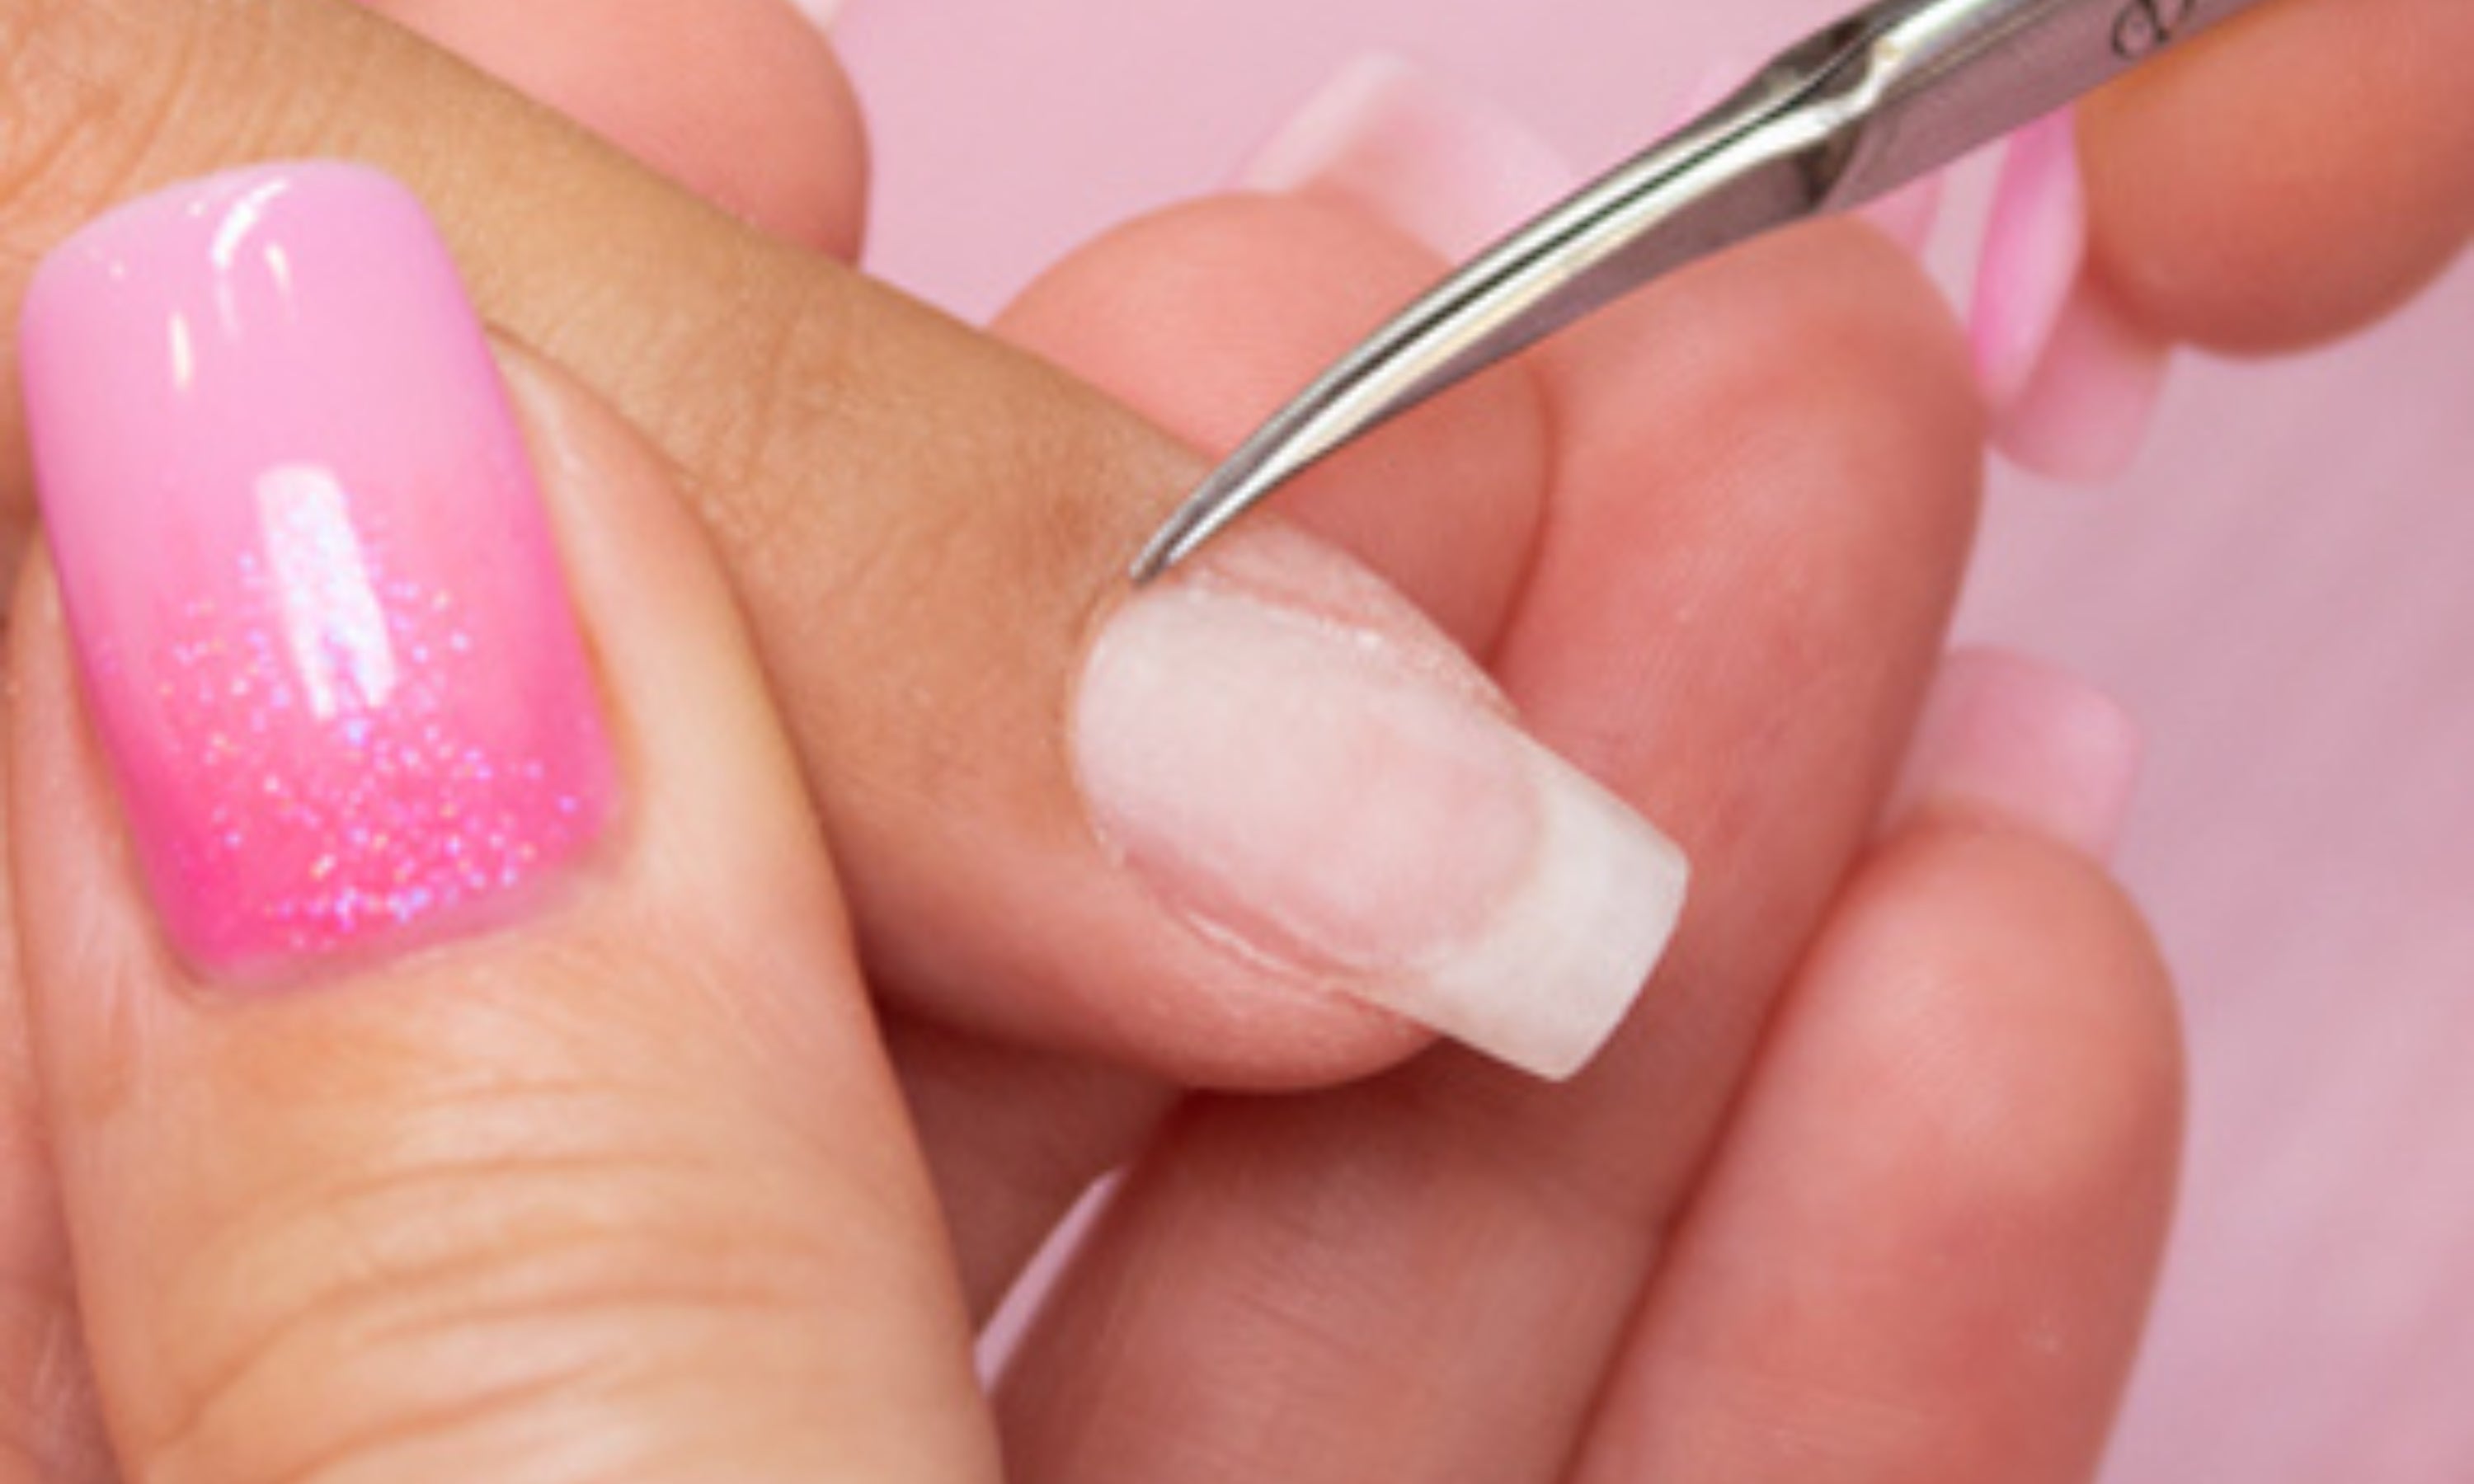
5. Finish removing any cuticle skin with cuticle nippers or scissors. It is important not to touch the nail with your fingertips to ensure the polish adheres.
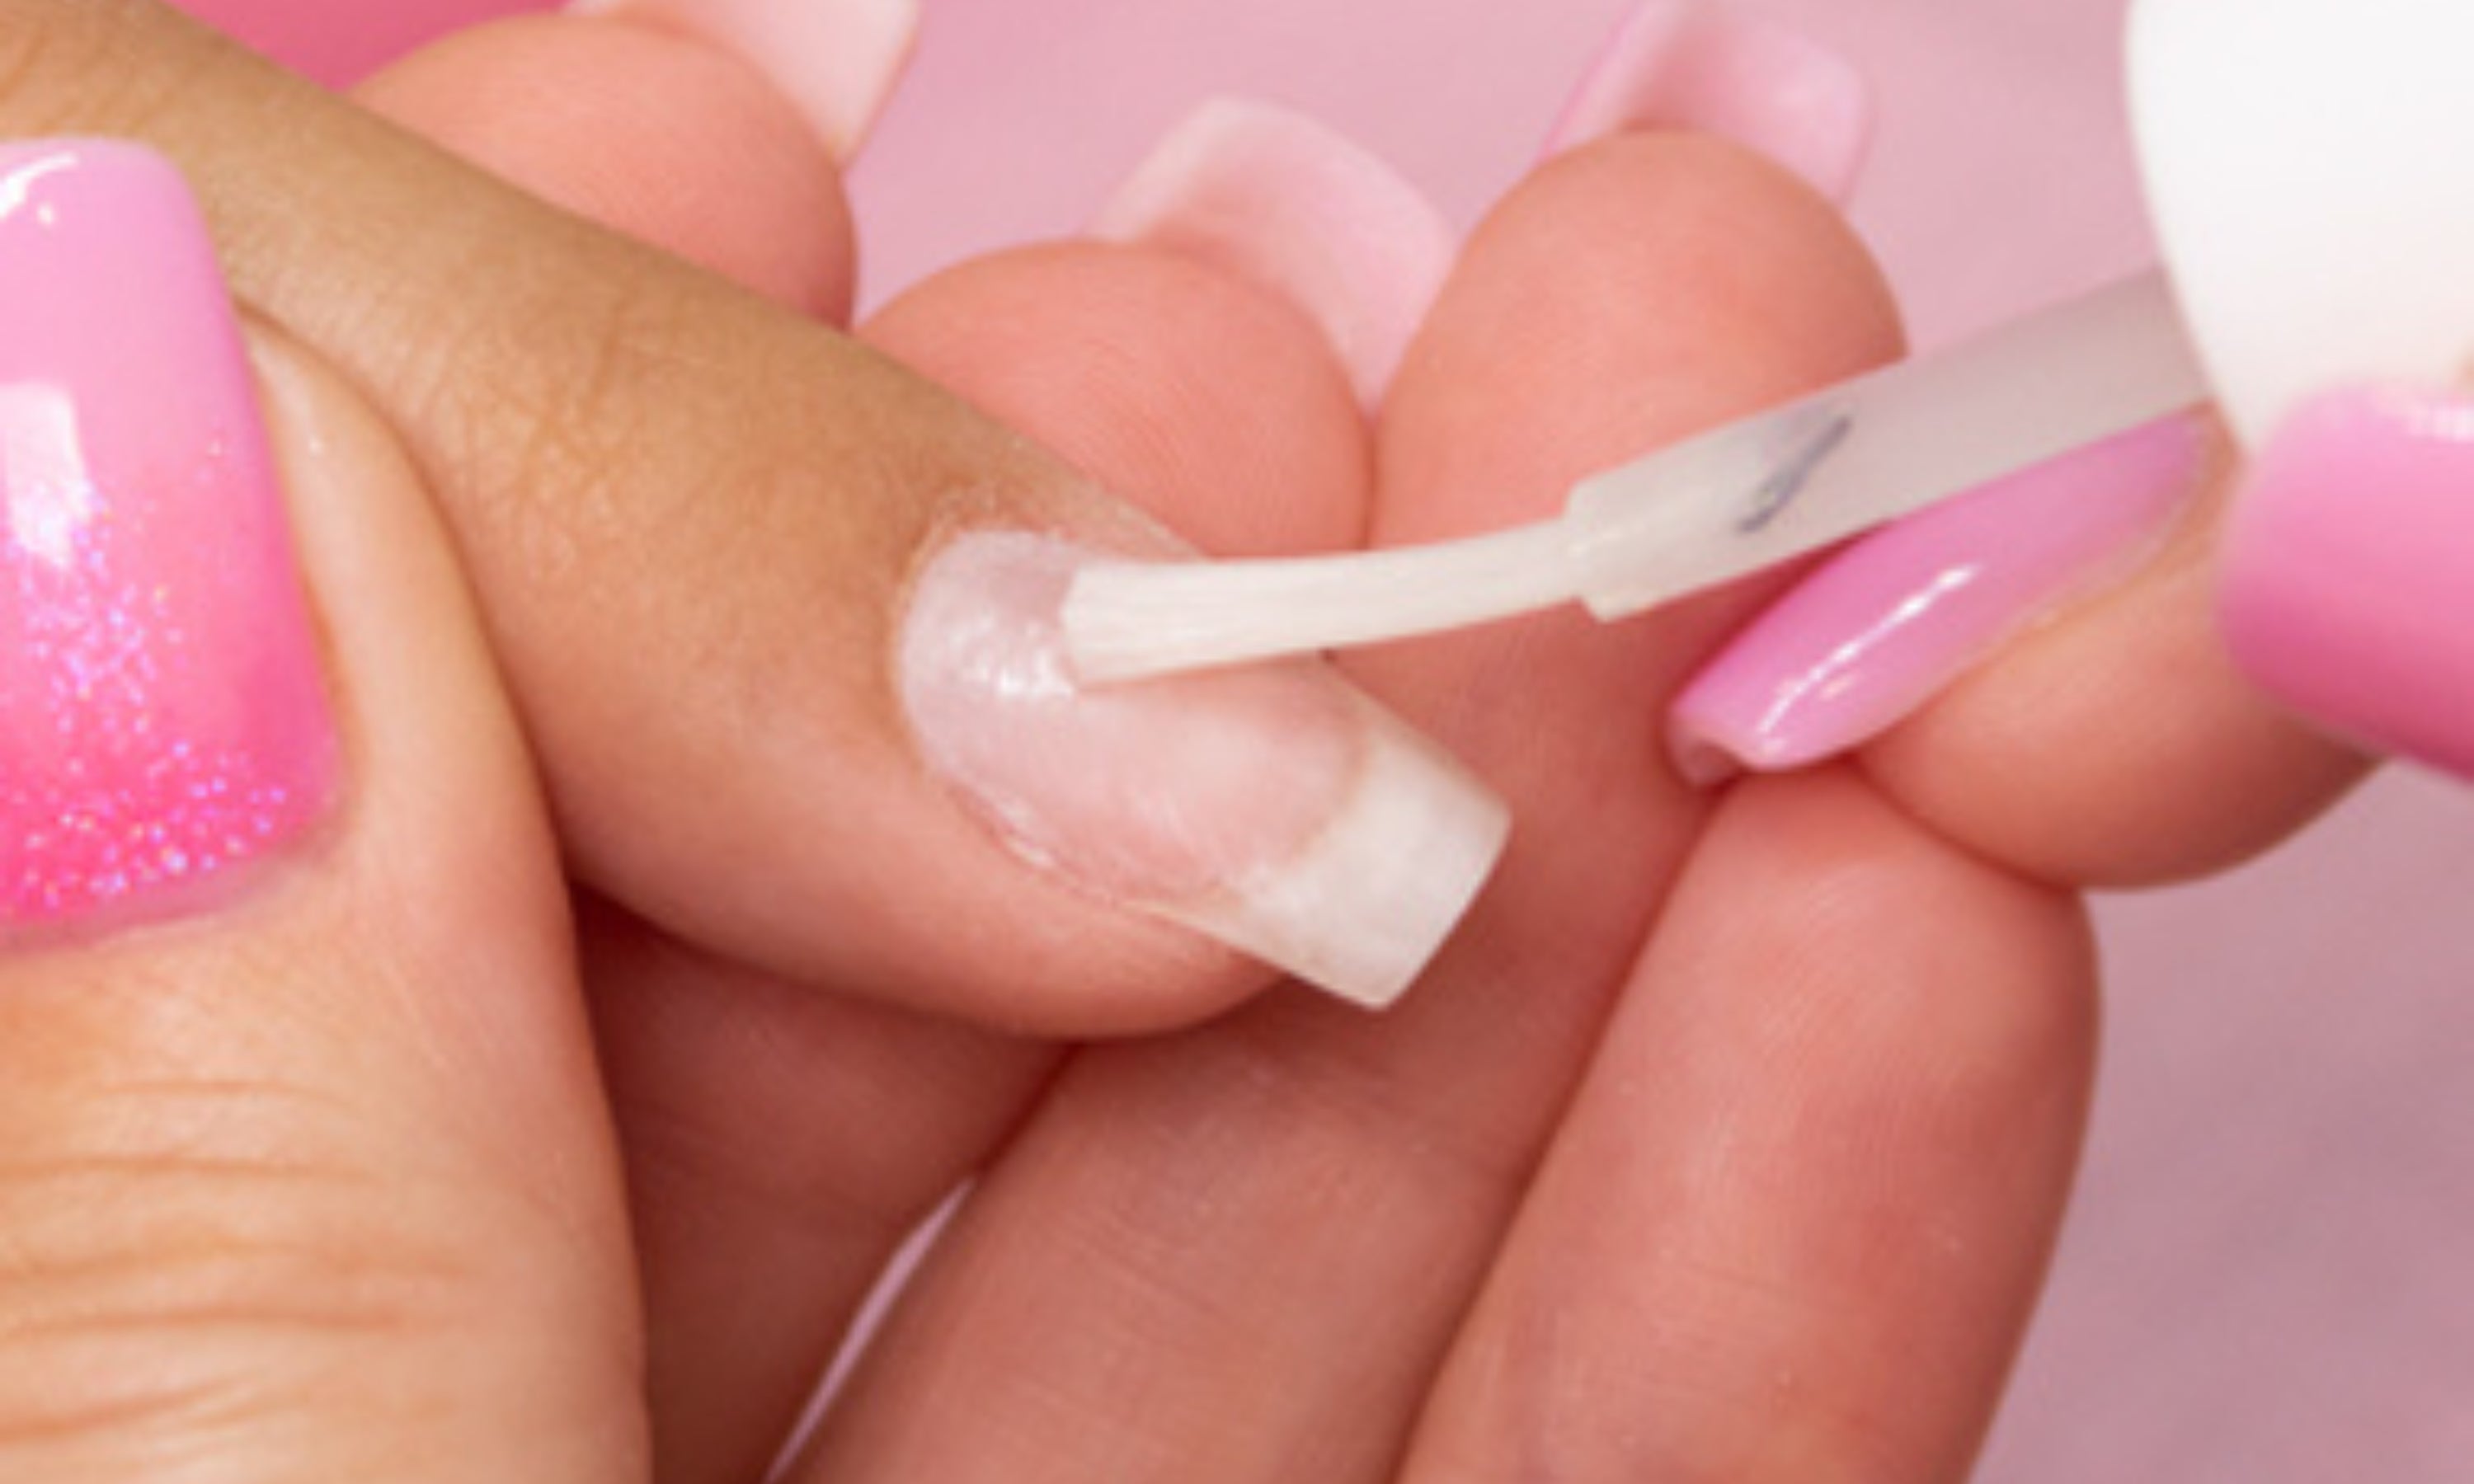
6. Apply Ultra Bond Primer (acid-free adhesive) to the entire nail and allow to air dry for a few seconds. Be careful not to touch the skin or cuticle. If the nail is very oily, it is recommended to first apply Nail Prep to degrease the nail.
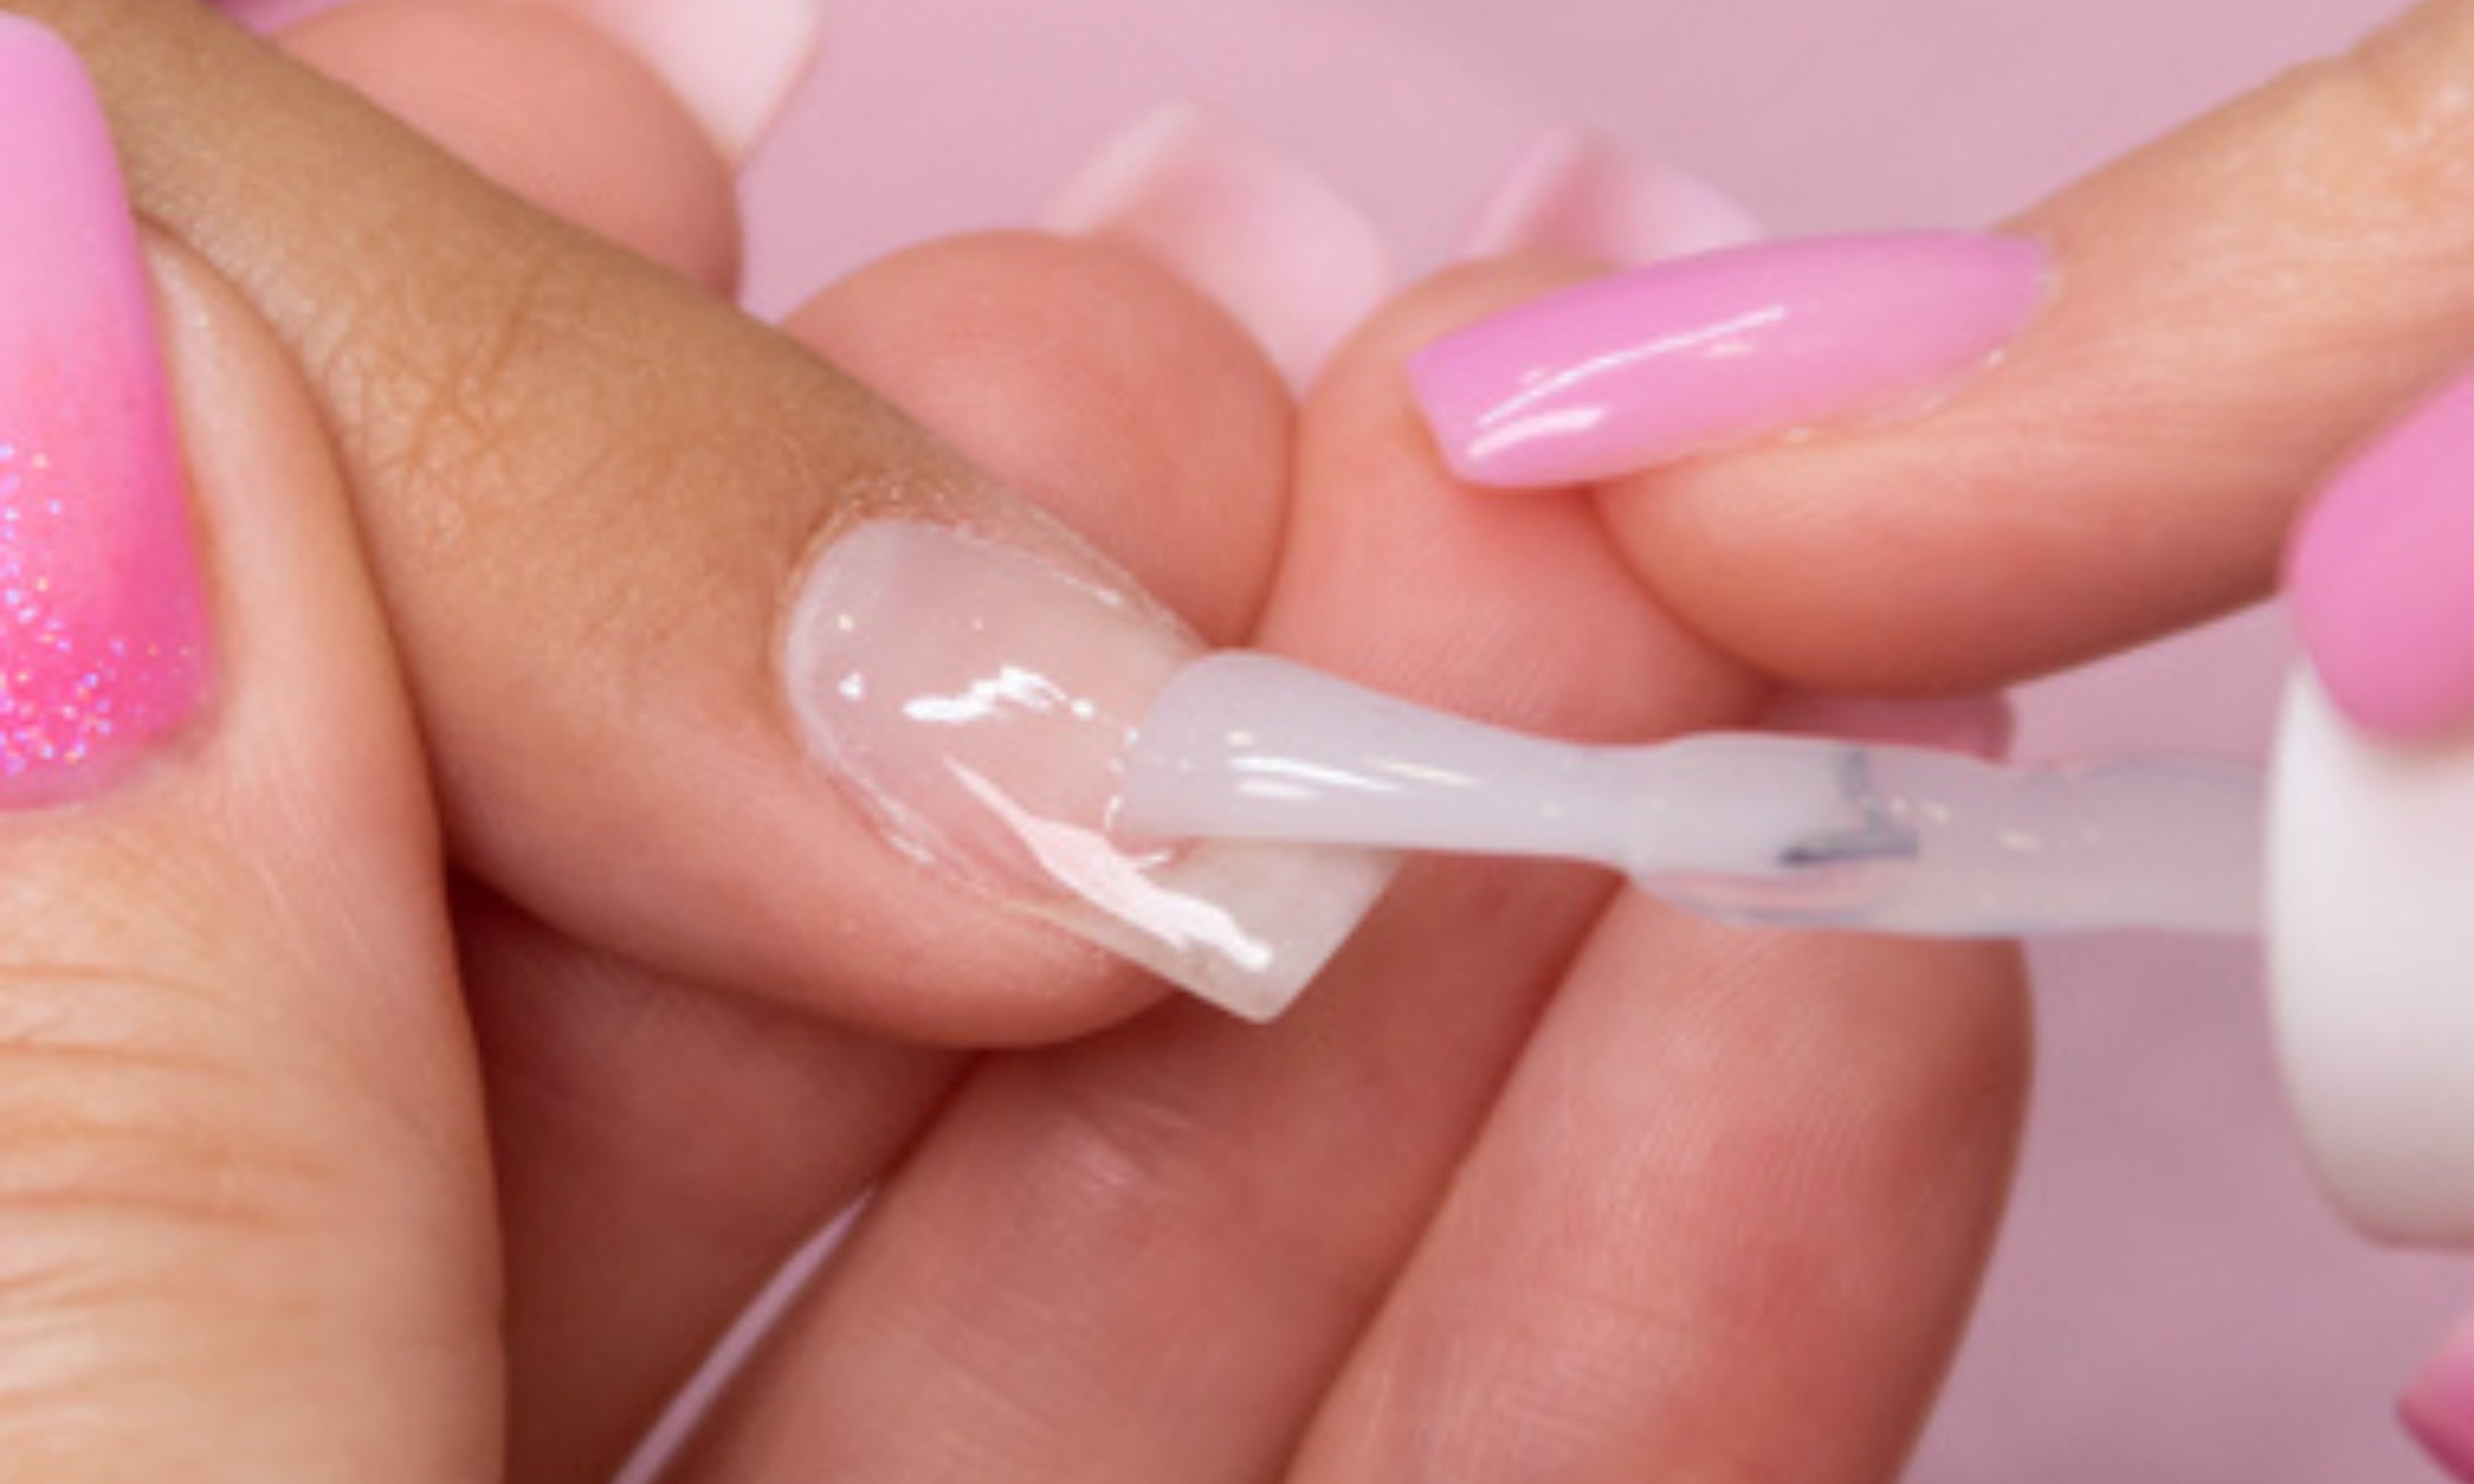
7. Base: you can use these bases: Hybrid Base, Base & Gloss or Volume Base. It is very important to seal the tips well with the base as well as with the color and gloss.
Cure in lamp: UV/LED – 60 sec / UV – 2 min.
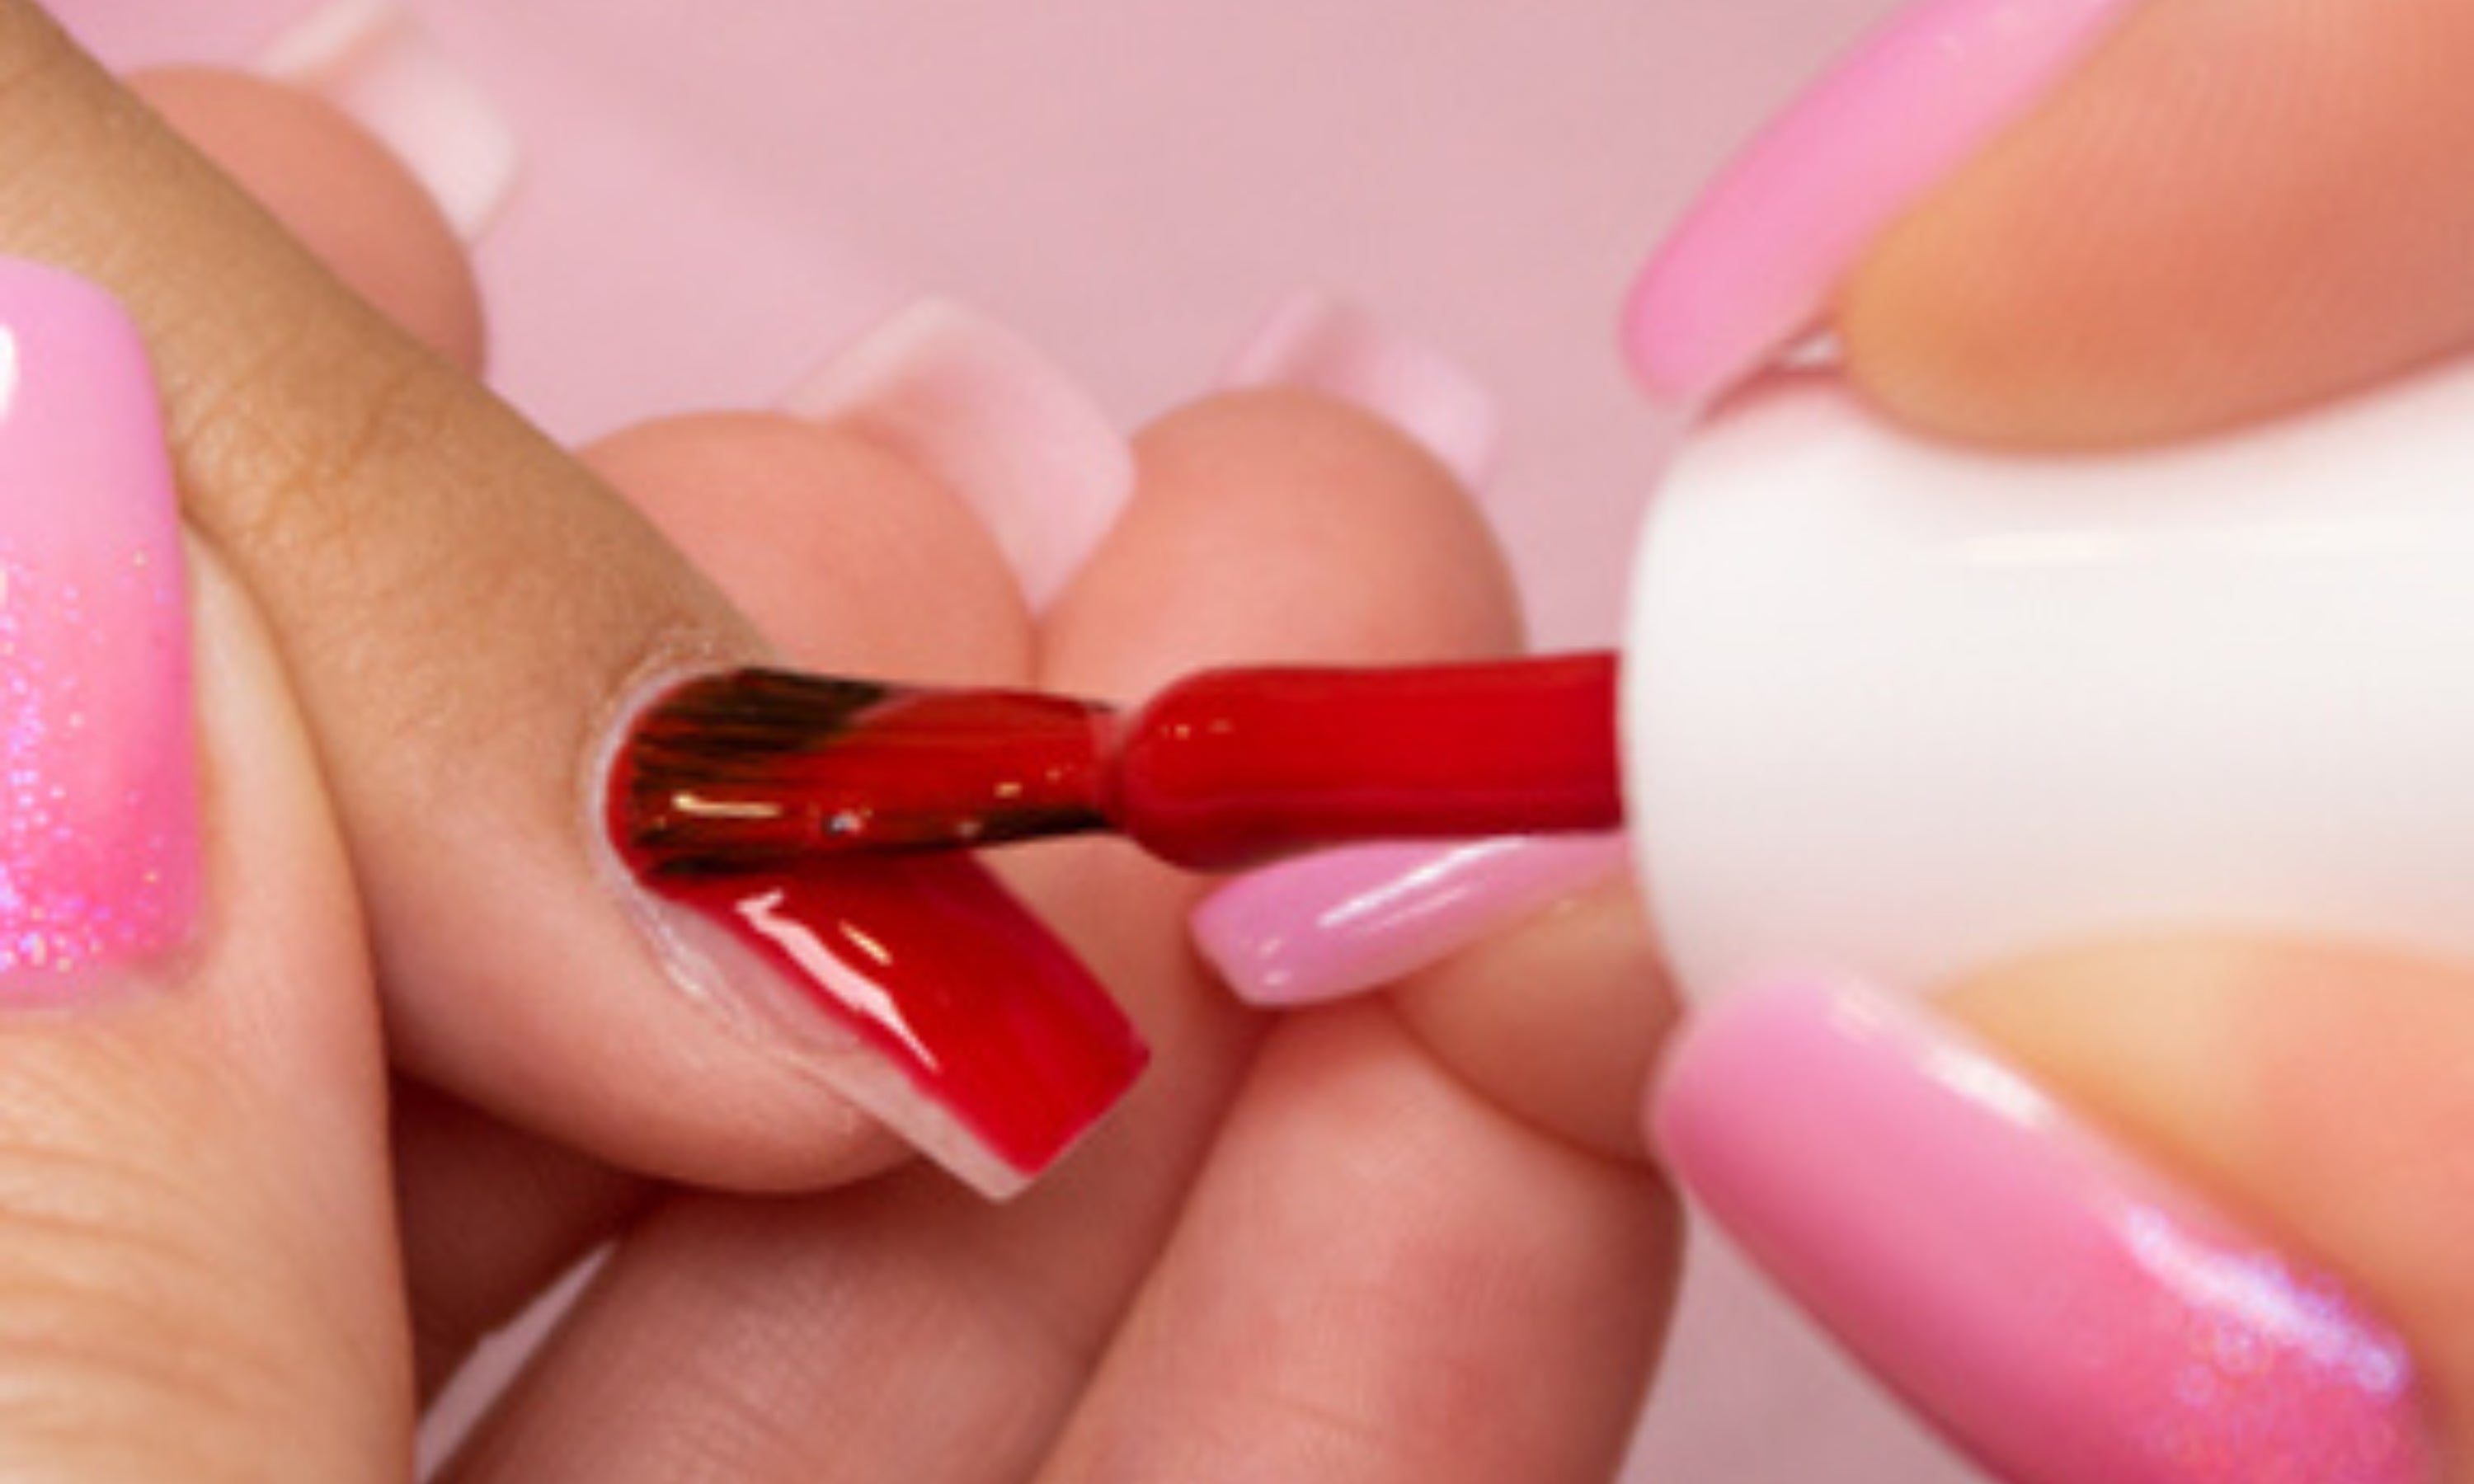
8. Color: Apply a thin layer of color. It is recommended to apply finger by finger and dry for a few seconds to prevent it from moving. Once the entire coat is finished, dry for the recommended time.
Cure in lamp: UV/LED – 60 sec / UV – 2 min.
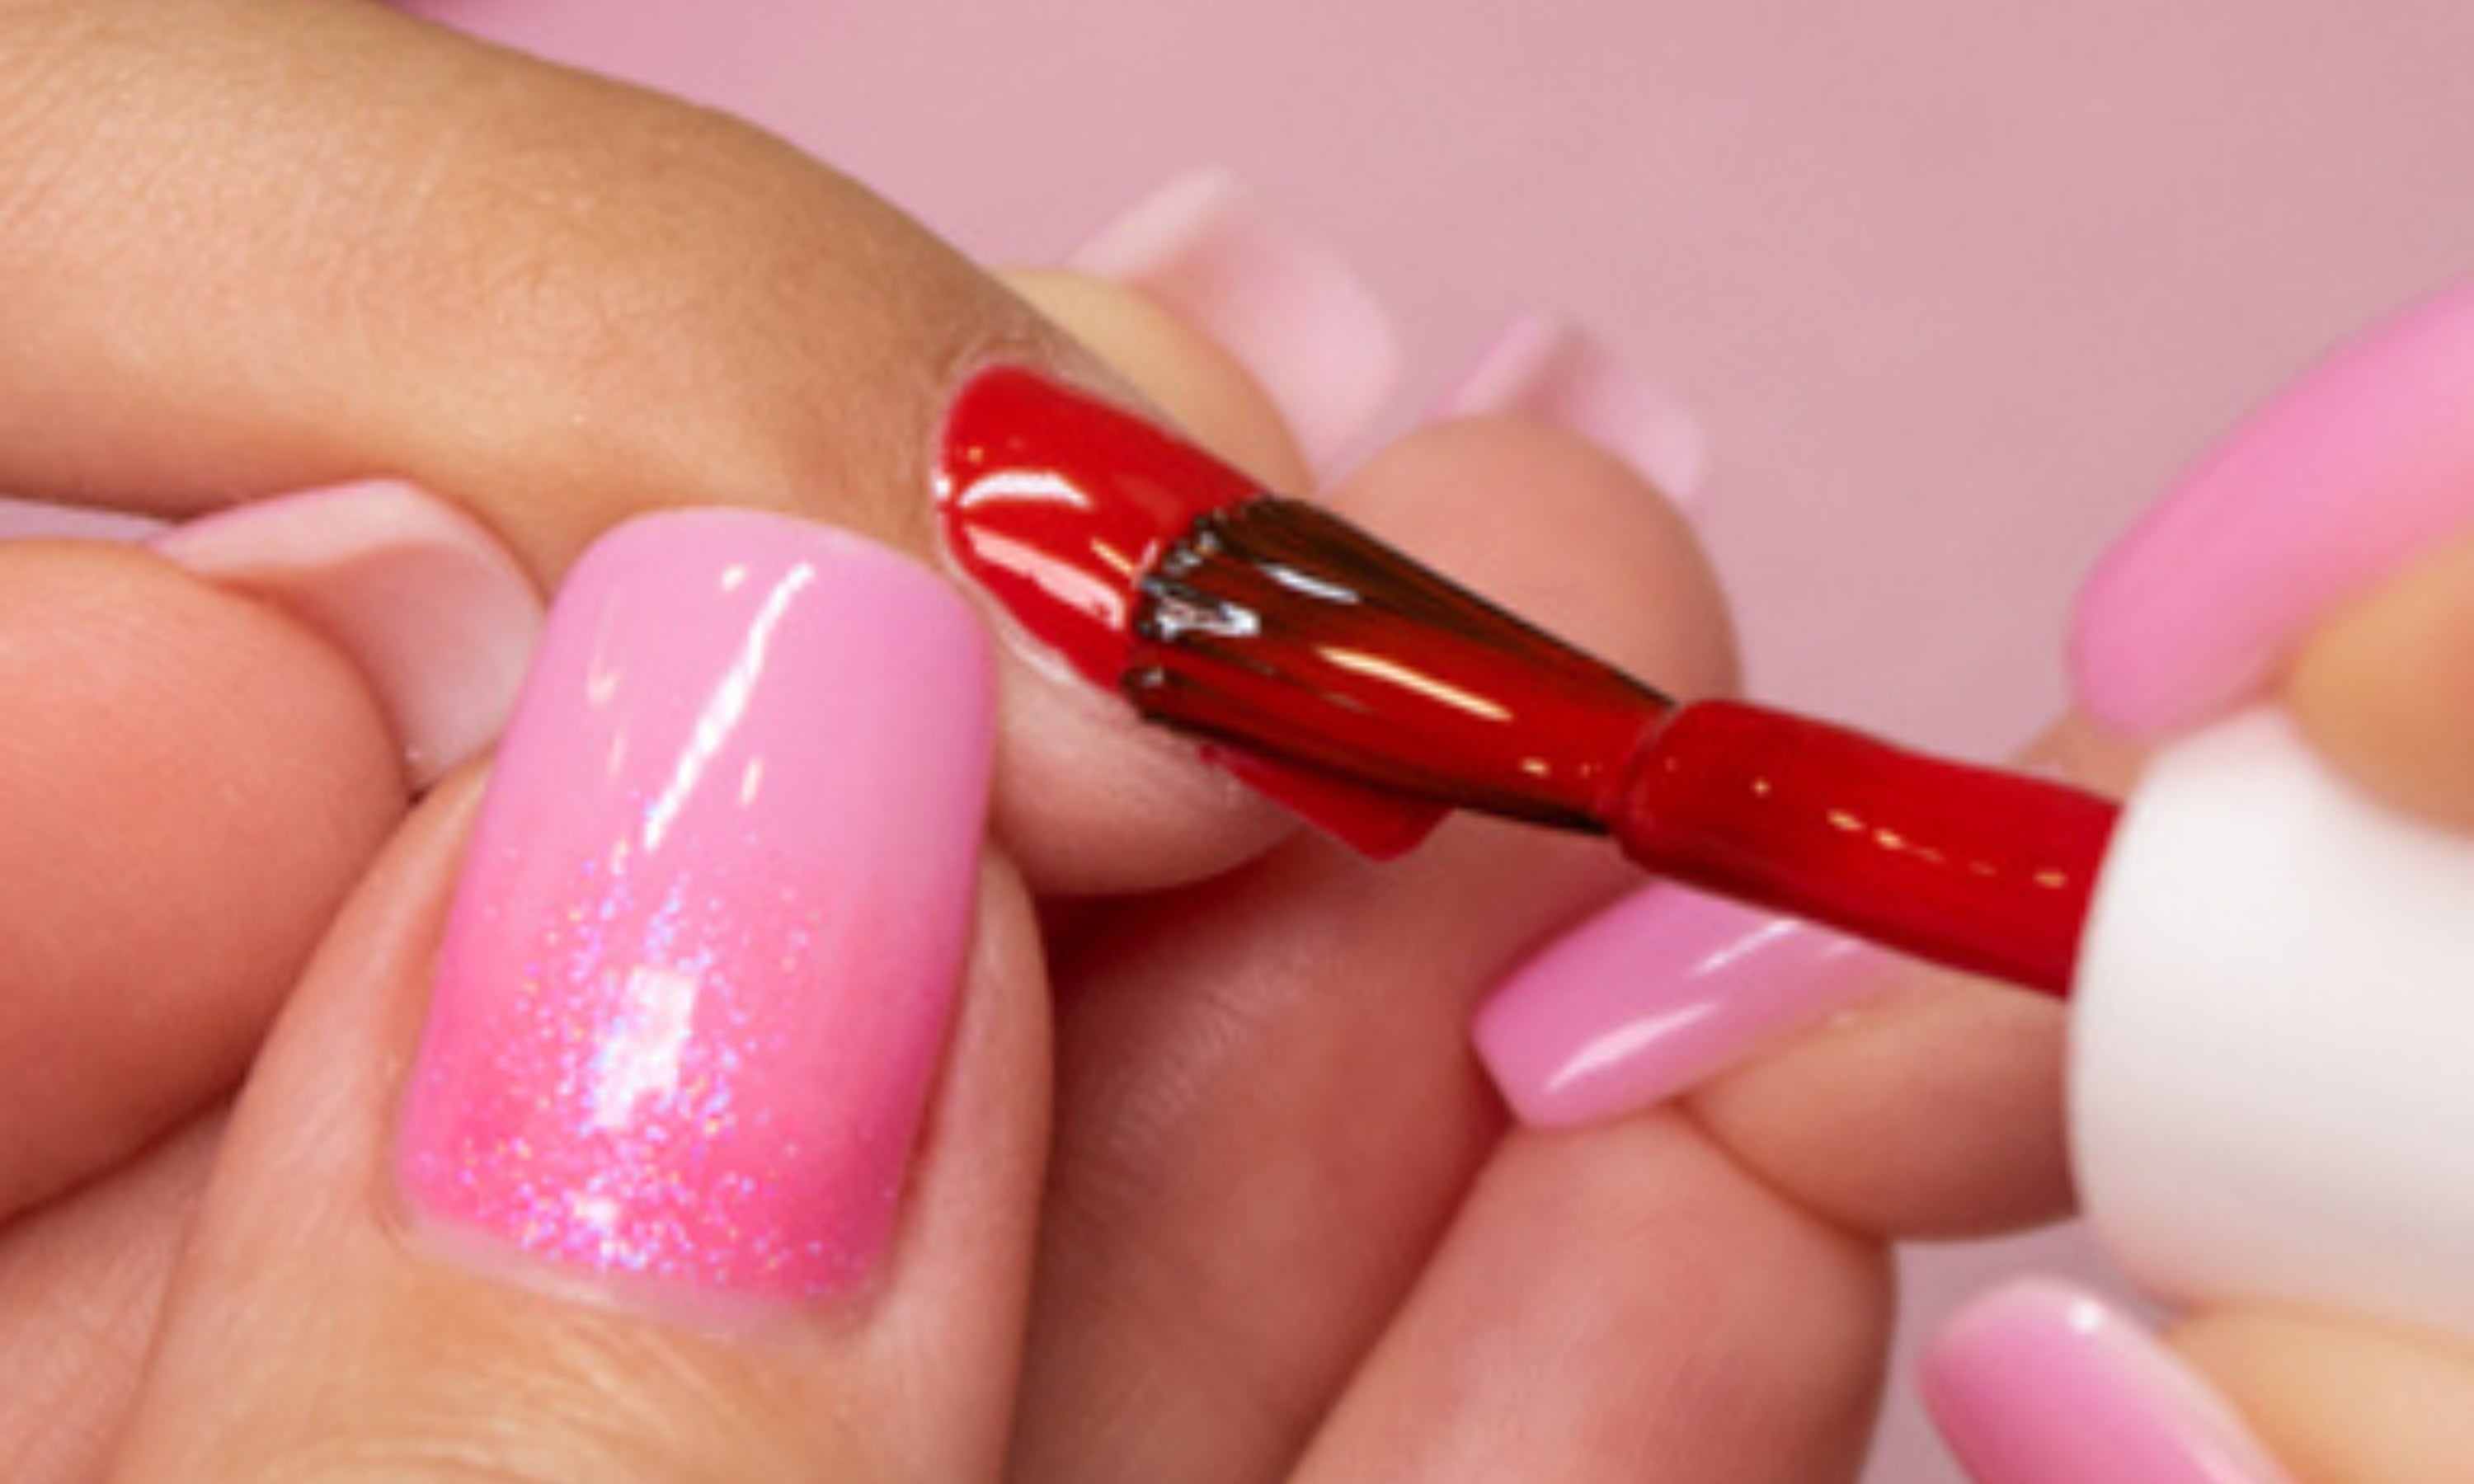
9. Color: Apply a second coat of color to give a perfect finish and more intensity. This layer can be a little thicker than the first, but do not overdo it. If it is too thick, the color may wrinkle in the lamp. Cure in lamp: UV/LED – 60 sec / UV – 2 min.
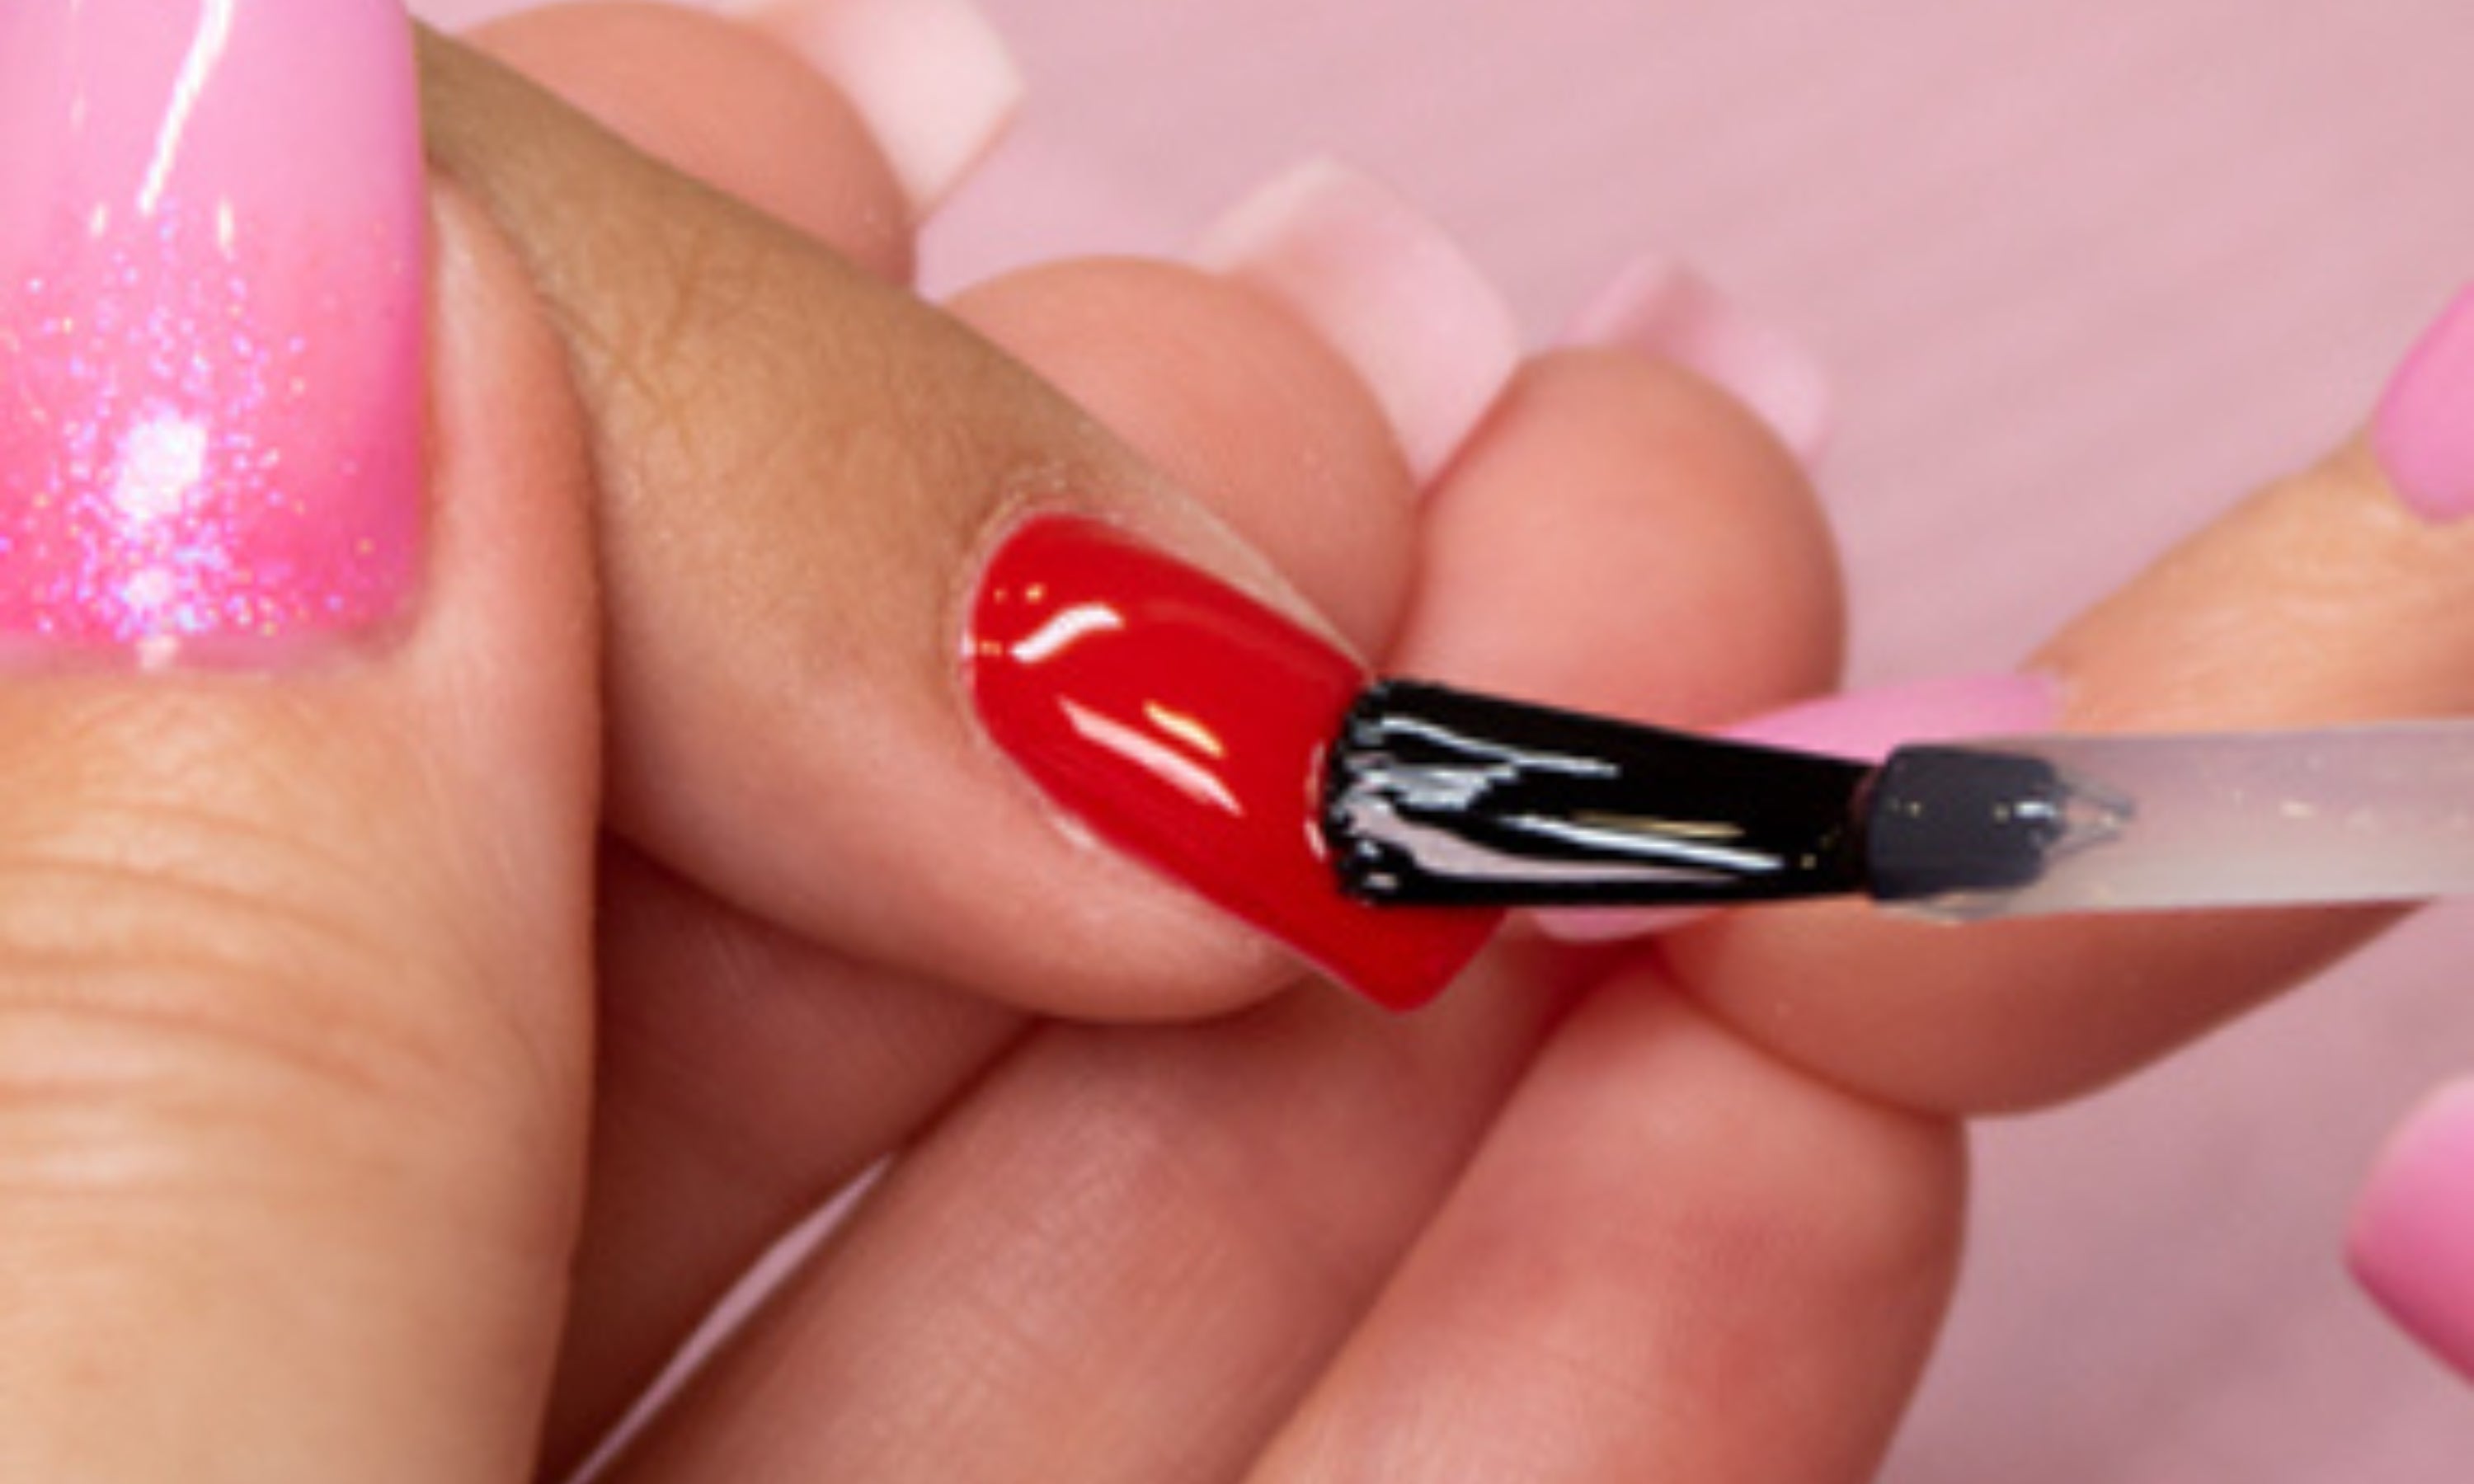
10. Final shine: apply a coat of Base&Gloss (in intense colours) or Top Gloss (in light colours). Remember that it is important to seal the tips well to ensure the durability of the permanent polish.
Cure in lamp: UV/LED – 60 sec / UV – 2 min.
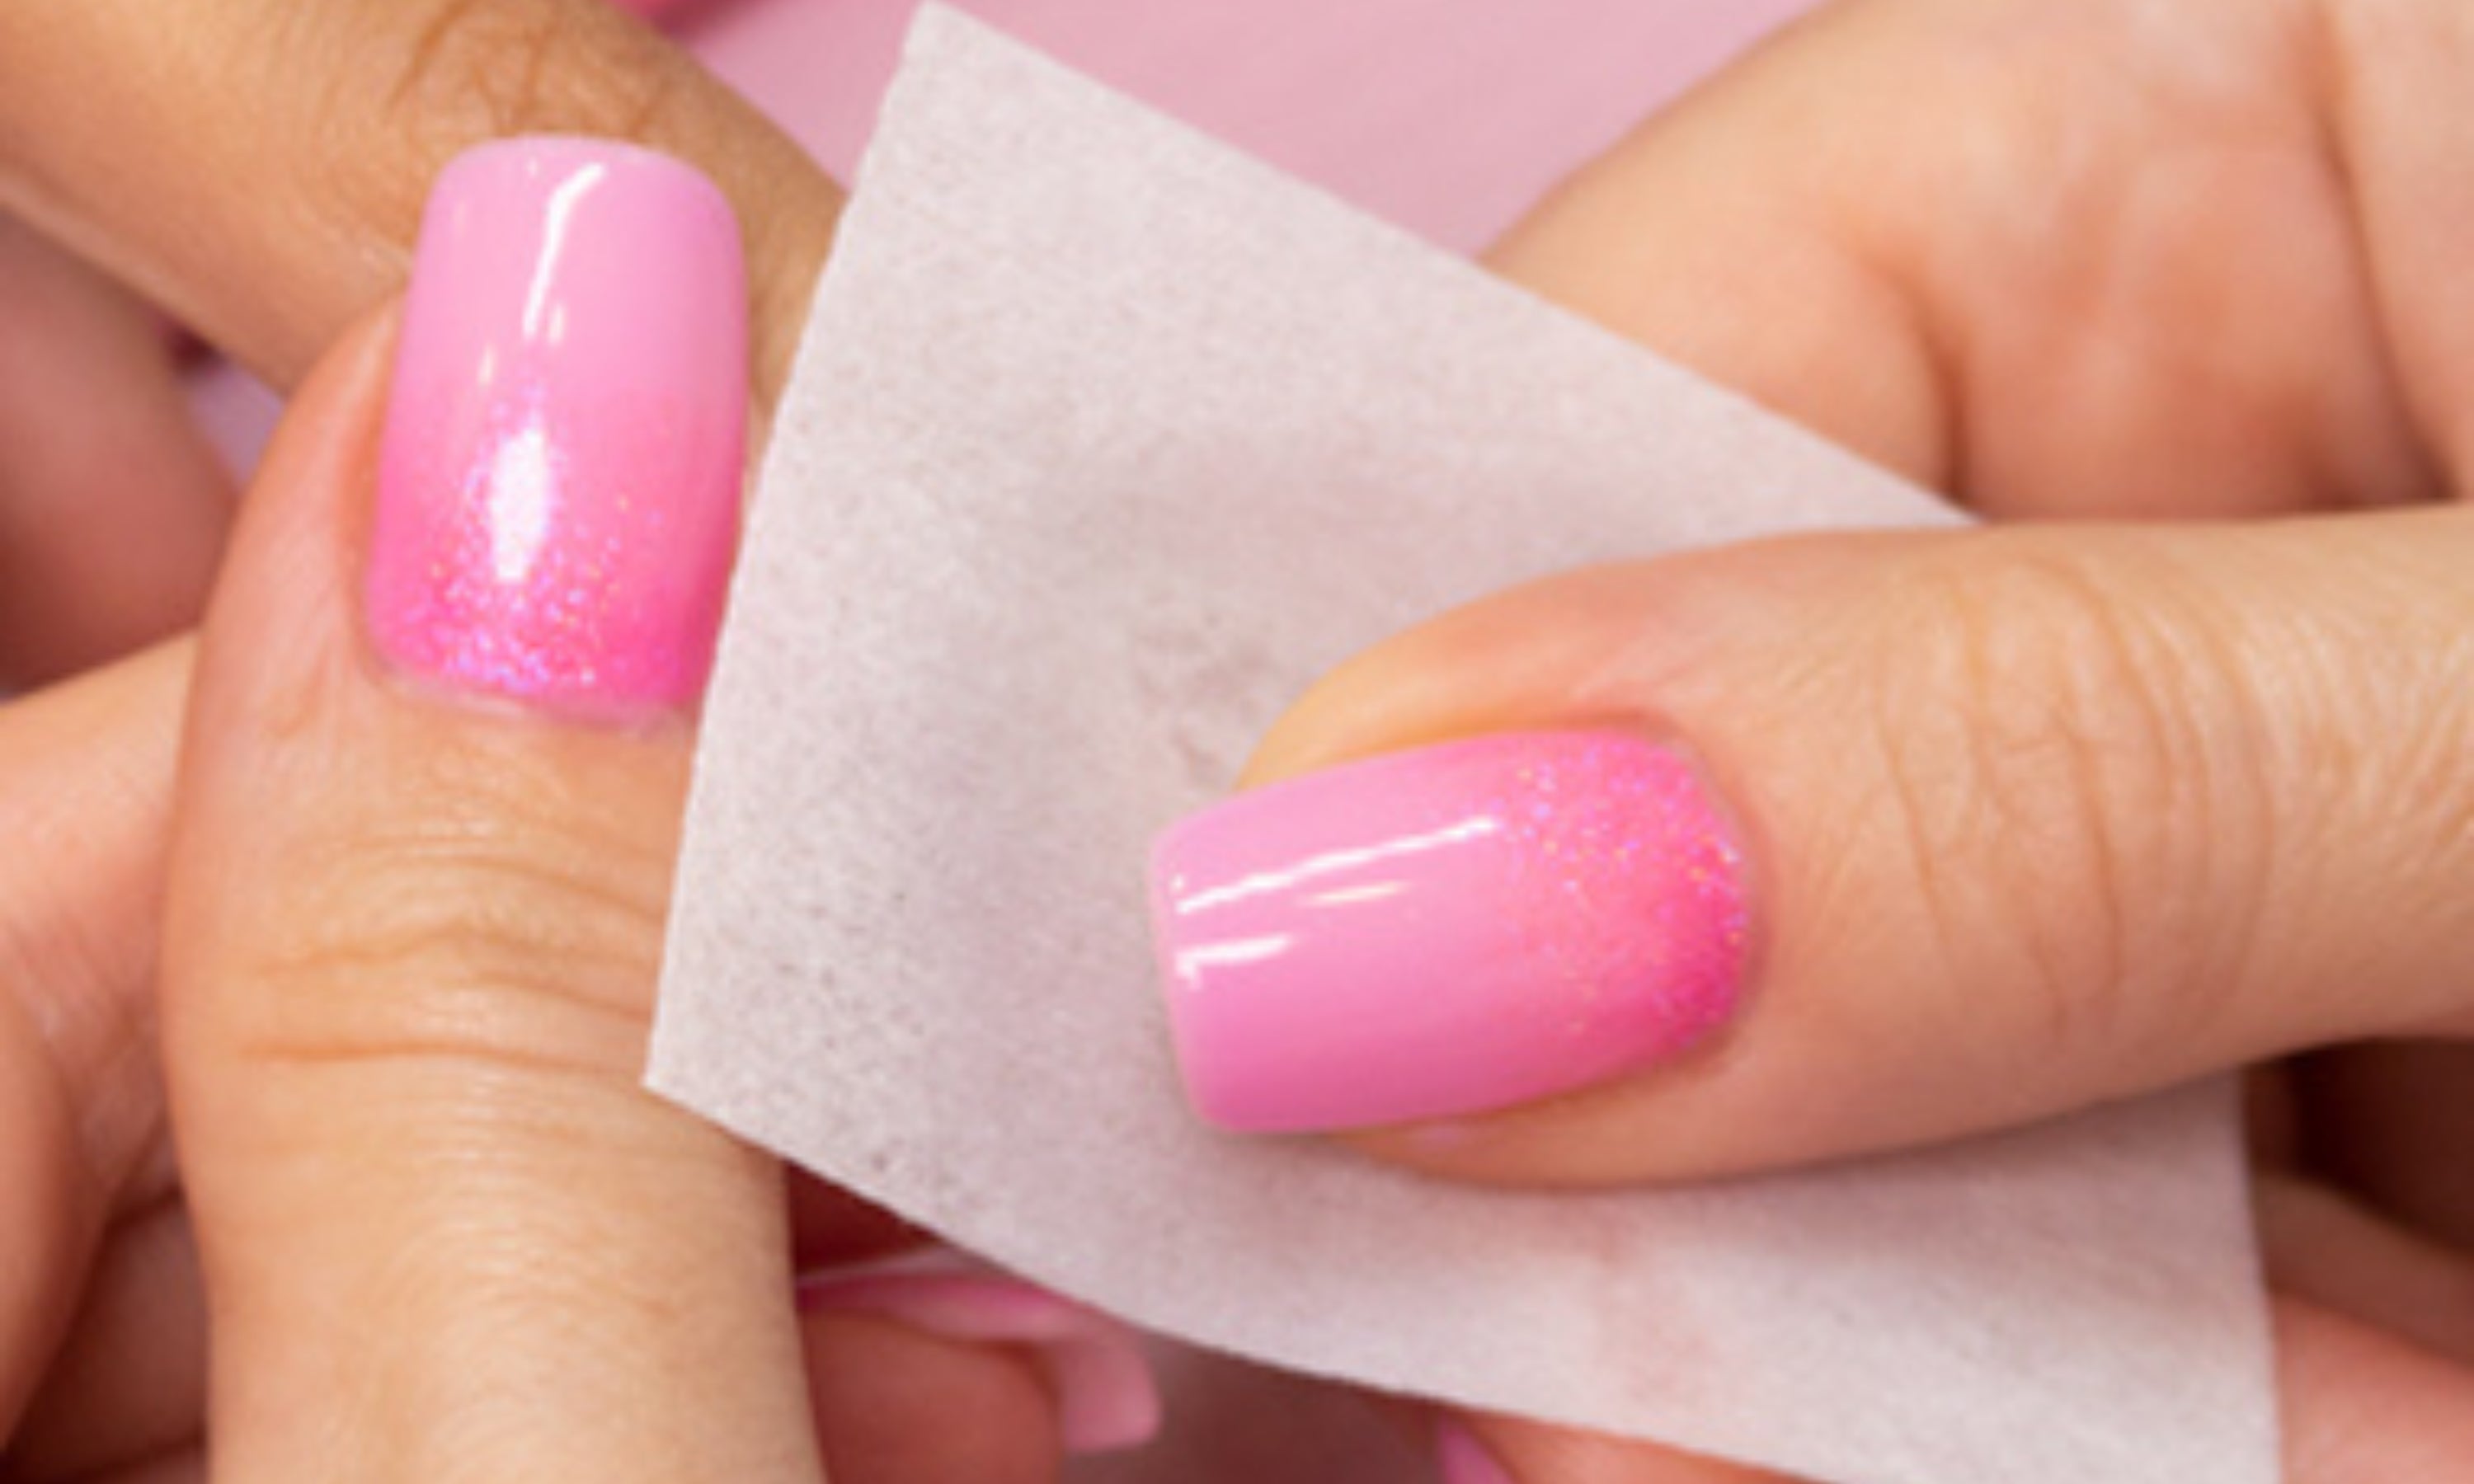
11. If necessary, clean the sticky layer of the finisher with Cleaner. For a perfect finish, add cuticle oil.
HOW TO REMOVE PERMANENT NAIL POLISH?
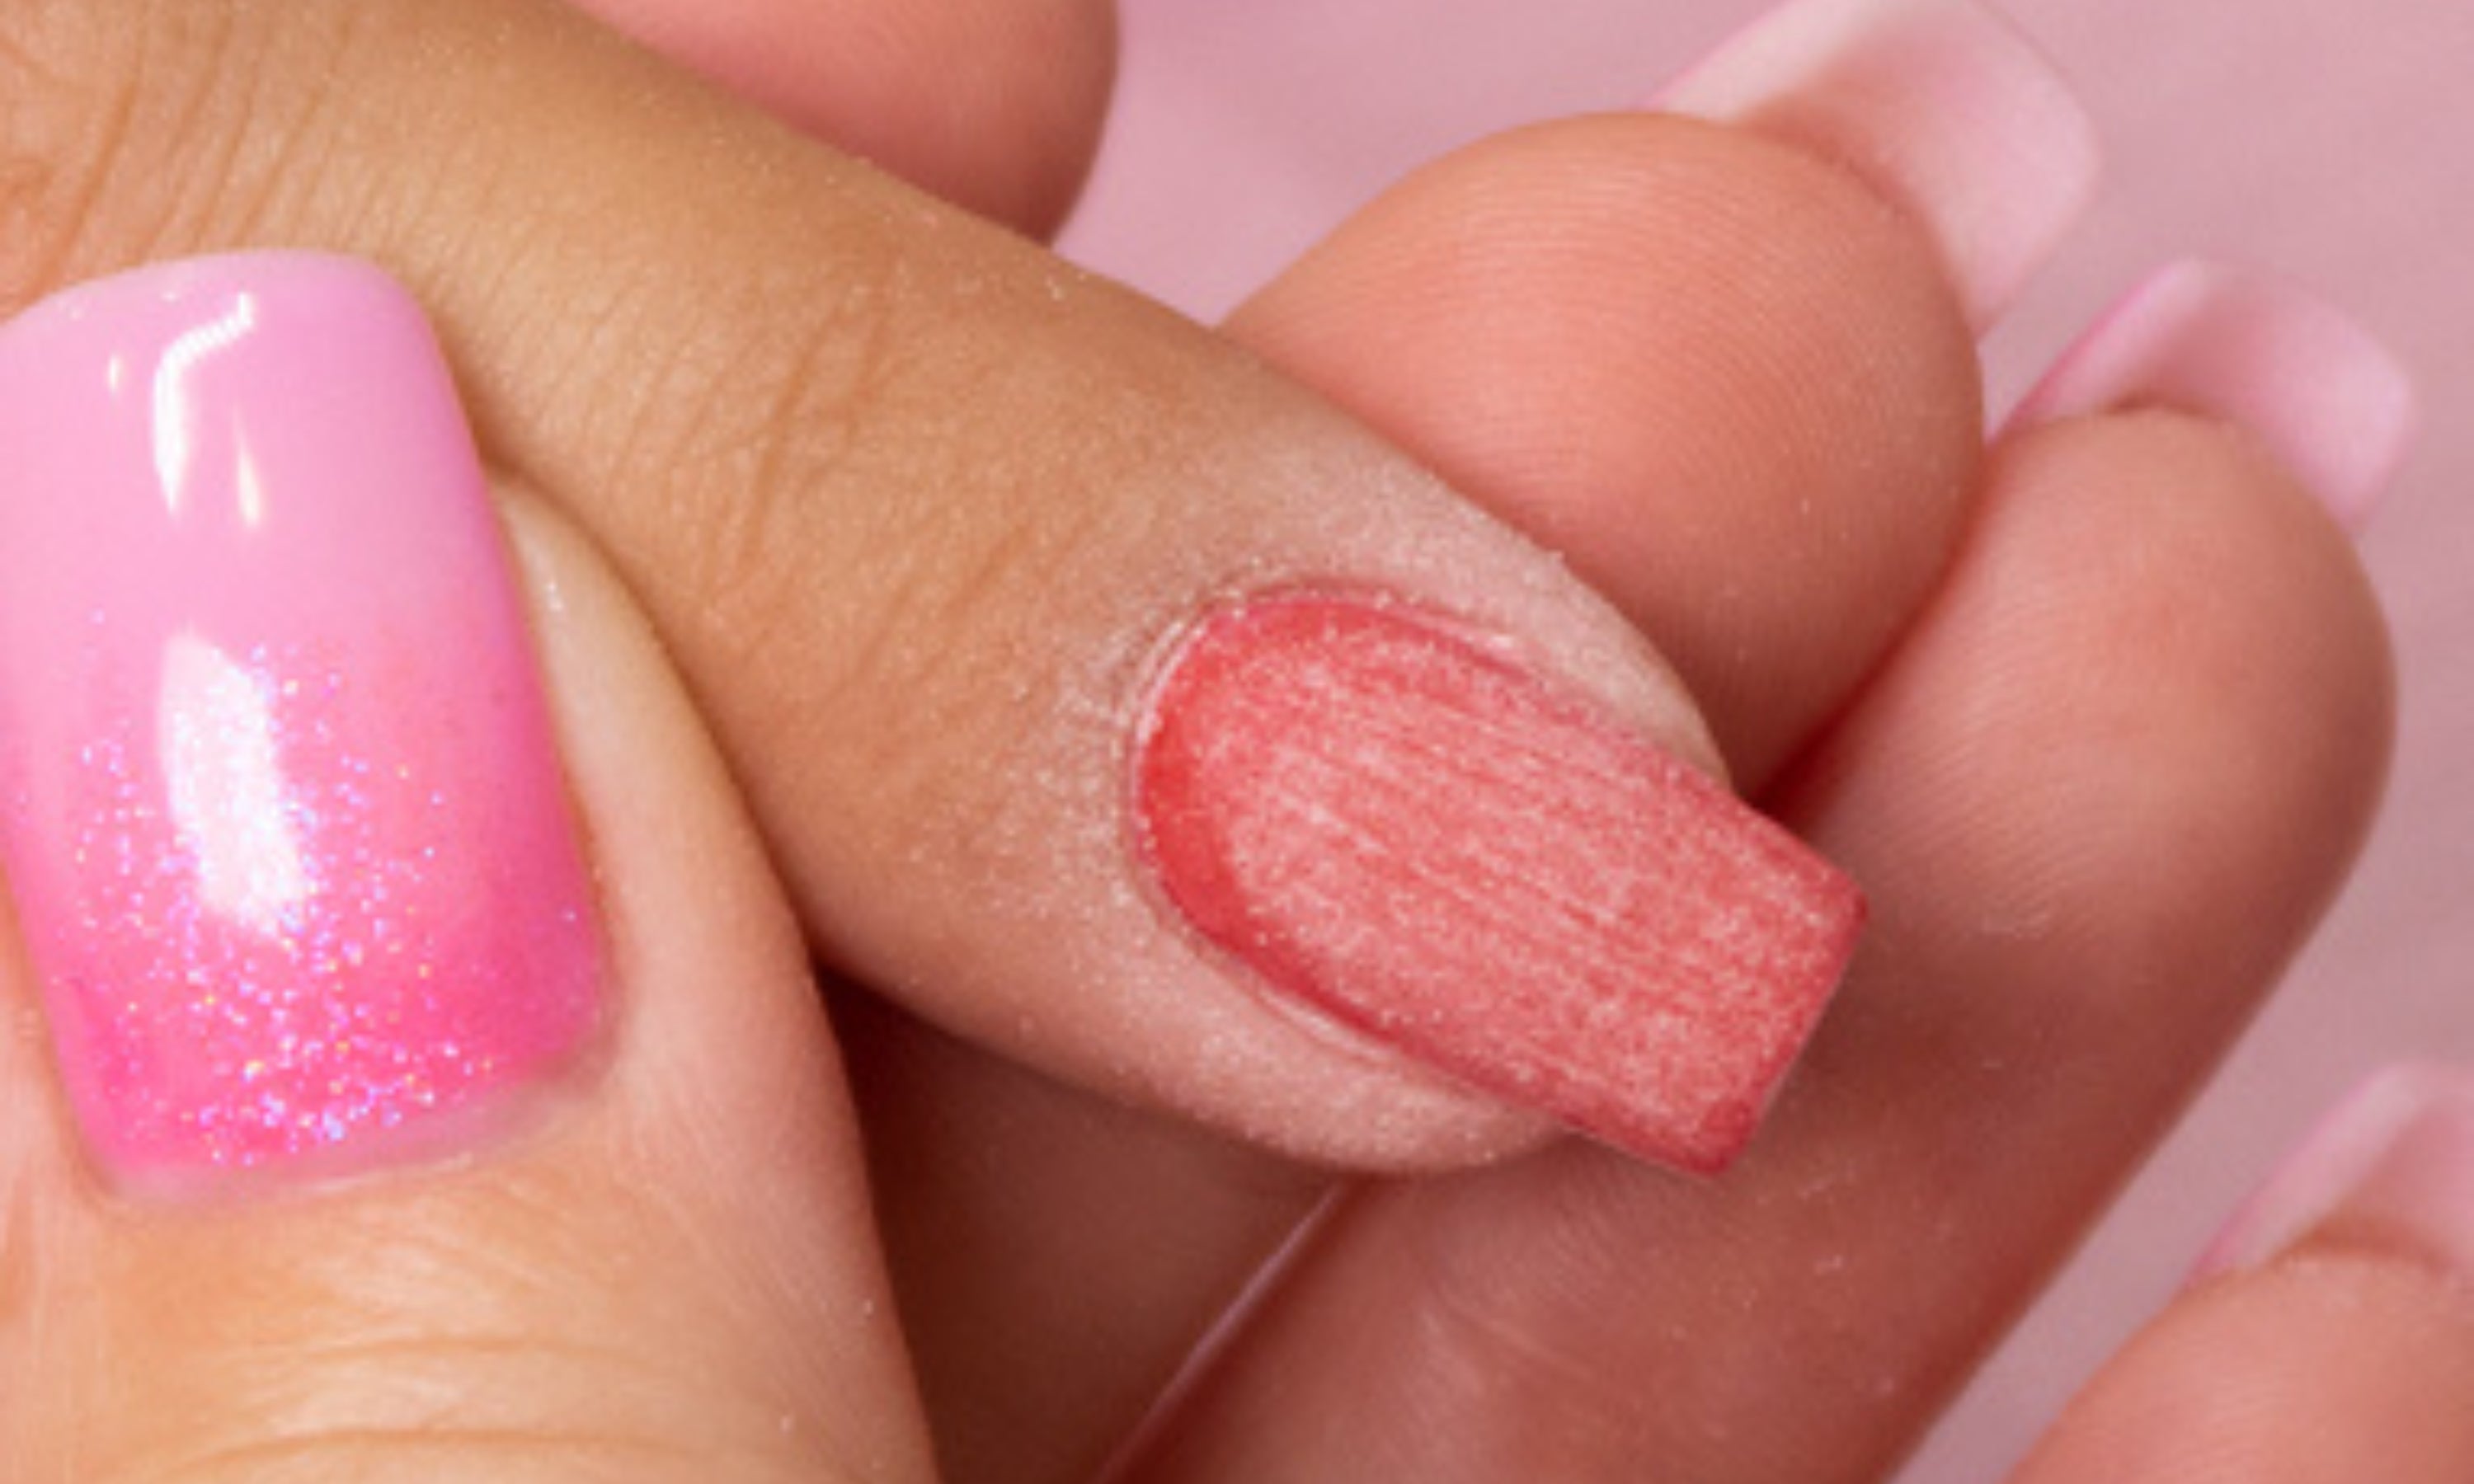
1. File the shine off the nail completely (we recommend using a 80/80 grit file). Remember to file the tip and the cuticle area to remove it properly.
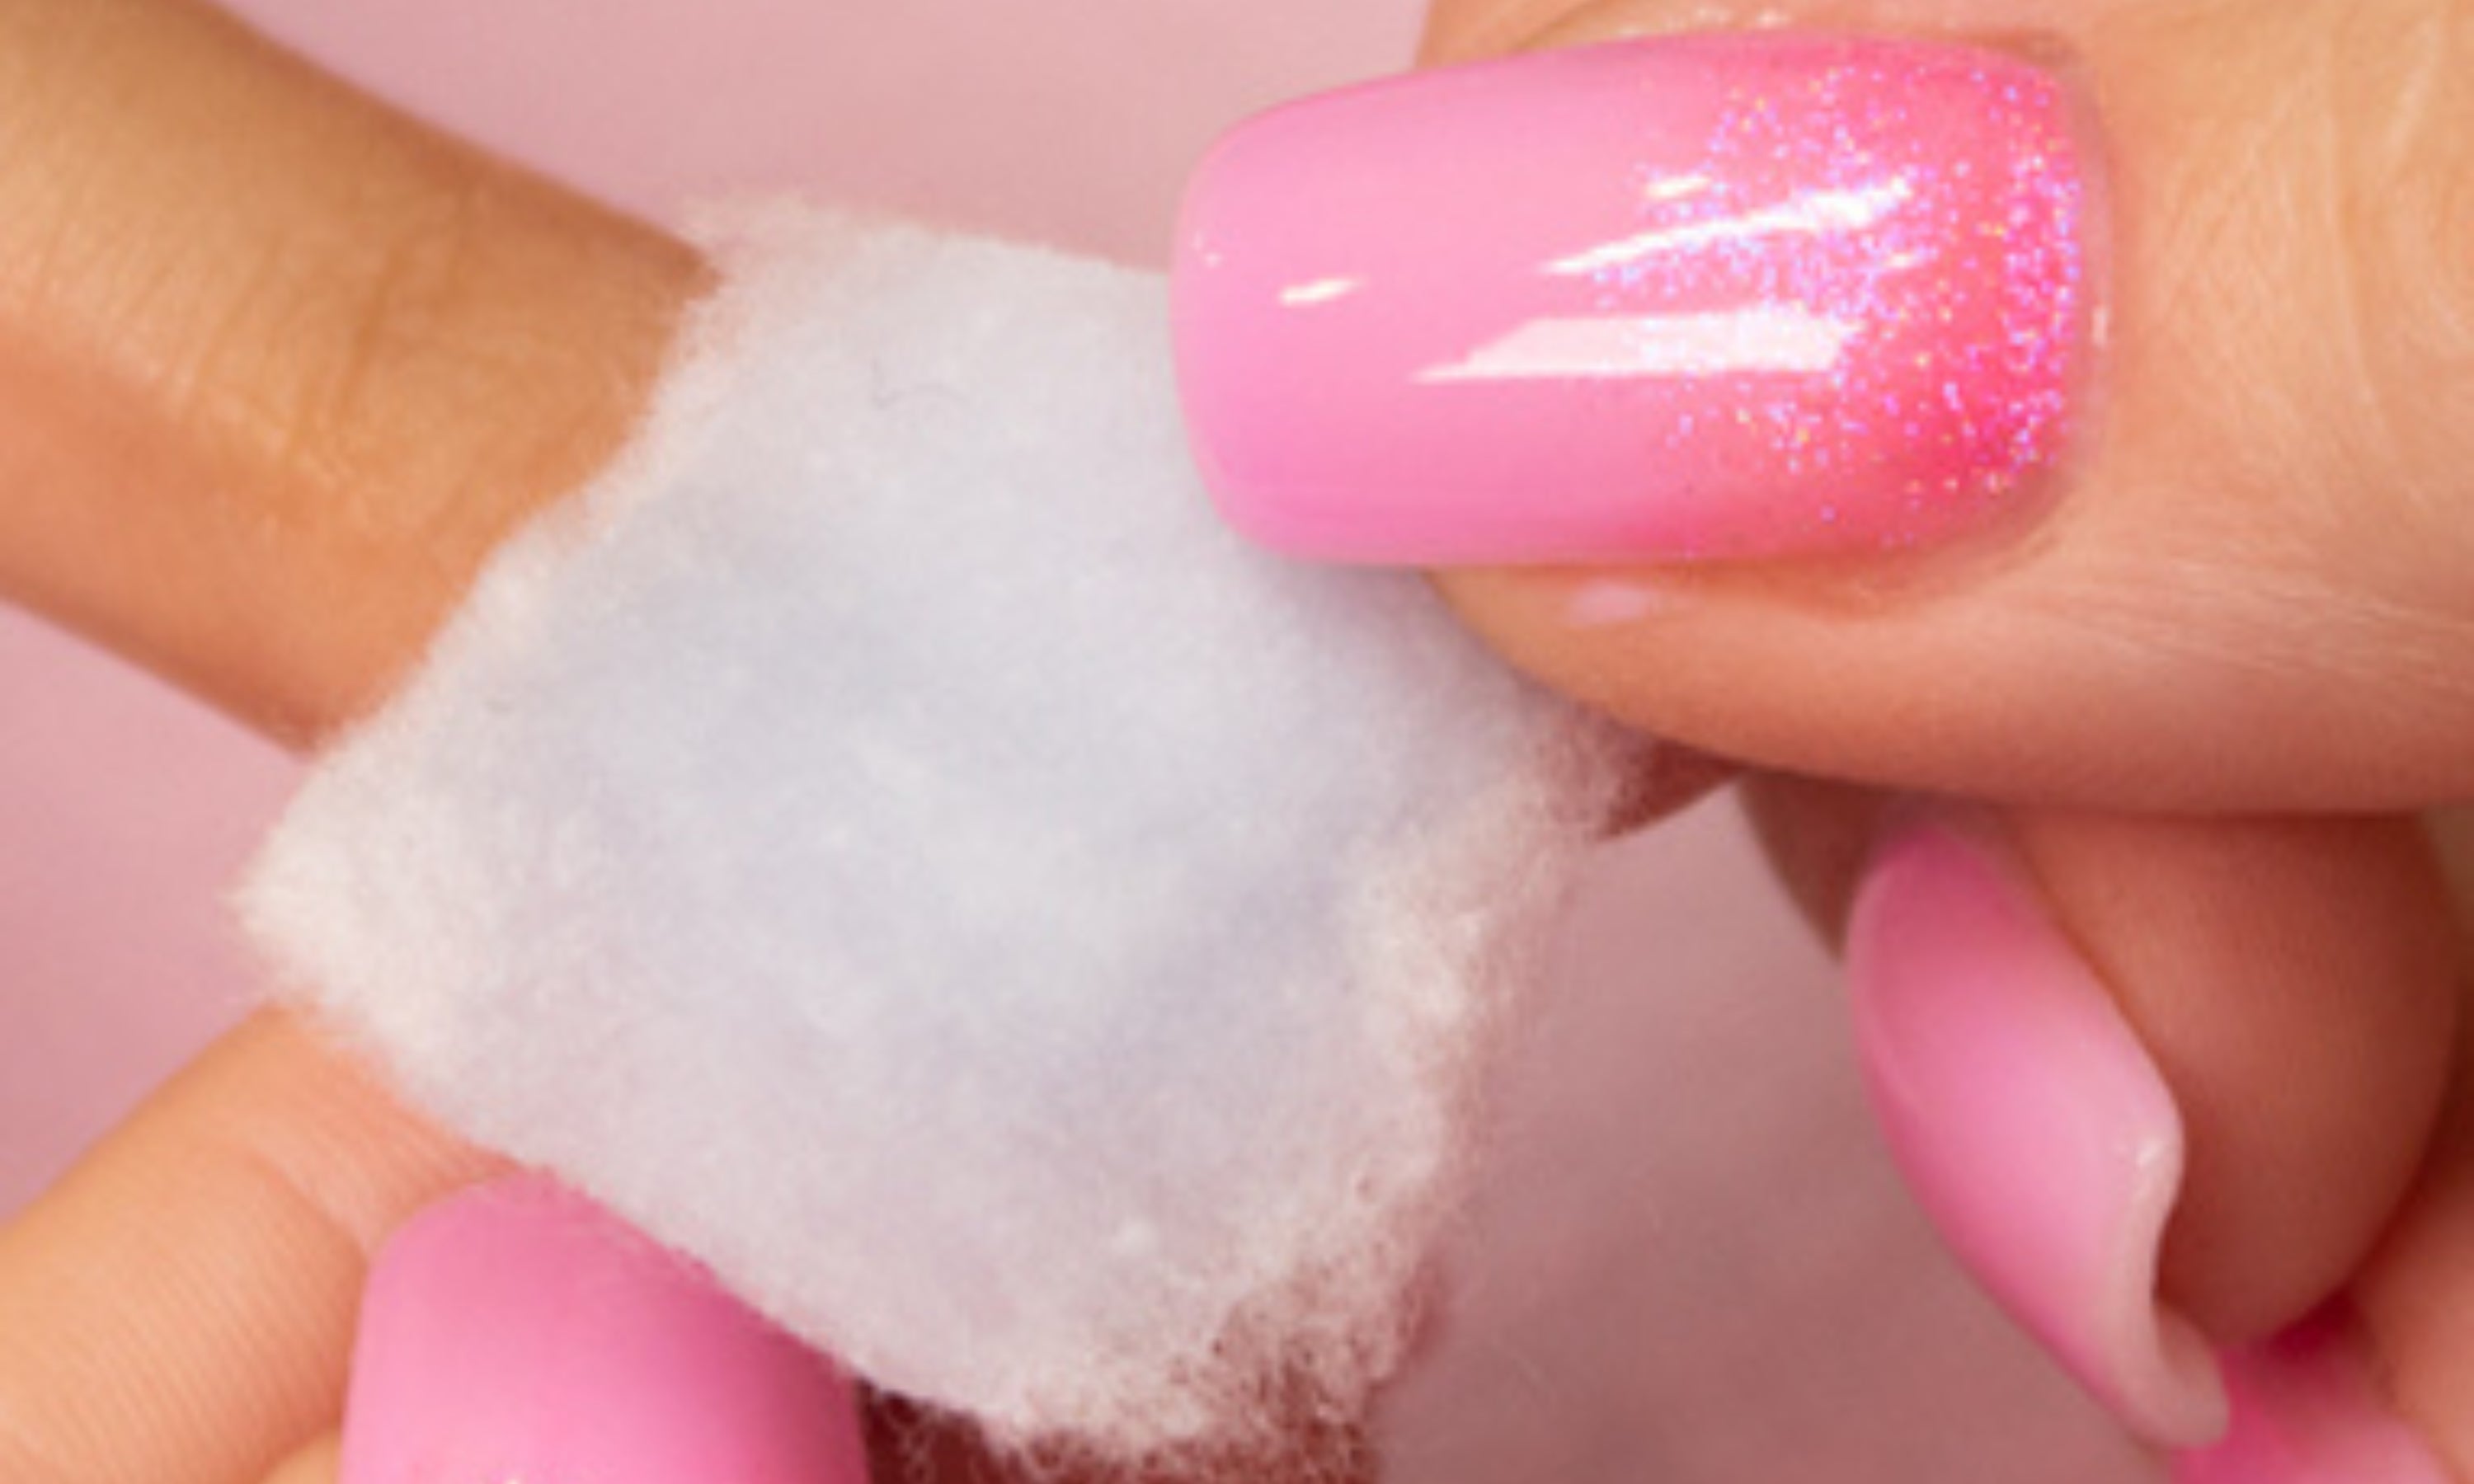
2. Soak a cotton pad with the Remover. It is necessary to soak it well to ensure good removal and to prevent it from evaporating. Place the cotton pad on the nail.
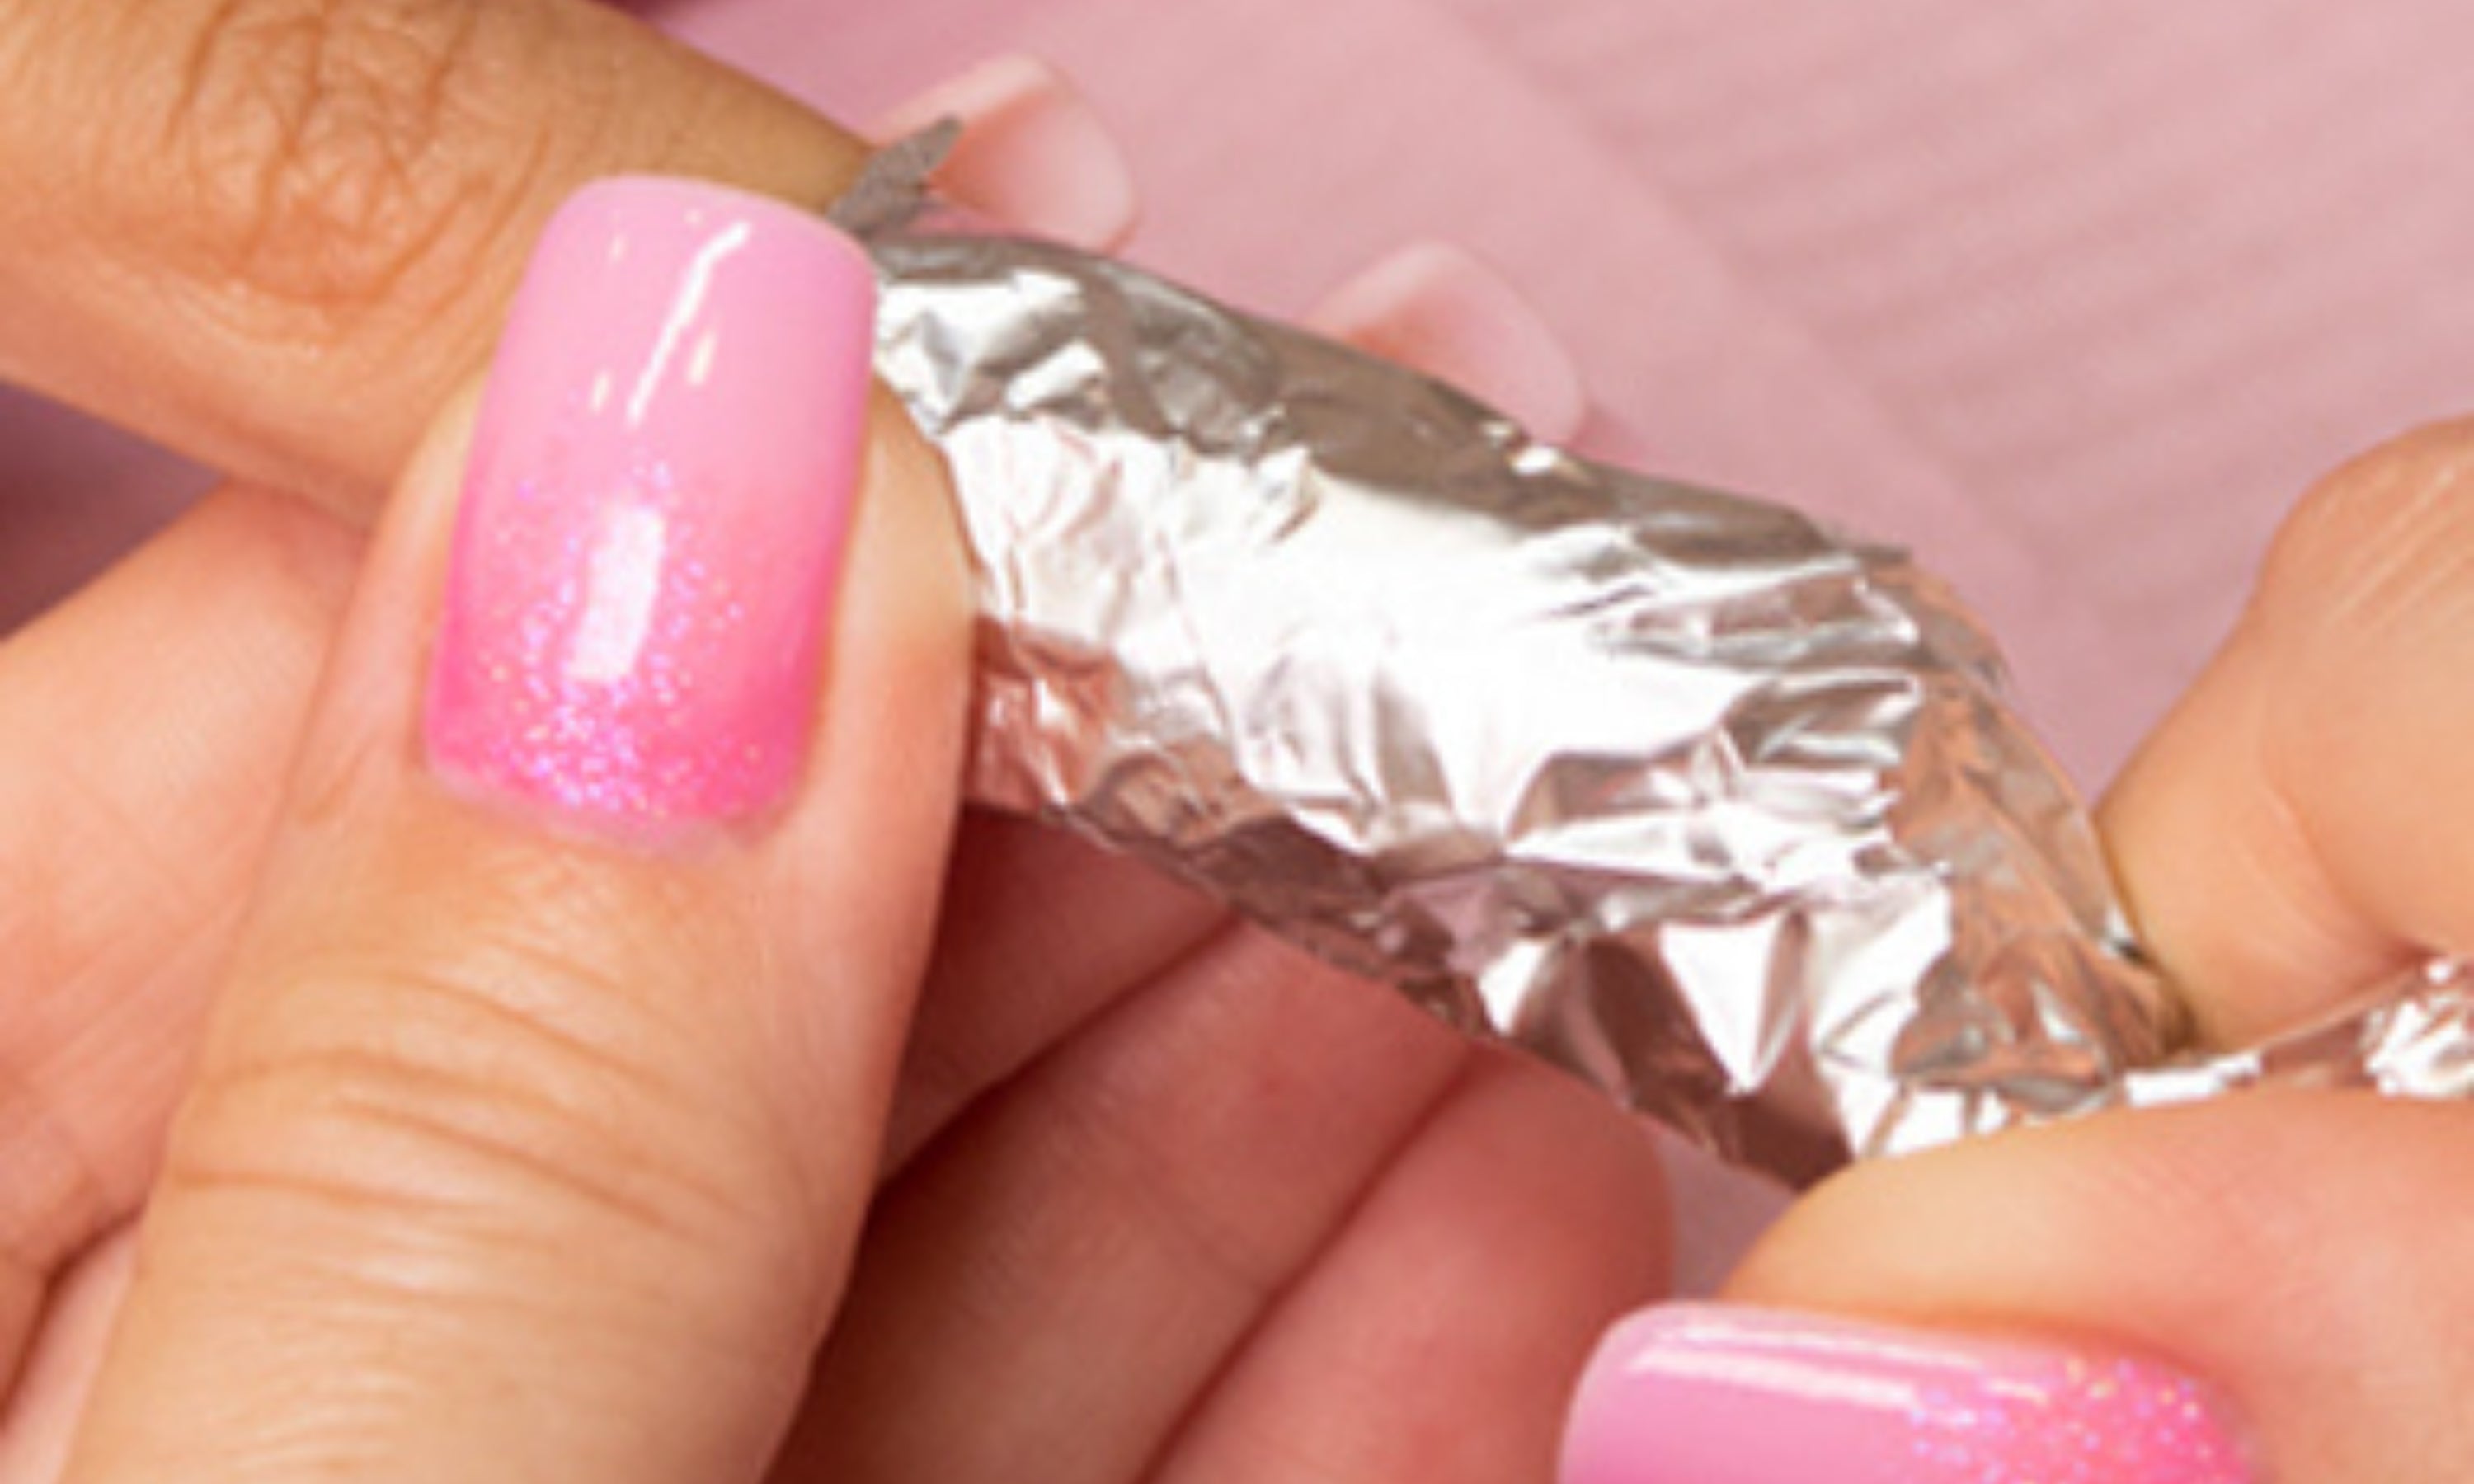
3. Wrap with aluminum foil or Nail Remove Clips. Make sure it is well sealed and covered. Leave it on for 12-15 minutes.
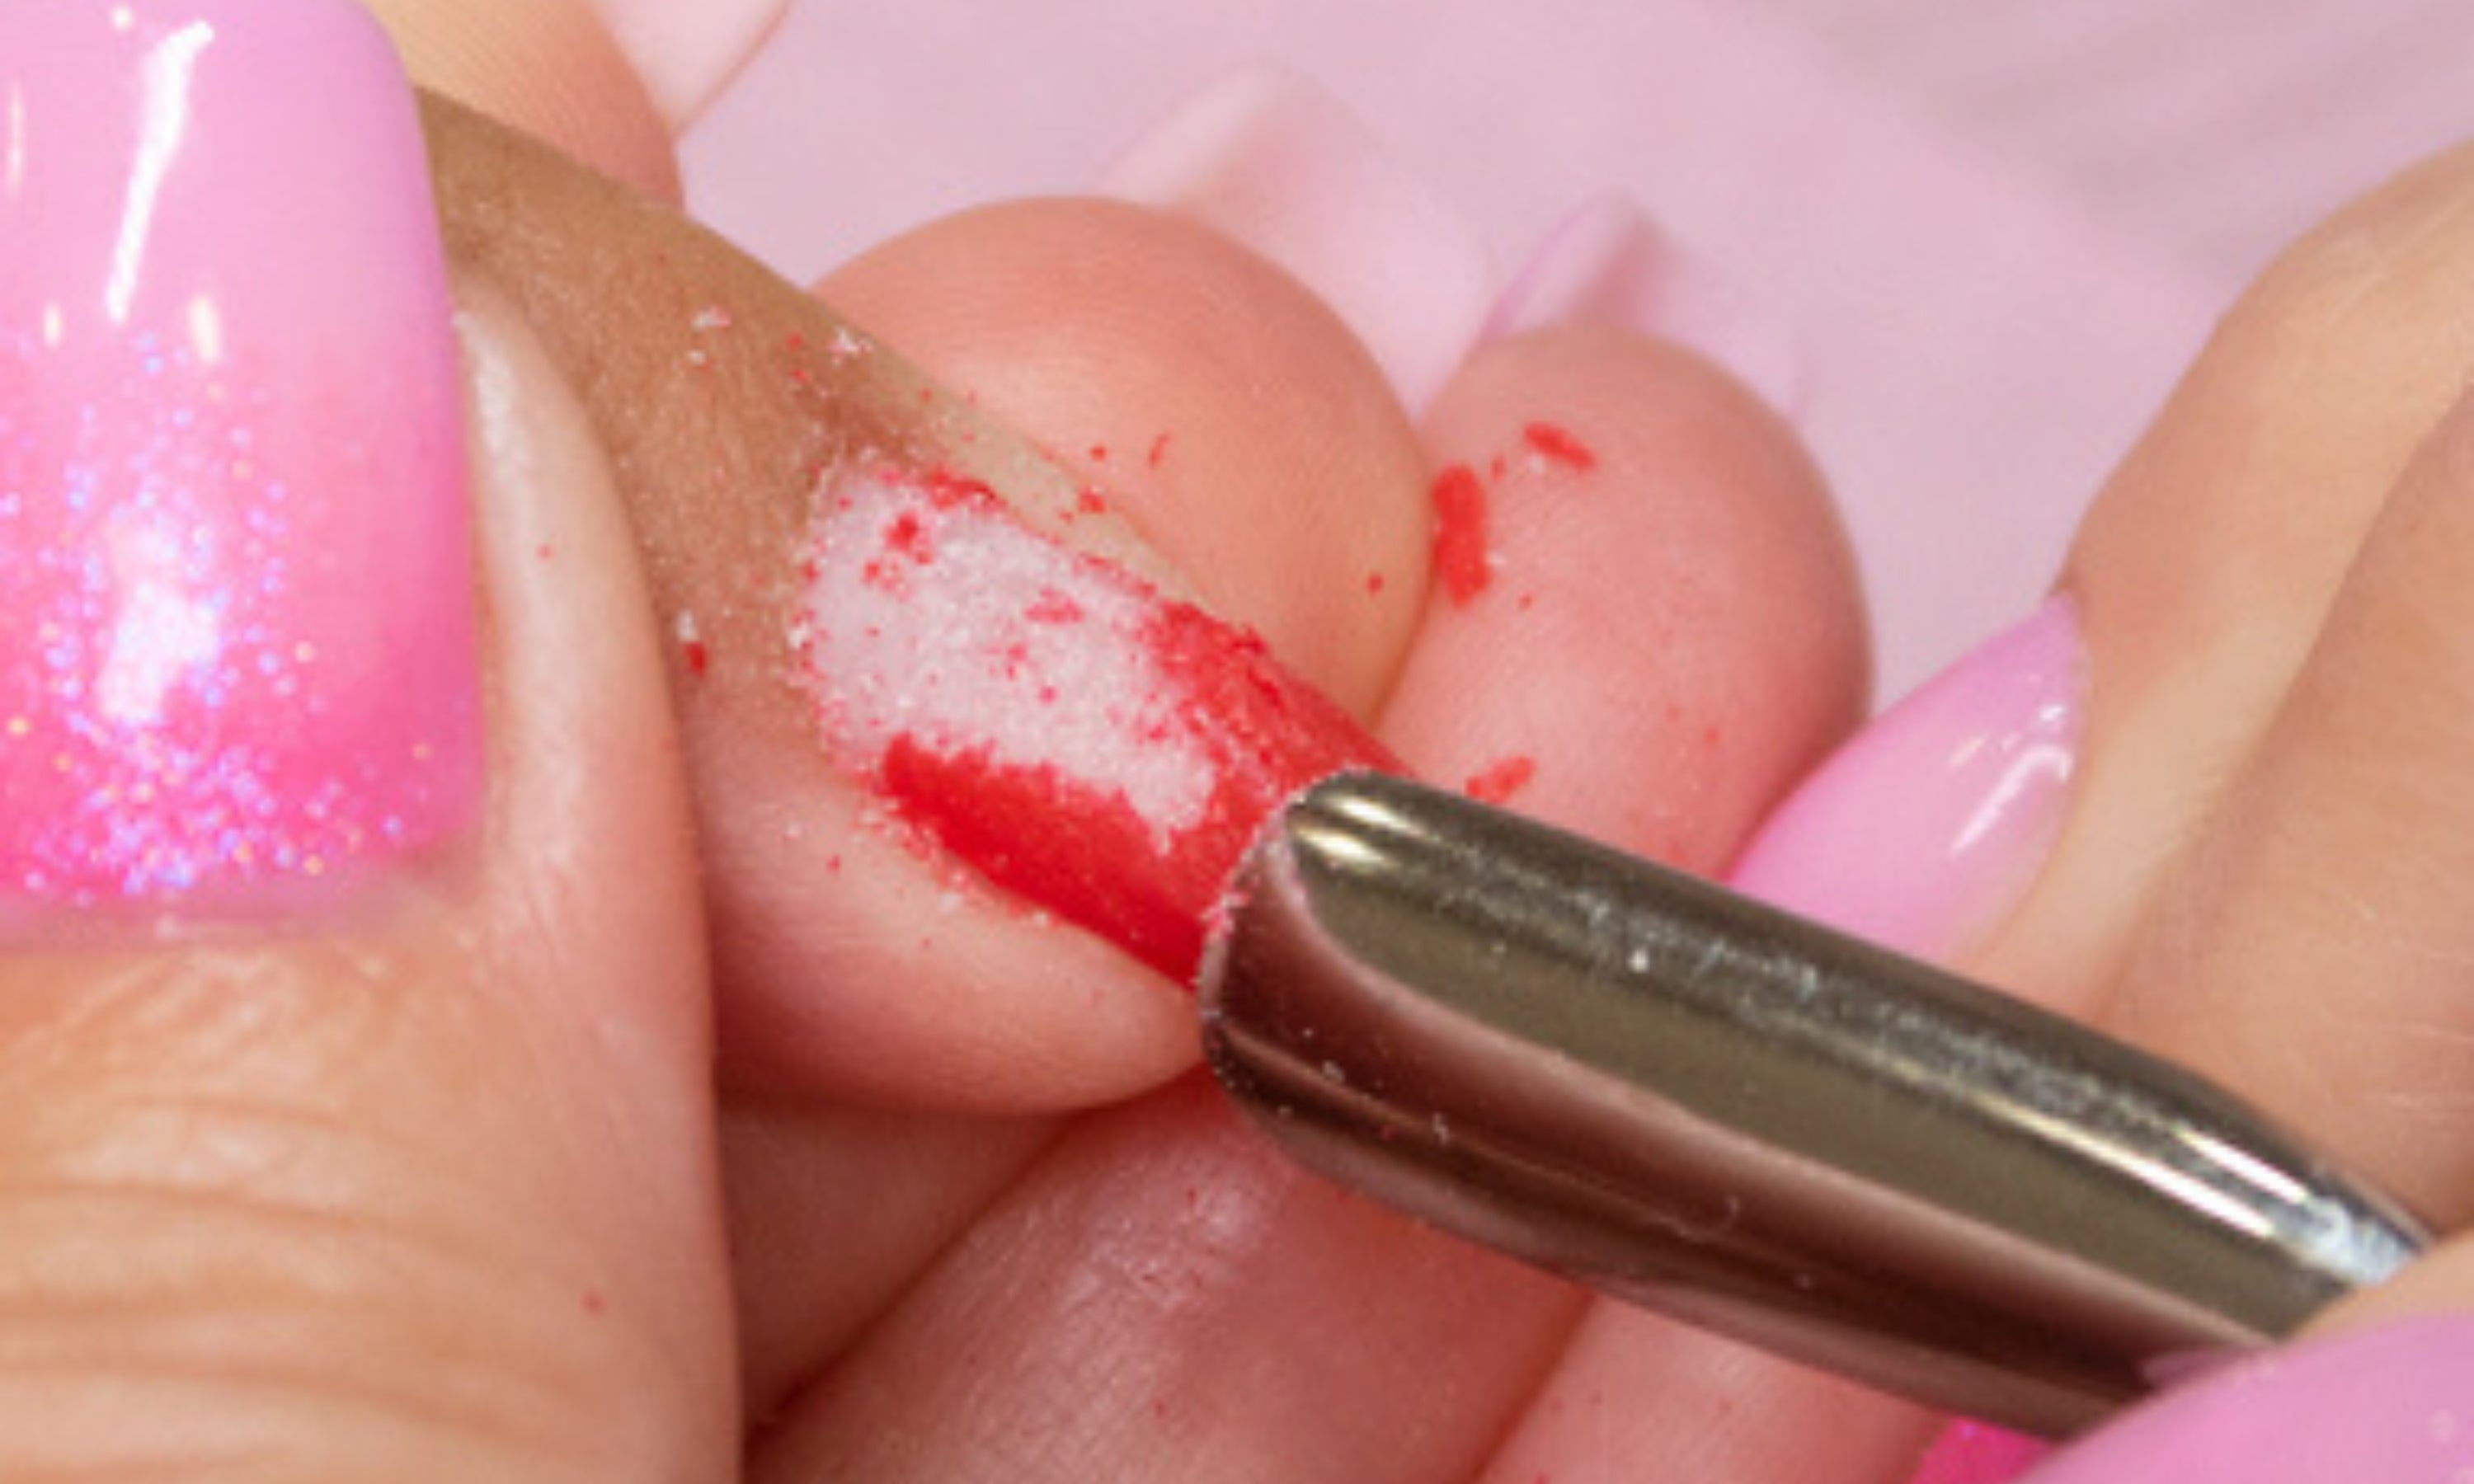
4. Remove the paper and use a pusher to remove all the polish.
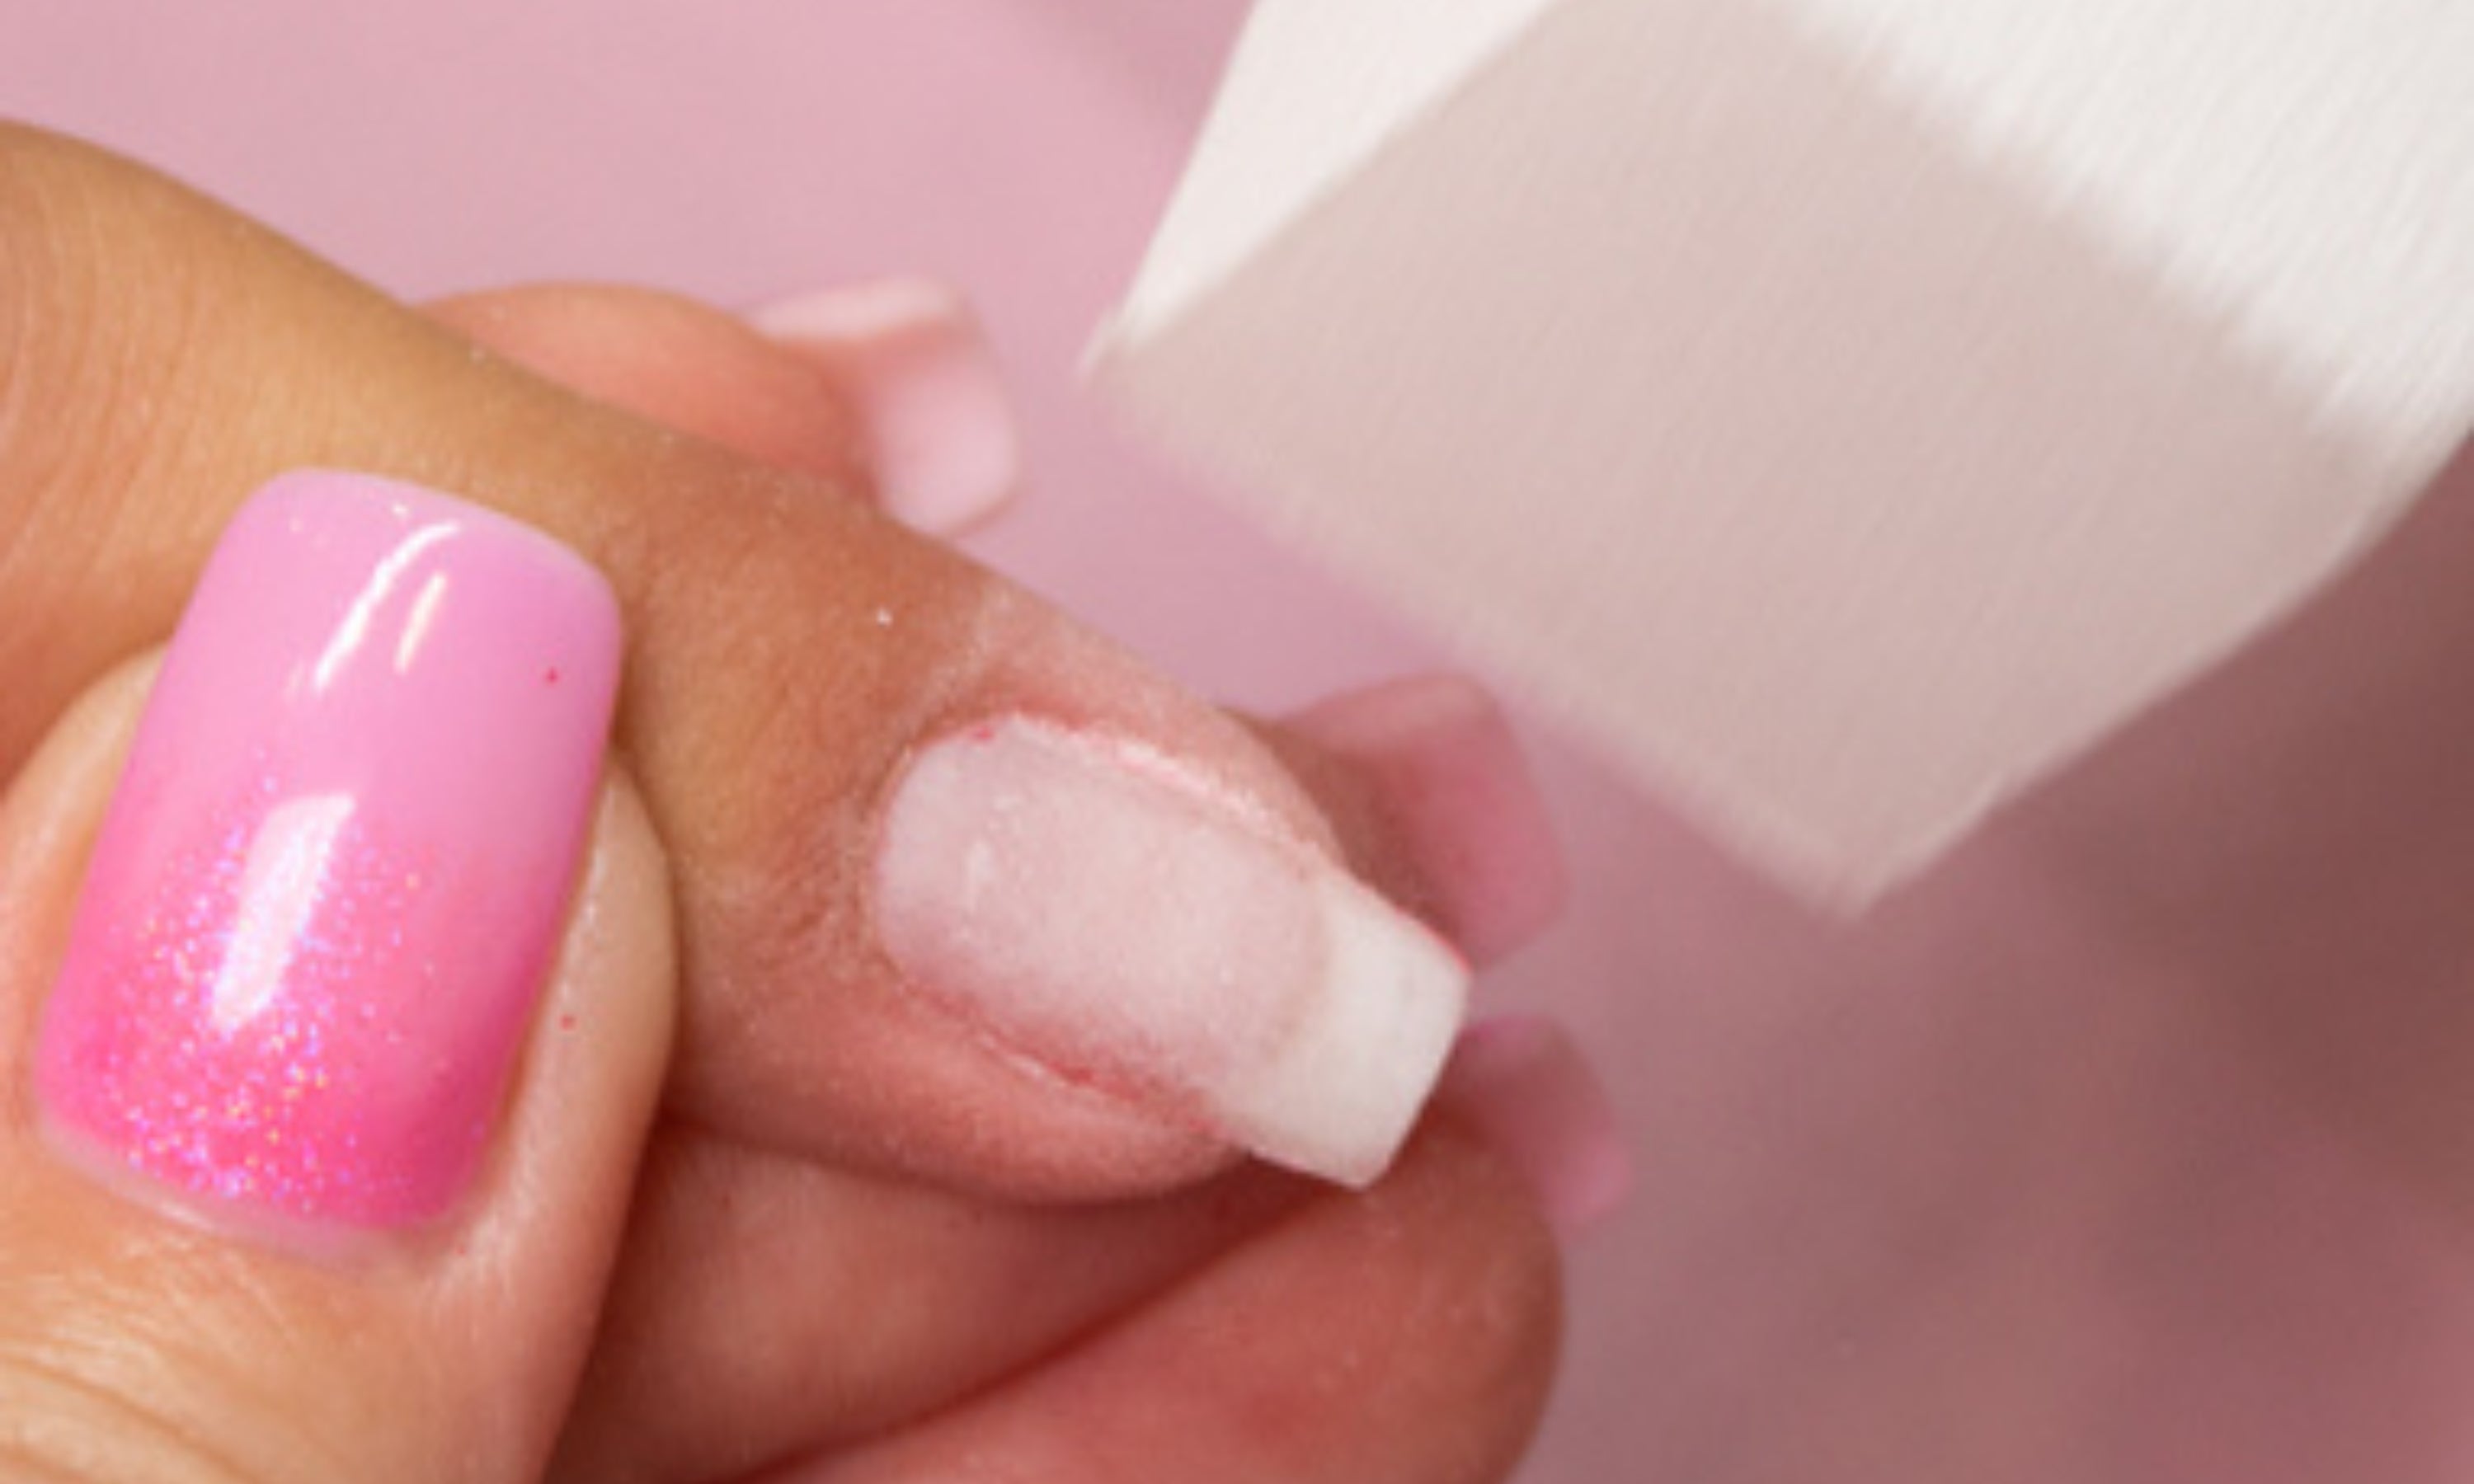
5. Use the polishing block to give a perfect finish and start the process again.
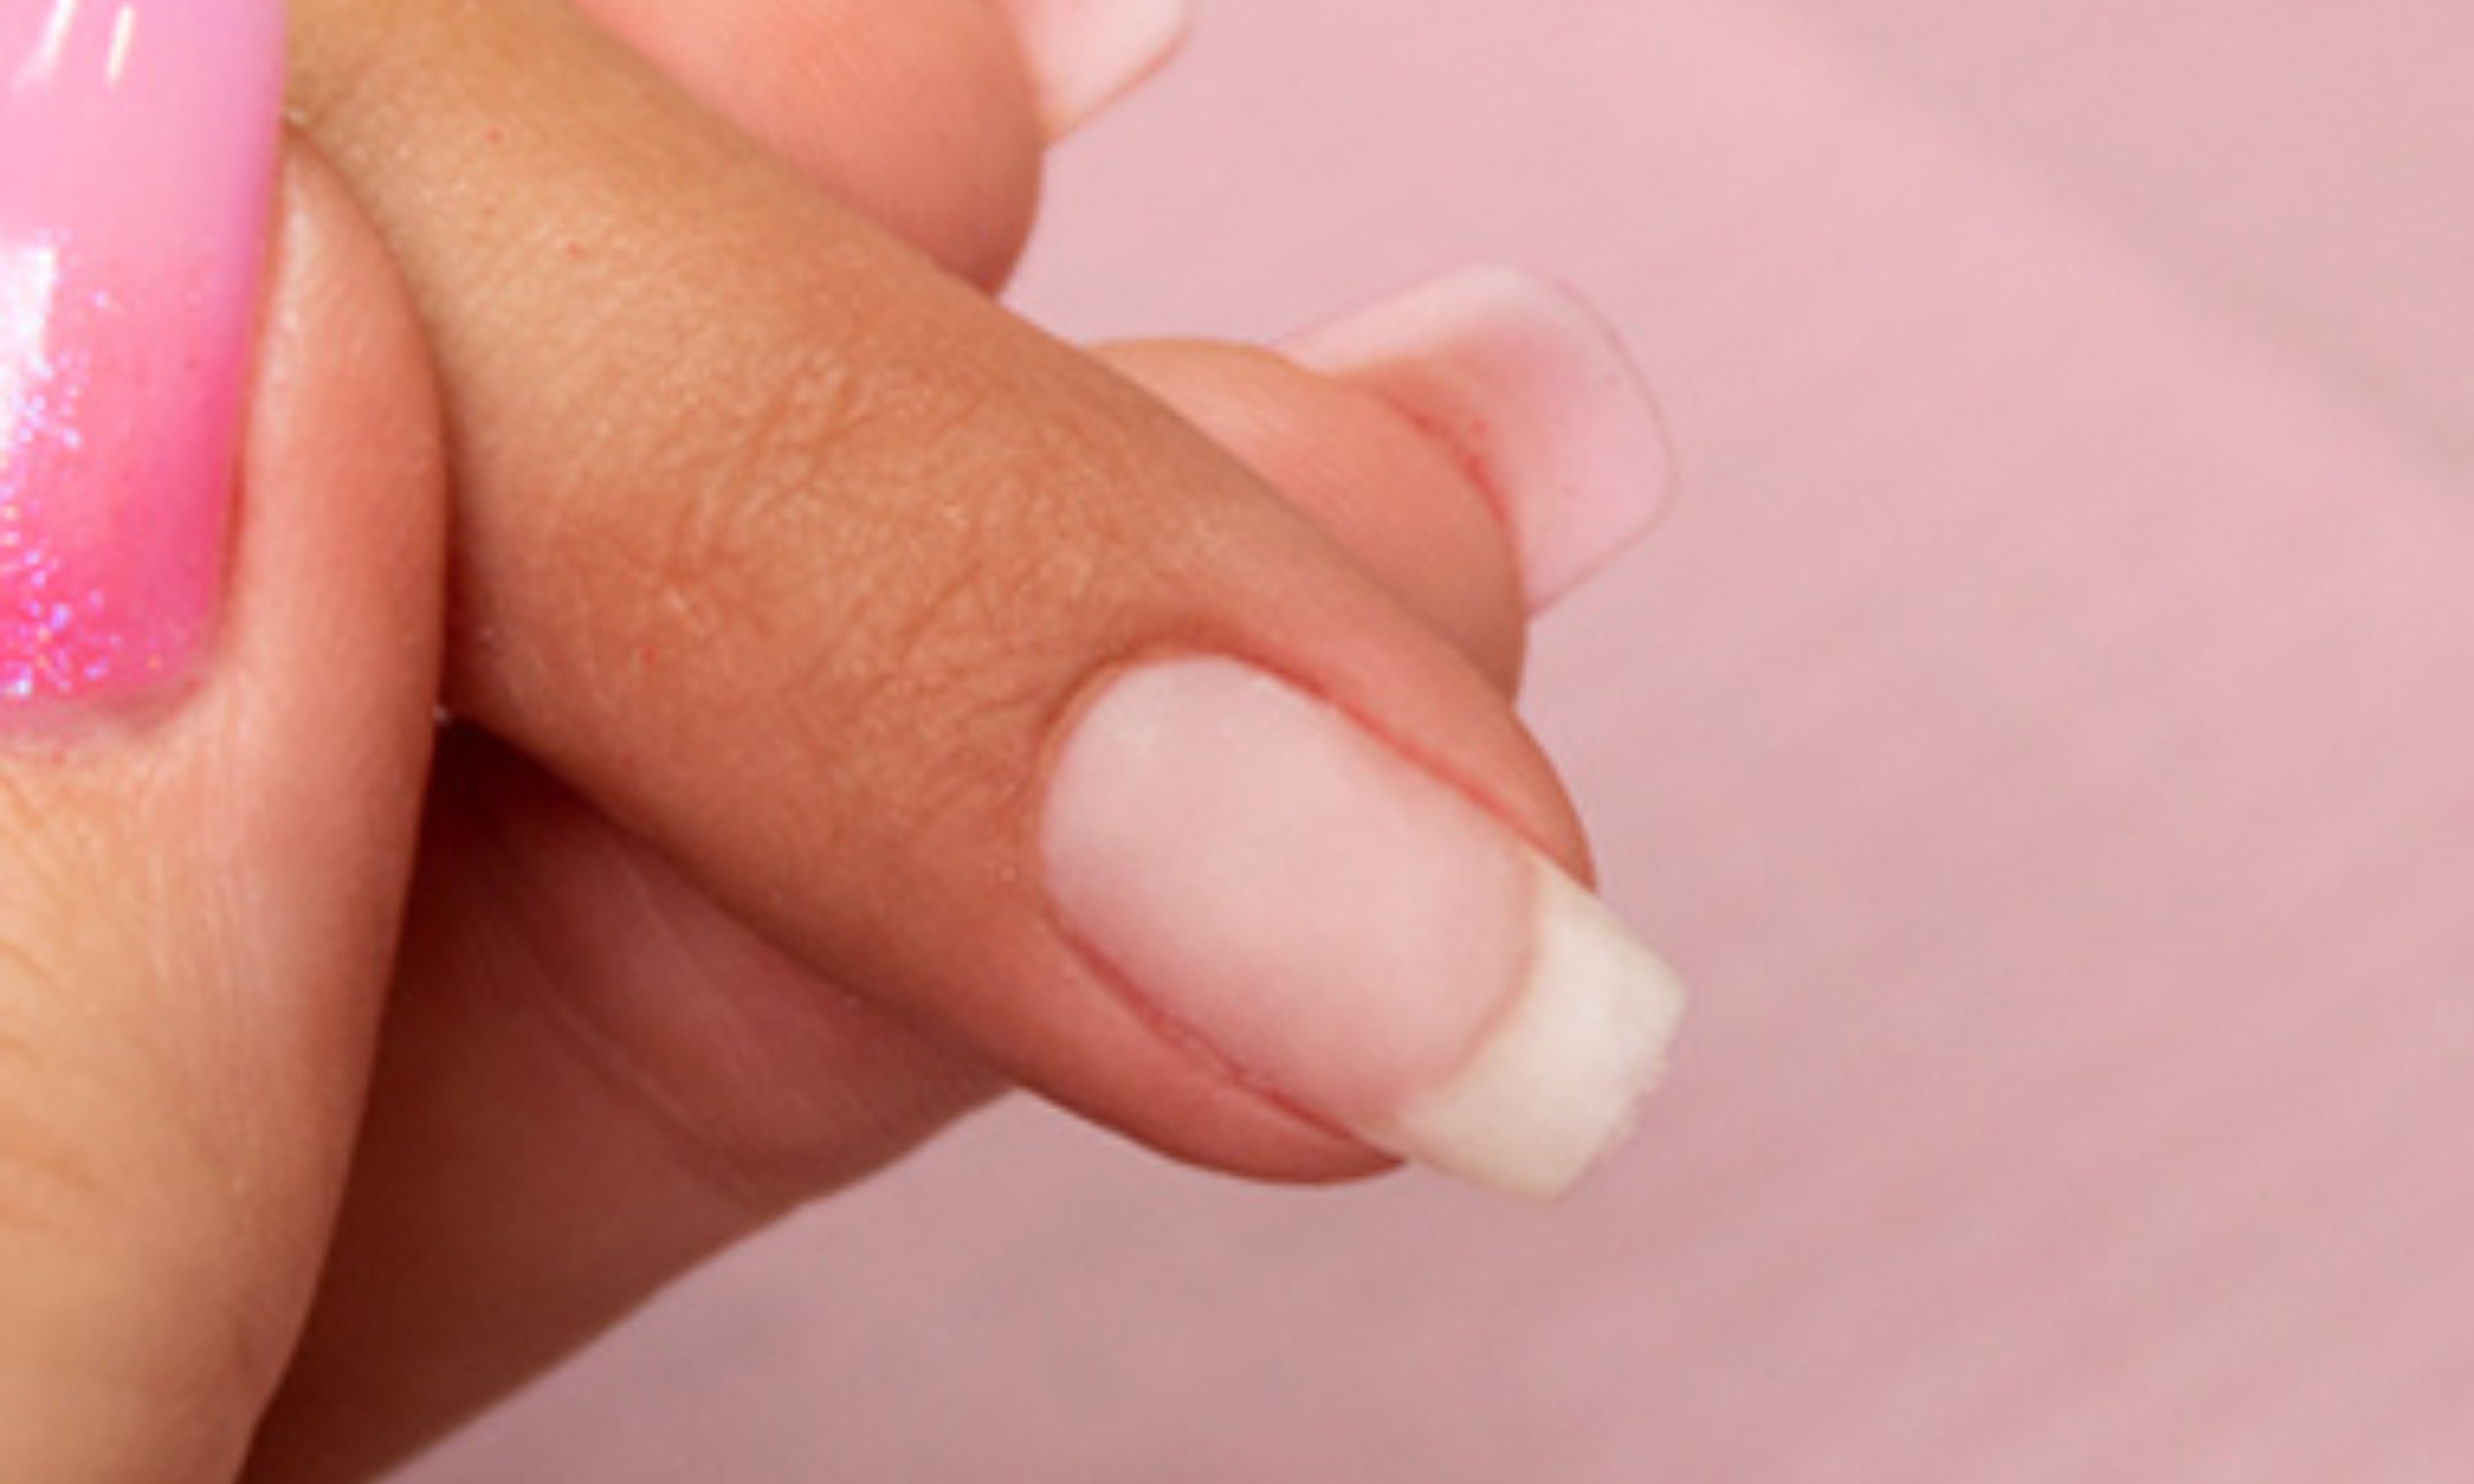
6. Done! We can now start the polishing process again. If you do not want to do the manicure again, it is recommended to apply a nail polish with calcium or a hardening gloss.
Materials for permanent enamel
WHAT DO YOU NEED TO APPLY PERMANENT NAIL POLISH?
Before you start, you need to know which products you will need to do a permanent manicure. If you have everything ready from the start, it will be easier for you to work, as you will have the products at your disposal at any time.
On the one hand, you will need the tools that will help you prepare your nails before polishing, leaving them pretty and with the shape and length that you like the most:
Lime
Polishing block
Orange stick
Manicure brush
The basic products for permanent enamel are the following:
Preparation liquids
Permanent nail polish base
Permanent enamel
Permanent nail polish finisher, also known as Top Coat
UV/LED lamp, UV or LED
If the finisher you have chosen has a sticky layer (or excess), it is necessary to clean it with Cleaner and the help of a cotton pad (lint-free) or Nail Pad.
WHAT DO YOU PUT ON BEFORE APPLYING PERMANENT NAIL POLISH?
Ensuring the durability of permanent nail polish is essential to being able to show off beautiful nails for as long as possible.
The preparation liquids are responsible for ensuring that your manicure remains intact, in addition to proper nail preparation. These liquids have the function of slightly dehydrating the natural nail, eliminating the grease that our nails have and allowing the product that is added later to adhere well.
Applying the Ultra-Bond Primer before the permanent nail polish base may be enough due to its adhesive action, but if your nails are very oily, we recommend applying the Nailprep beforehand.
How do you know if you have oily nails? If you notice that your natural nails tend to shine slightly and that nail polish doesn't last many days (not even permanent nail polish), then your nails are oily. In that case, it's essential that you apply Nailprep, we want your nails to stay spectacular for many days!
HOW MANY COATS OF PERMANENT NAIL POLISH SHOULD BE APPLIED?
This manicure technique requires a base coat of permanent nail polish, on which, once dry, the colour is applied. There are many types of bases that you can choose from depending on the type of nails you have or the result you want to achieve: volume, resistance, flexibility... Choose the colour of permanent nail polish that you like the most and apply two layers of product (drying each one in the UV/LED lamp). It is important that the first layer of permanent nail polish is not too thick, to prevent the colour from wrinkling inside the lamp and to ensure that it dries completely. For the second layer, you can apply a little more product, if you wish, to achieve an intense tone and full coverage.
For proper application of these products, it is important to avoid touching the cuticles and the skin around the nail.
FREQUENTLY ASKED QUESTIONS ABOUT PERMANENT NAIL POLISH
There are different viscosities in our range of permanent coloured nail polishes. It is recommended to apply thin layers to prevent this from happening. It can also happen if we dry the colour for less than 10 continuous seconds, as it does not dry completely well.
For easy and effective removal of permanent manicure, it is important to have the necessary products. If you have a file, cotton, permanent nail polish remover, aluminum foil, cuticle pusher, buffing block and follow the steps explained above, you can easily remove permanent manicure.
If the permanent nail polish application has been done correctly, it guarantees a minimum duration of two weeks.
No, because they are two products with different ingredients and viscosities, so they are not compatible.
Yes, you can apply permanent nail polish over a build or reinforcement in any technique.
Permanent nail polish products have an excess layer and the color can often shrink. If it moves, we recommend wiping off the sticky layer of the base, this way we will be able to apply the color more easily. It is also recommended to dry finger by finger for a few seconds (minimum 10 seconds) and finally, the entire hand (60 seconds / 2 min).
- Hybrid Base : base with Vitamin E that makes removal easier and strengthens the natural nail.
- Base & Gloss : two-in-one base, base and gloss for intense colors.
- Volume Base : thicker base to give strength and volume to the nails. You can also repair and correct small imperfections.
- Strong Volume Base : a thick and very rigid base that can be used to lengthen nails by 4 or 5 mm and also strengthen them.
- Volume Base Milky White : two-in-one base, base and translucent milky white color. You can also correct small imperfections of the natural nail.
- Volume Base Natural Pink : two-in-one base, base and translucent natural pink color. You can also correct small imperfections of the natural nail and lengthen up to 4 or 5 mm, as well as reinforce your nails.
- Volume Base Nude Rose : two-in-one base coat, base and pink covering colour. You can also correct small imperfections in the natural nail and lengthen it by up to 4 or 5 mm, as well as reinforce your nails.
- Volume Base Cover : two-in-one base coat, base coat and camouflage pink color. You can also correct small imperfections in the natural nail and lengthen up to 4 or 5 mm, as well as reinforce your nails.
- Volume Base Cover Shimmer : two-in-one base, base and cover color with glitter. You can also correct small imperfections of the natural nail.
- Volume Base Pastel Color : Two-in-one base, base and translucent pastel color. You can also correct small imperfections of the natural nail and lengthen up to 4 or 5 mm, as well as reinforce your nails. Colors: pastel pink, pastel lilac, pastel green and pastel blue.
To finish a permanent nail polish manicure we can use the following glosses:
- Crystal Top Gel : Extra shiny and long-lasting finishing gloss, without sticky layer. Prevents nails from staining or yellowing.
- Base & Gloss : permanent lamp-drying polish gloss with a sticky layer.
- Top Gloss : permanent nail polish gloss that dries under a lamp with a sticky layer (ideal for light colours).
- Diamond Gloss : finishing gloss with fine diamond glitter sparkles, ideal for any permanent, gel or acrylic nail polish colour. Once dried in the lamp, it does not leave an excess layer.
- Matt Top Coat : velvety effect finisher to apply over any gel, acrylic or permanent polish color.
- Eggshell Top Coat : Clear matte finish finisher with irregular black dots without sticky layer.


