Acrylic nail instructions
Below you will find the step by step of acrylic nail extension with tips and molds
HOW LONG DO ACRYLIC NAILS LAST?
Acrylic nails last between 2 and 4 weeks in perfect condition and, depending on the growth of natural nails, maintenance or refills can be done every 15 or 20 days.
WHAT ARE ACRYLIC NAILS?
This is an air-drying nail extension technique that is performed by mixing acrylic powder (polymer) and acrylic liquid (monomer). When these two products come into contact, a paste is created that can be applied directly to the natural nail and extensions can be performed with tips or molds.
This technique also allows you to reconstruct broken or bitten nails and they are very resistant, which helps prevent nail biting problems. Acrylic powder manicure is very versatile, as it allows you to give the desired shape and length. It is recommended that acrylic nails be maintained every 2 or 3 weeks.
It is recommended to perform acrylic manicure in ventilated spaces, since the chemical components can cause strong odors, and to maintain proper hygiene of the material used. In sensitive skin, redness or irritation may appear around the nails. Avoid the use of acrylic in people with an allergy to acrylate.
HOW TO APPLY ACRYLIC?
To achieve a long-lasting and beautiful acrylic manicure, it is important to follow all the steps precisely and take the necessary time to complete them. Start by preparing the natural nail correctly and working on the cuticle. Then, lengthen the nail with tips or molds and, finally, work the acrylic powder properly to achieve the result you are looking for.
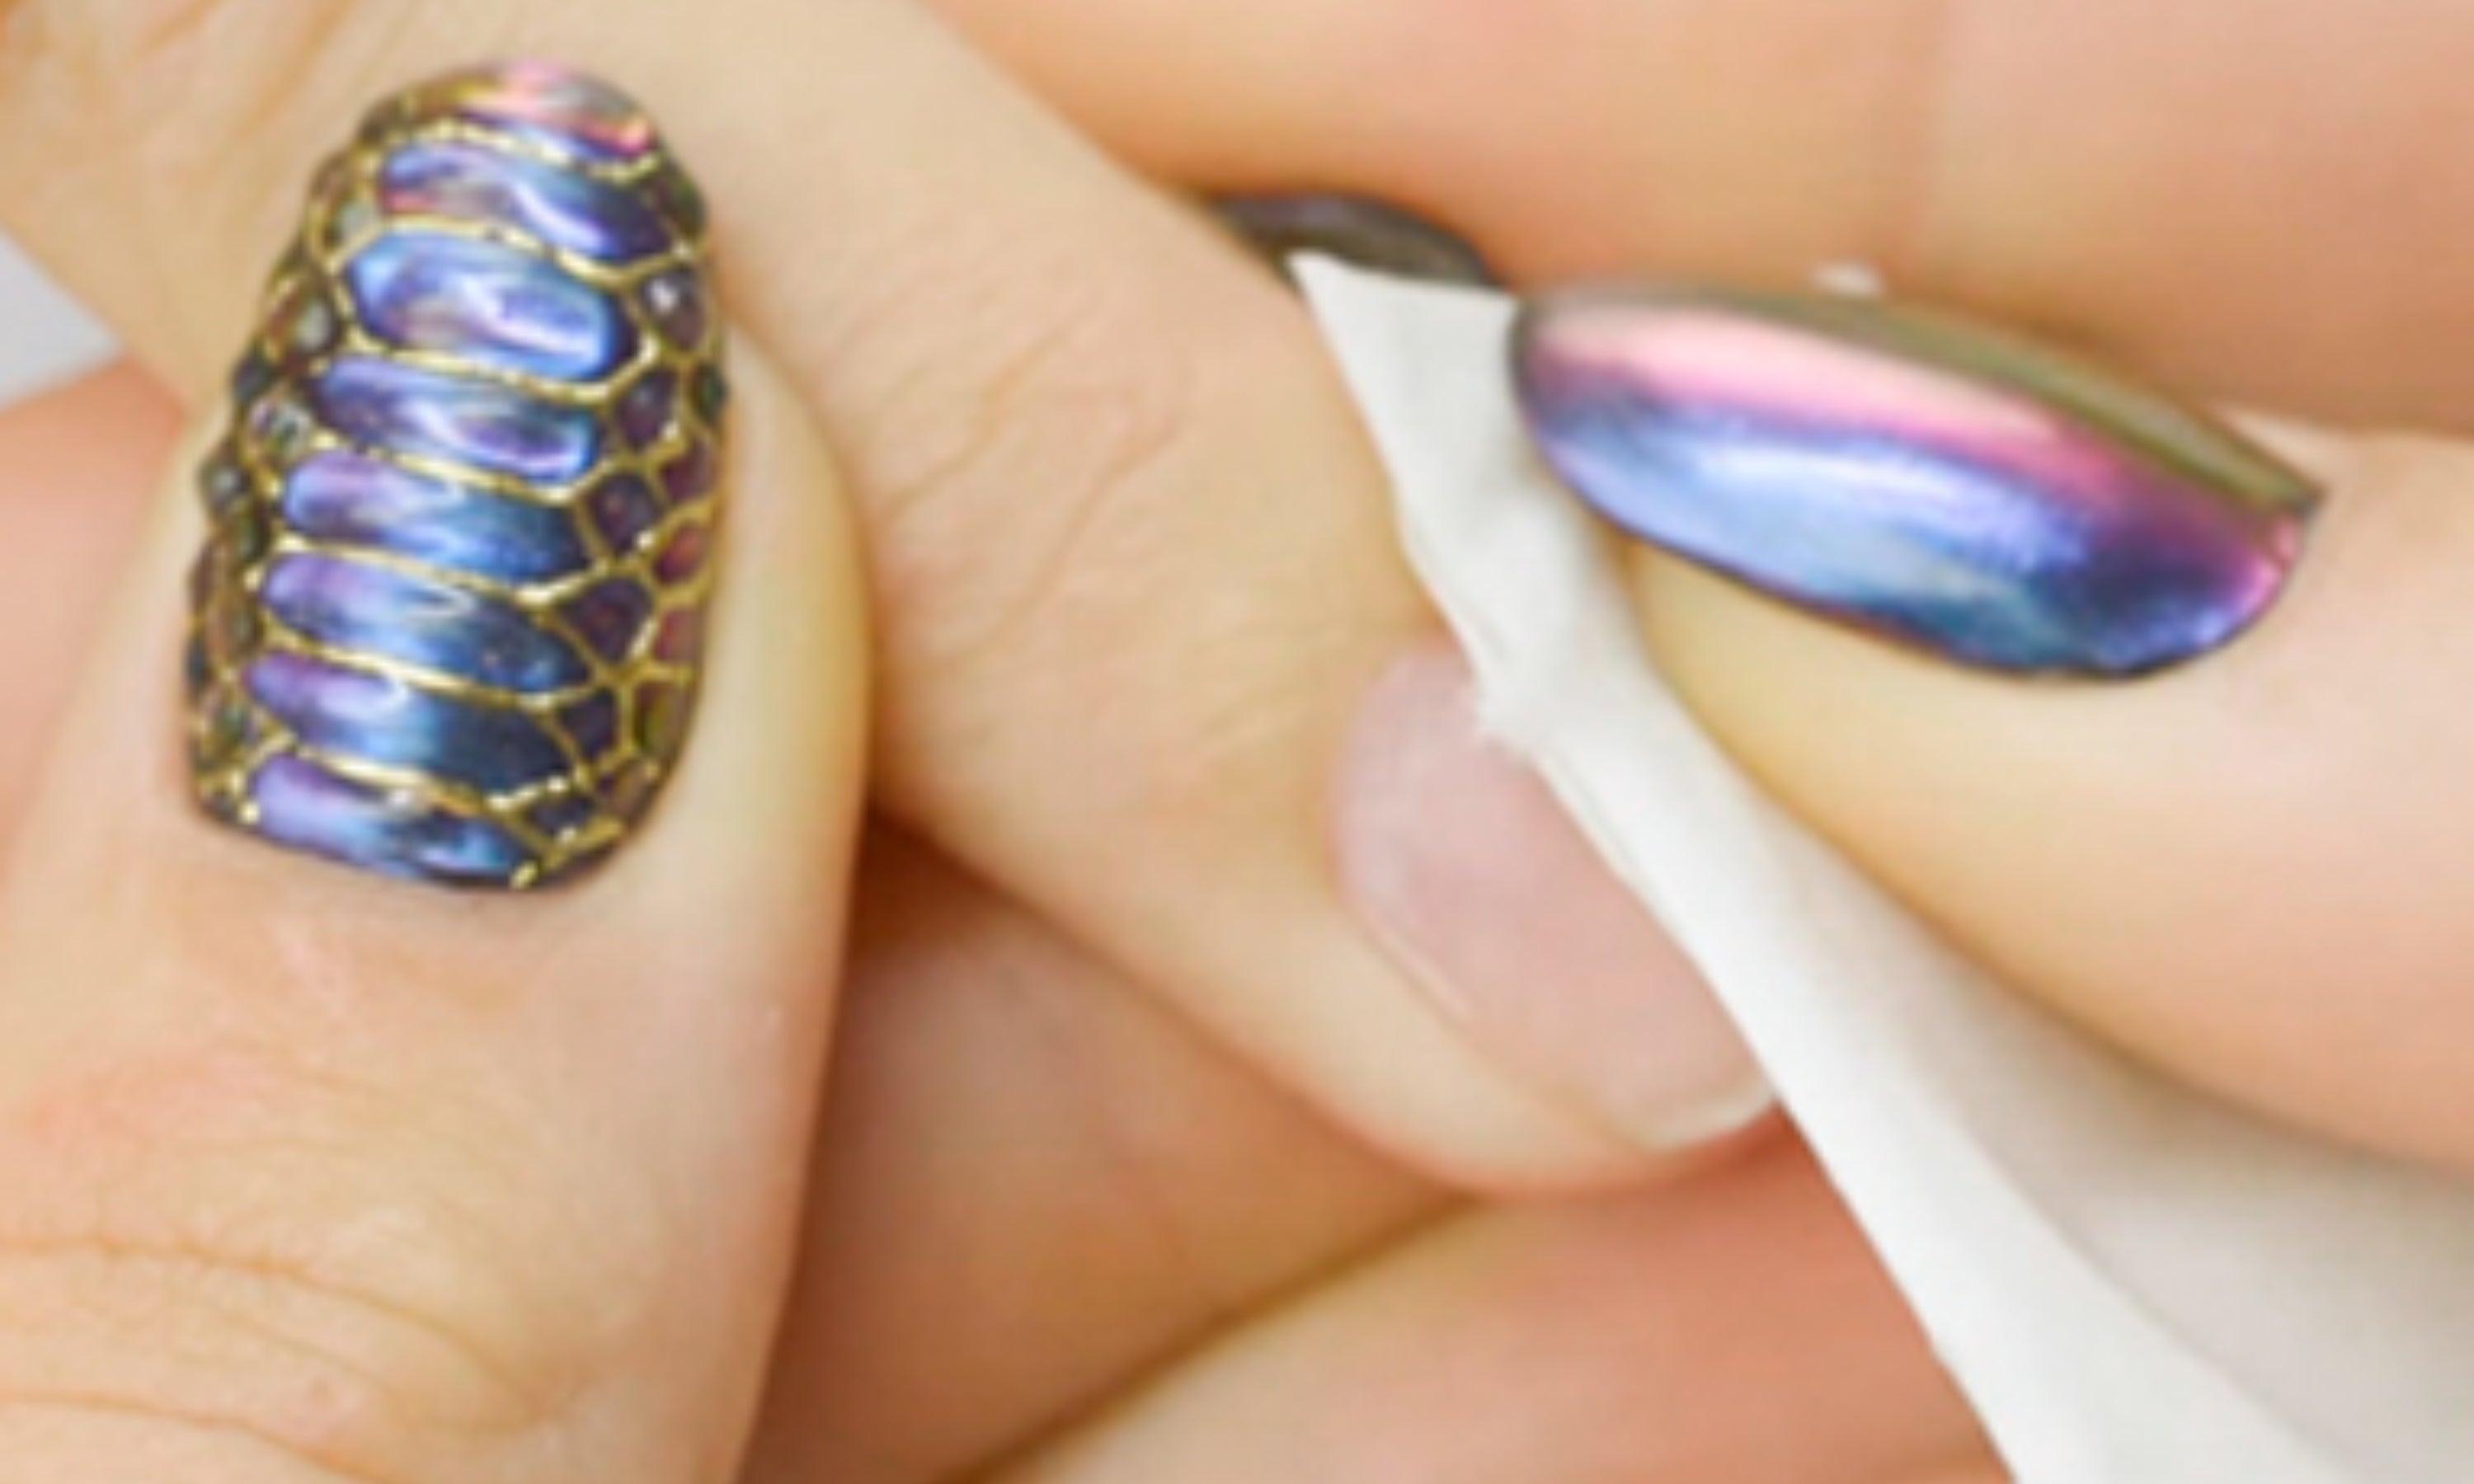
1. Disinfect nails with disinfectant or 90% alcohol soaked in cotton.
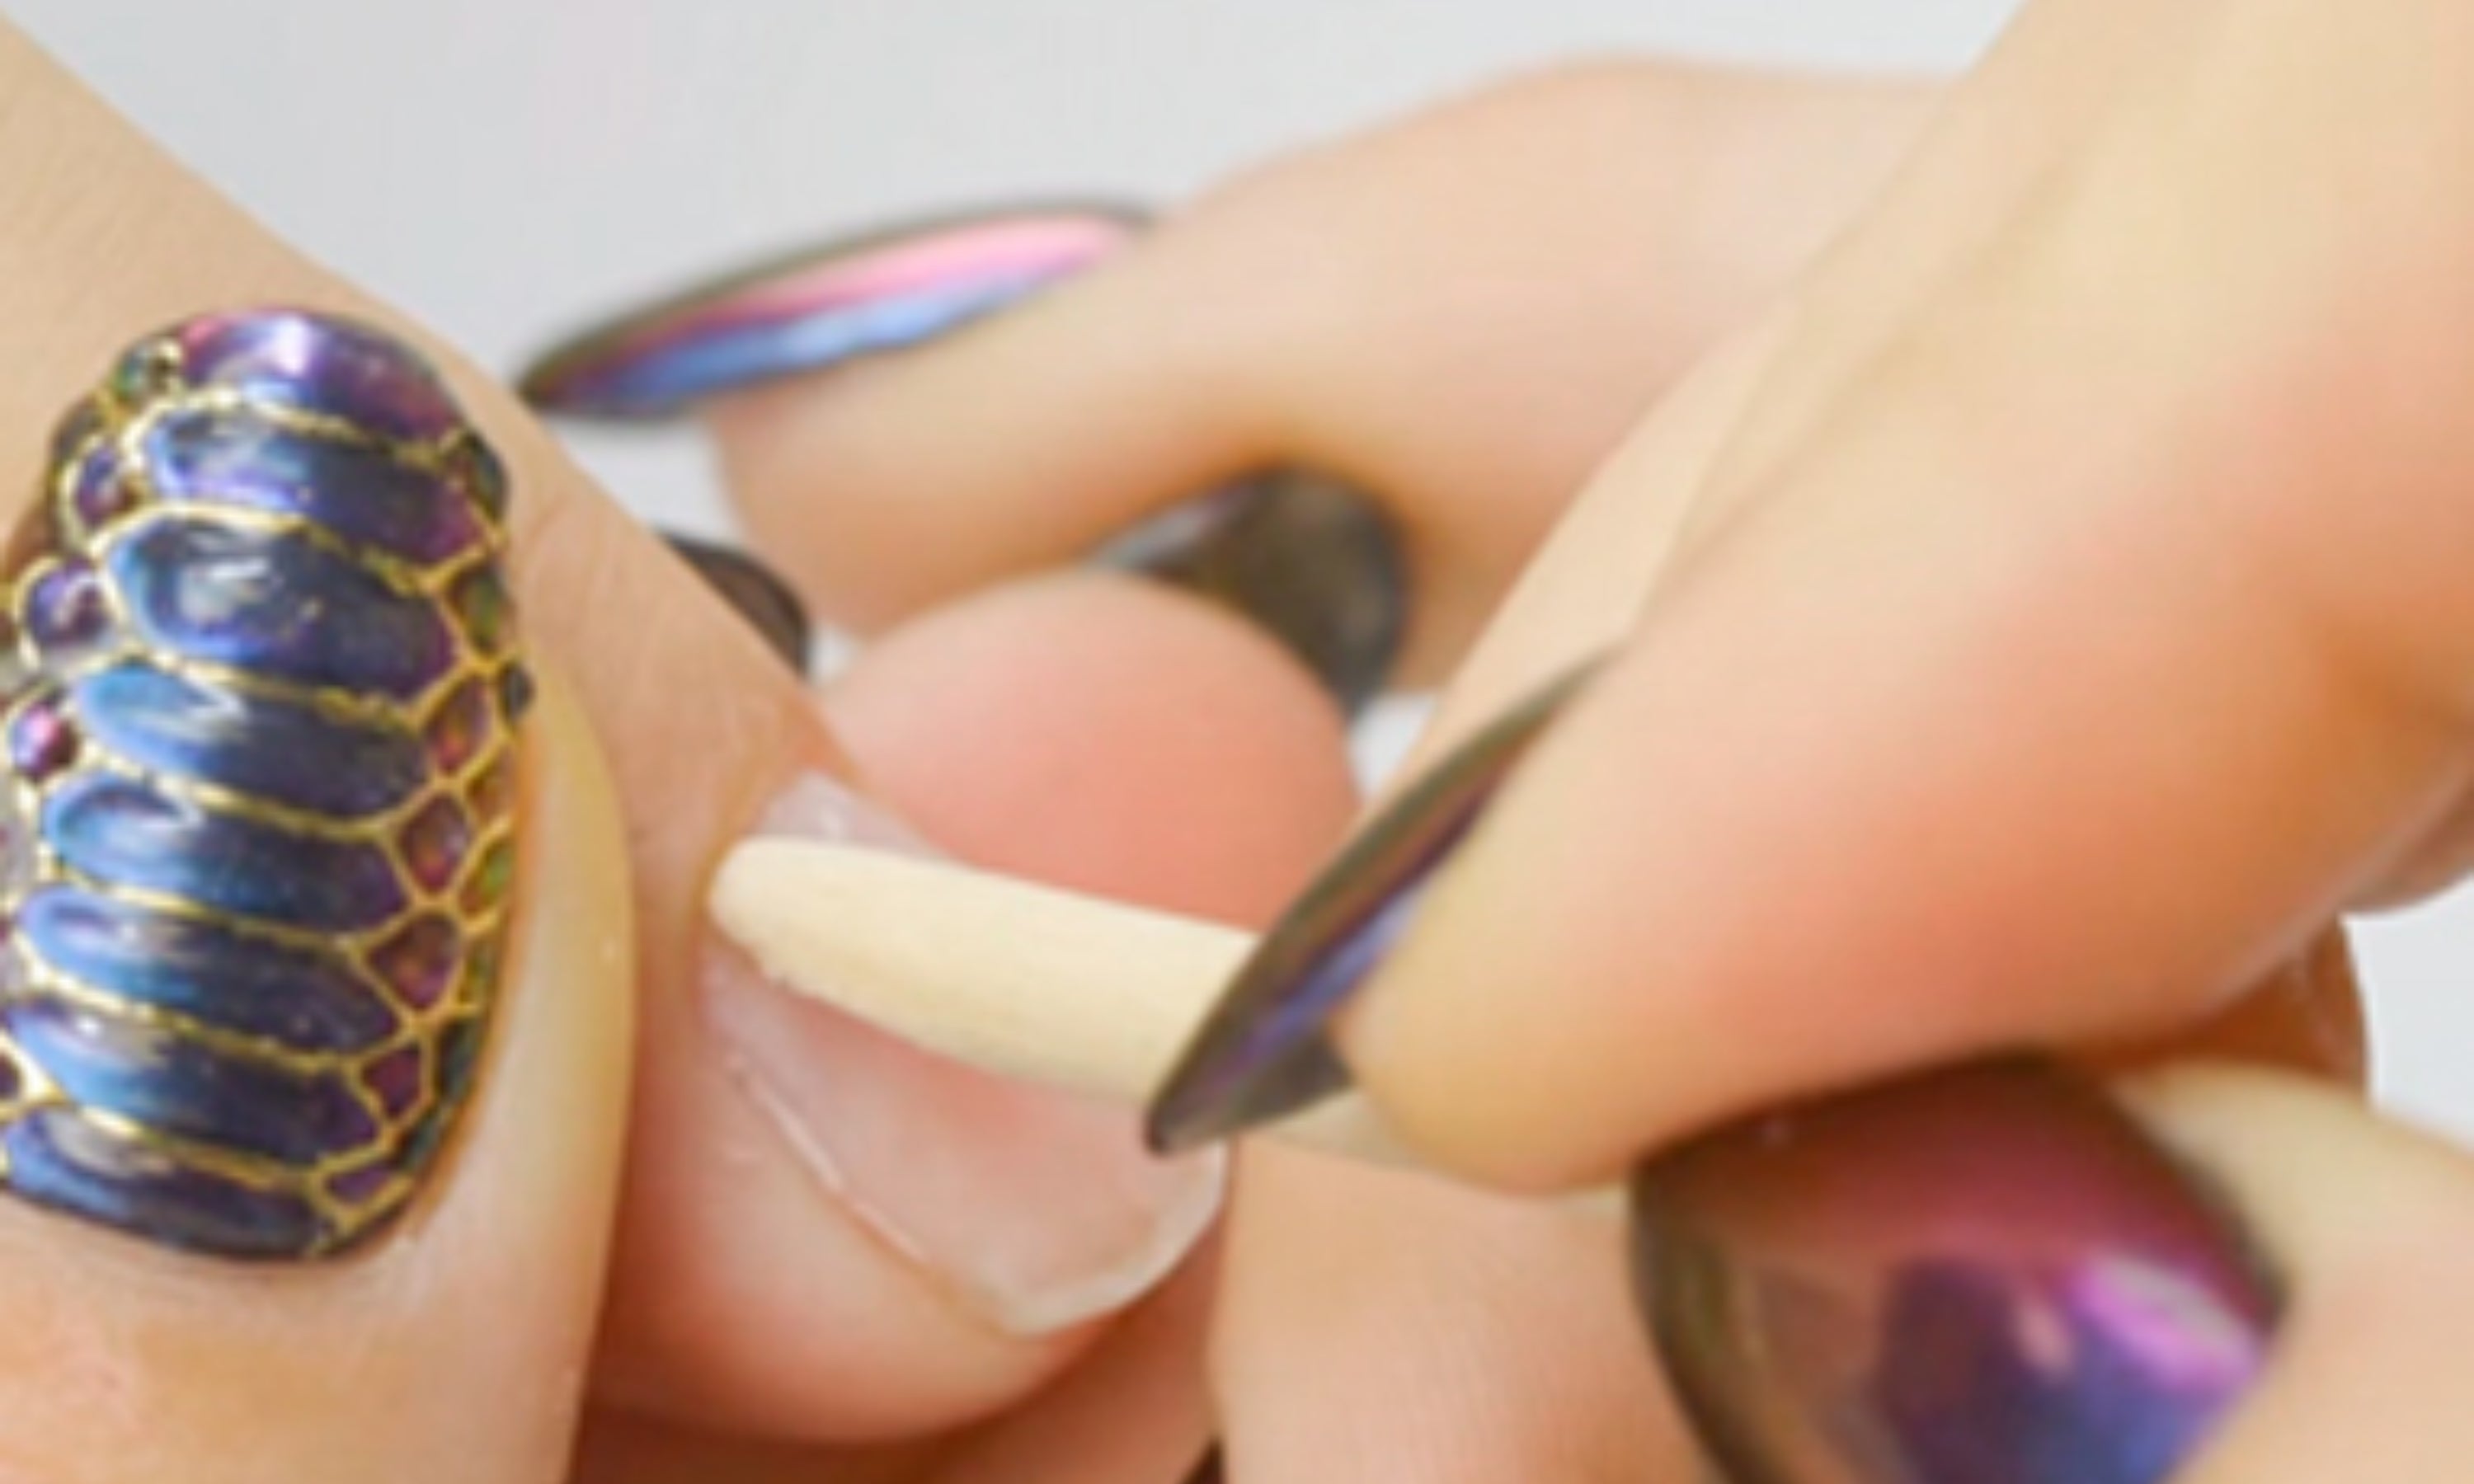
2. Push the cuticle back with an orange stick or cuticle pusher.
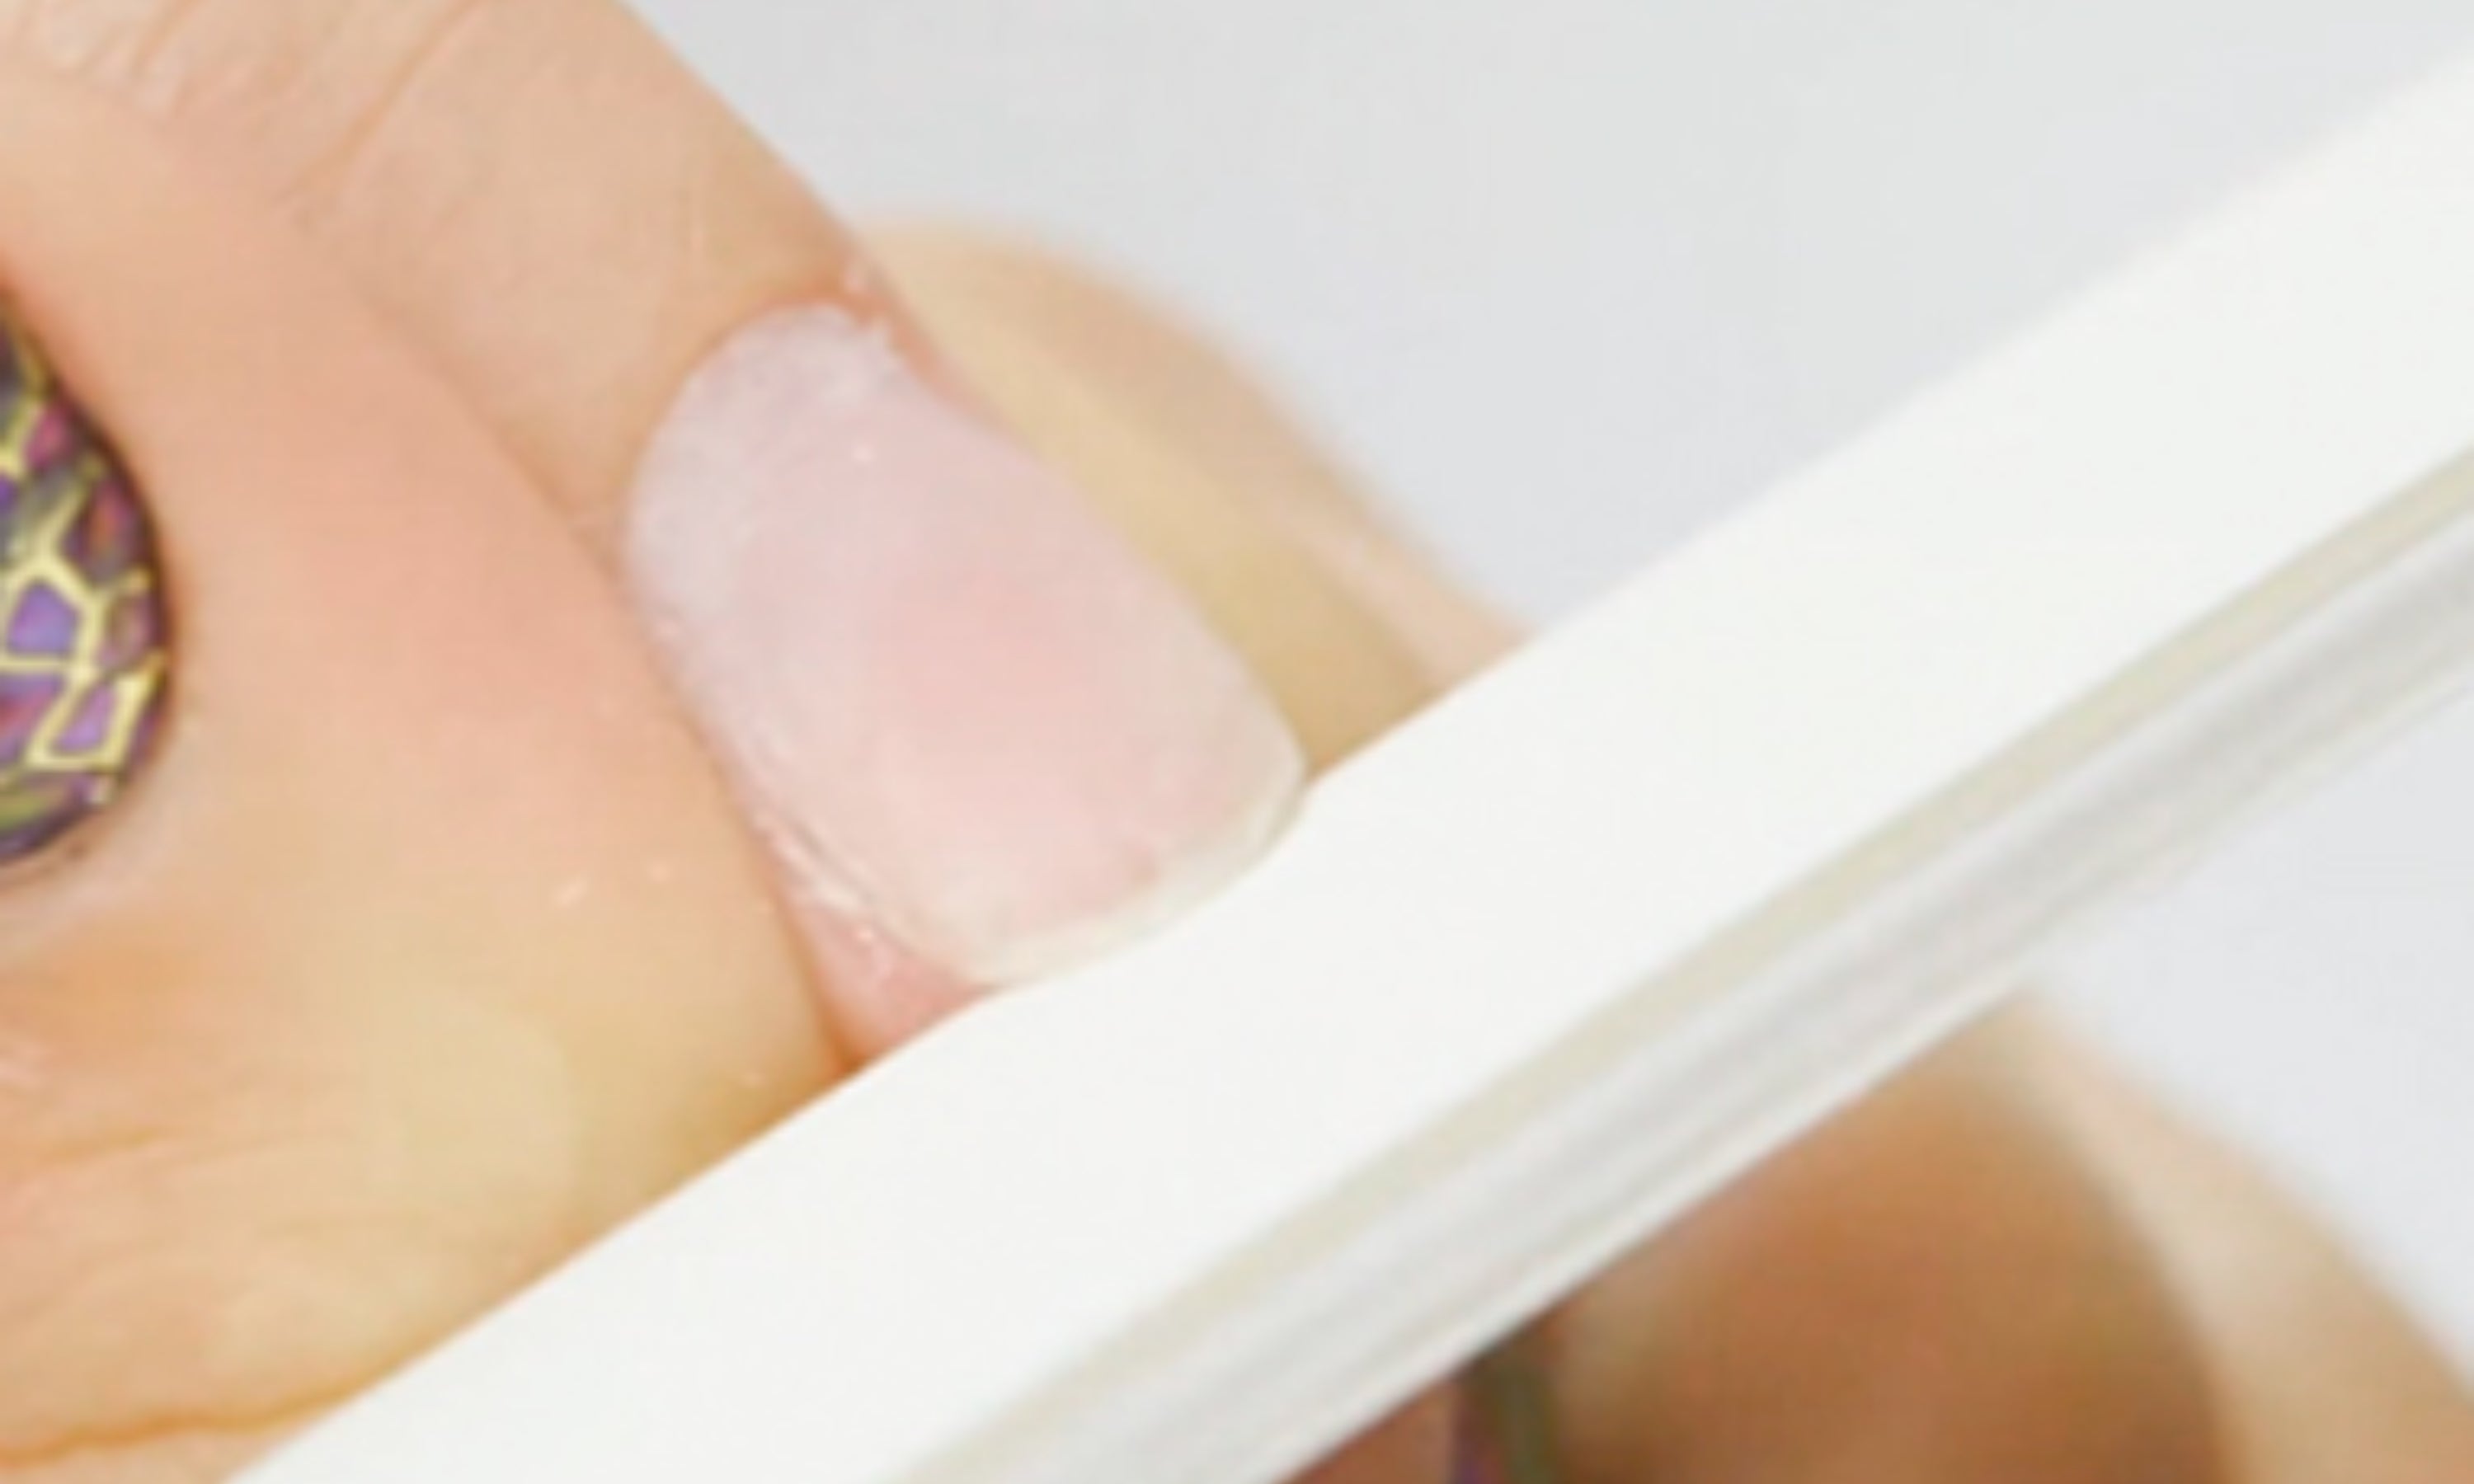
3. Shape the nail as desired. File the sides and cuticle area to remove any remaining skin.
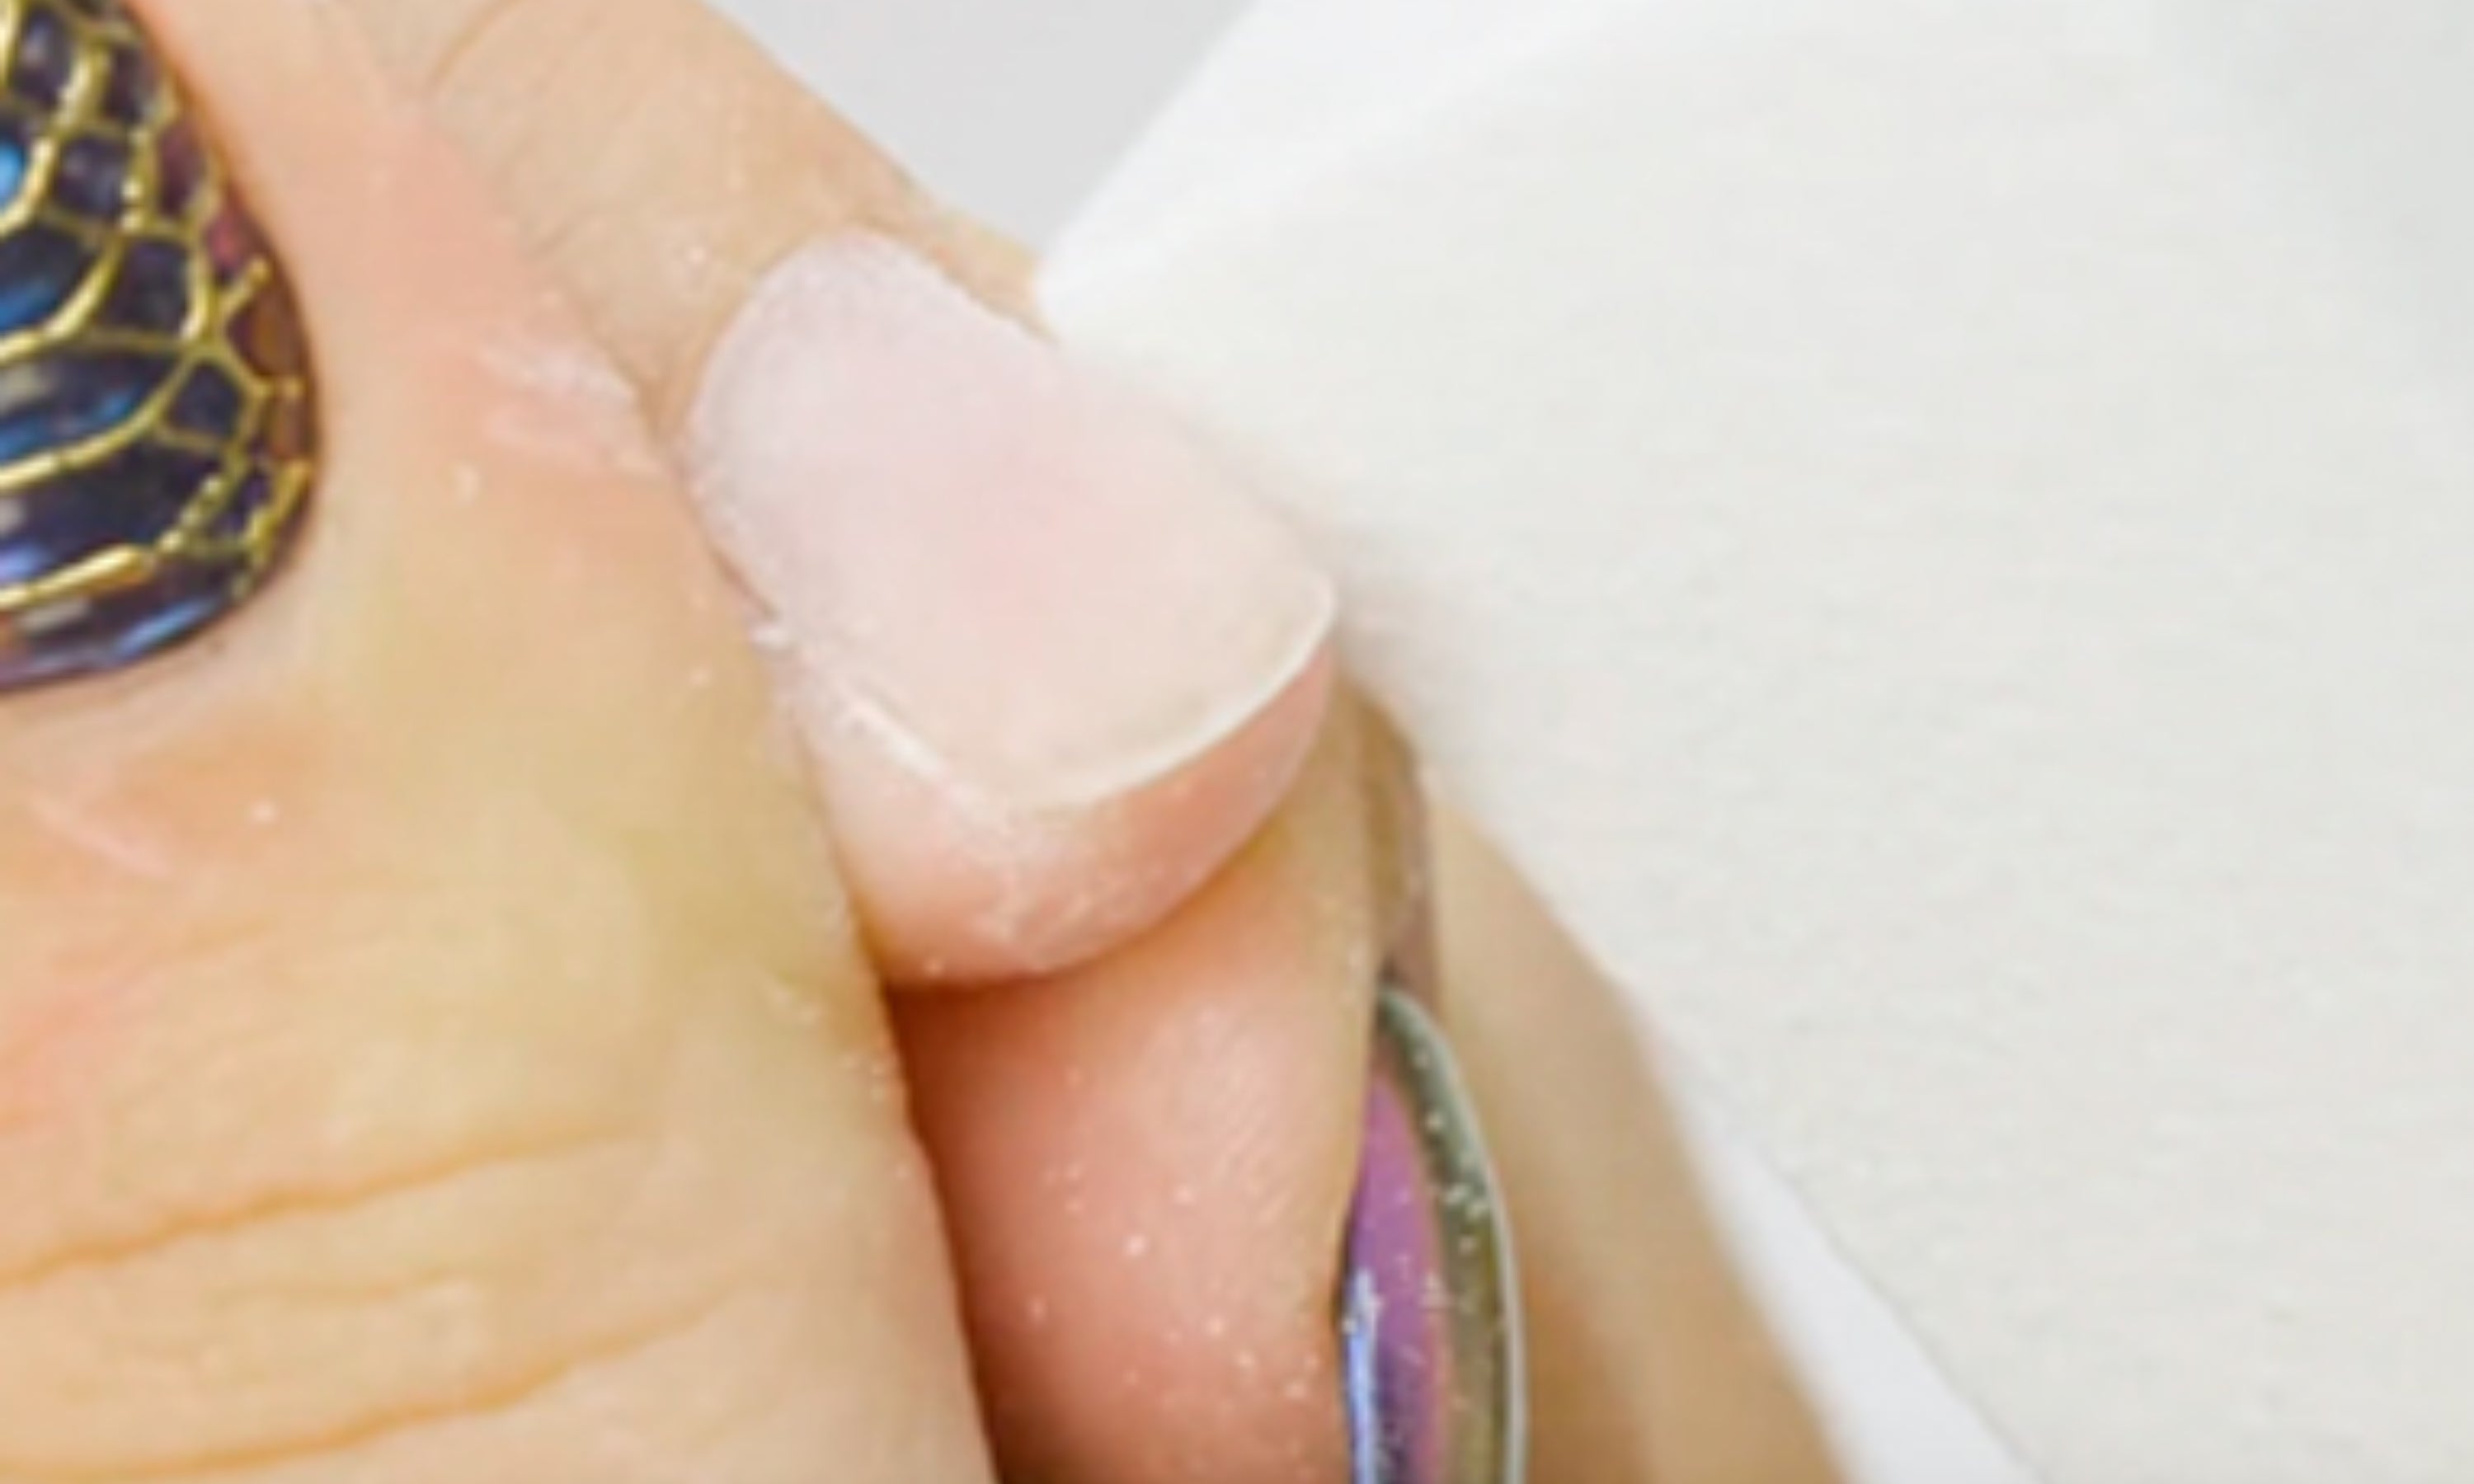
4. Remove the shine from the natural nail with the buffing block. This step is important to ensure the product adheres to the nail.
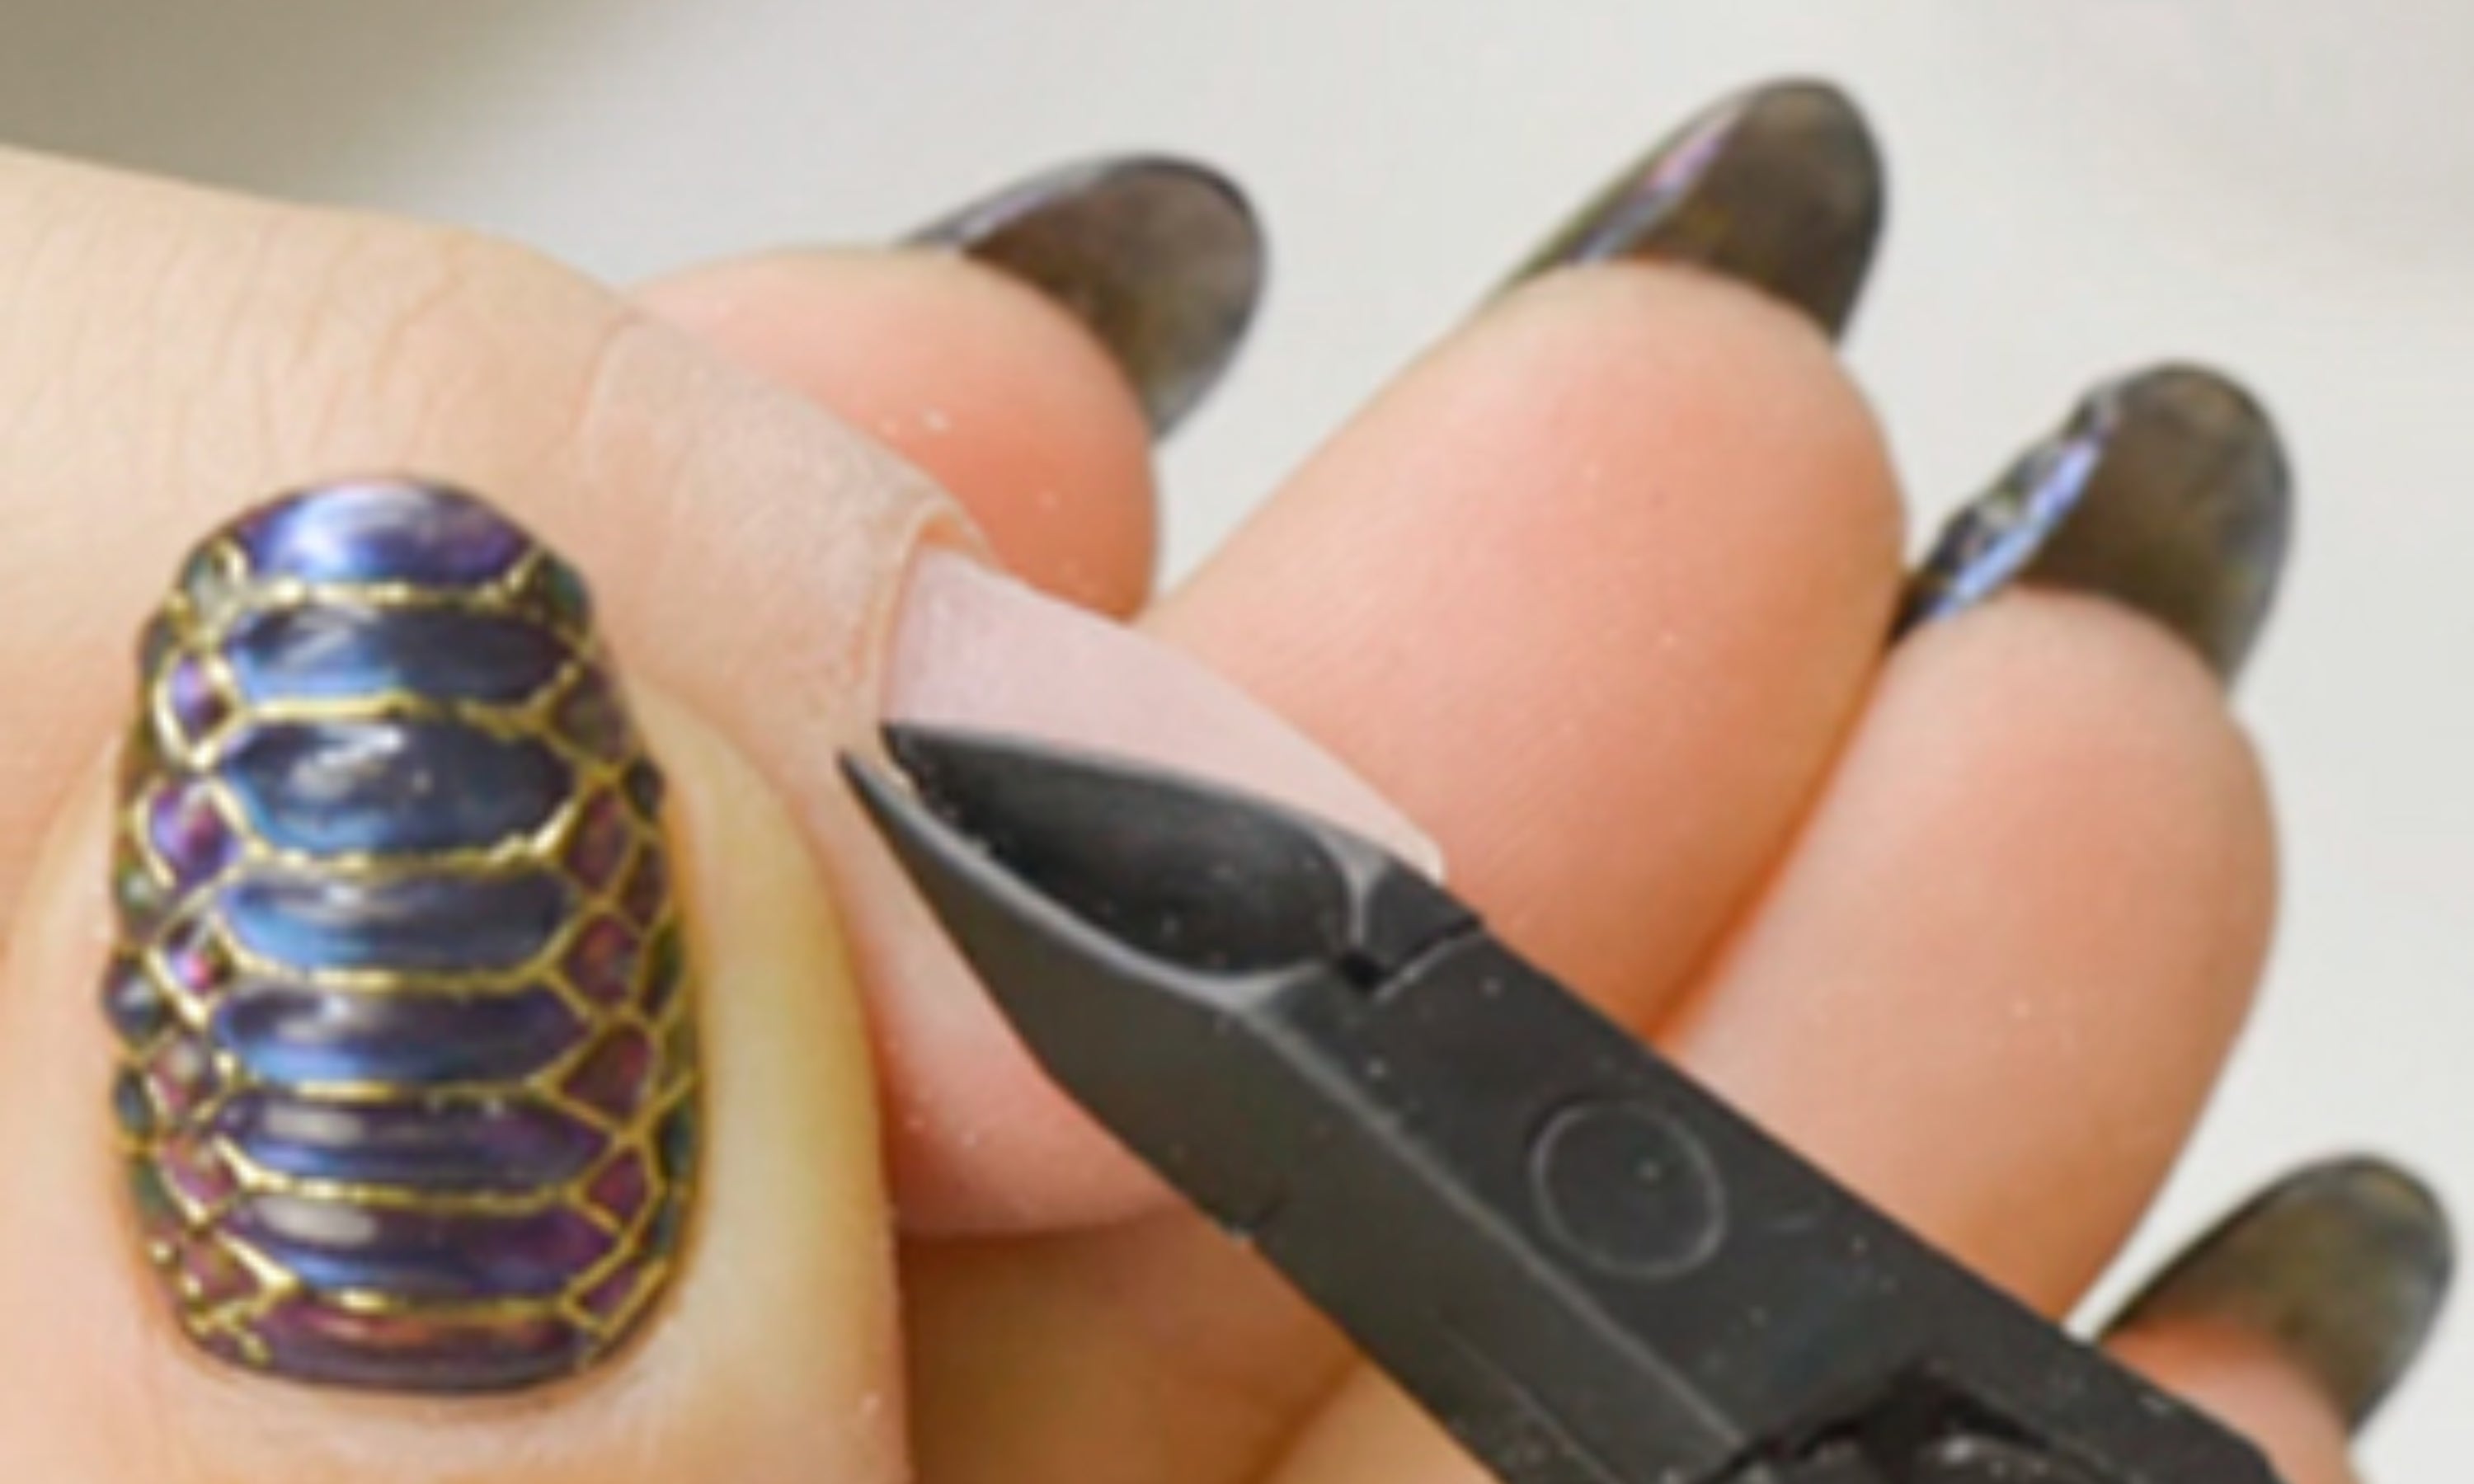
5. Finish removing any remaining skin using cuticle nippers or scissors. It is important not to touch the nail with your fingertips to ensure the gel adheres.
LENGTHEN WITH TIPS
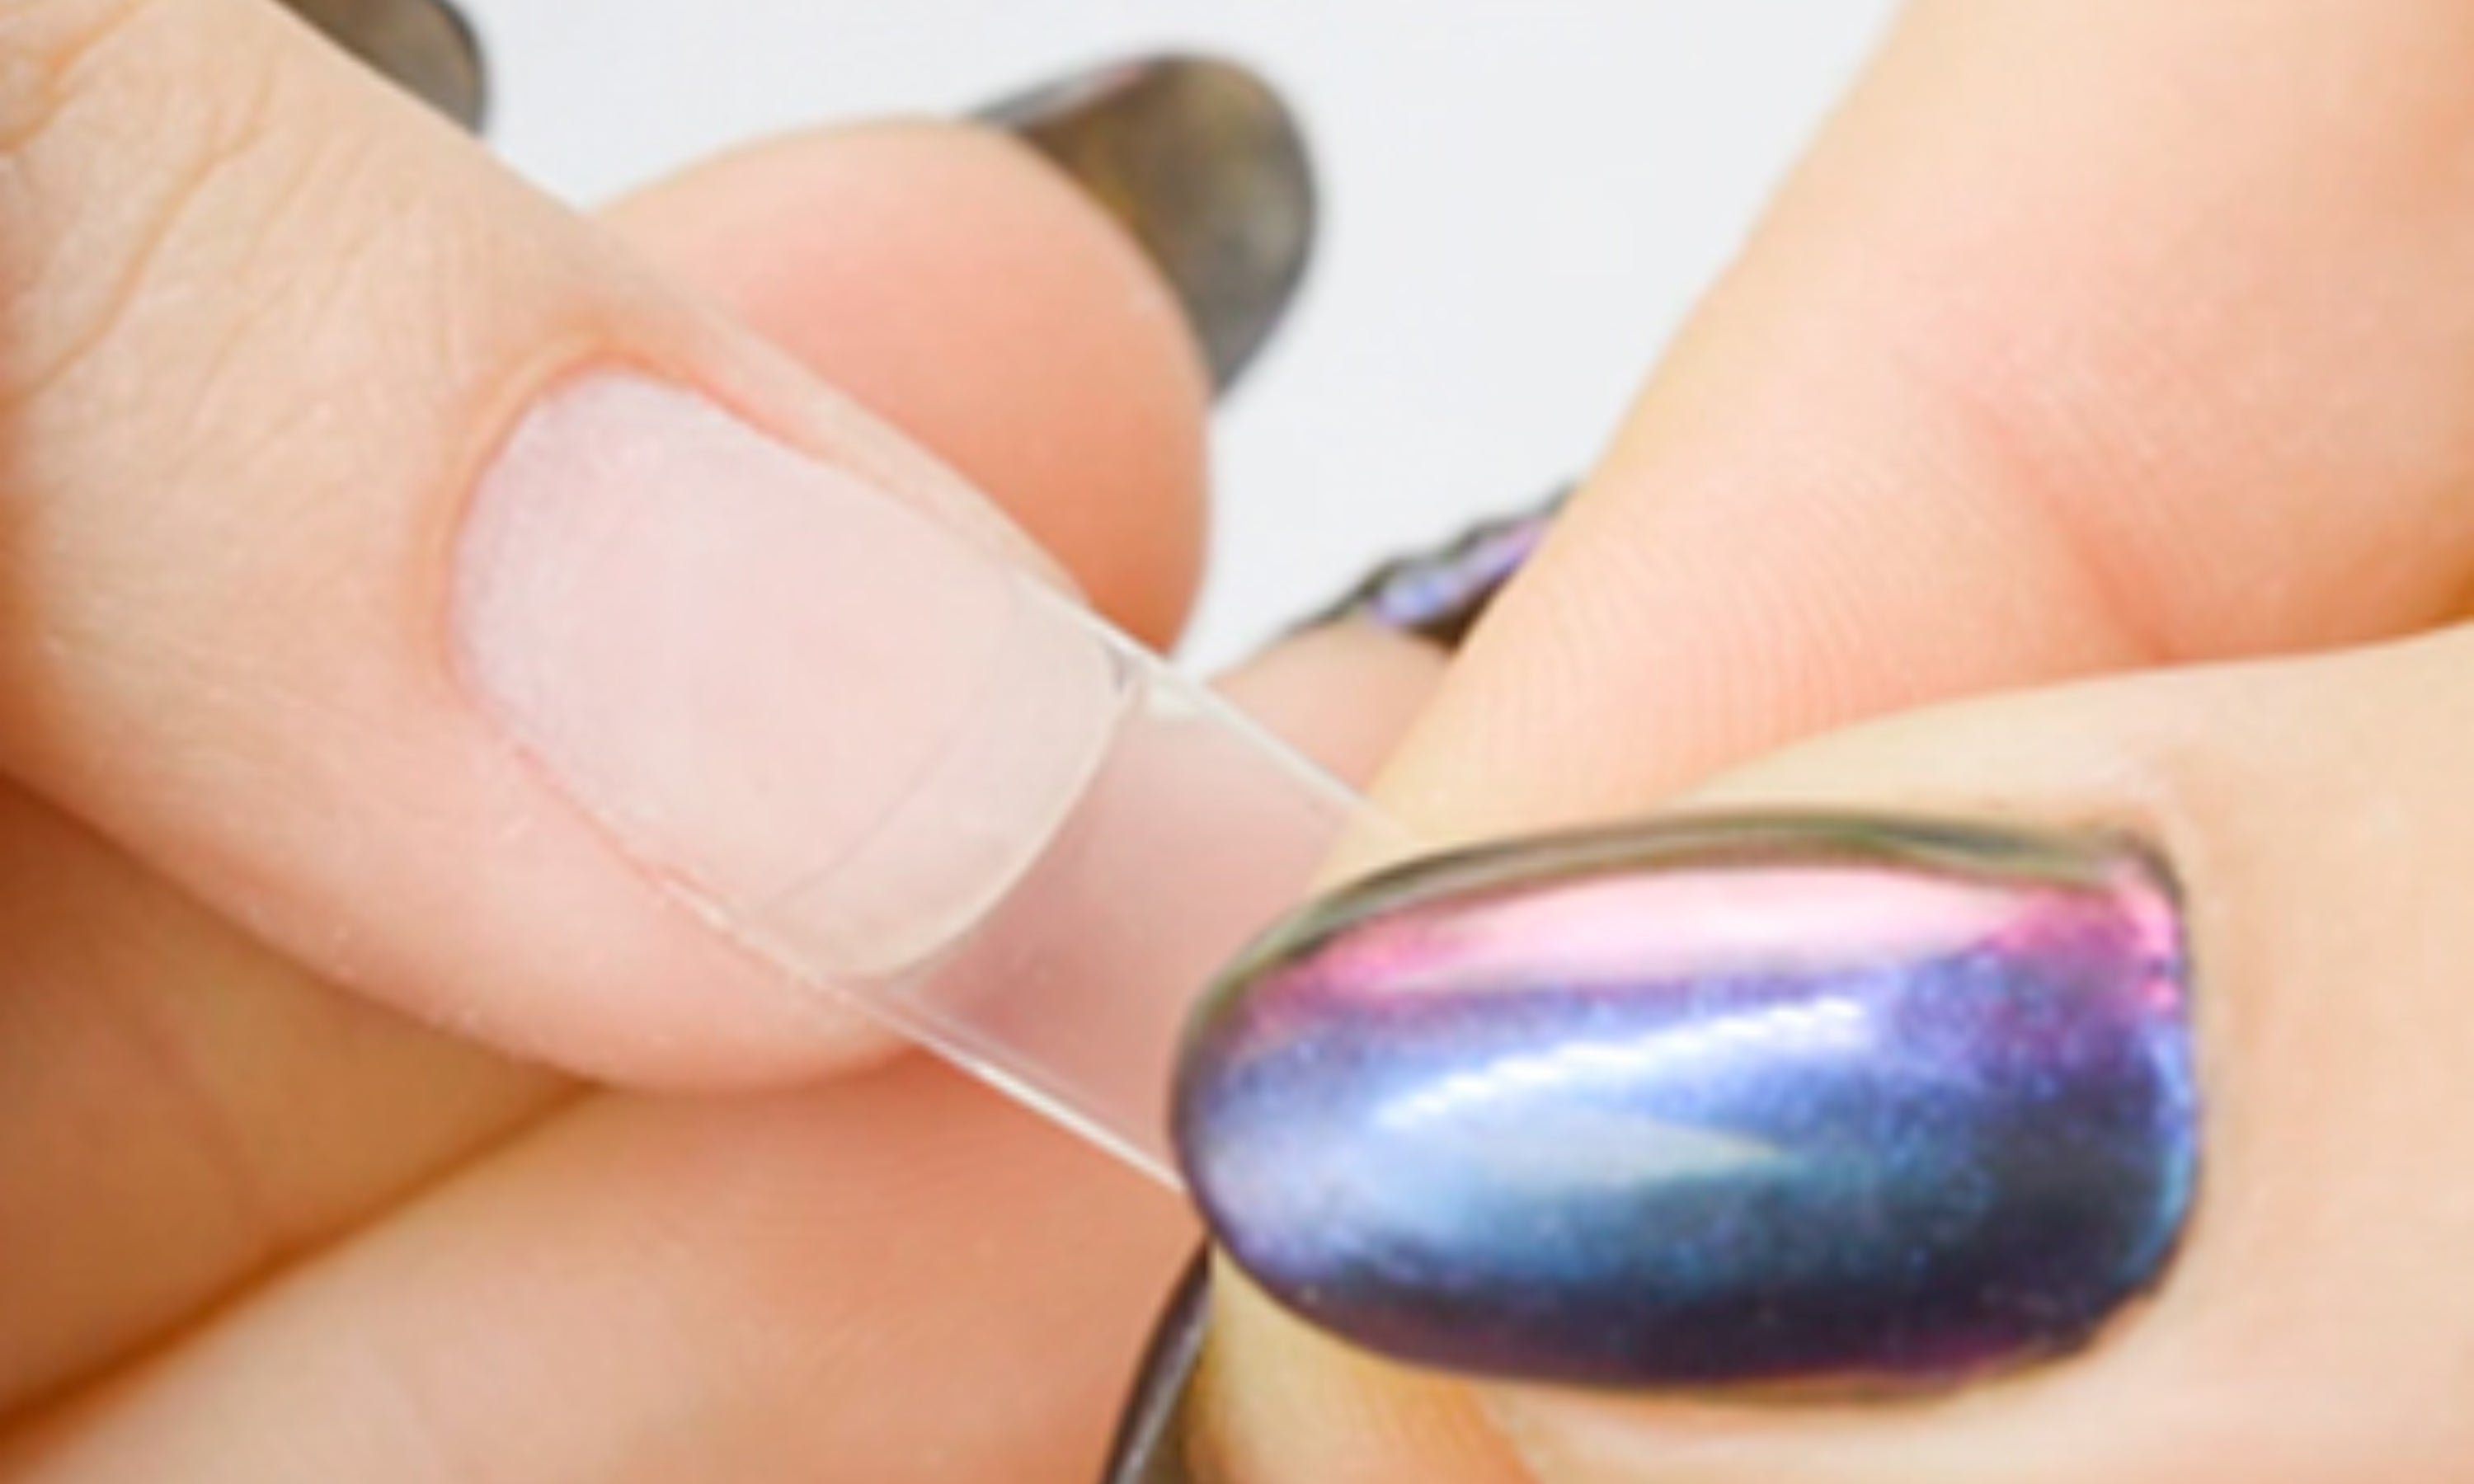
6. Choose the tip that fits your nail size. If you can't find the right size, get a size up and file the sides so it fits better on the nail.
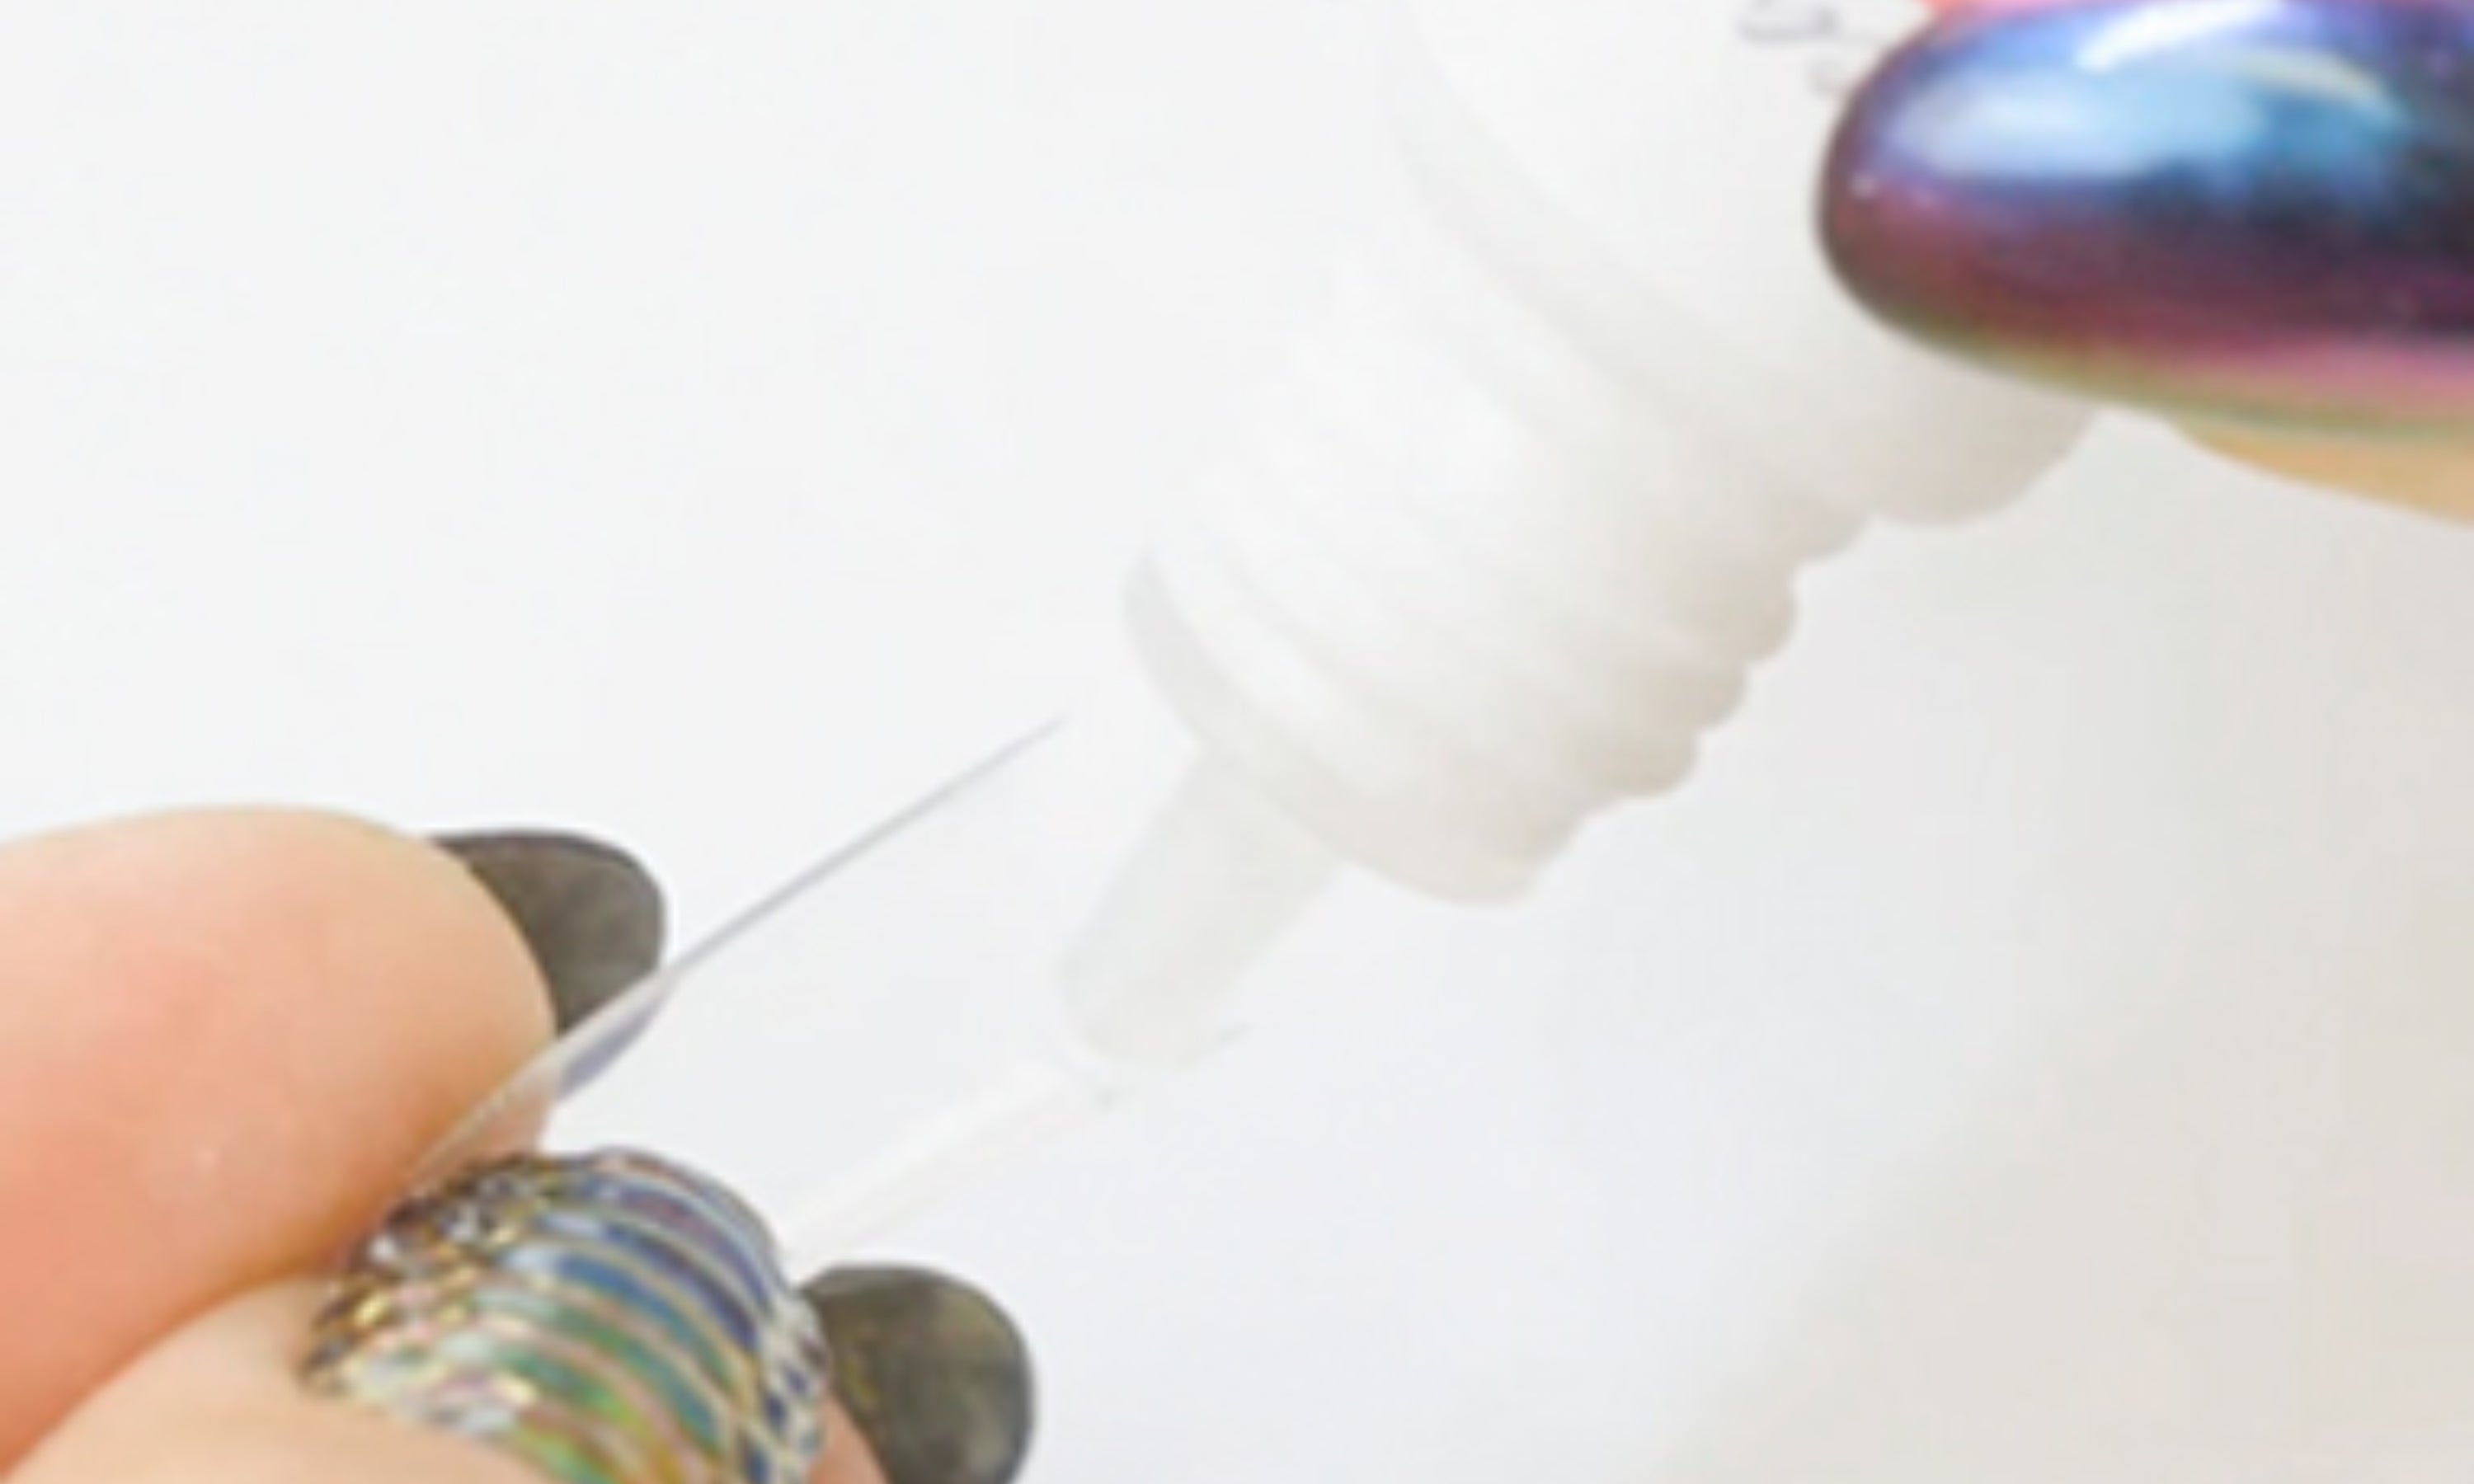
7. Apply the tip glue. It is important to apply just the right amount of product. If you apply too little, air pockets may appear. If you apply too much, it will stick out on the sides.
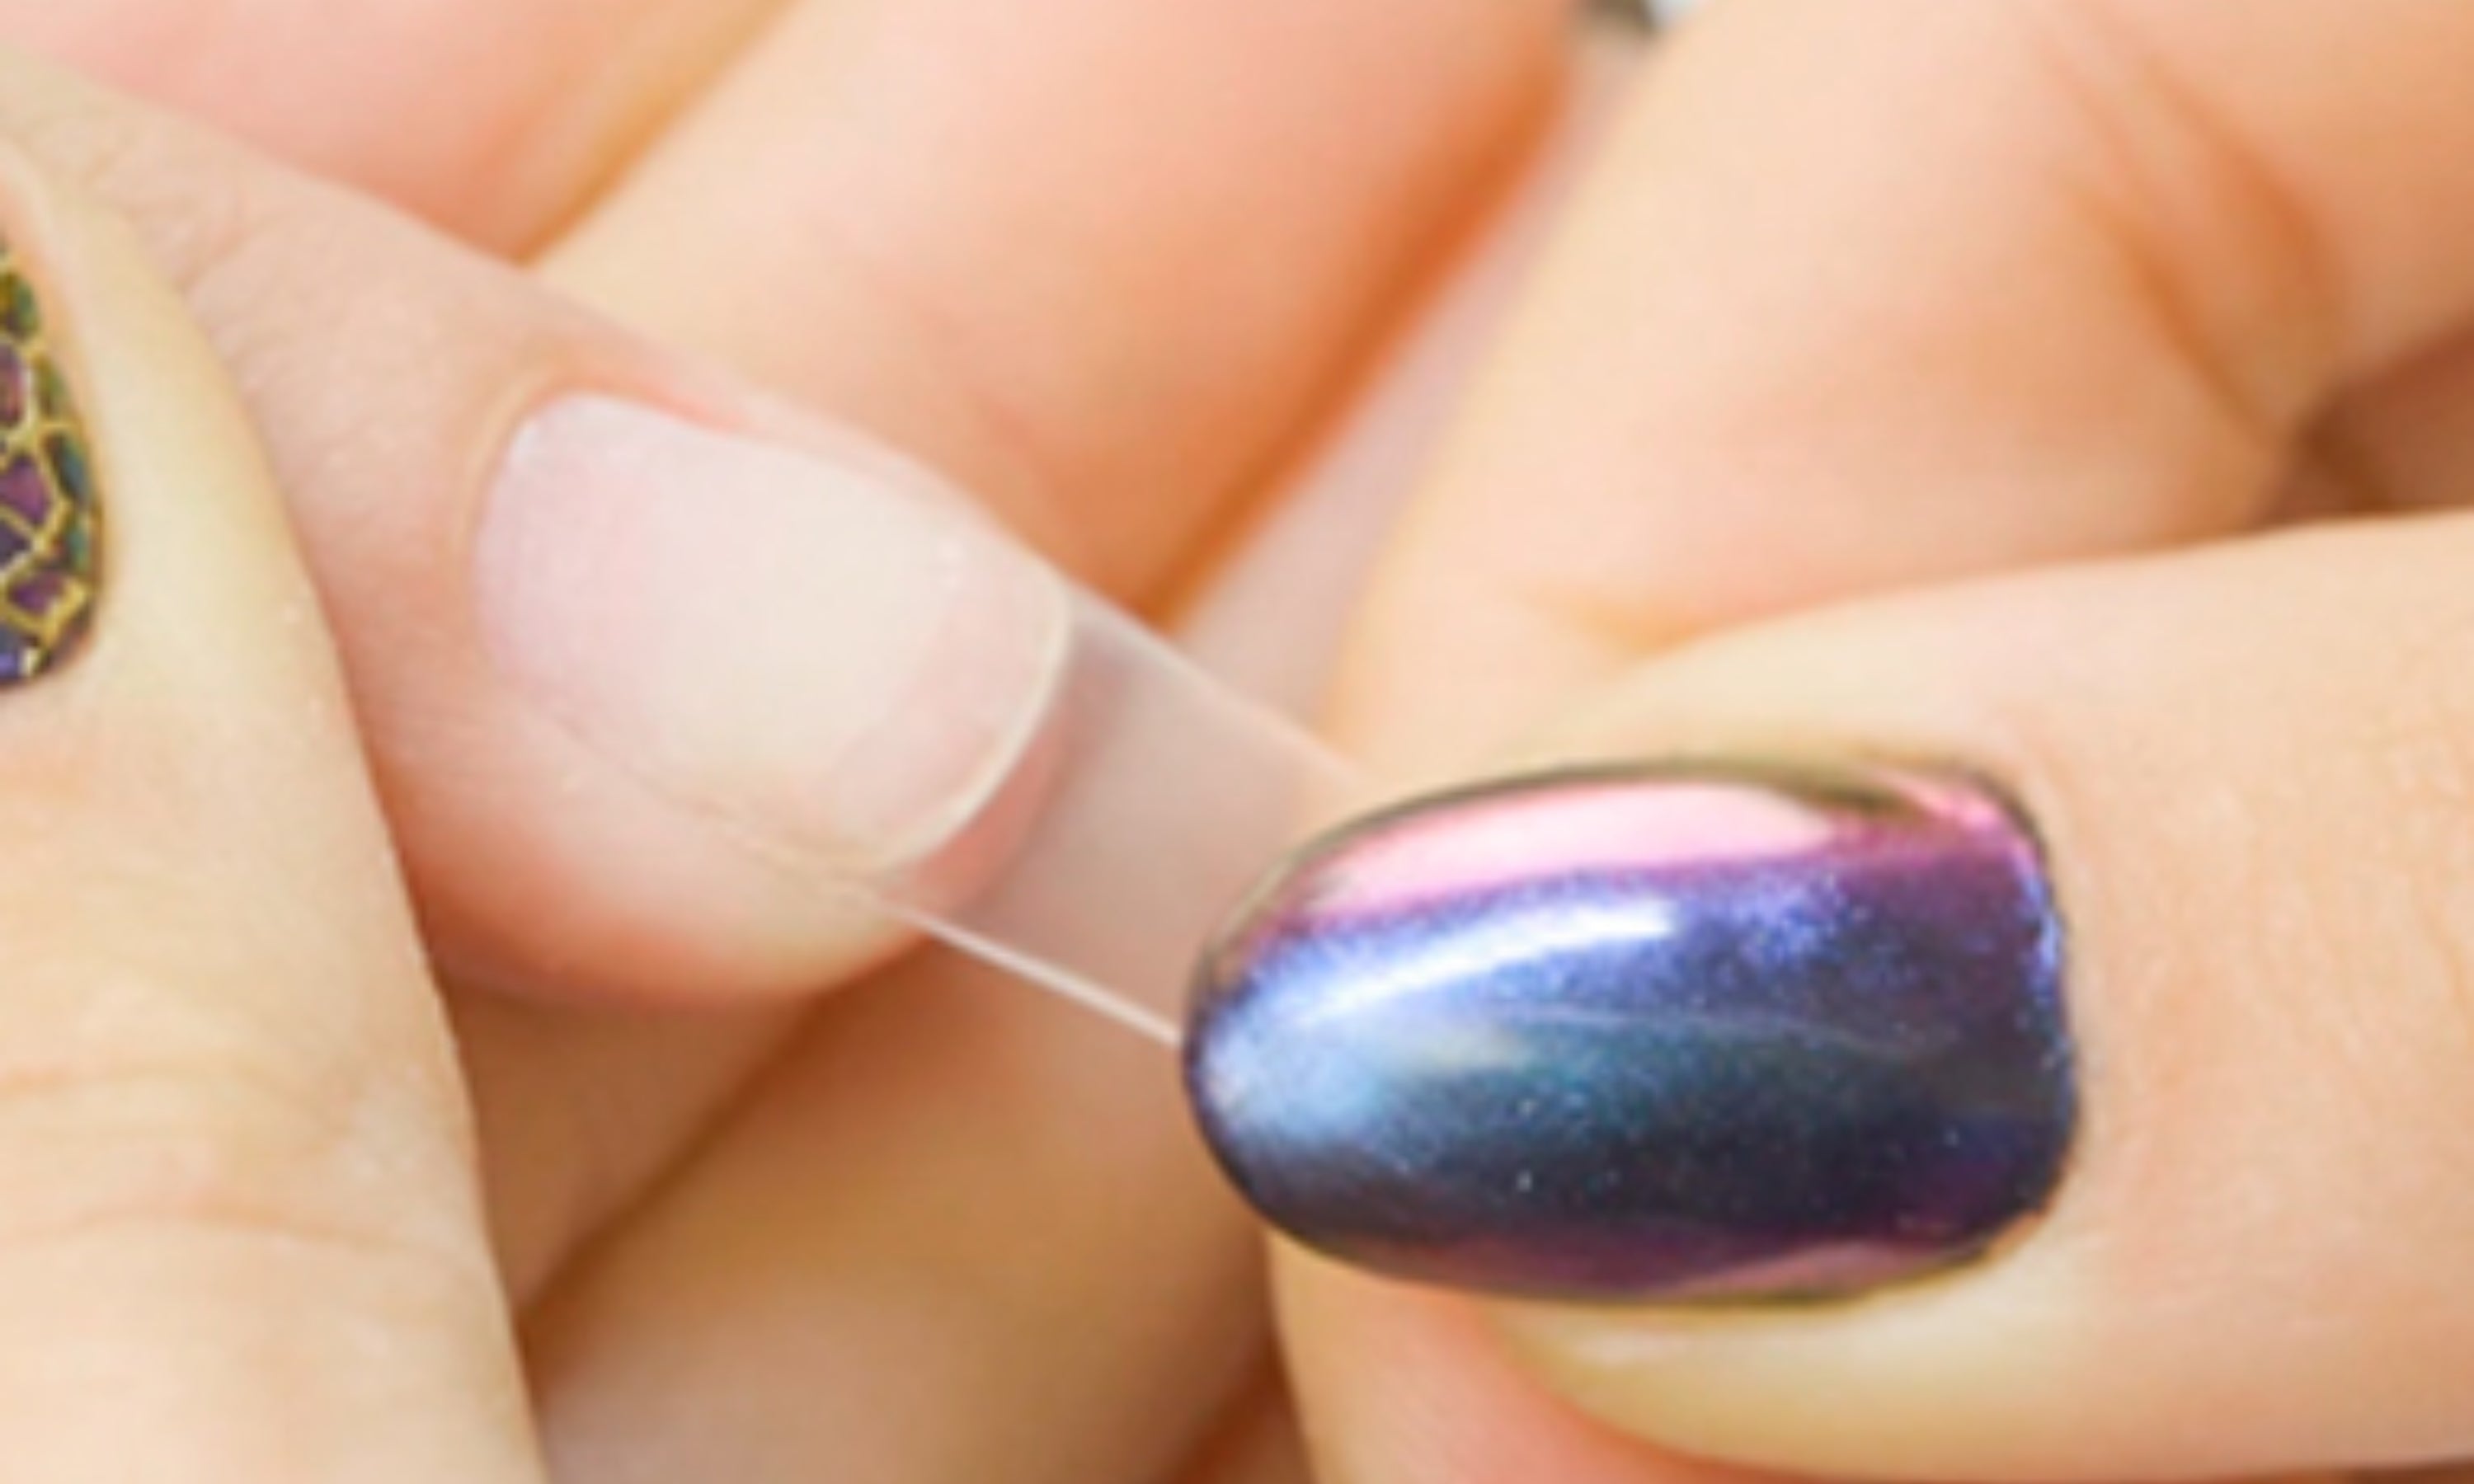
8. Place the tip on the nail and press for 10-20 seconds until the glue is completely dry. The tip has a marking that should be right on the edge of the nail.
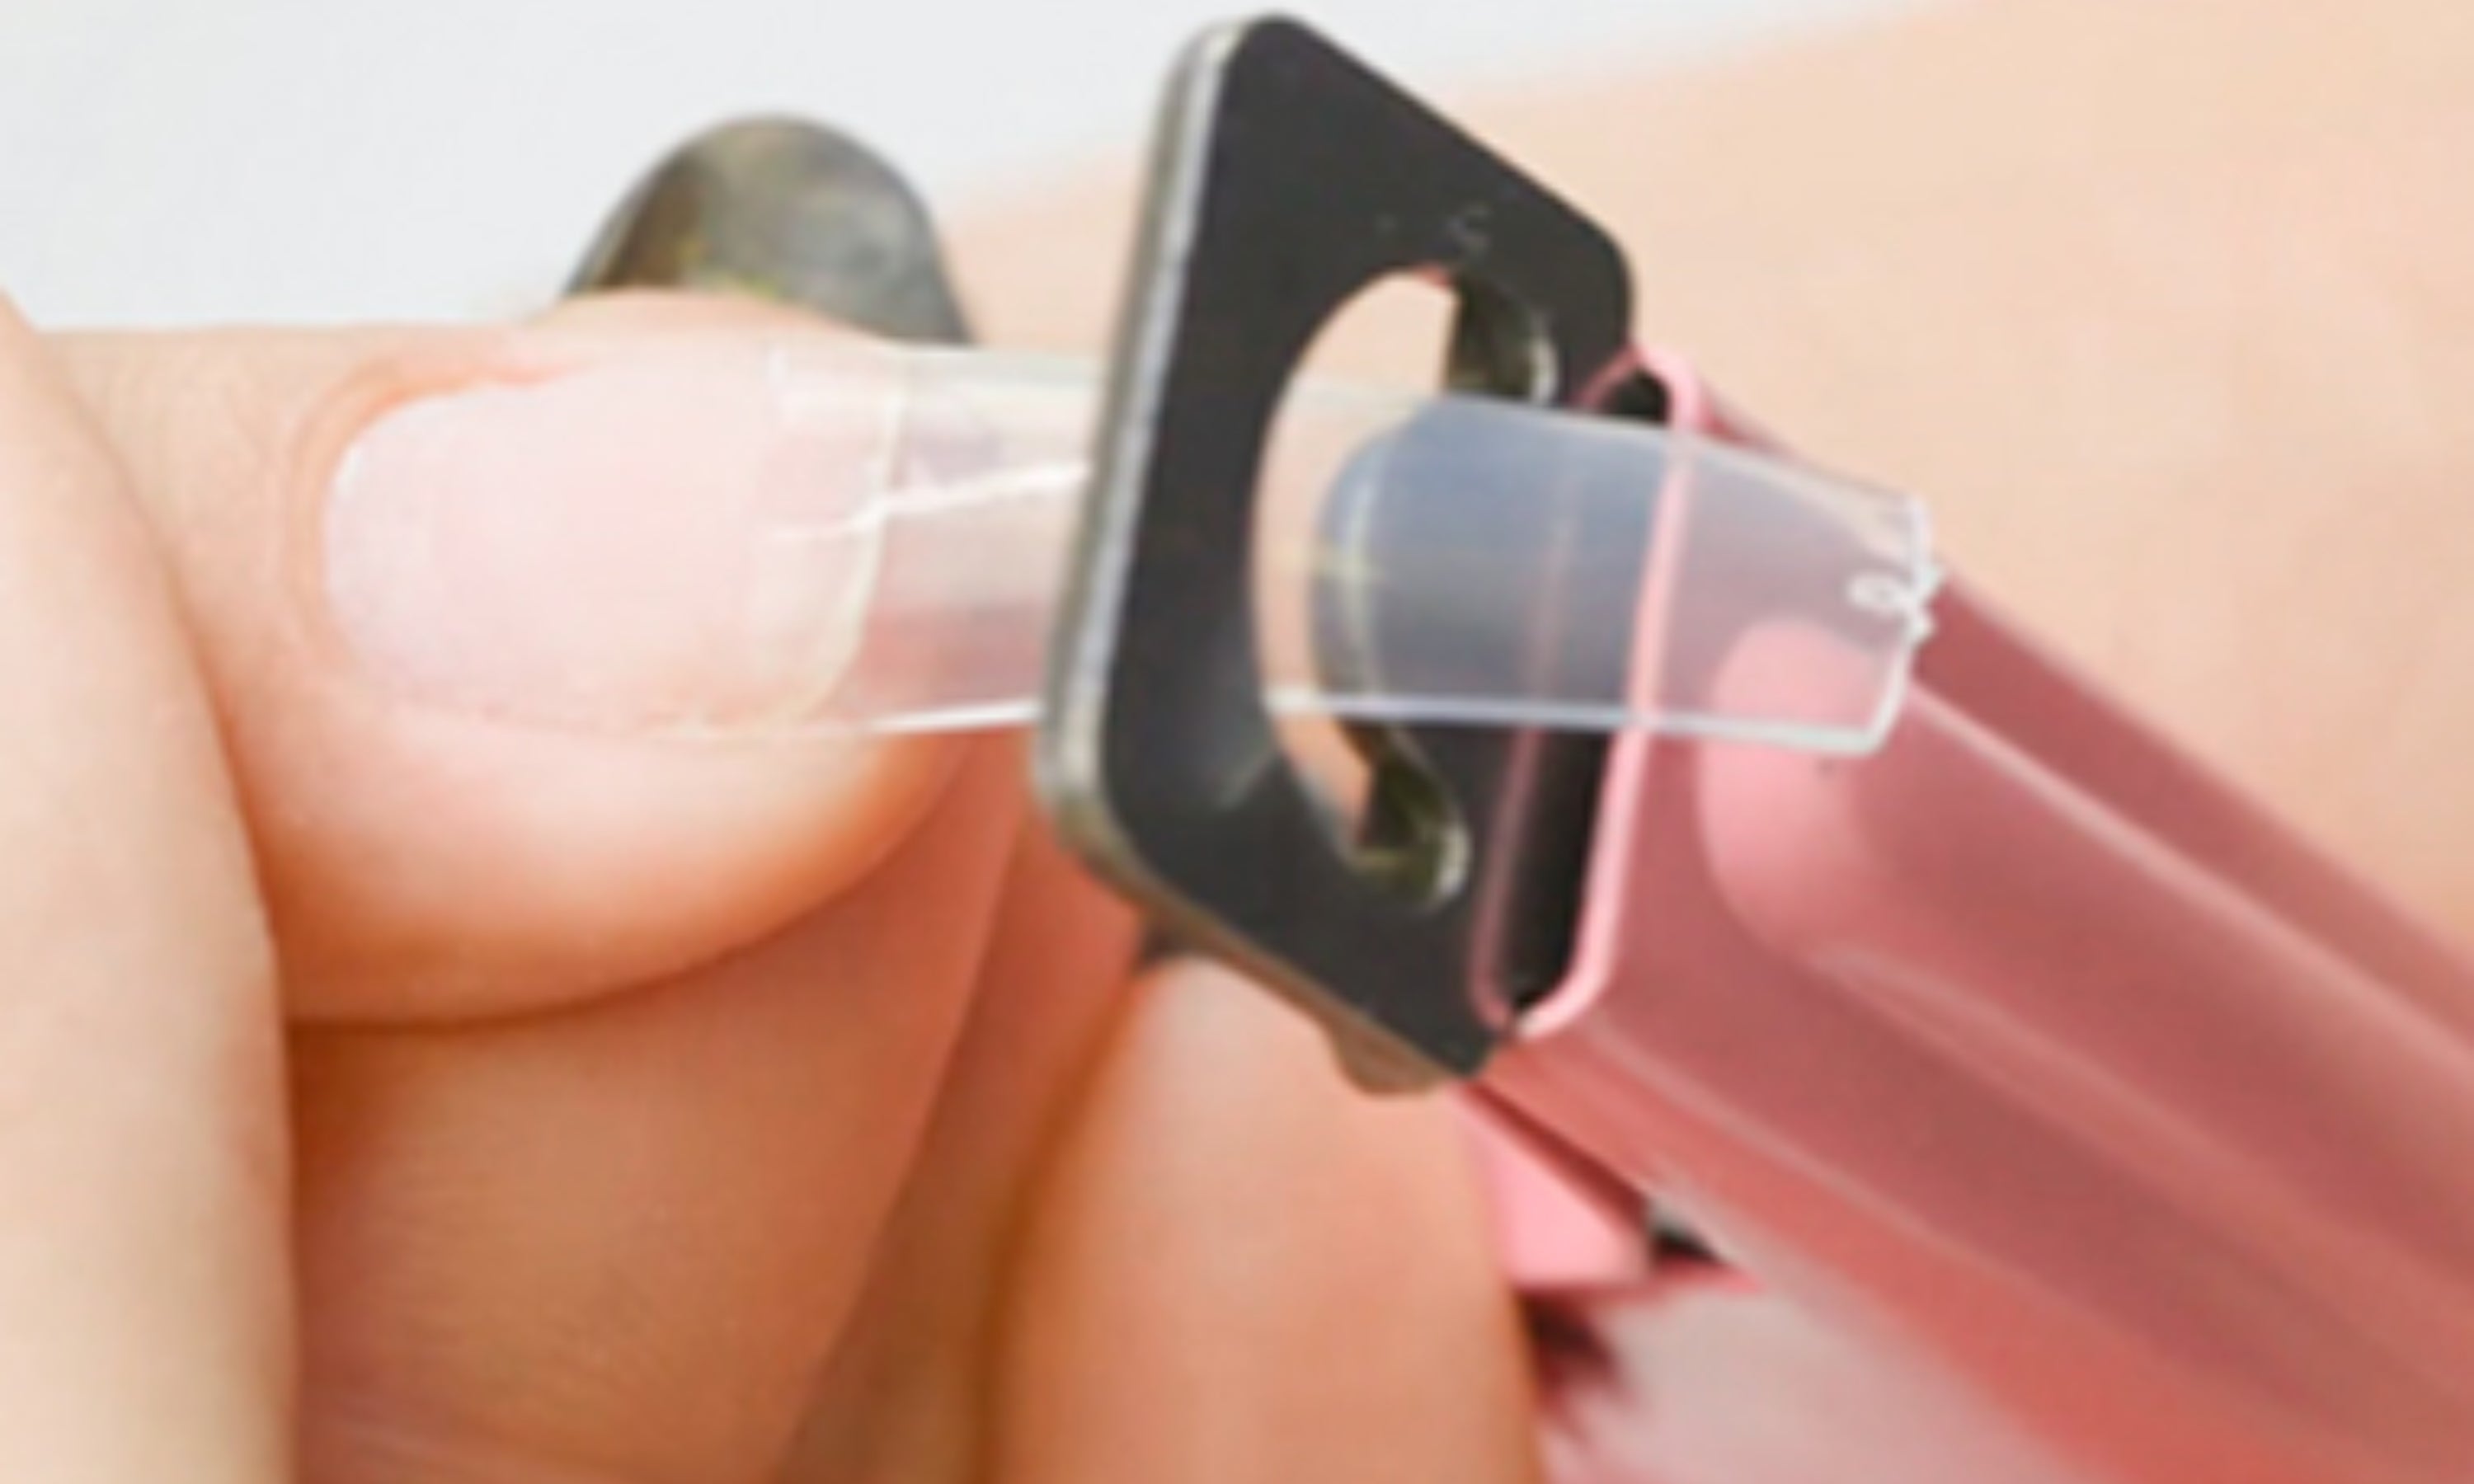
9. Clean off any glue residue with a dry cotton pad to avoid adhesion problems. Cut the tip to the desired length with the tip cutter.
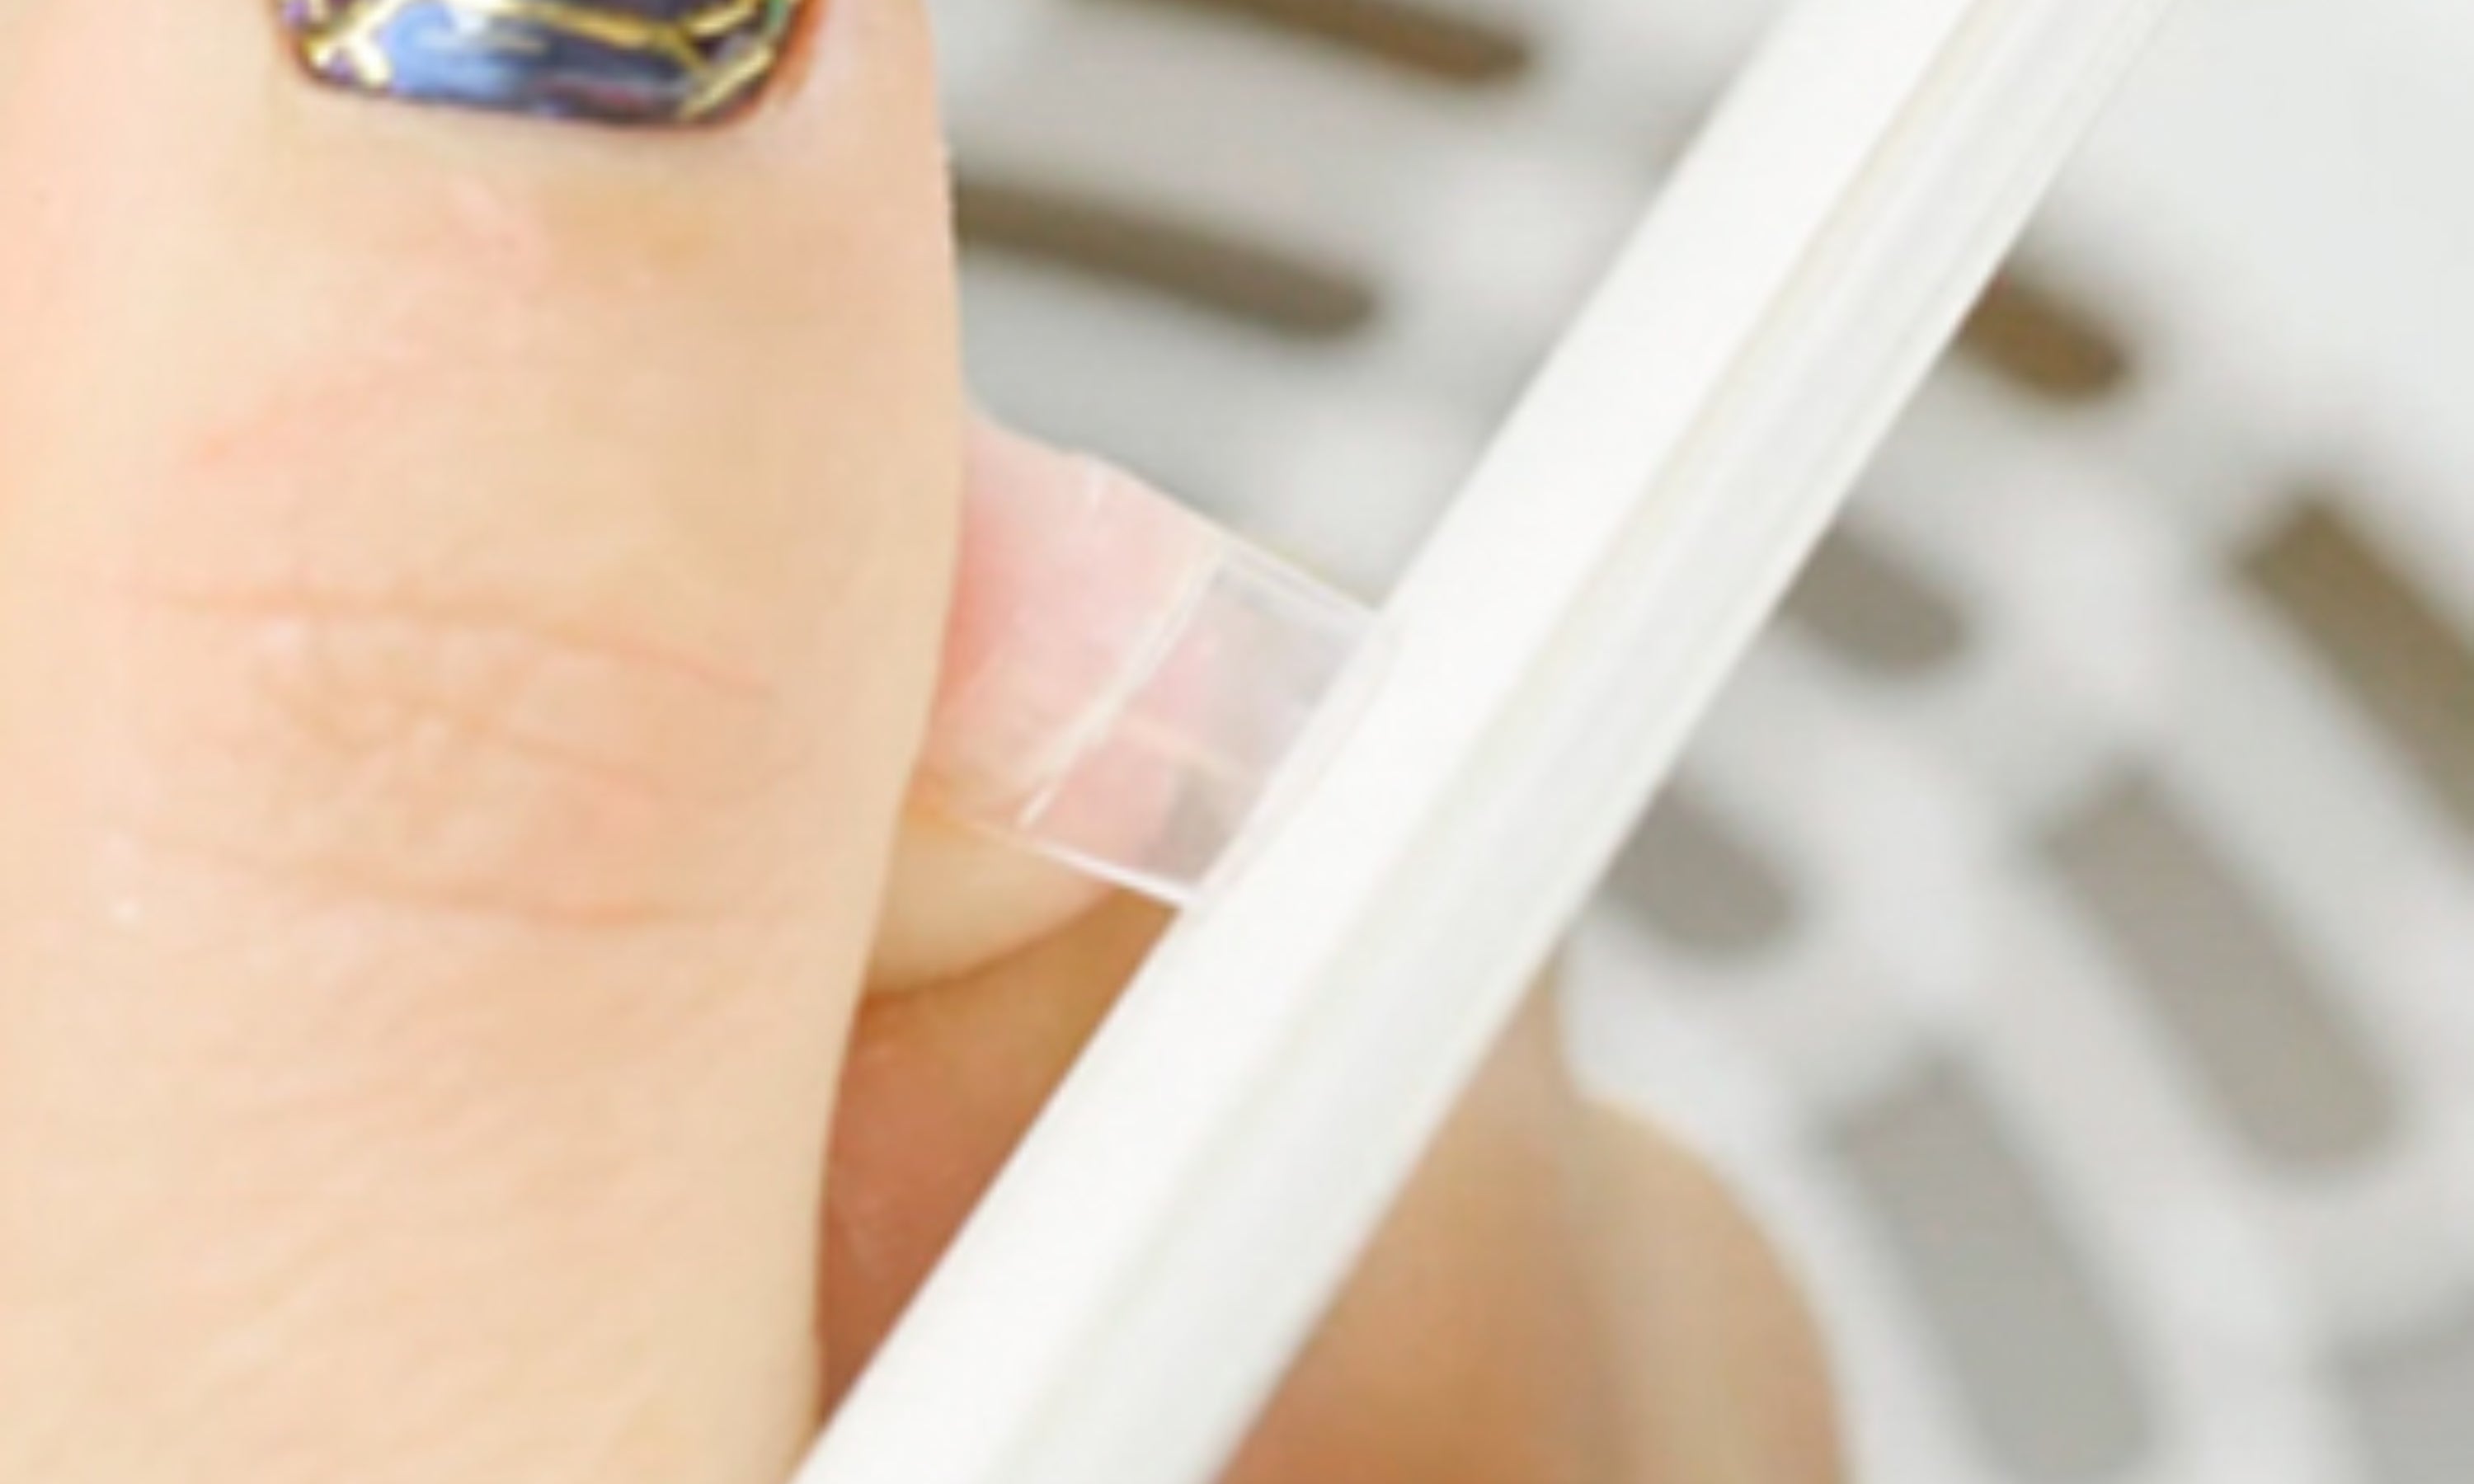
10. File the front part to give it the desired shape. Also file the area where it joins with your nail to make the step disappear.
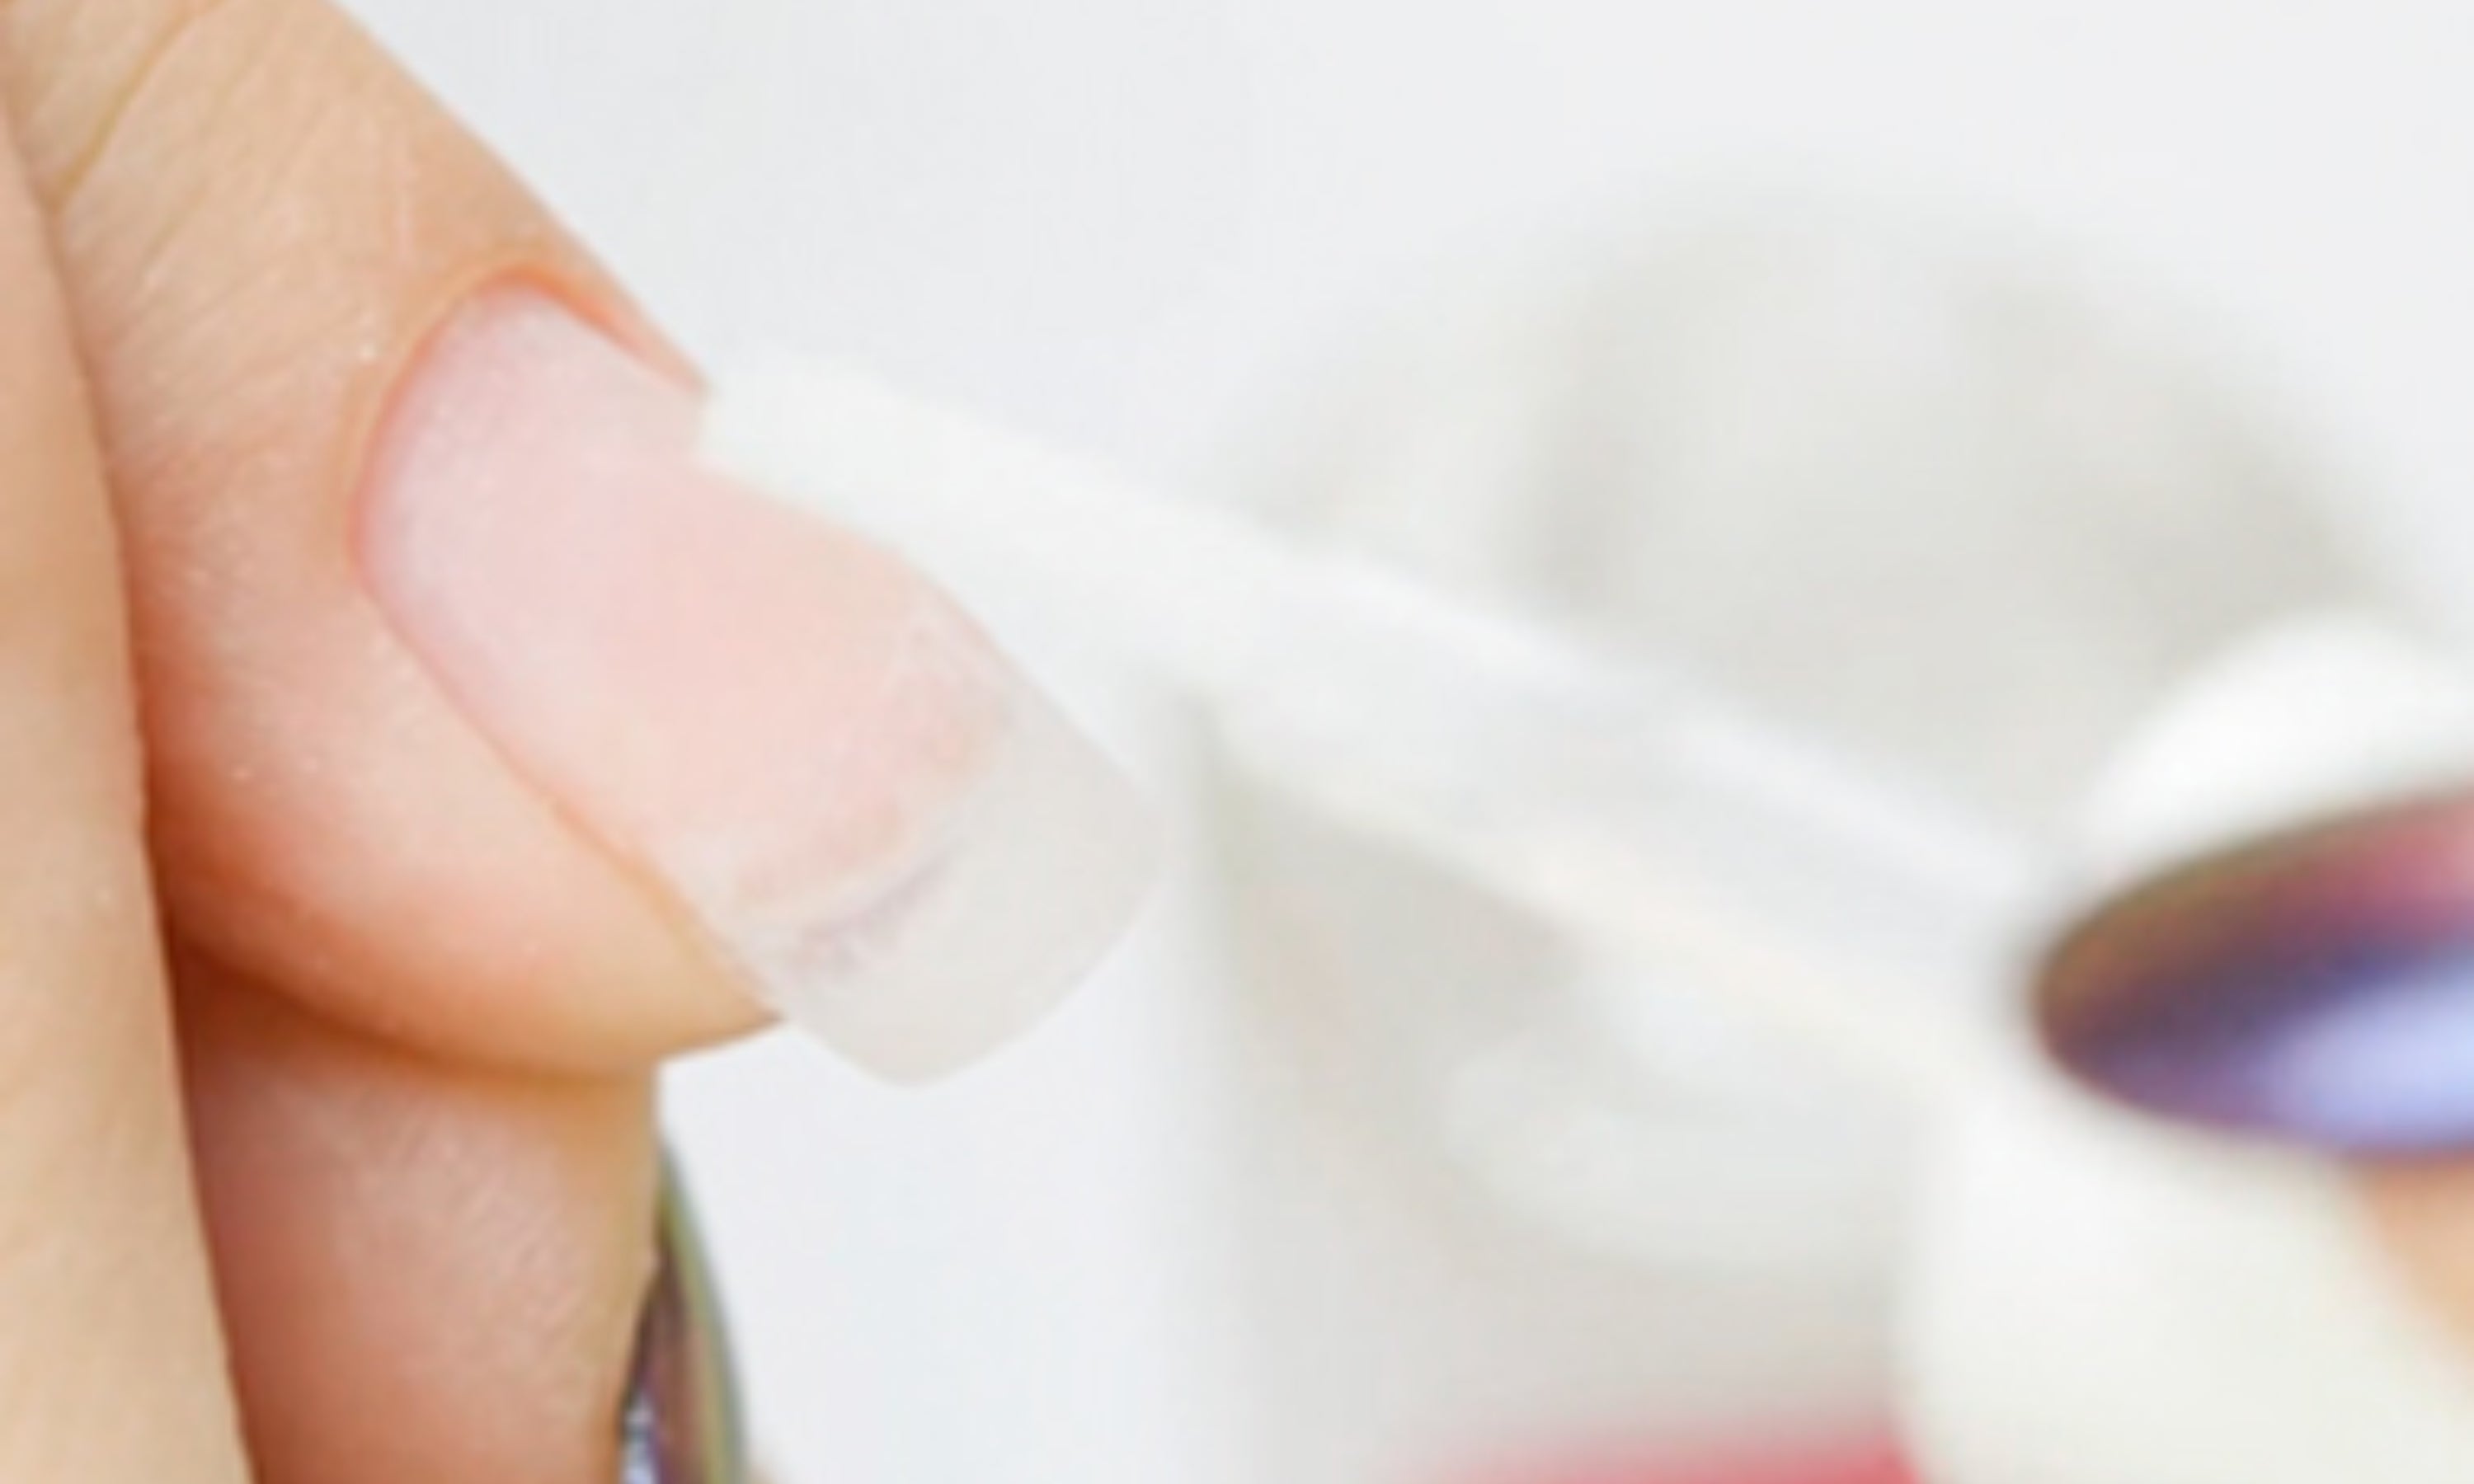
11. Apply Adhesive Primer (with acids) on the natural nail, without touching the tip or the skin or cuticle. If the nail is very oily, it is recommended to apply Nail Prep before the Primer to degrease it.
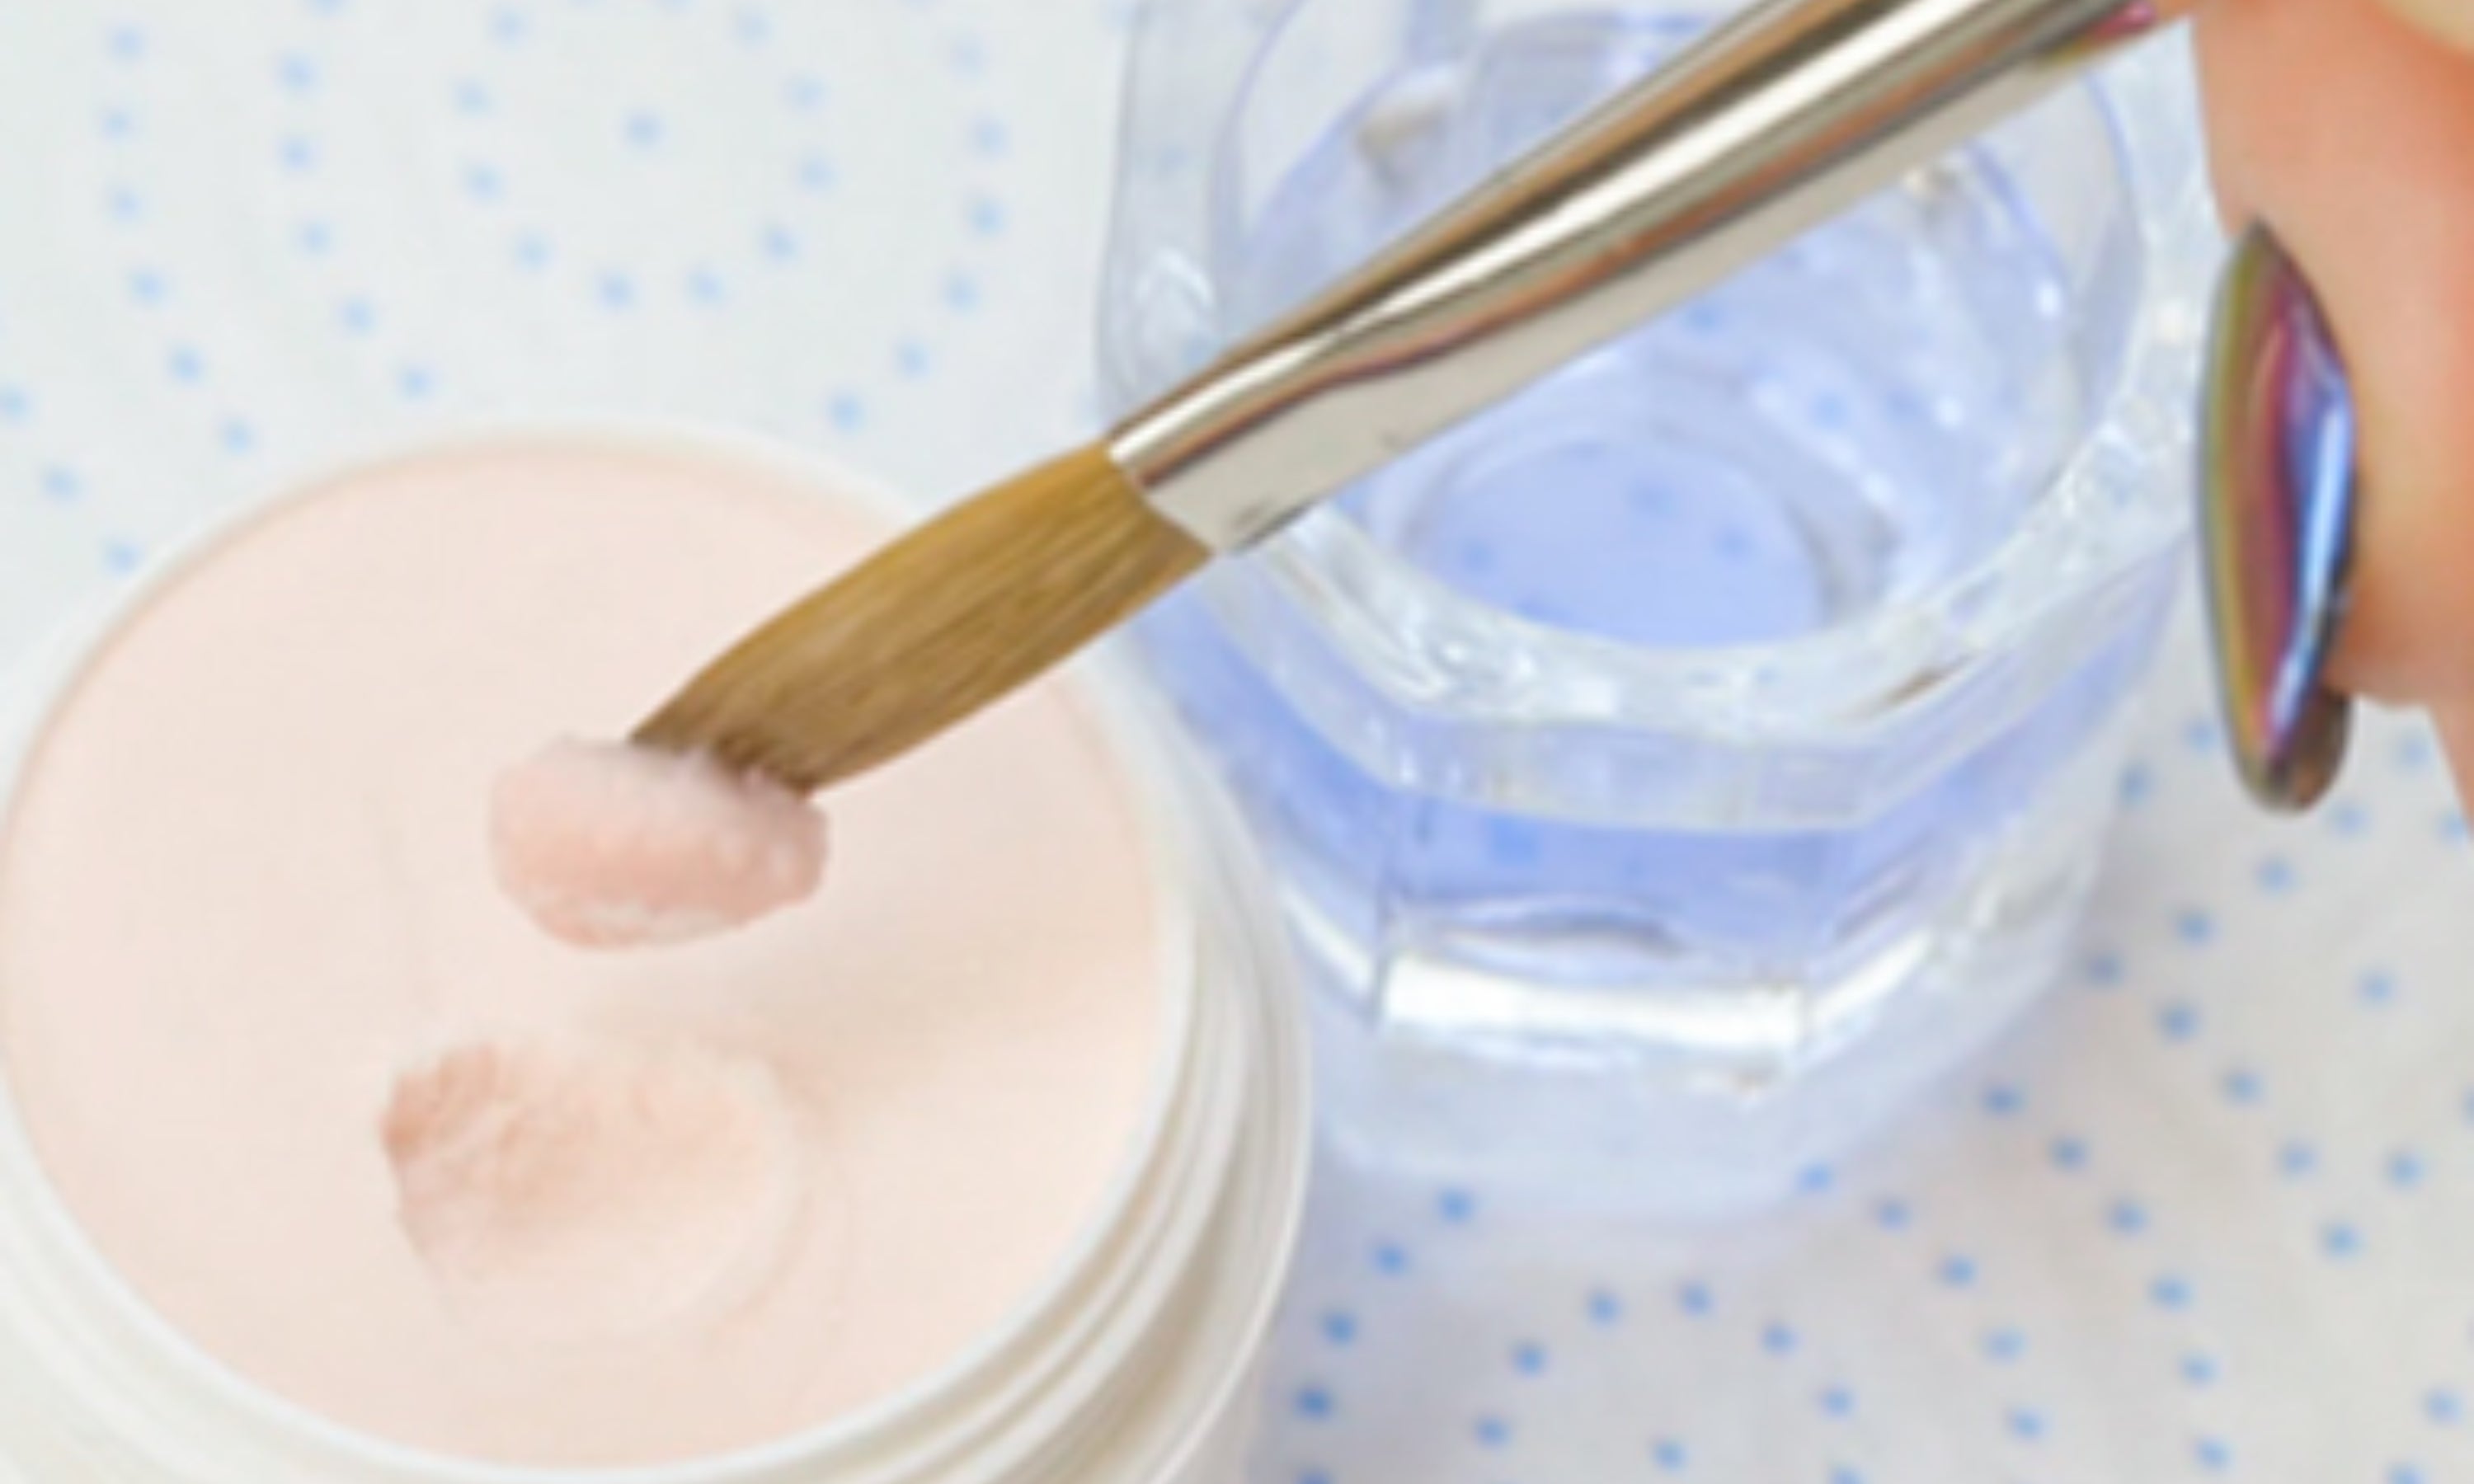
12. Add a small amount of Acrylic Liquid to a container and moisten the brush well. Dip the brush into the acrylic powder at a 45º angle and wait a few seconds for a pearl of product to form.
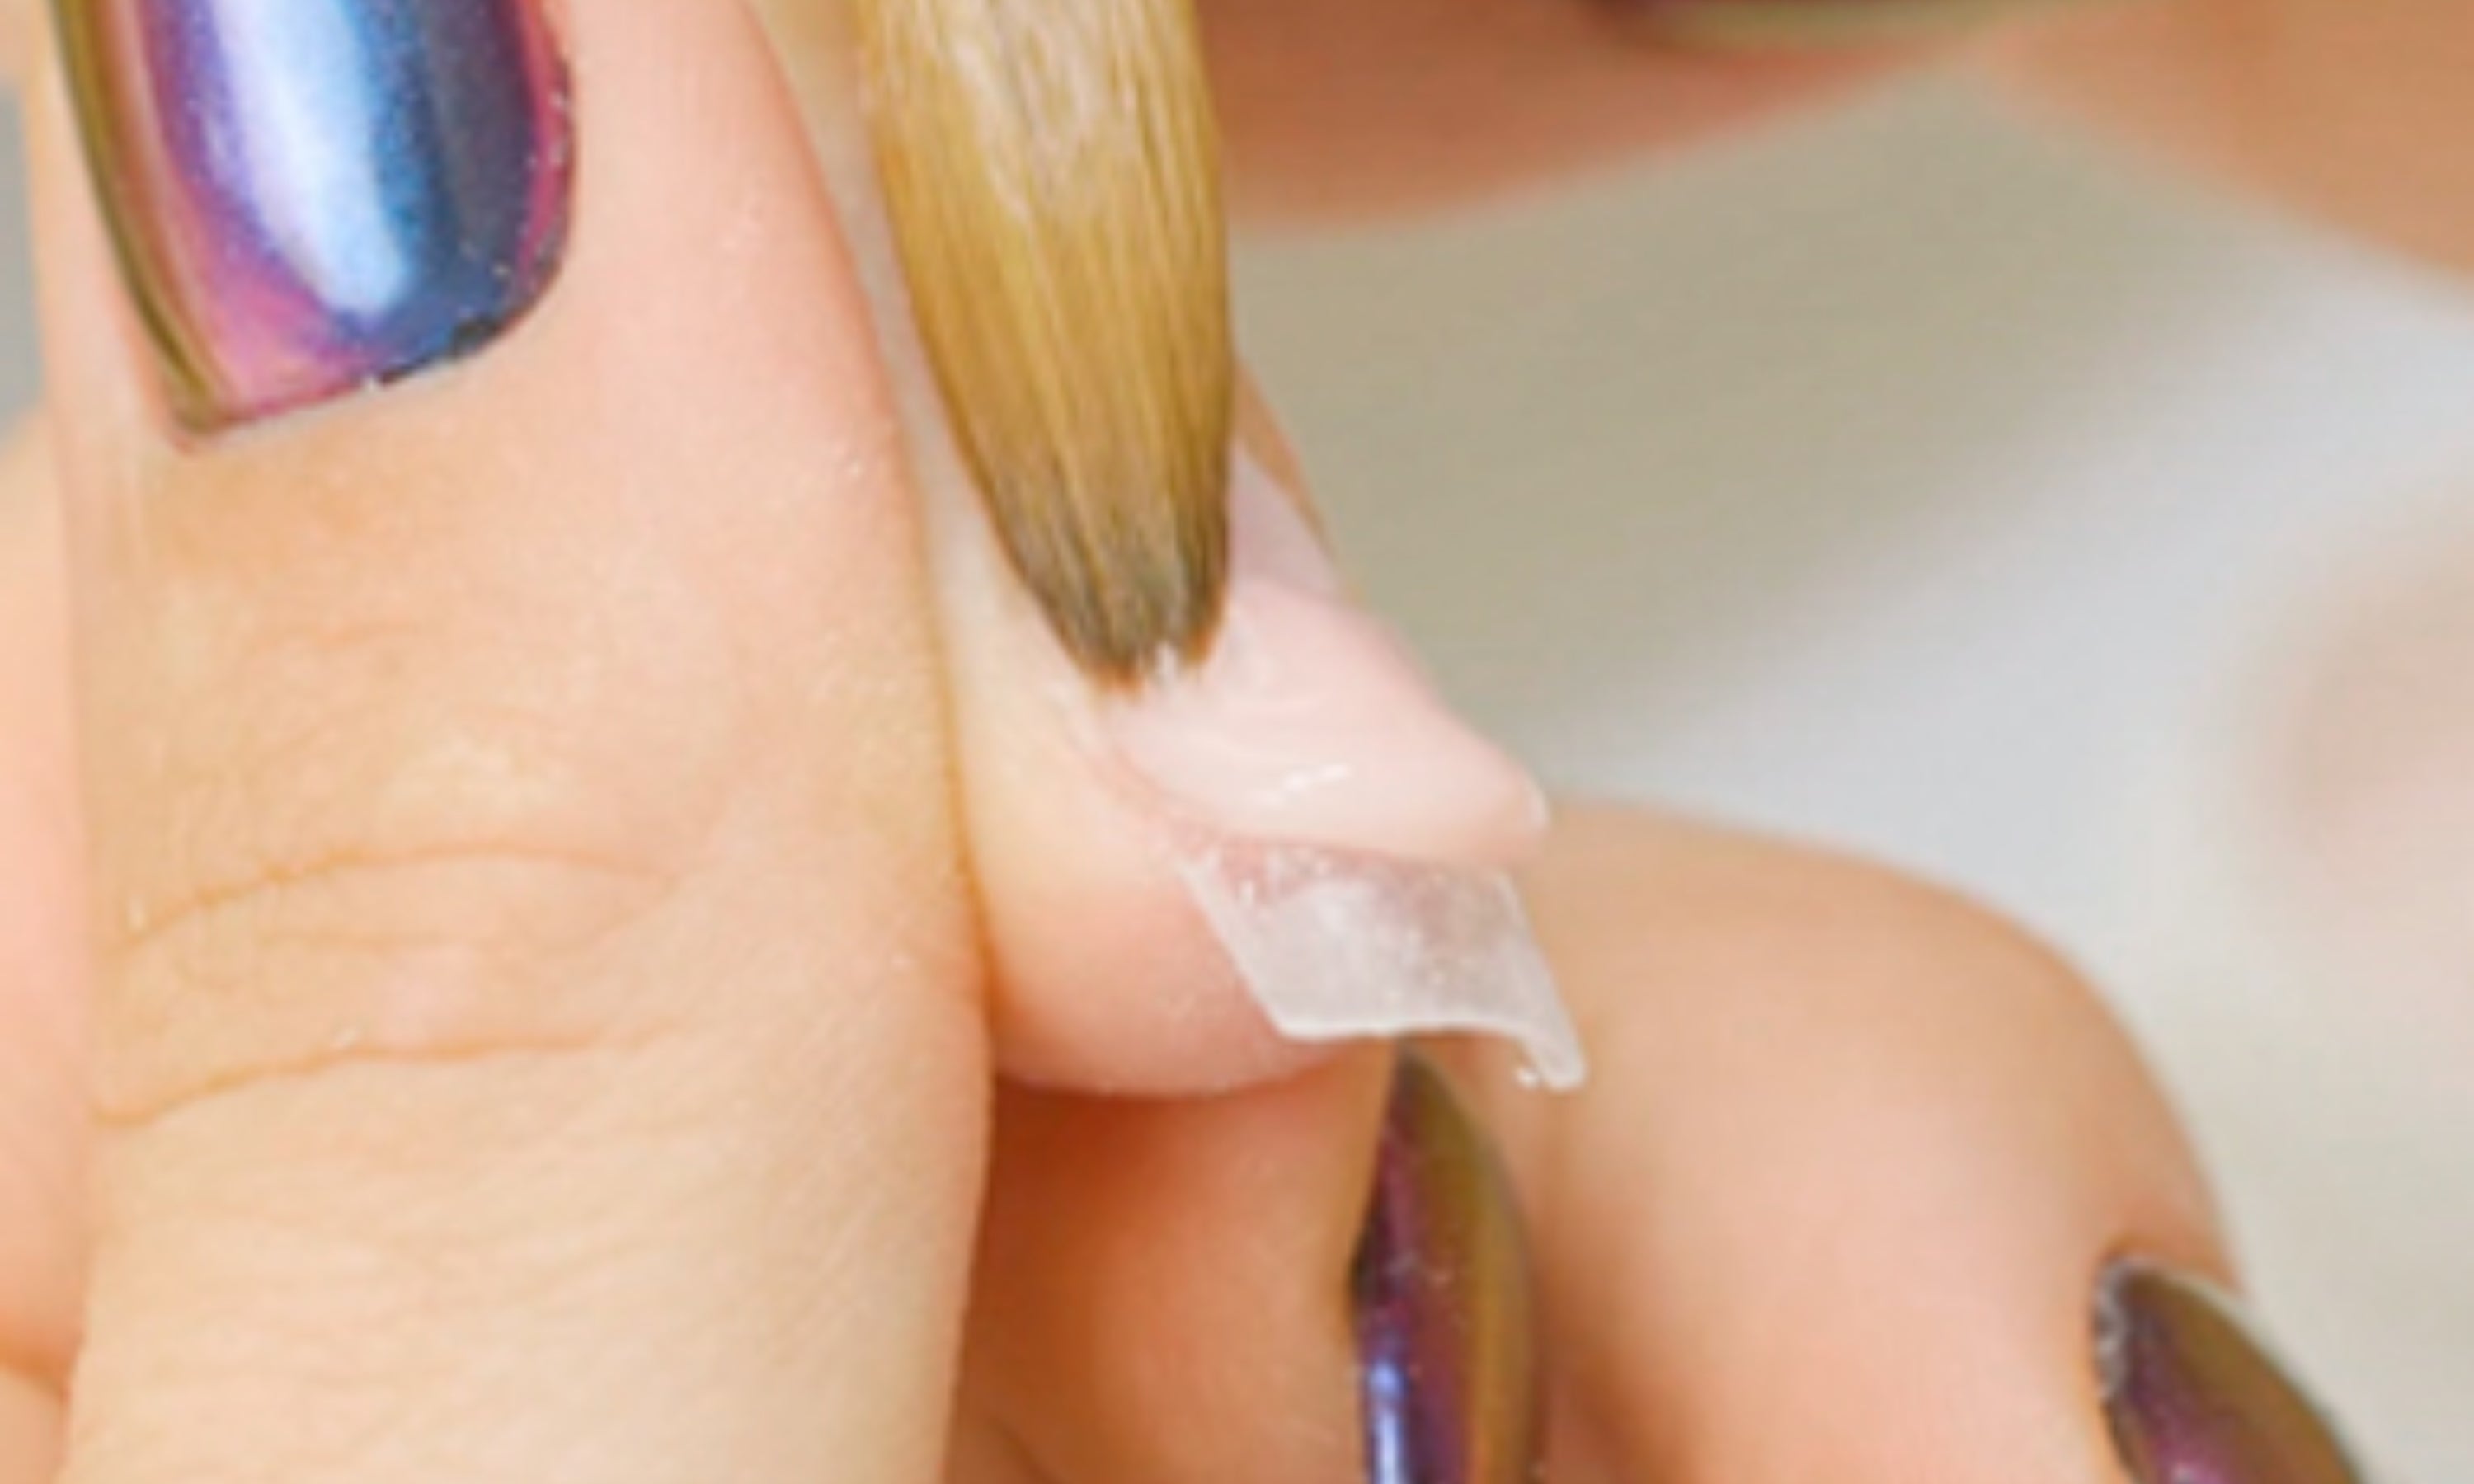
13. Place the pearl of product in the smile area and spread it towards the cuticle. Mark the shape of the smile well. If the product sticks to the brush, it is necessary to moisten it in the acrylic liquid to continue shaping the nail.
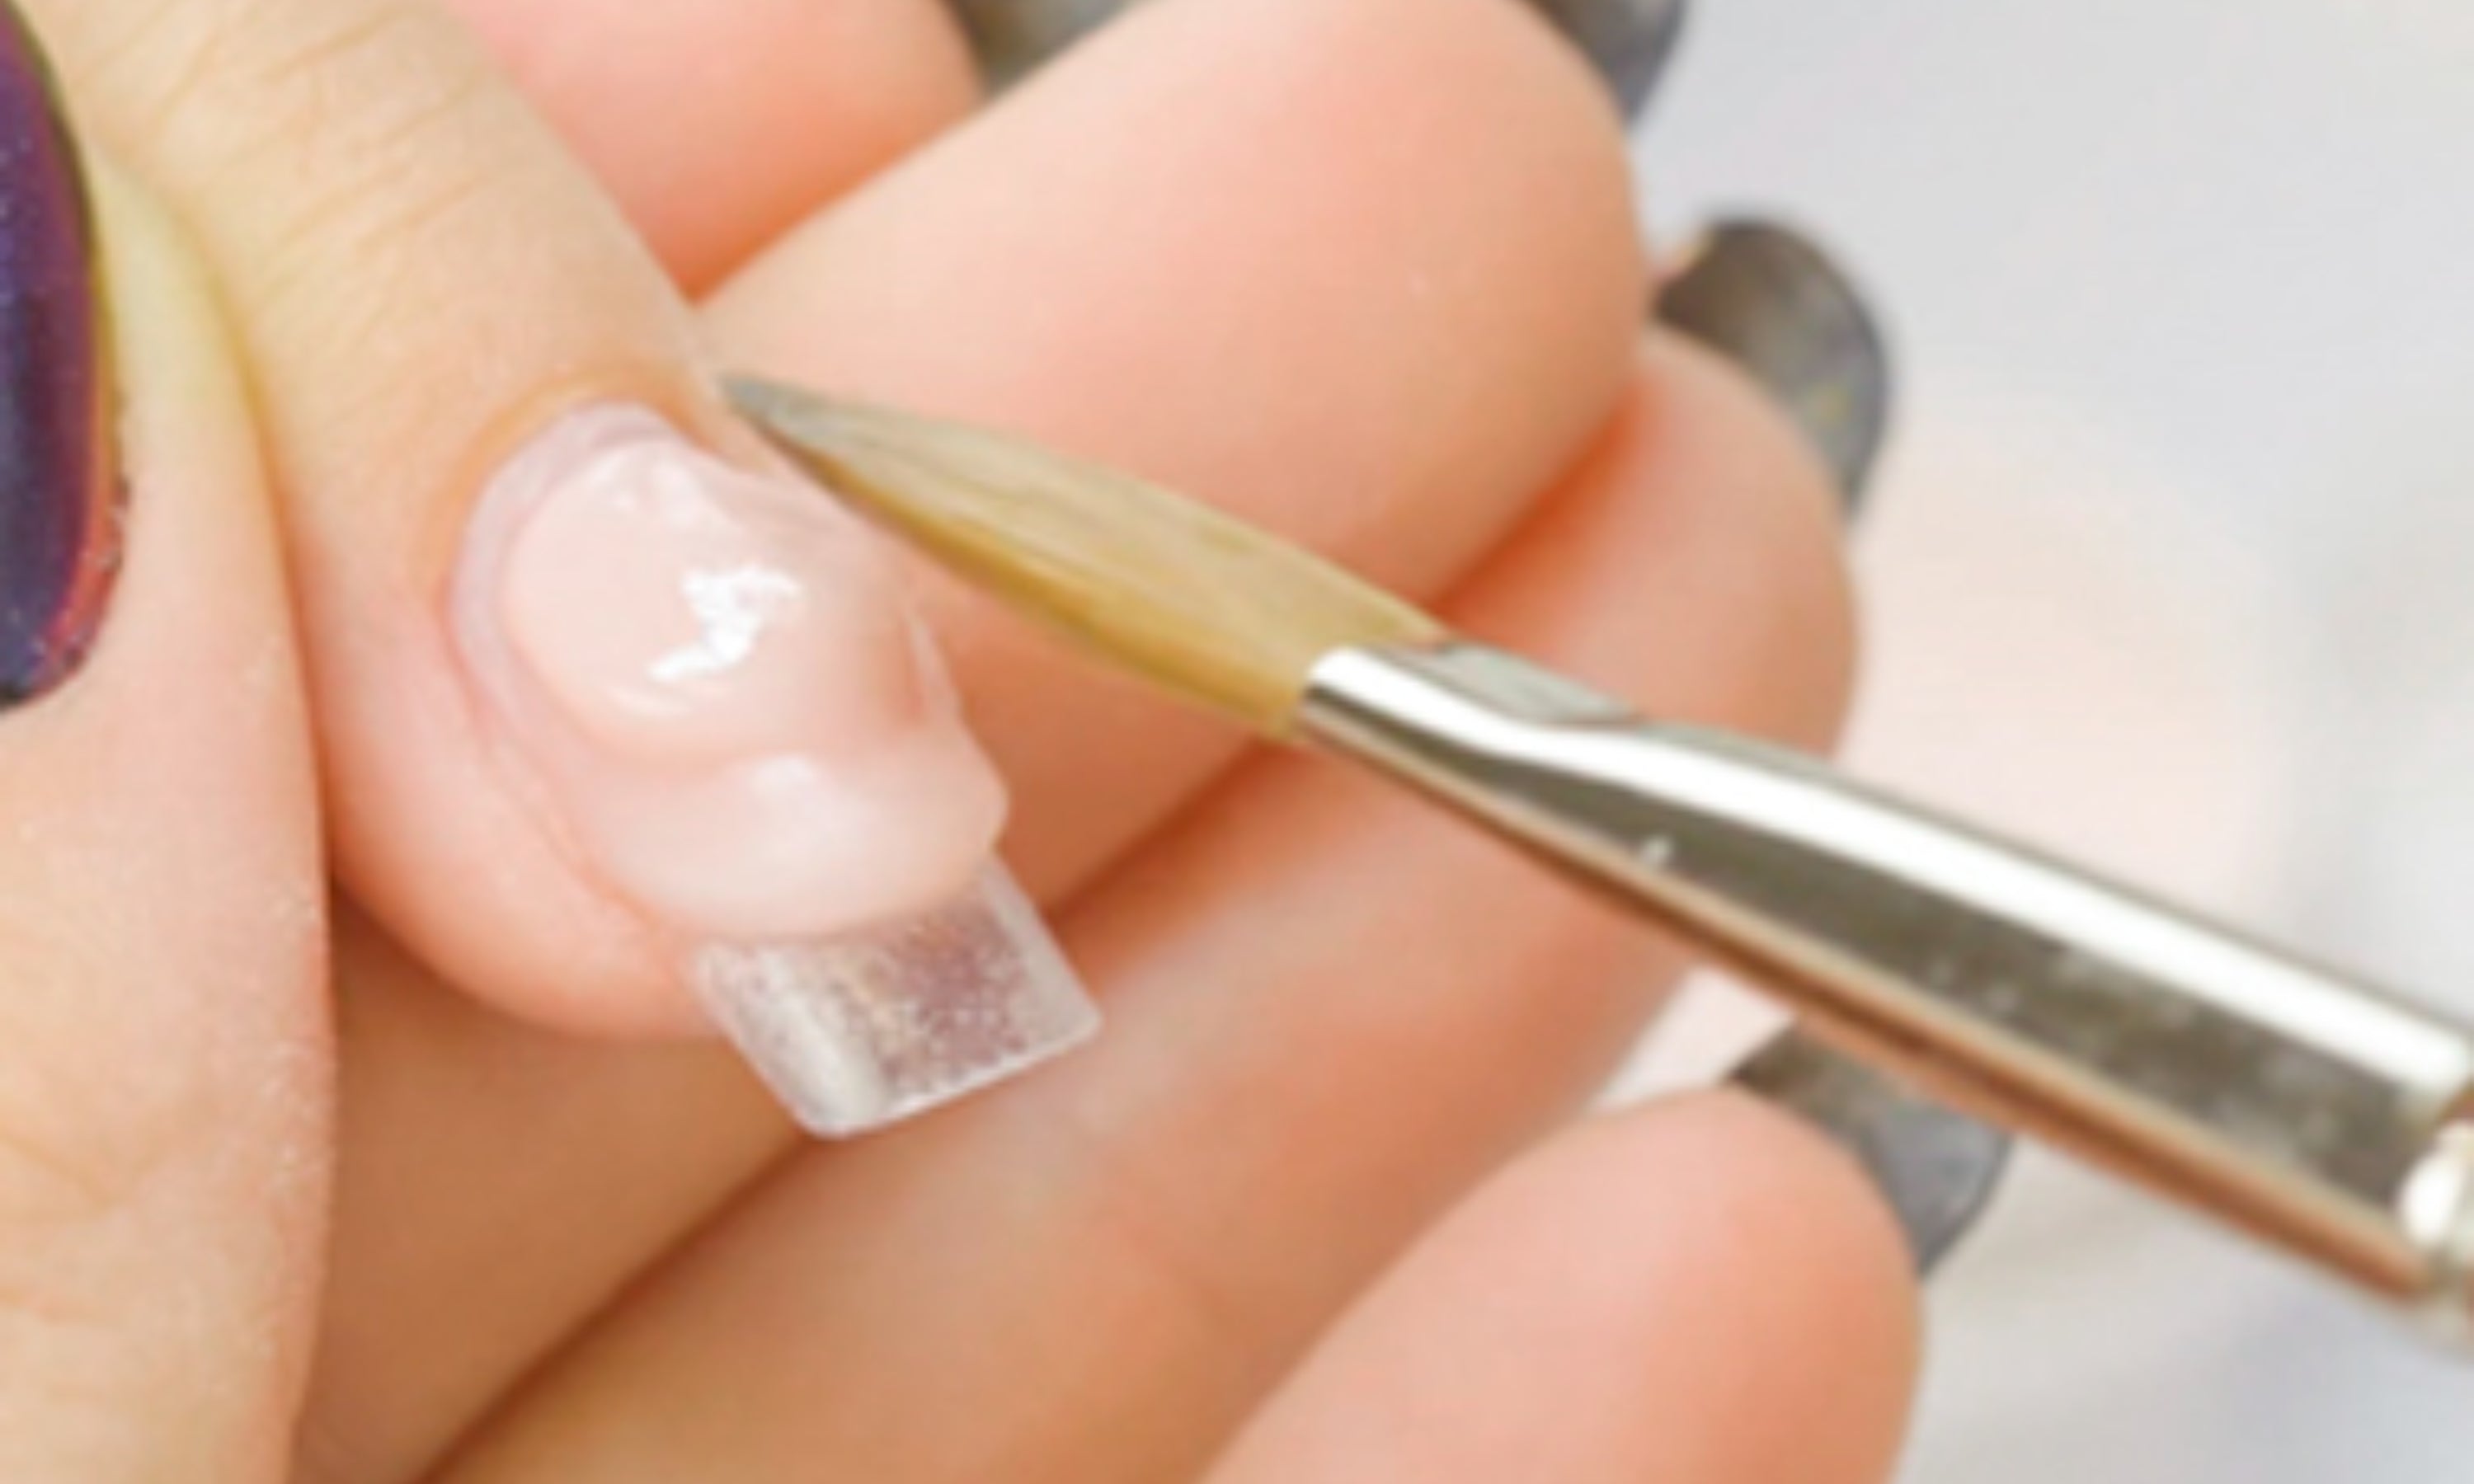
14. If necessary, take a second pearl and continue shaping the nail. It is advisable to work quickly so that the product does not dry, since acrylic is an air-drying nail building technique.
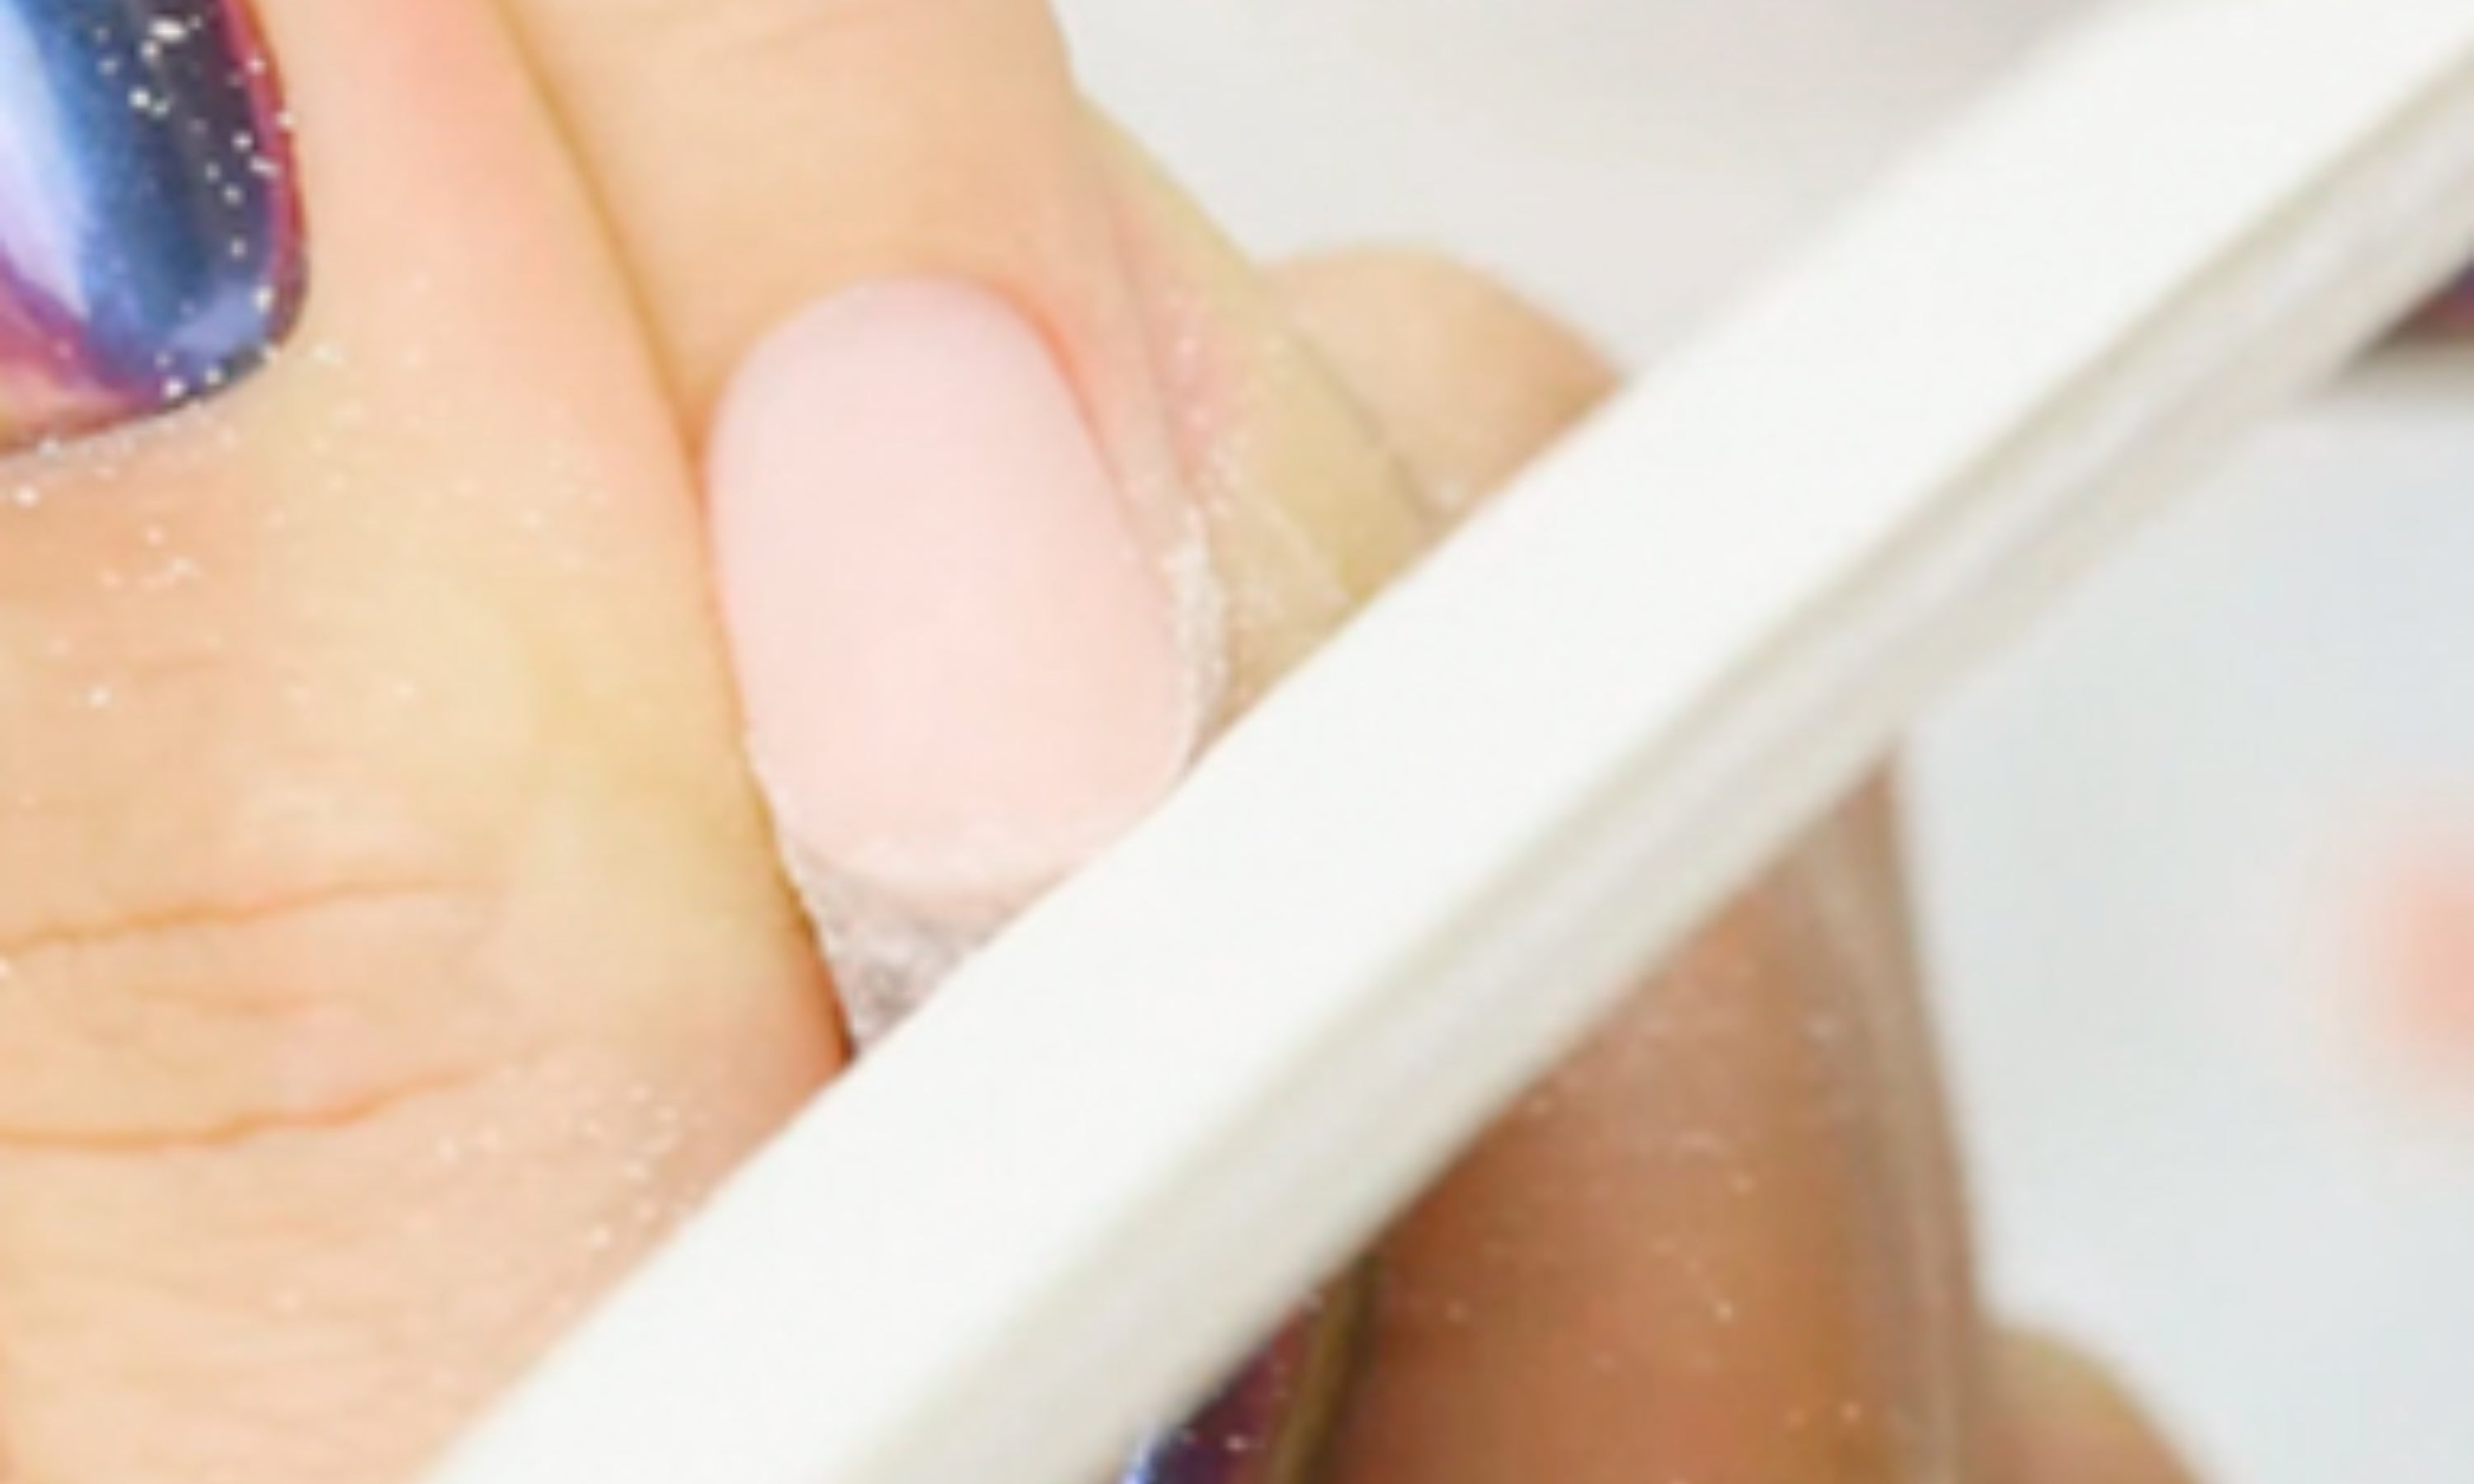
15. Wait for it to dry completely and then file the smile area. Remove dust and clean with Cleaner. Clean the brush well with the same acrylic liquid to remove any product residue that may be stuck.
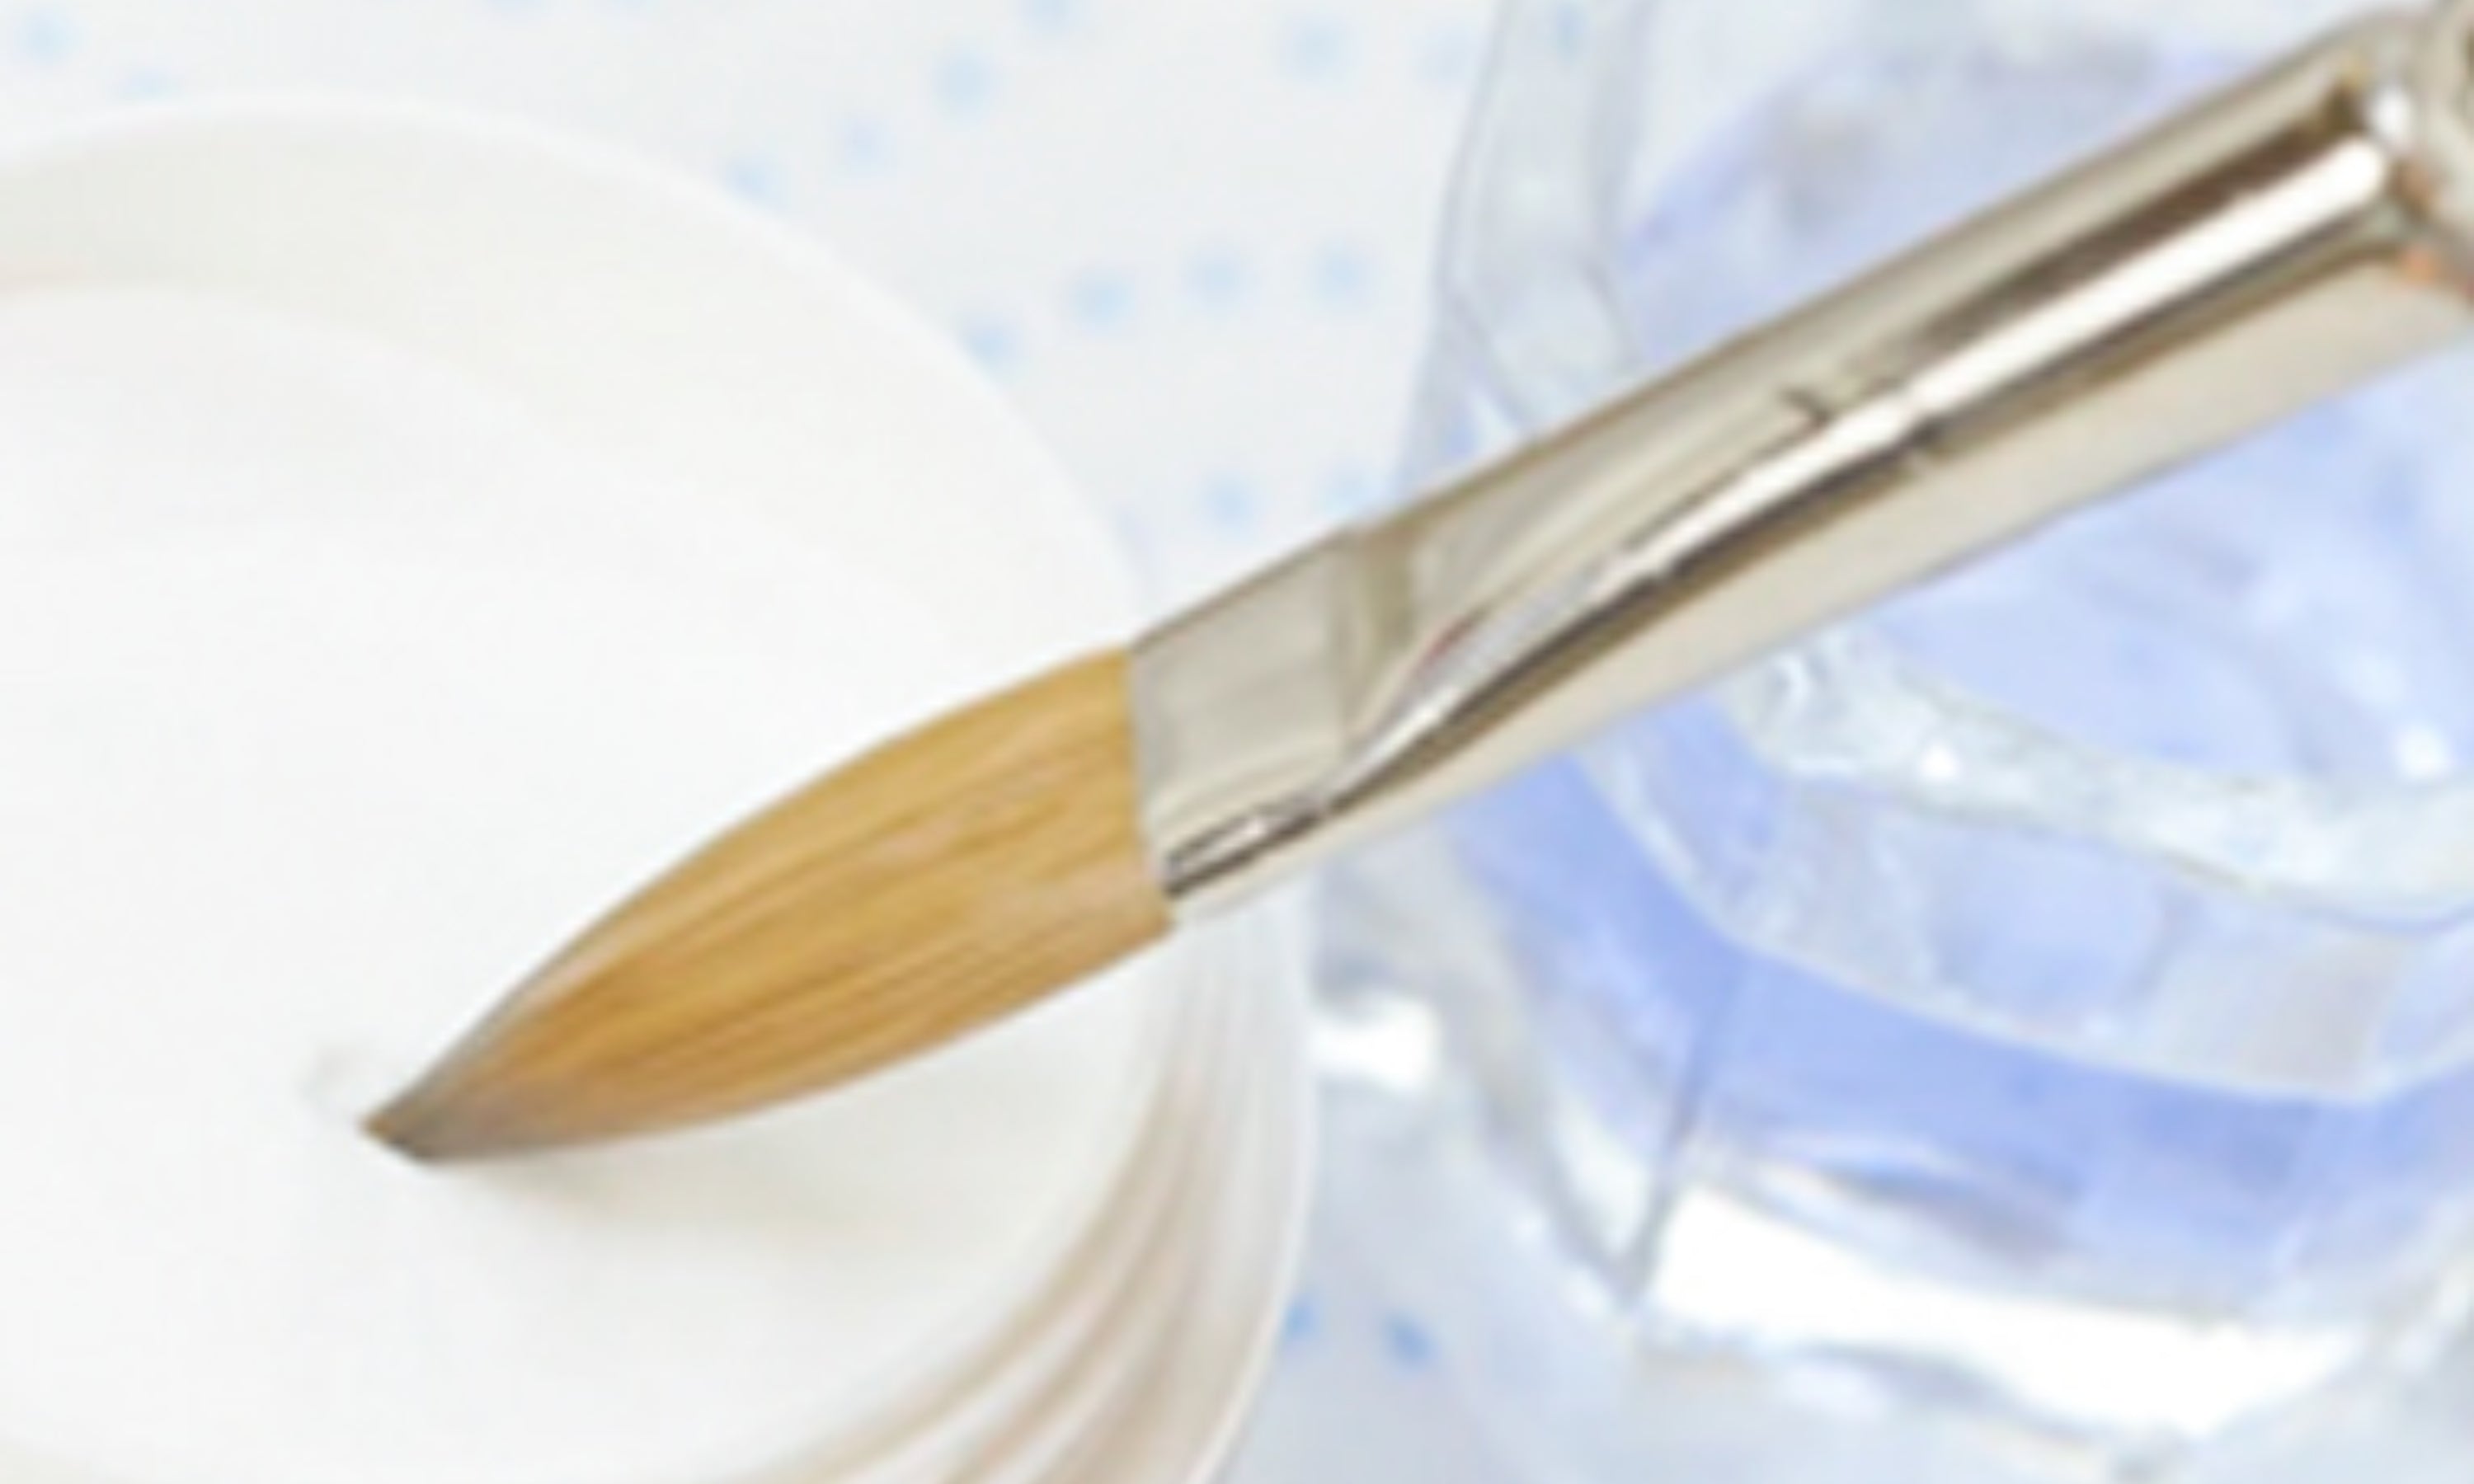
16. Dip the brush into the acrylic liquid again, then into the acrylic powder. Wait a few seconds for the pearl of product to form.
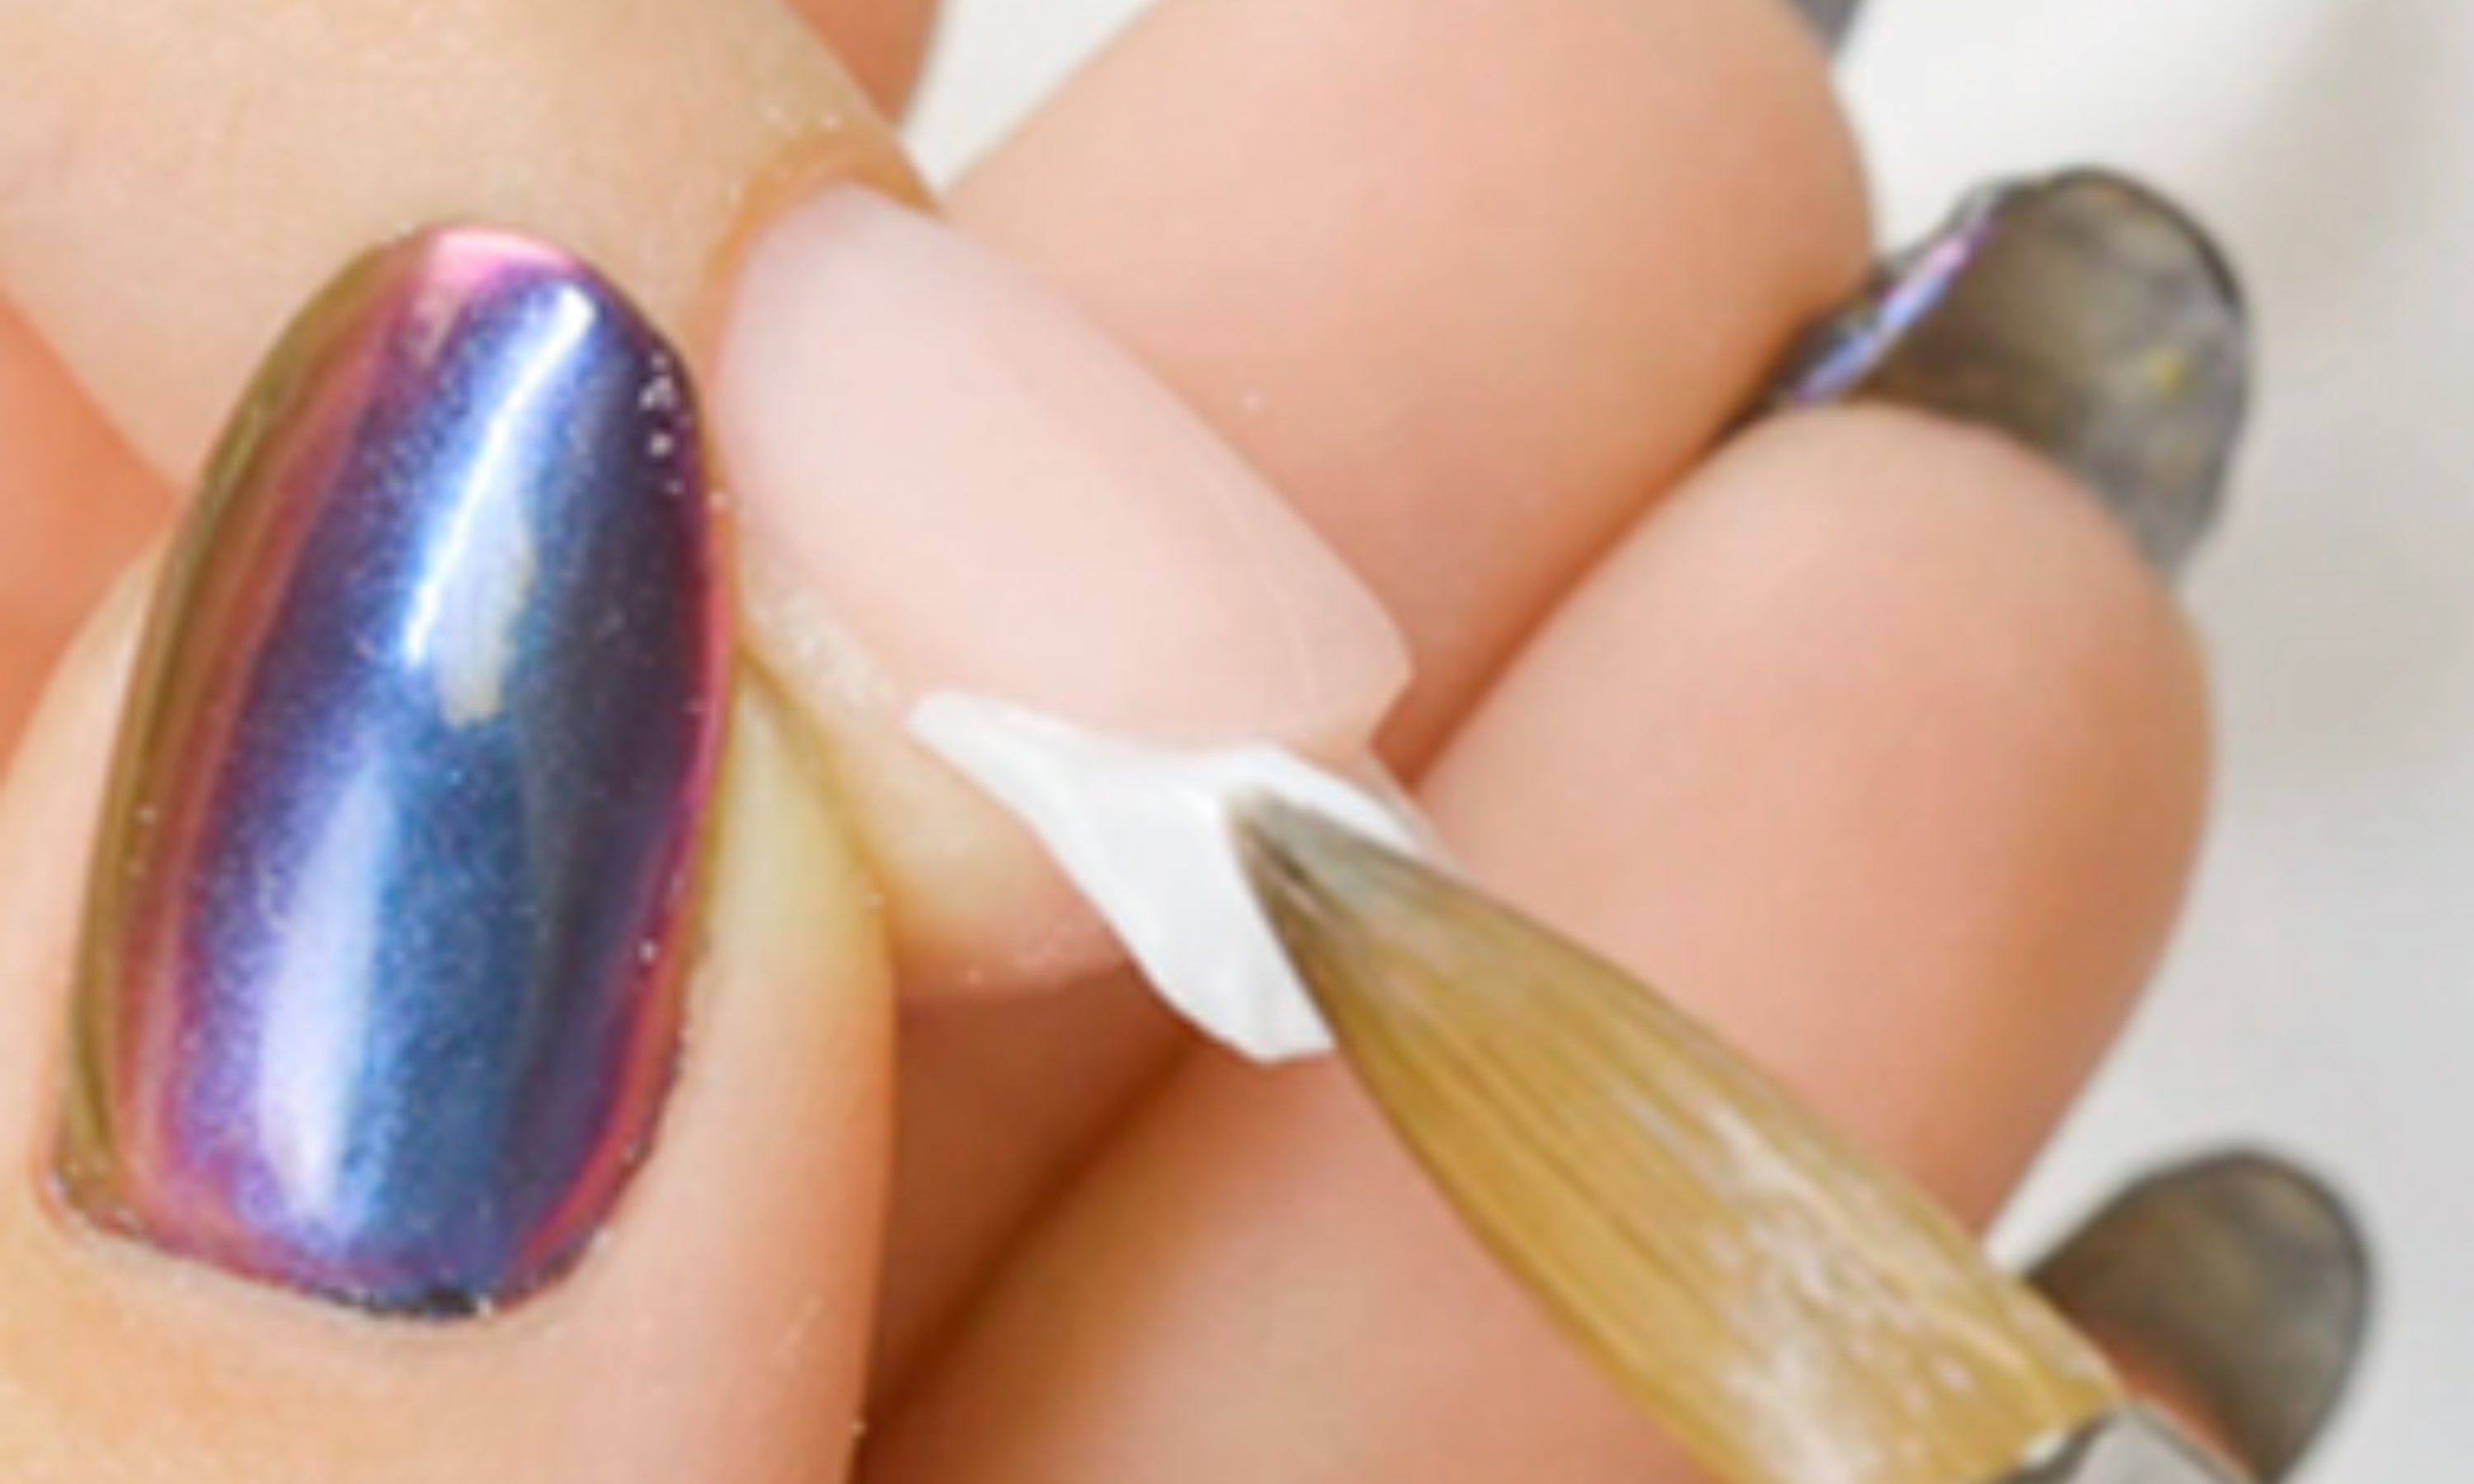
17. Place the pearl on one side and spread it over the entire smile line of the nail. If the brush sticks, remember to wet the brush again.
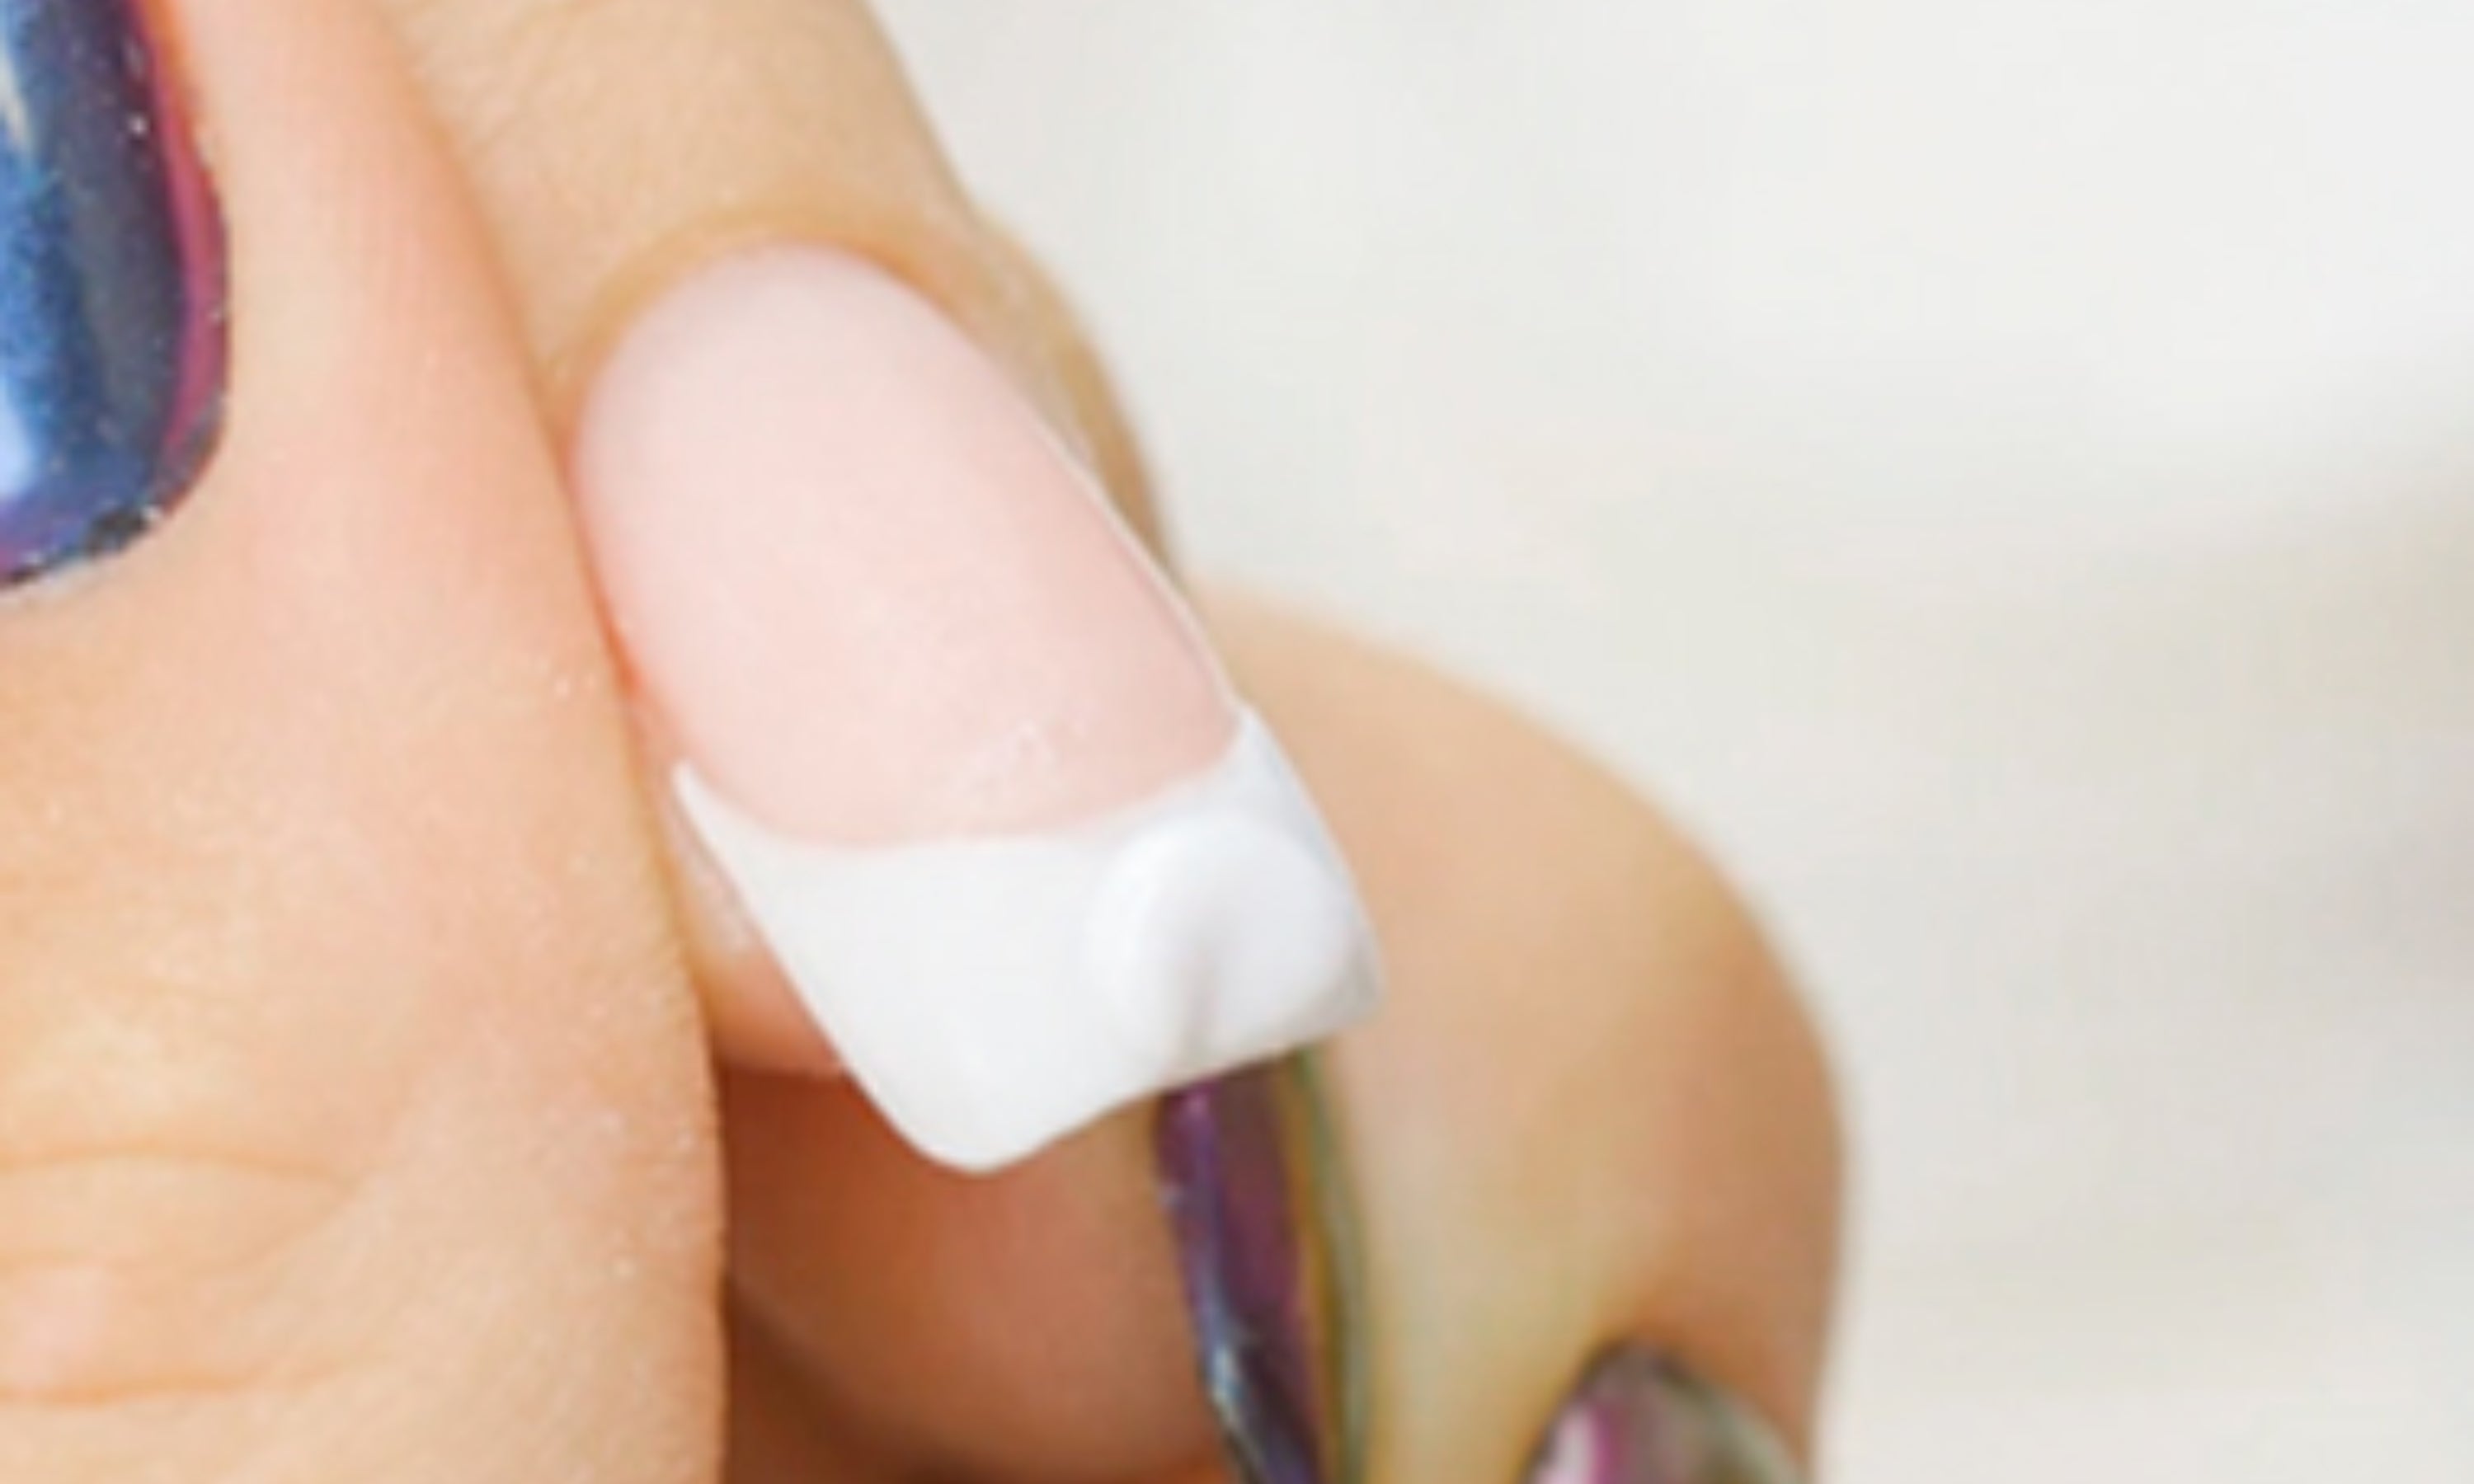
18. If necessary, add one more white pearl to finish filling and allow the product to dry properly in the air.
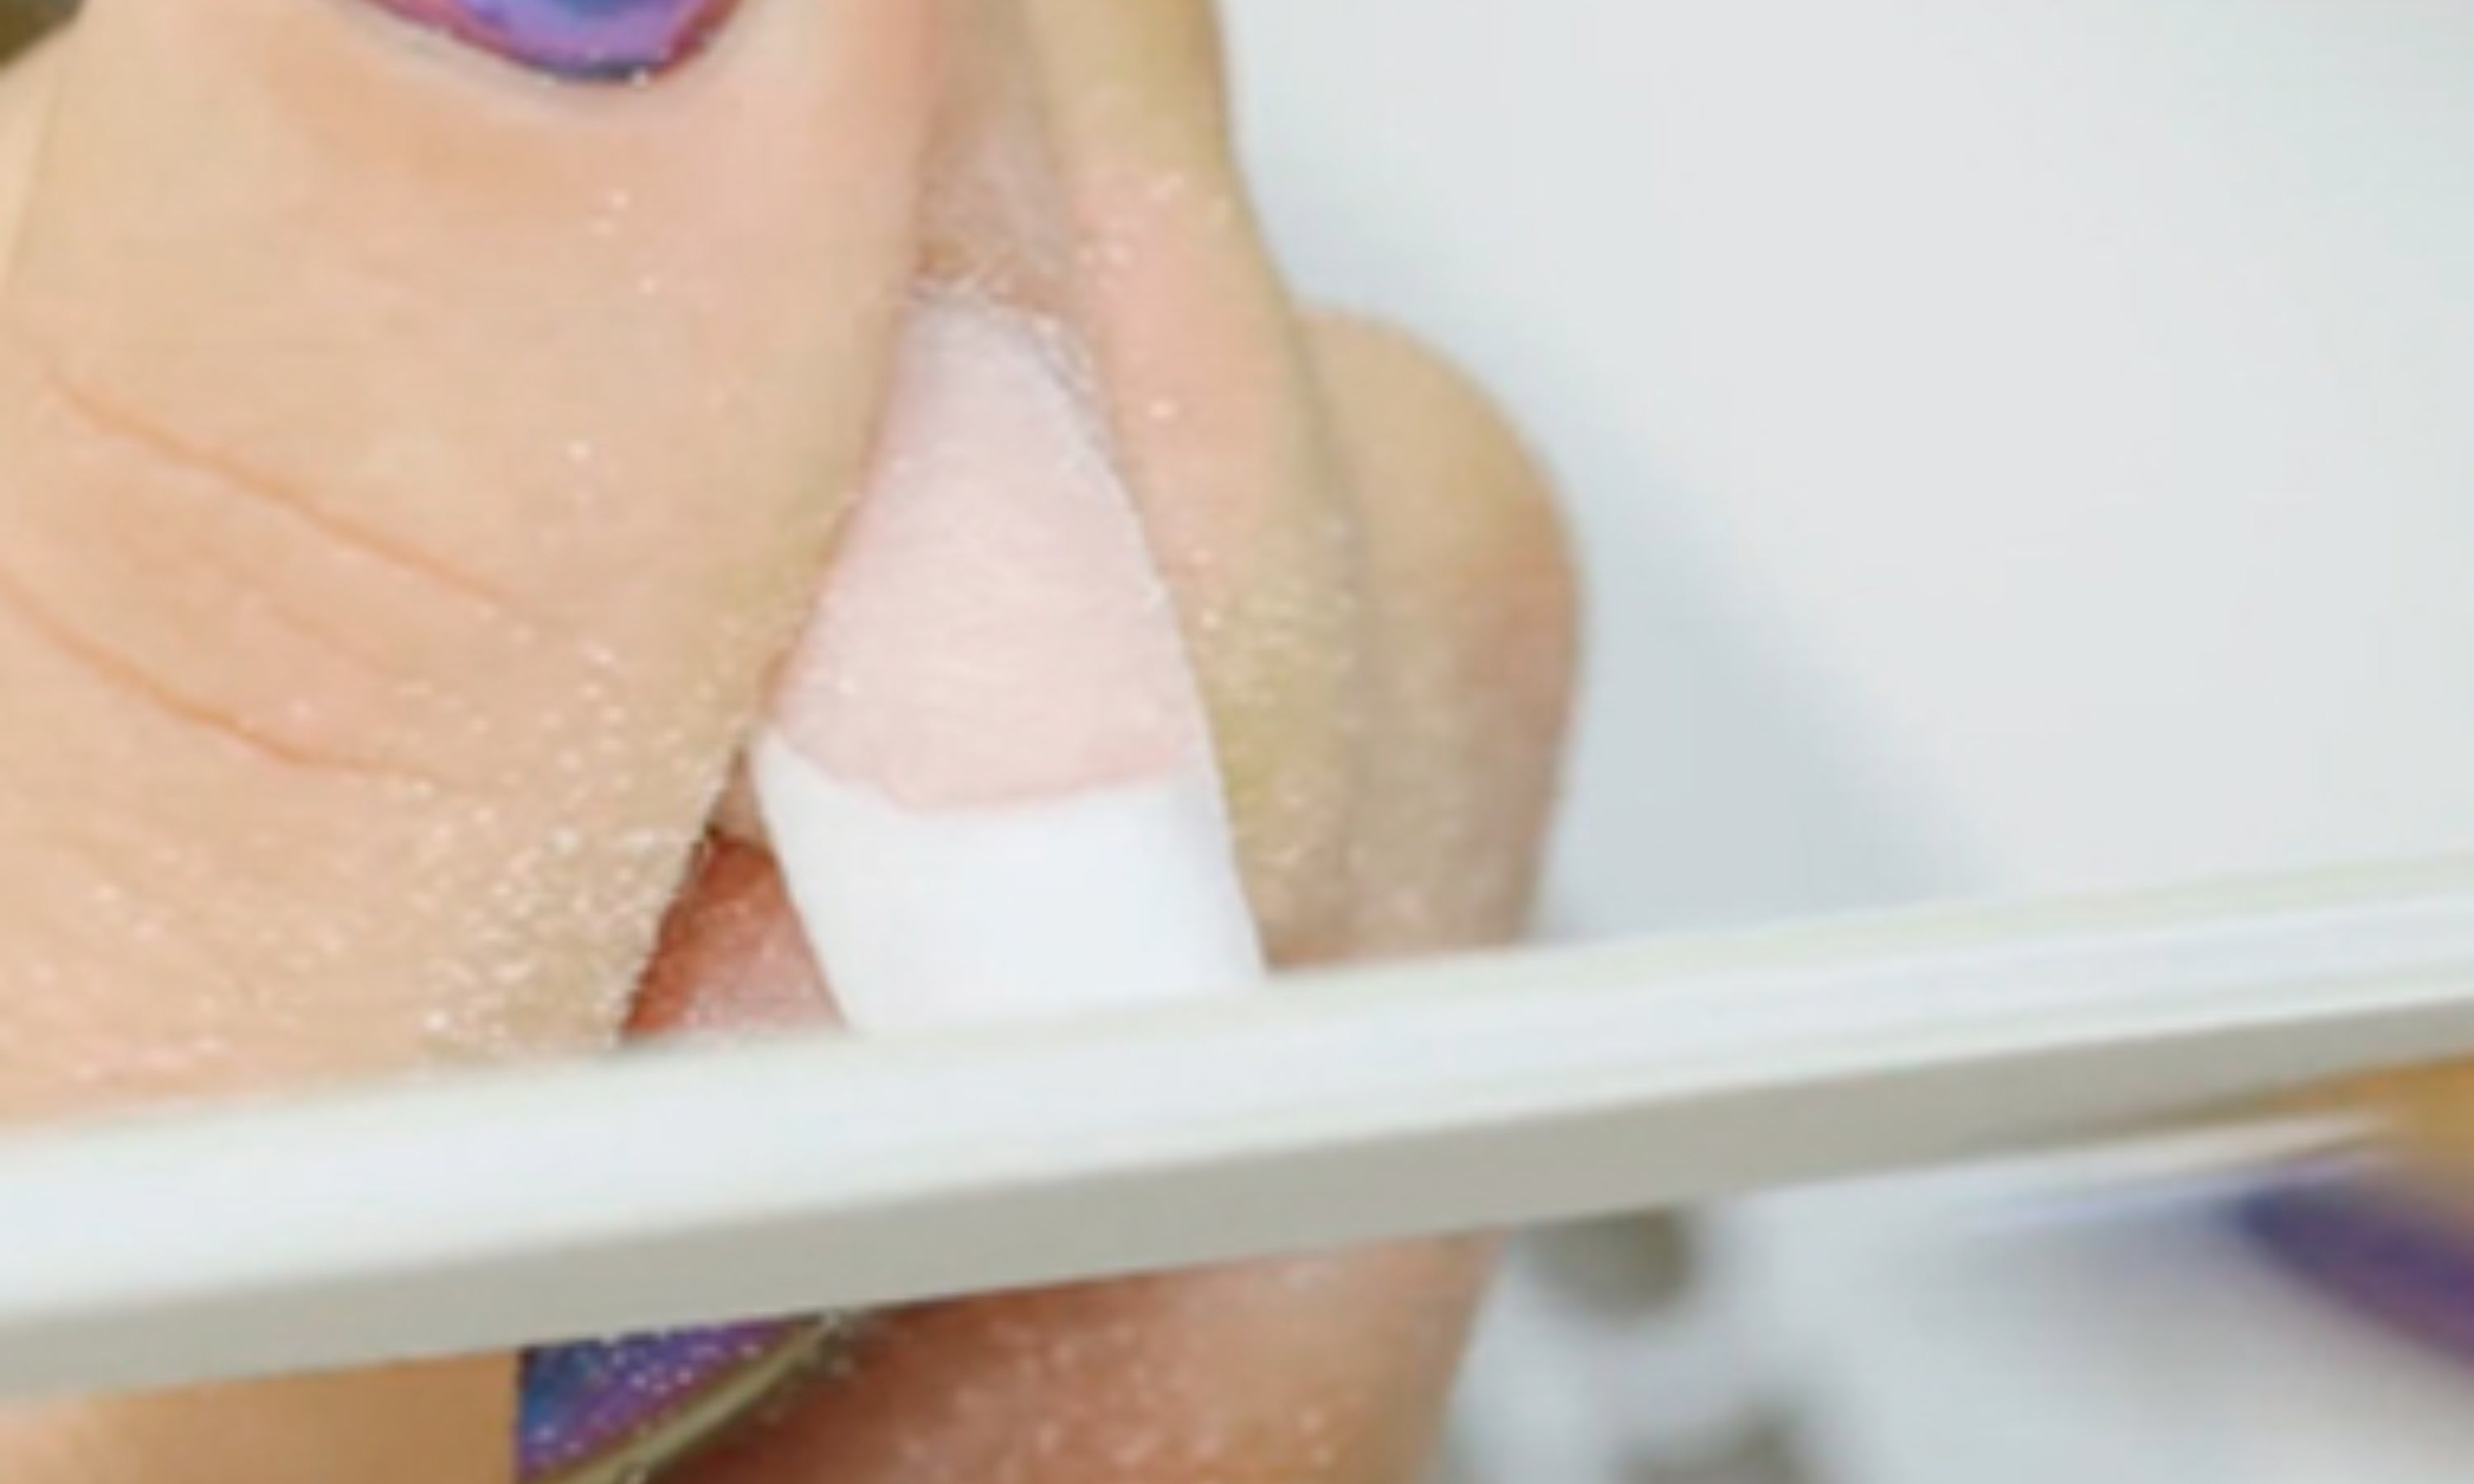
19. File the French file and smooth it with the almond file. This will eliminate any gaps and imperfections. Also use the polishing block and remove the dust with the brush. Clean with Cleaner.
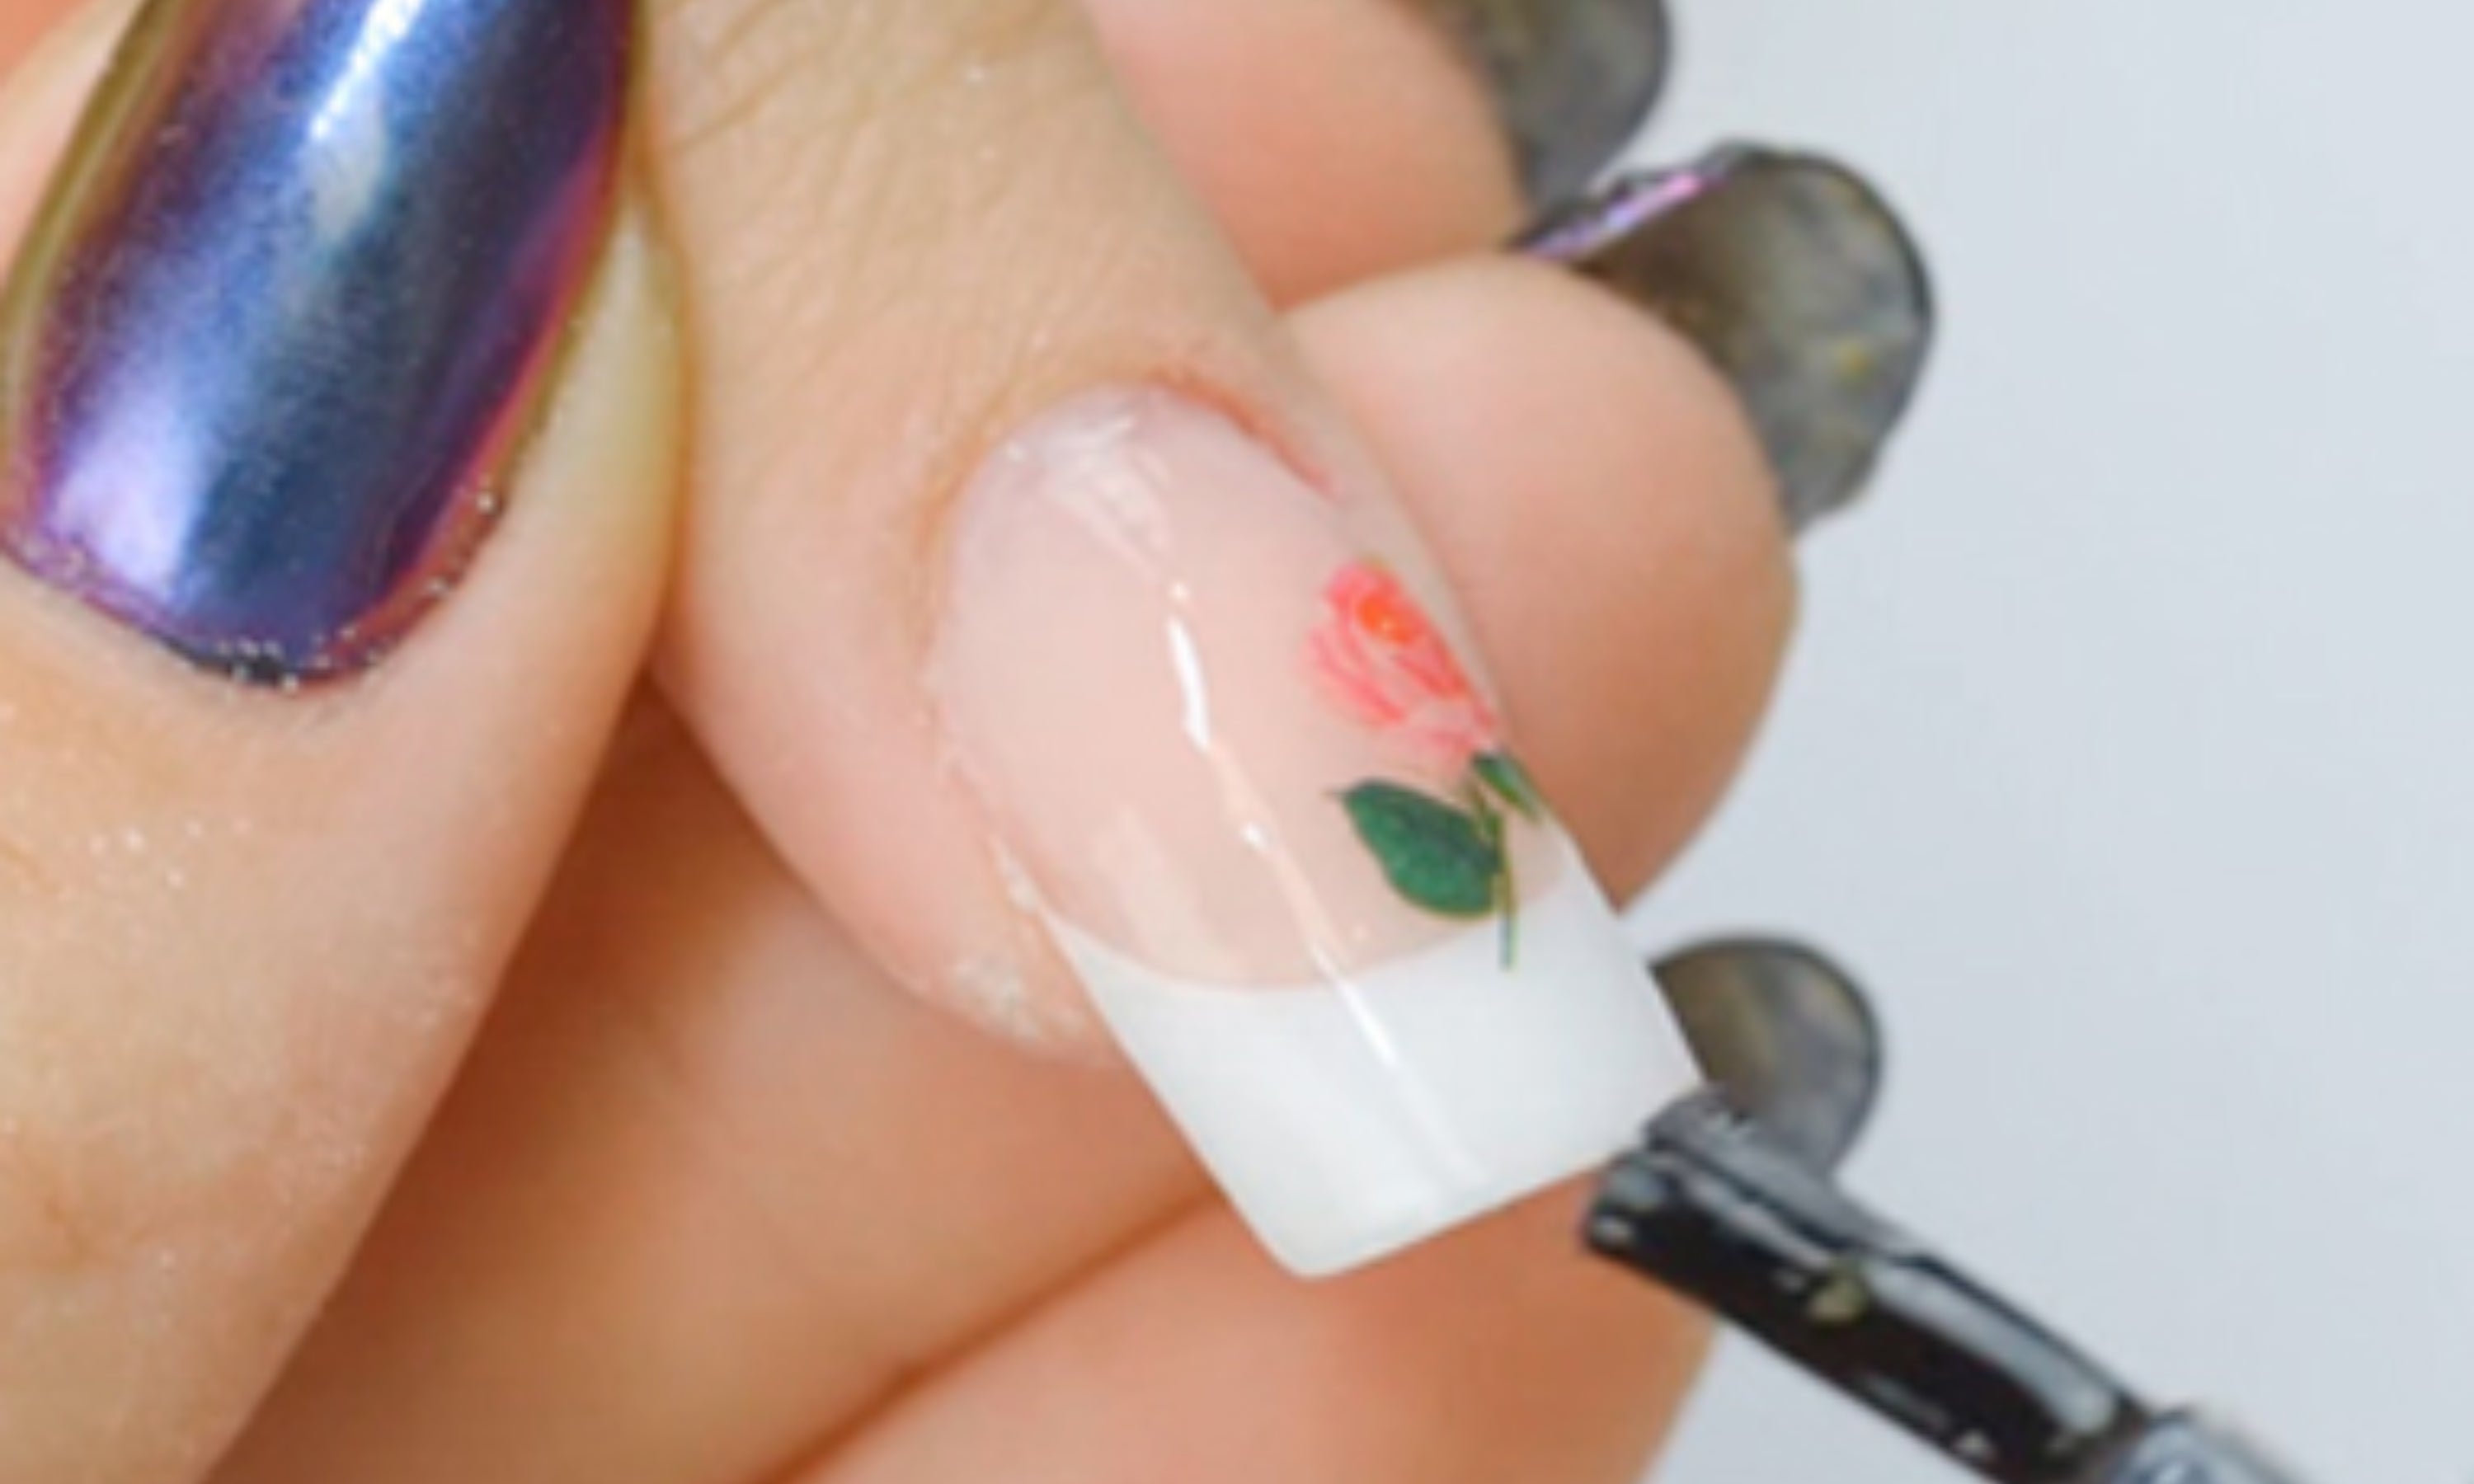
20. Apply the air-dry Top Coat. If you have a nail-drying lamp, it is recommended to apply a lamp-drying finisher to increase durability.
EXTEND WITH MOLDS
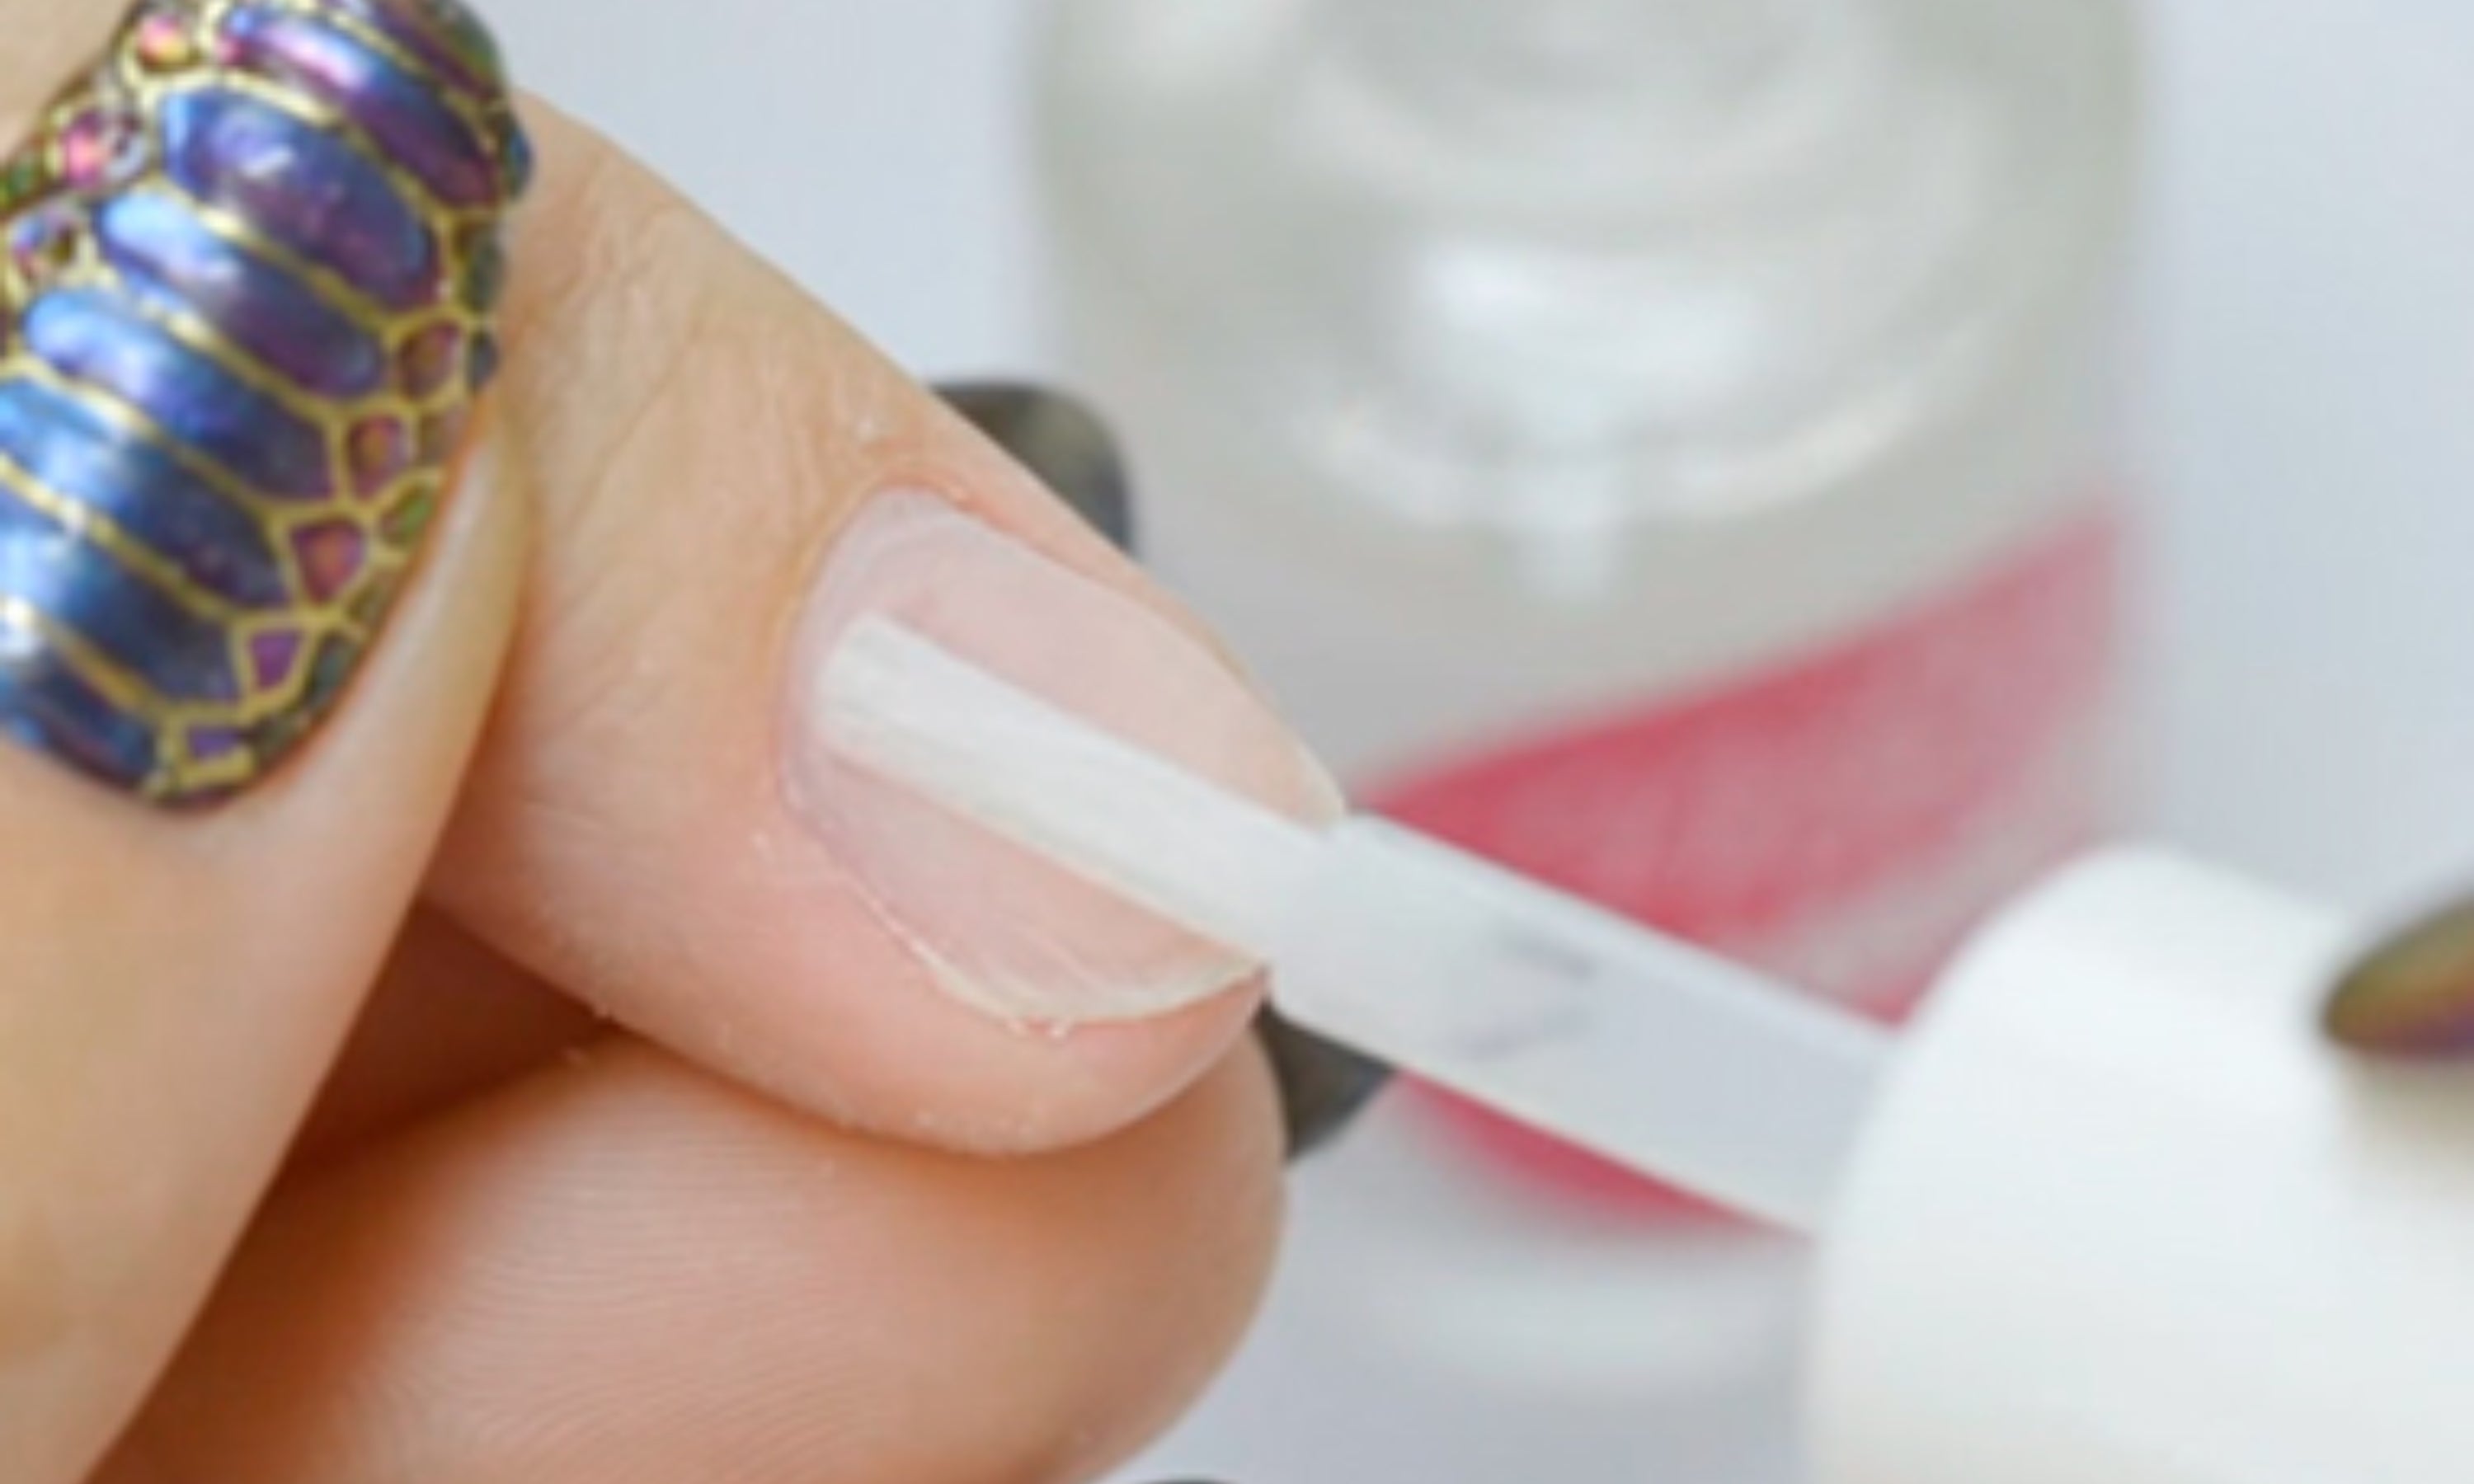
21. Apply Primer Adhesive (with acids) on the entire nail without touching the skin or cuticle. If the nail is very oily, it is recommended to apply Nailprep first to degrease.
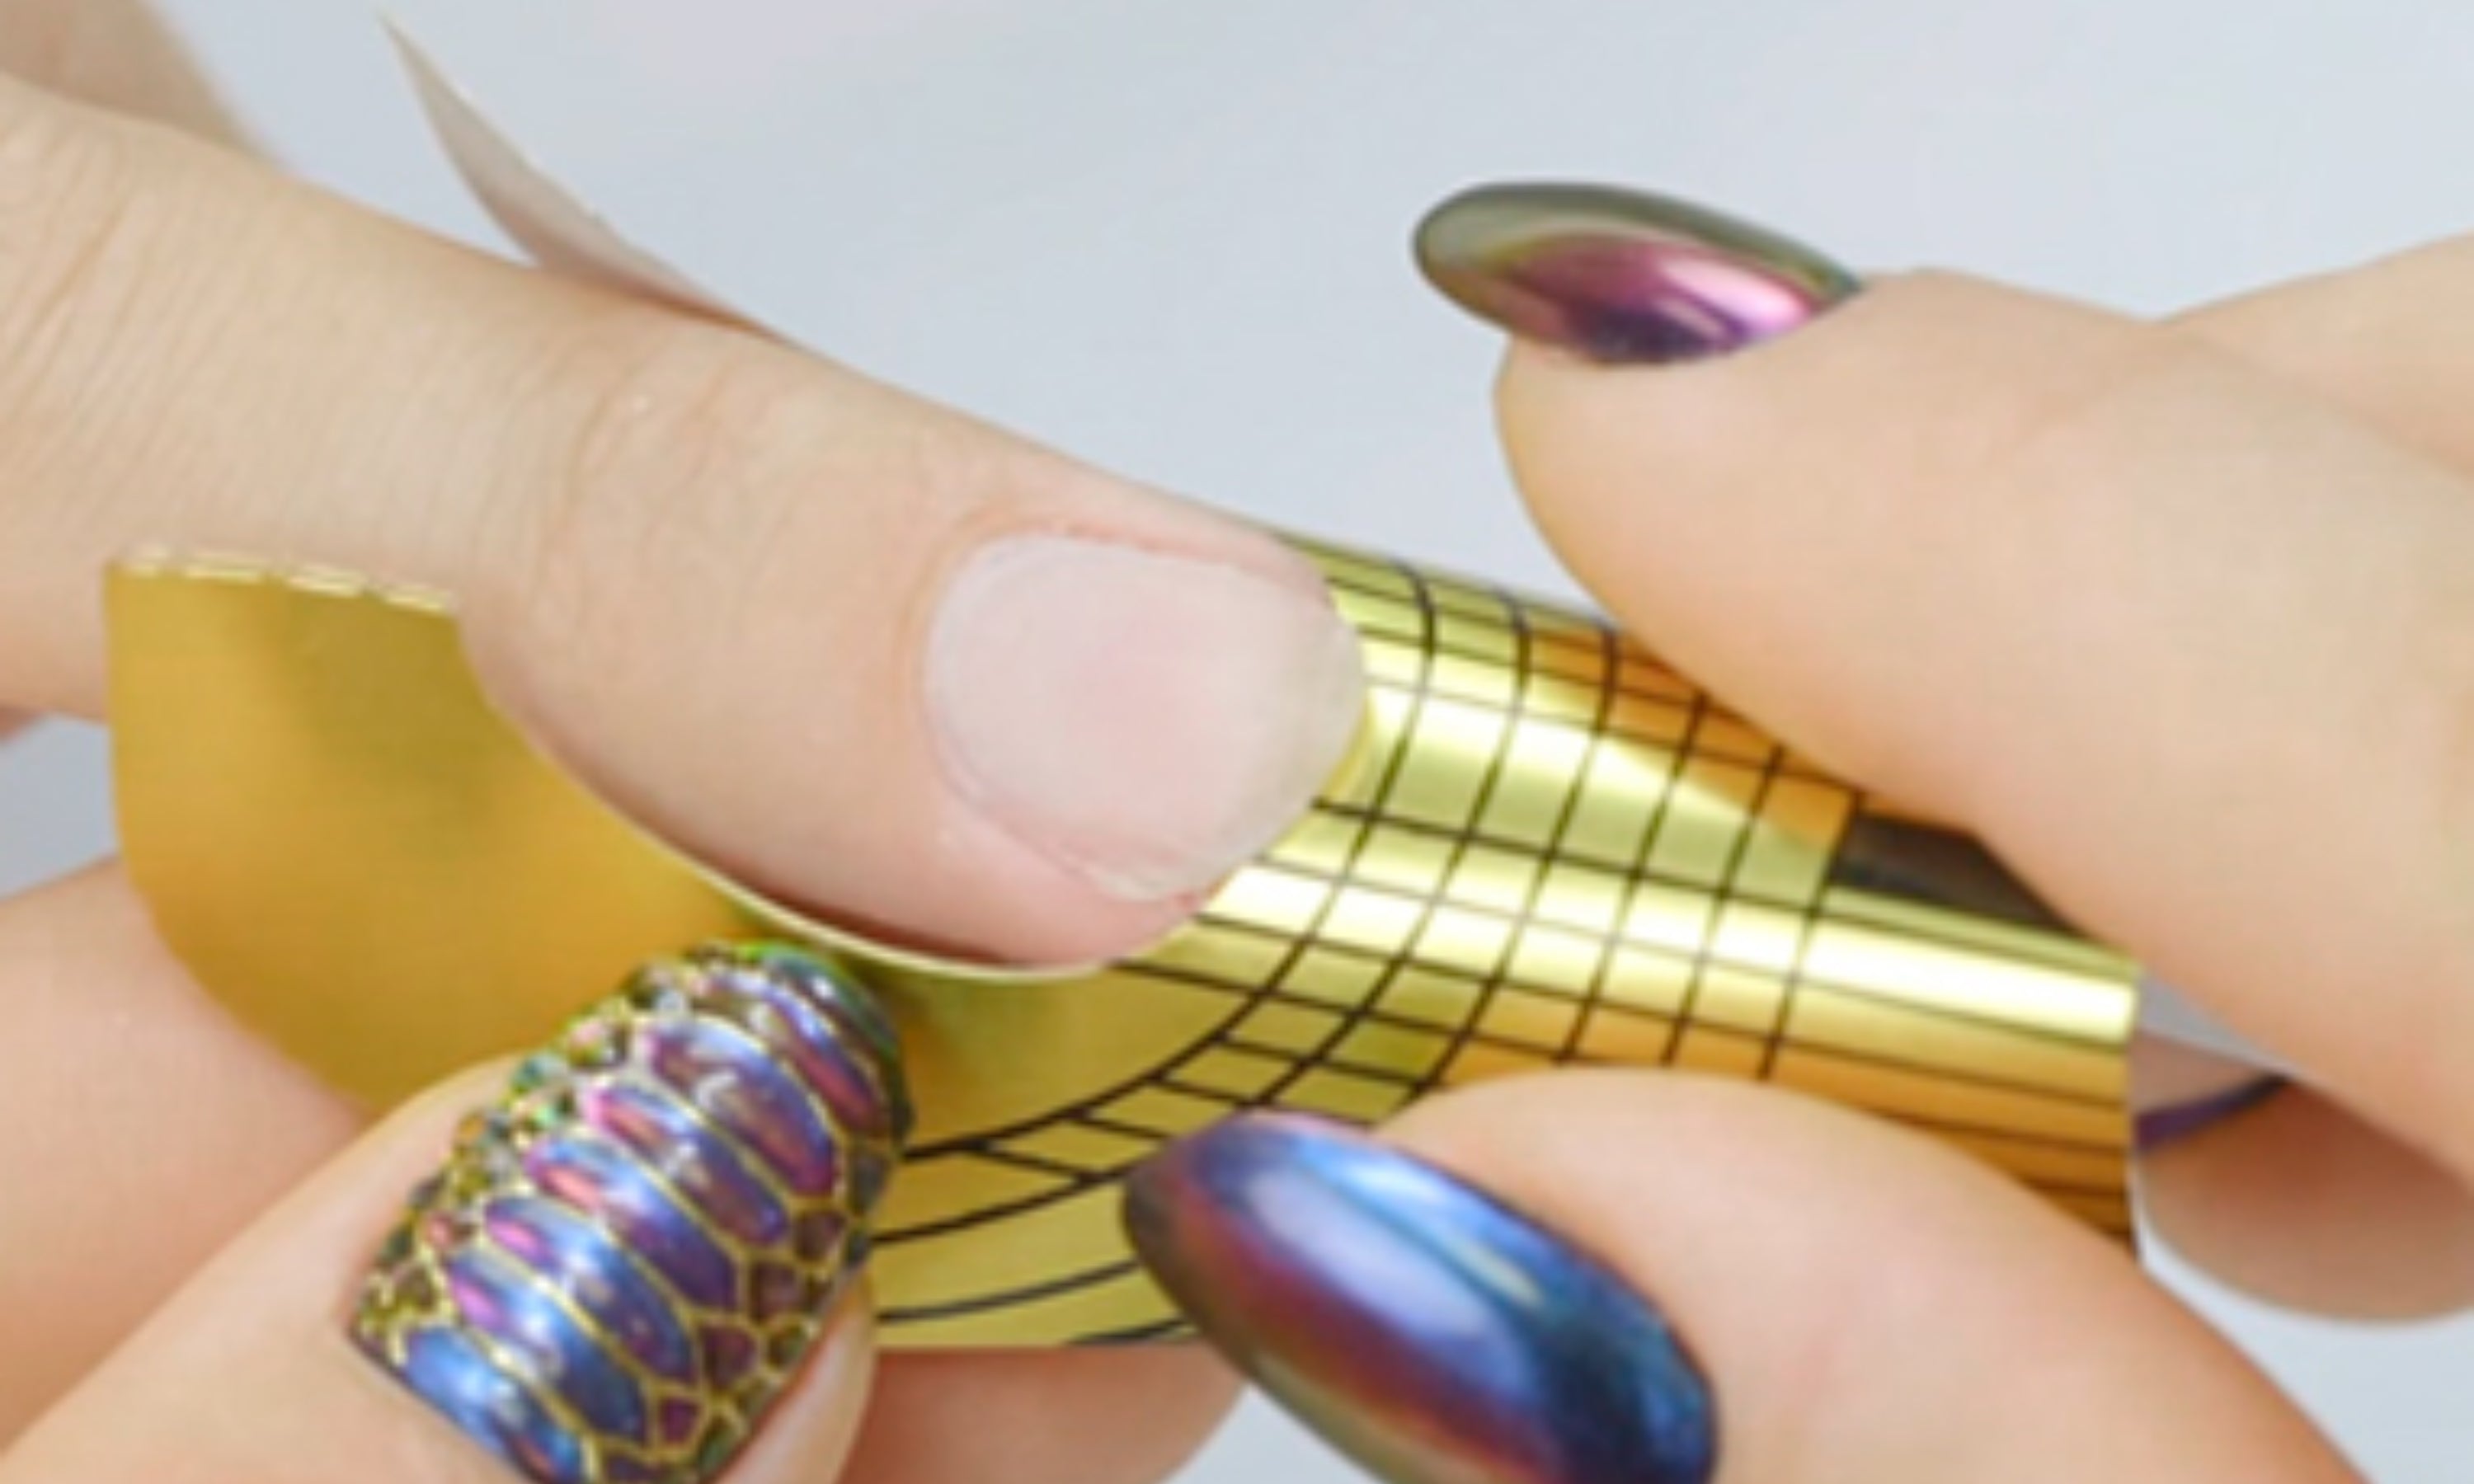
22. Peel the mold off the paper and try to make sure it fits on your nail. Each finger is different, and some may fit on the first try and others may not.
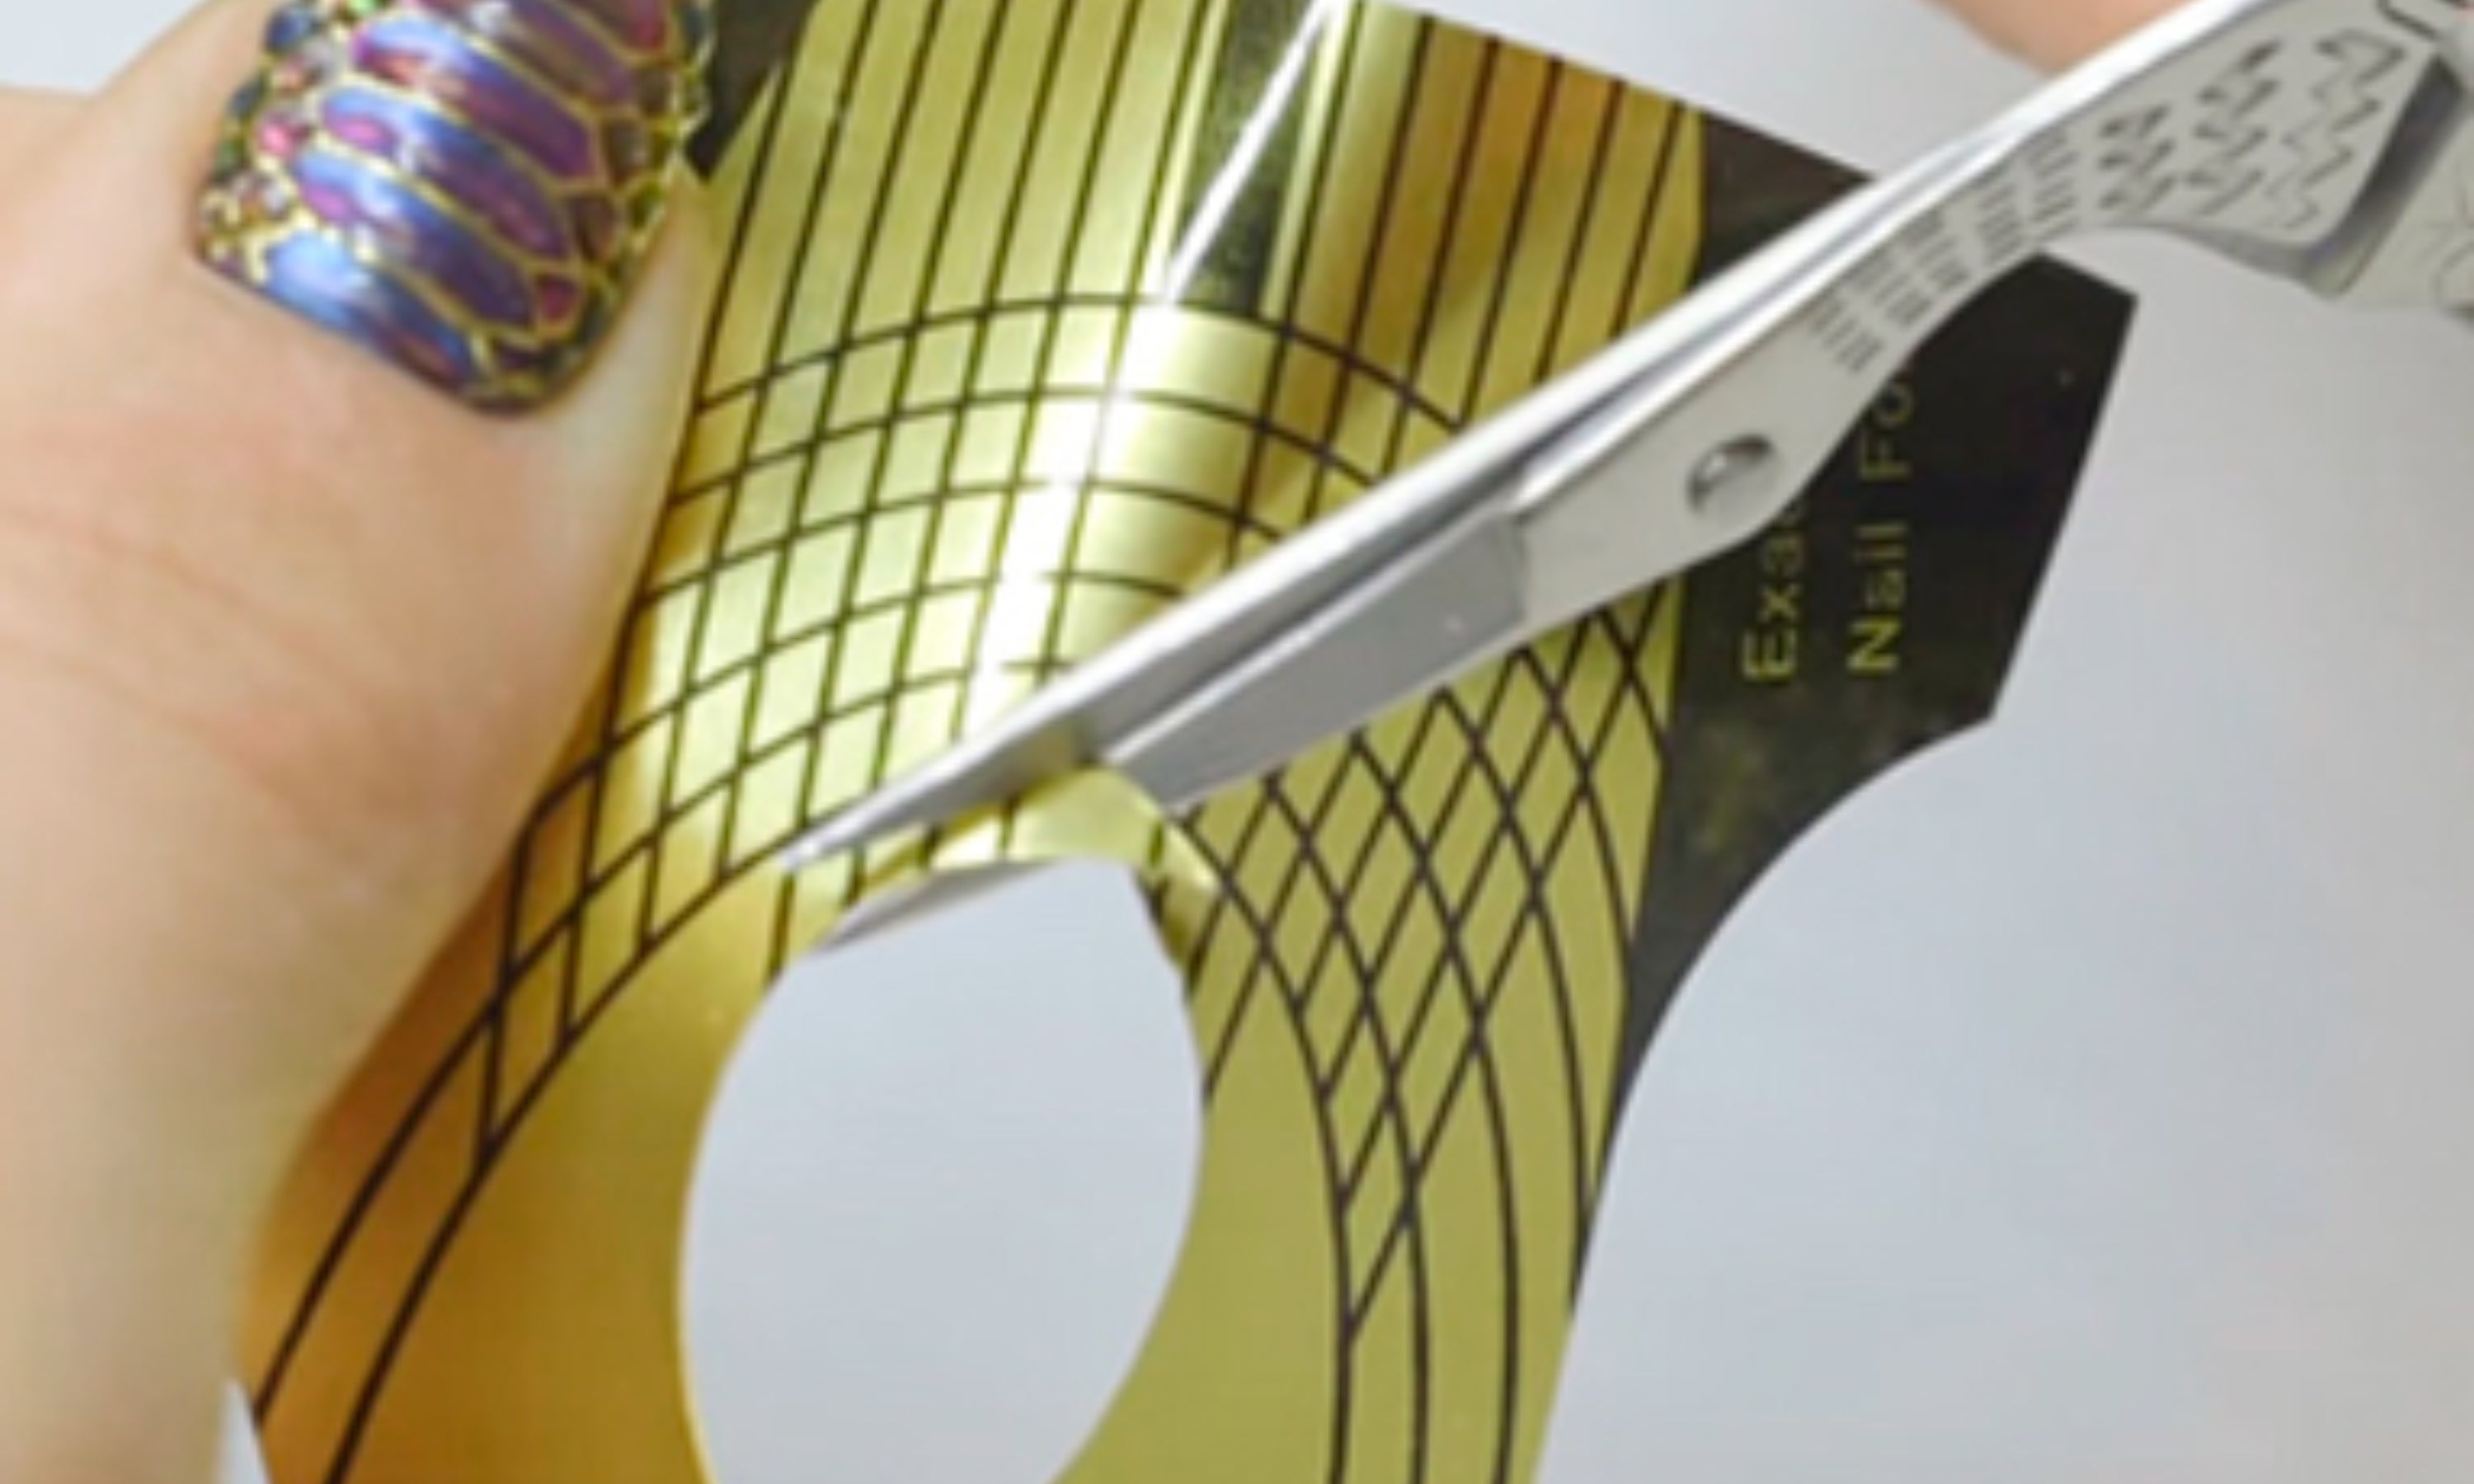
23. Make small triangle-shaped cuts in the area where the finger fits. This step is a little more complex, but with practice it is a process that improves.
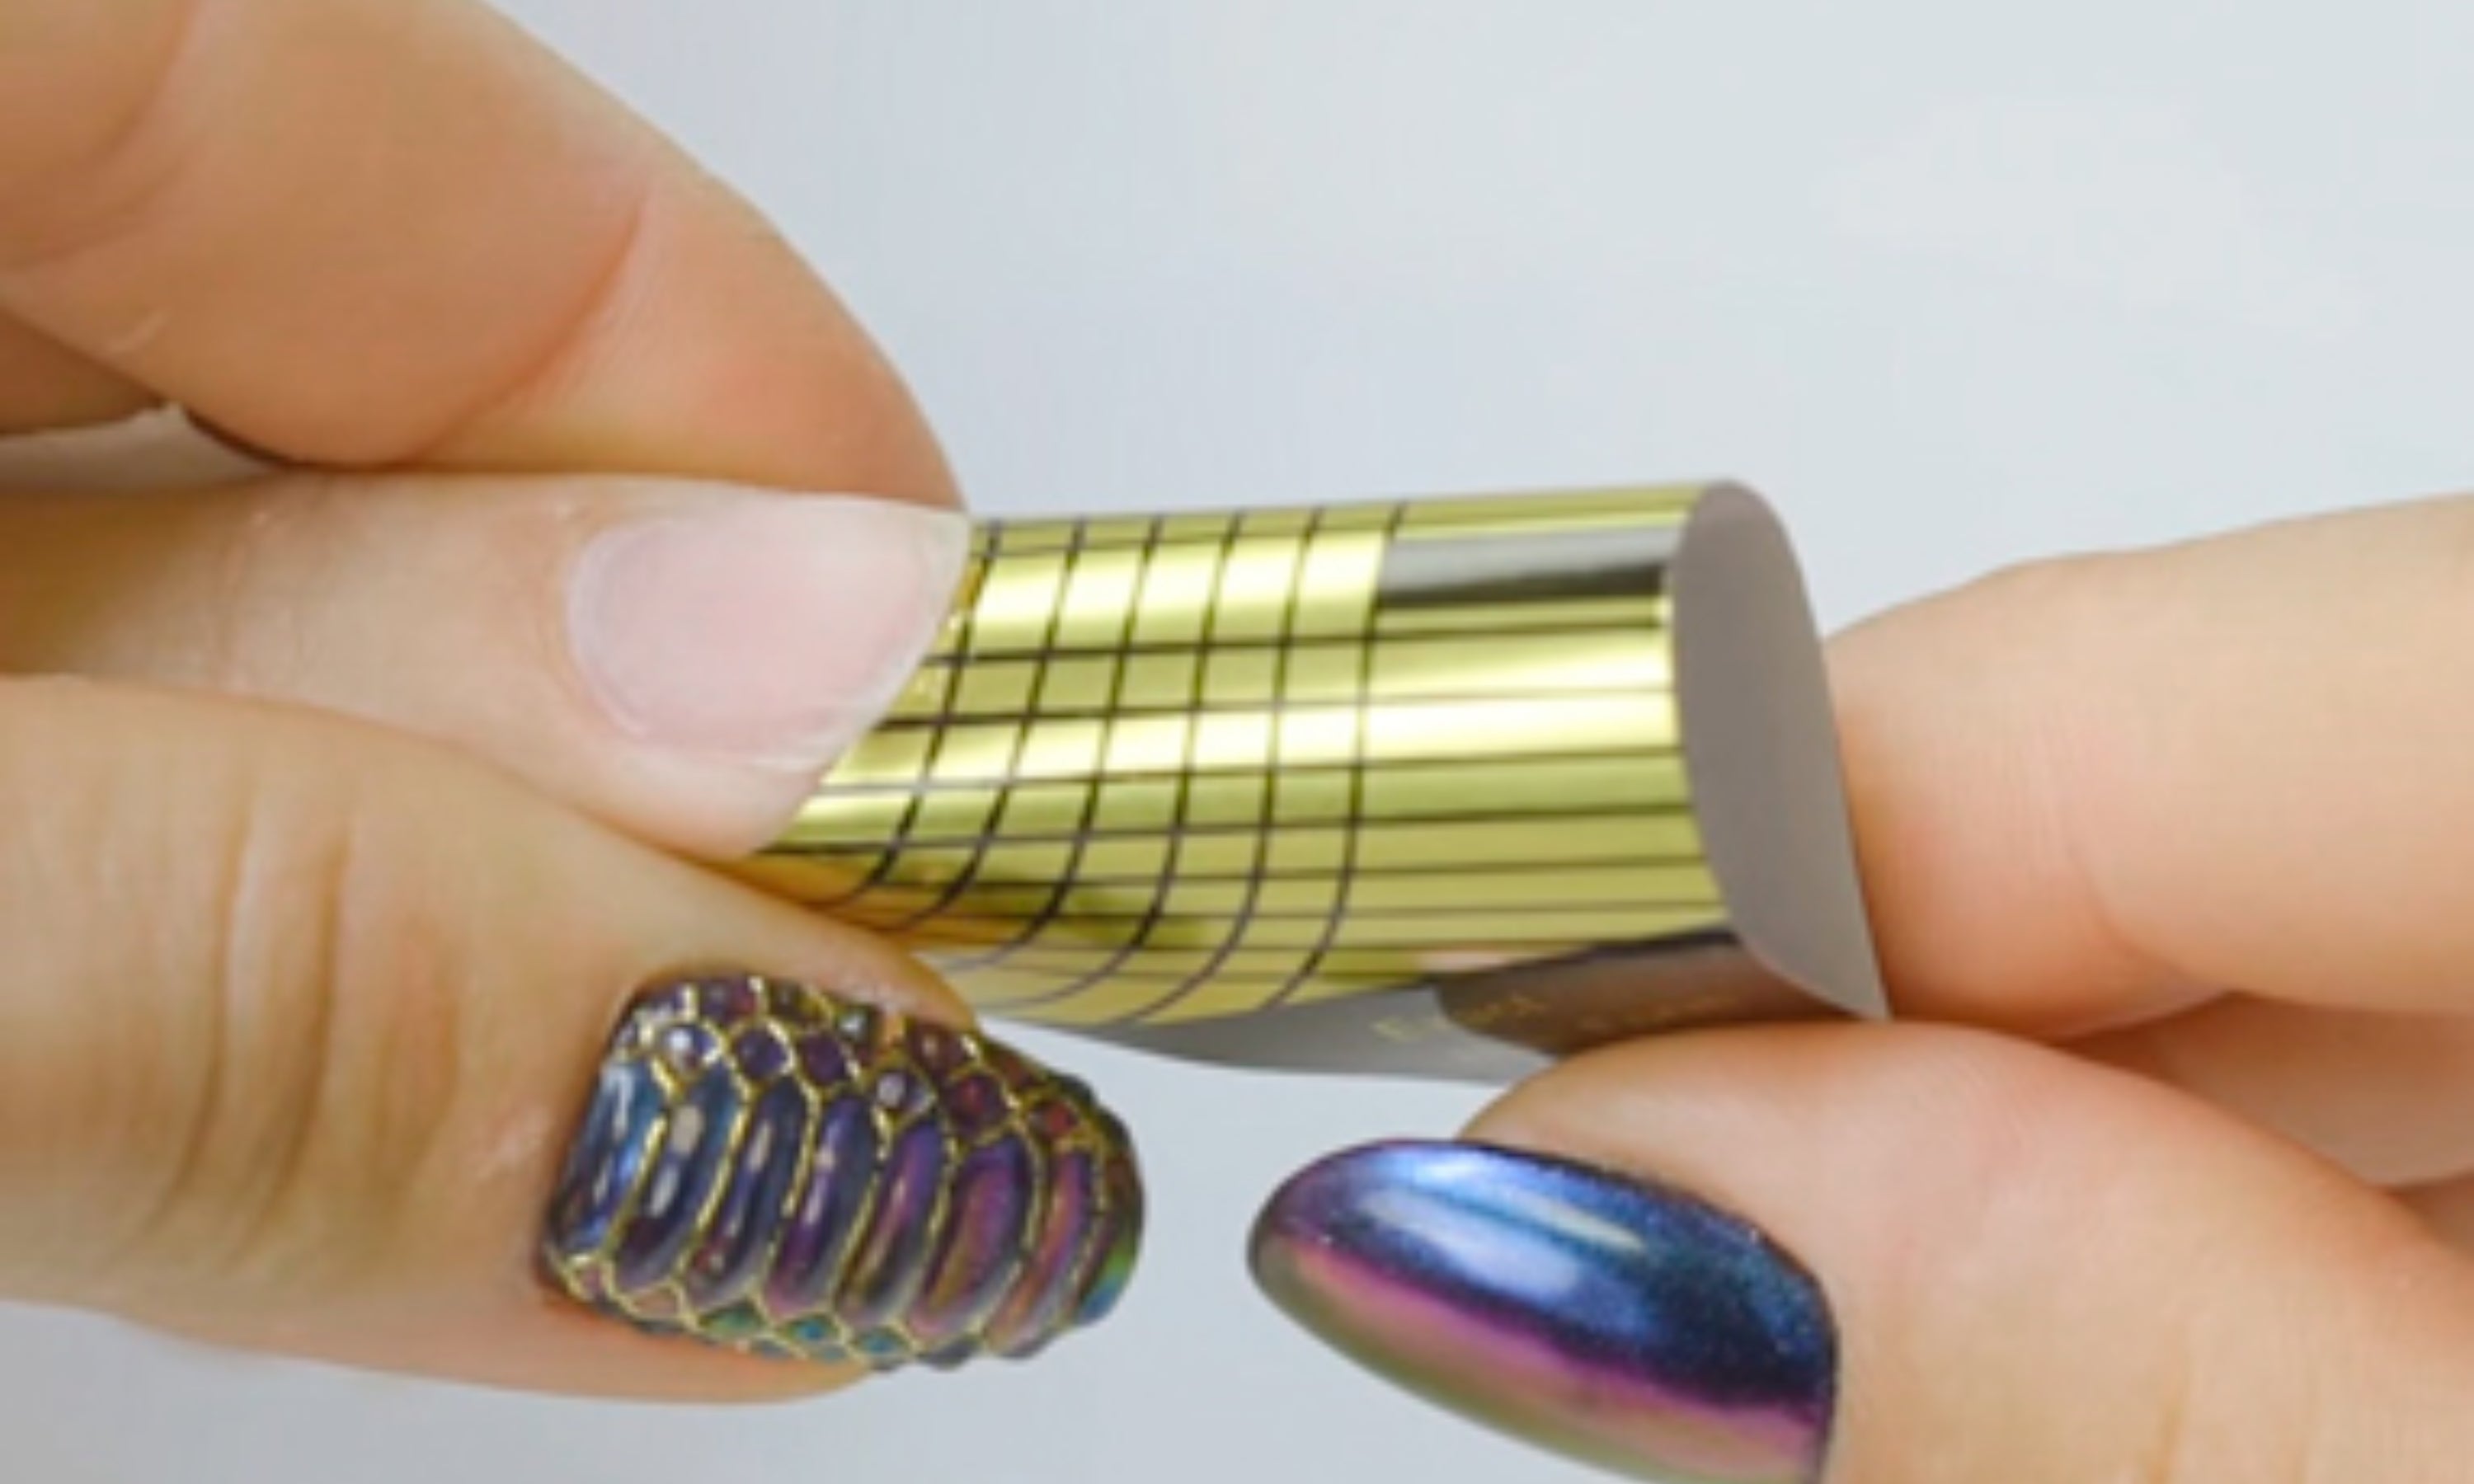
24. We check again if the mold fits correctly and, if so, we stick the tabs to secure it. We will also check that there is no space at the top between the nail and the mold.
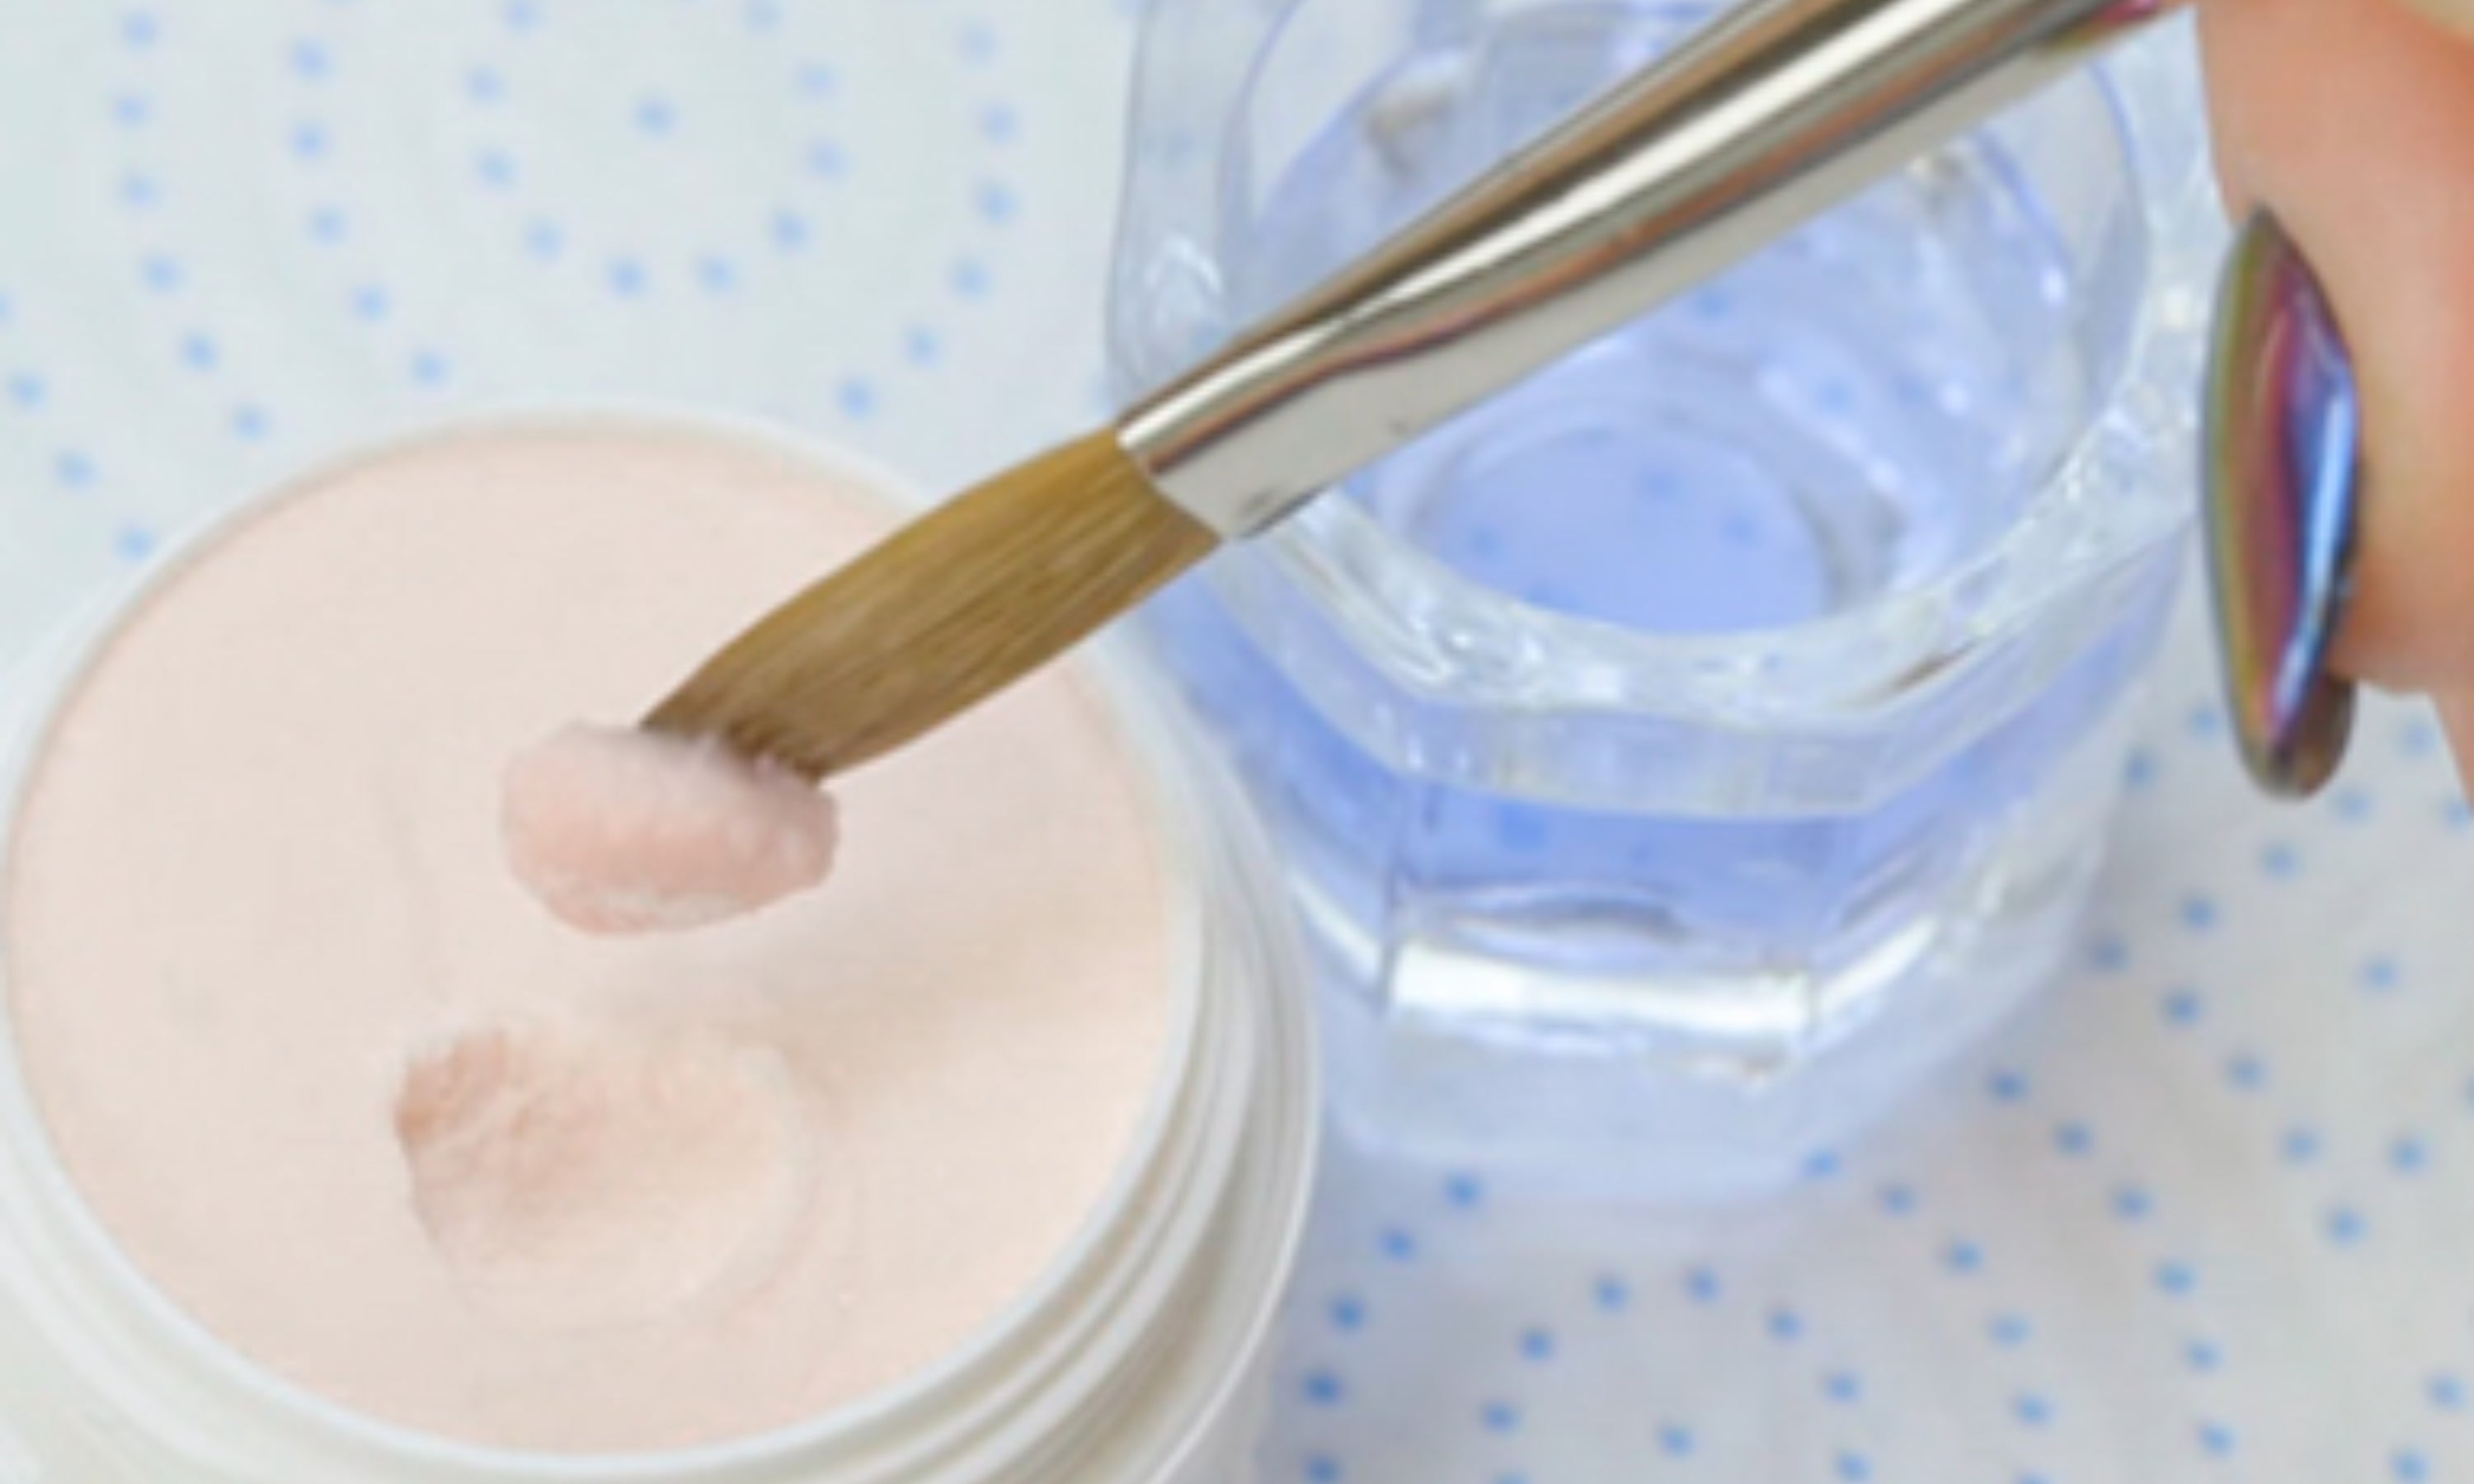
25. Add a small amount of Acrylic Liquid to a container and moisten the brush well. Dip the brush into the acrylic powder and wait a few seconds for a pearl of product to form.
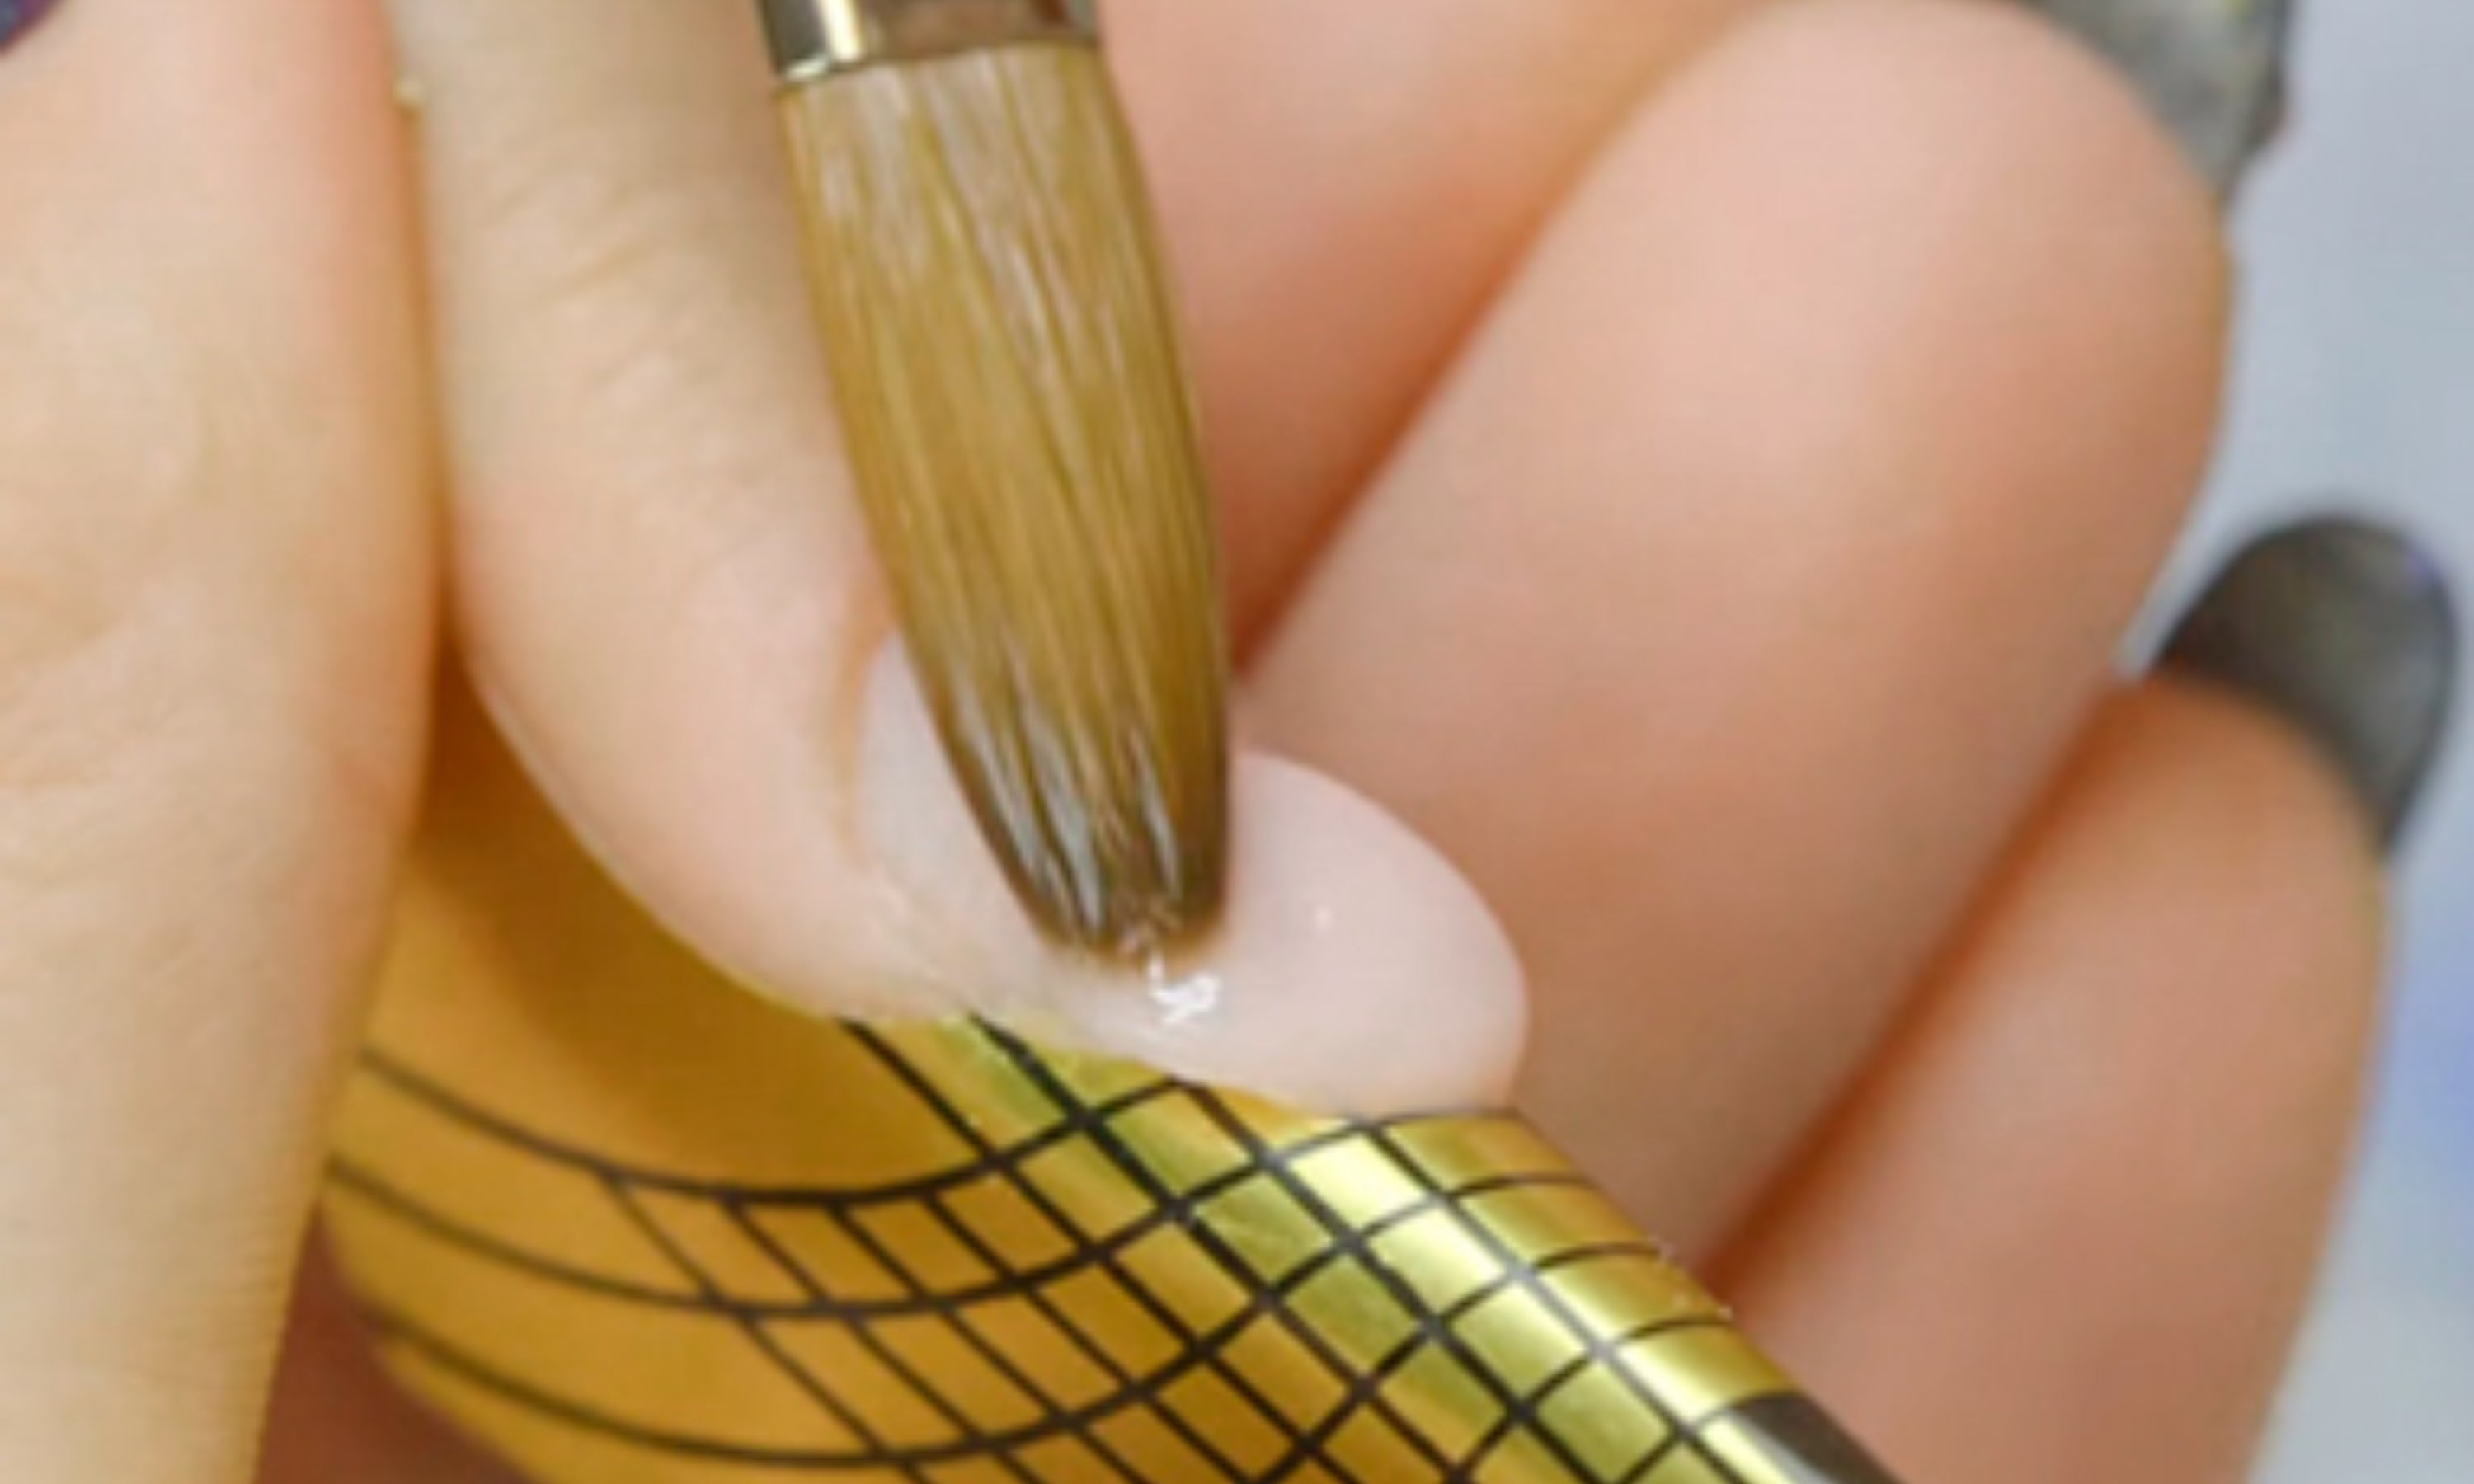
26. Place the pearl of product in the smile area and spread it towards the cuticle. Mark the shape of the smile well. If the product sticks to the brush, it is necessary to moisten it in the acrylic liquid to continue shaping the nail.
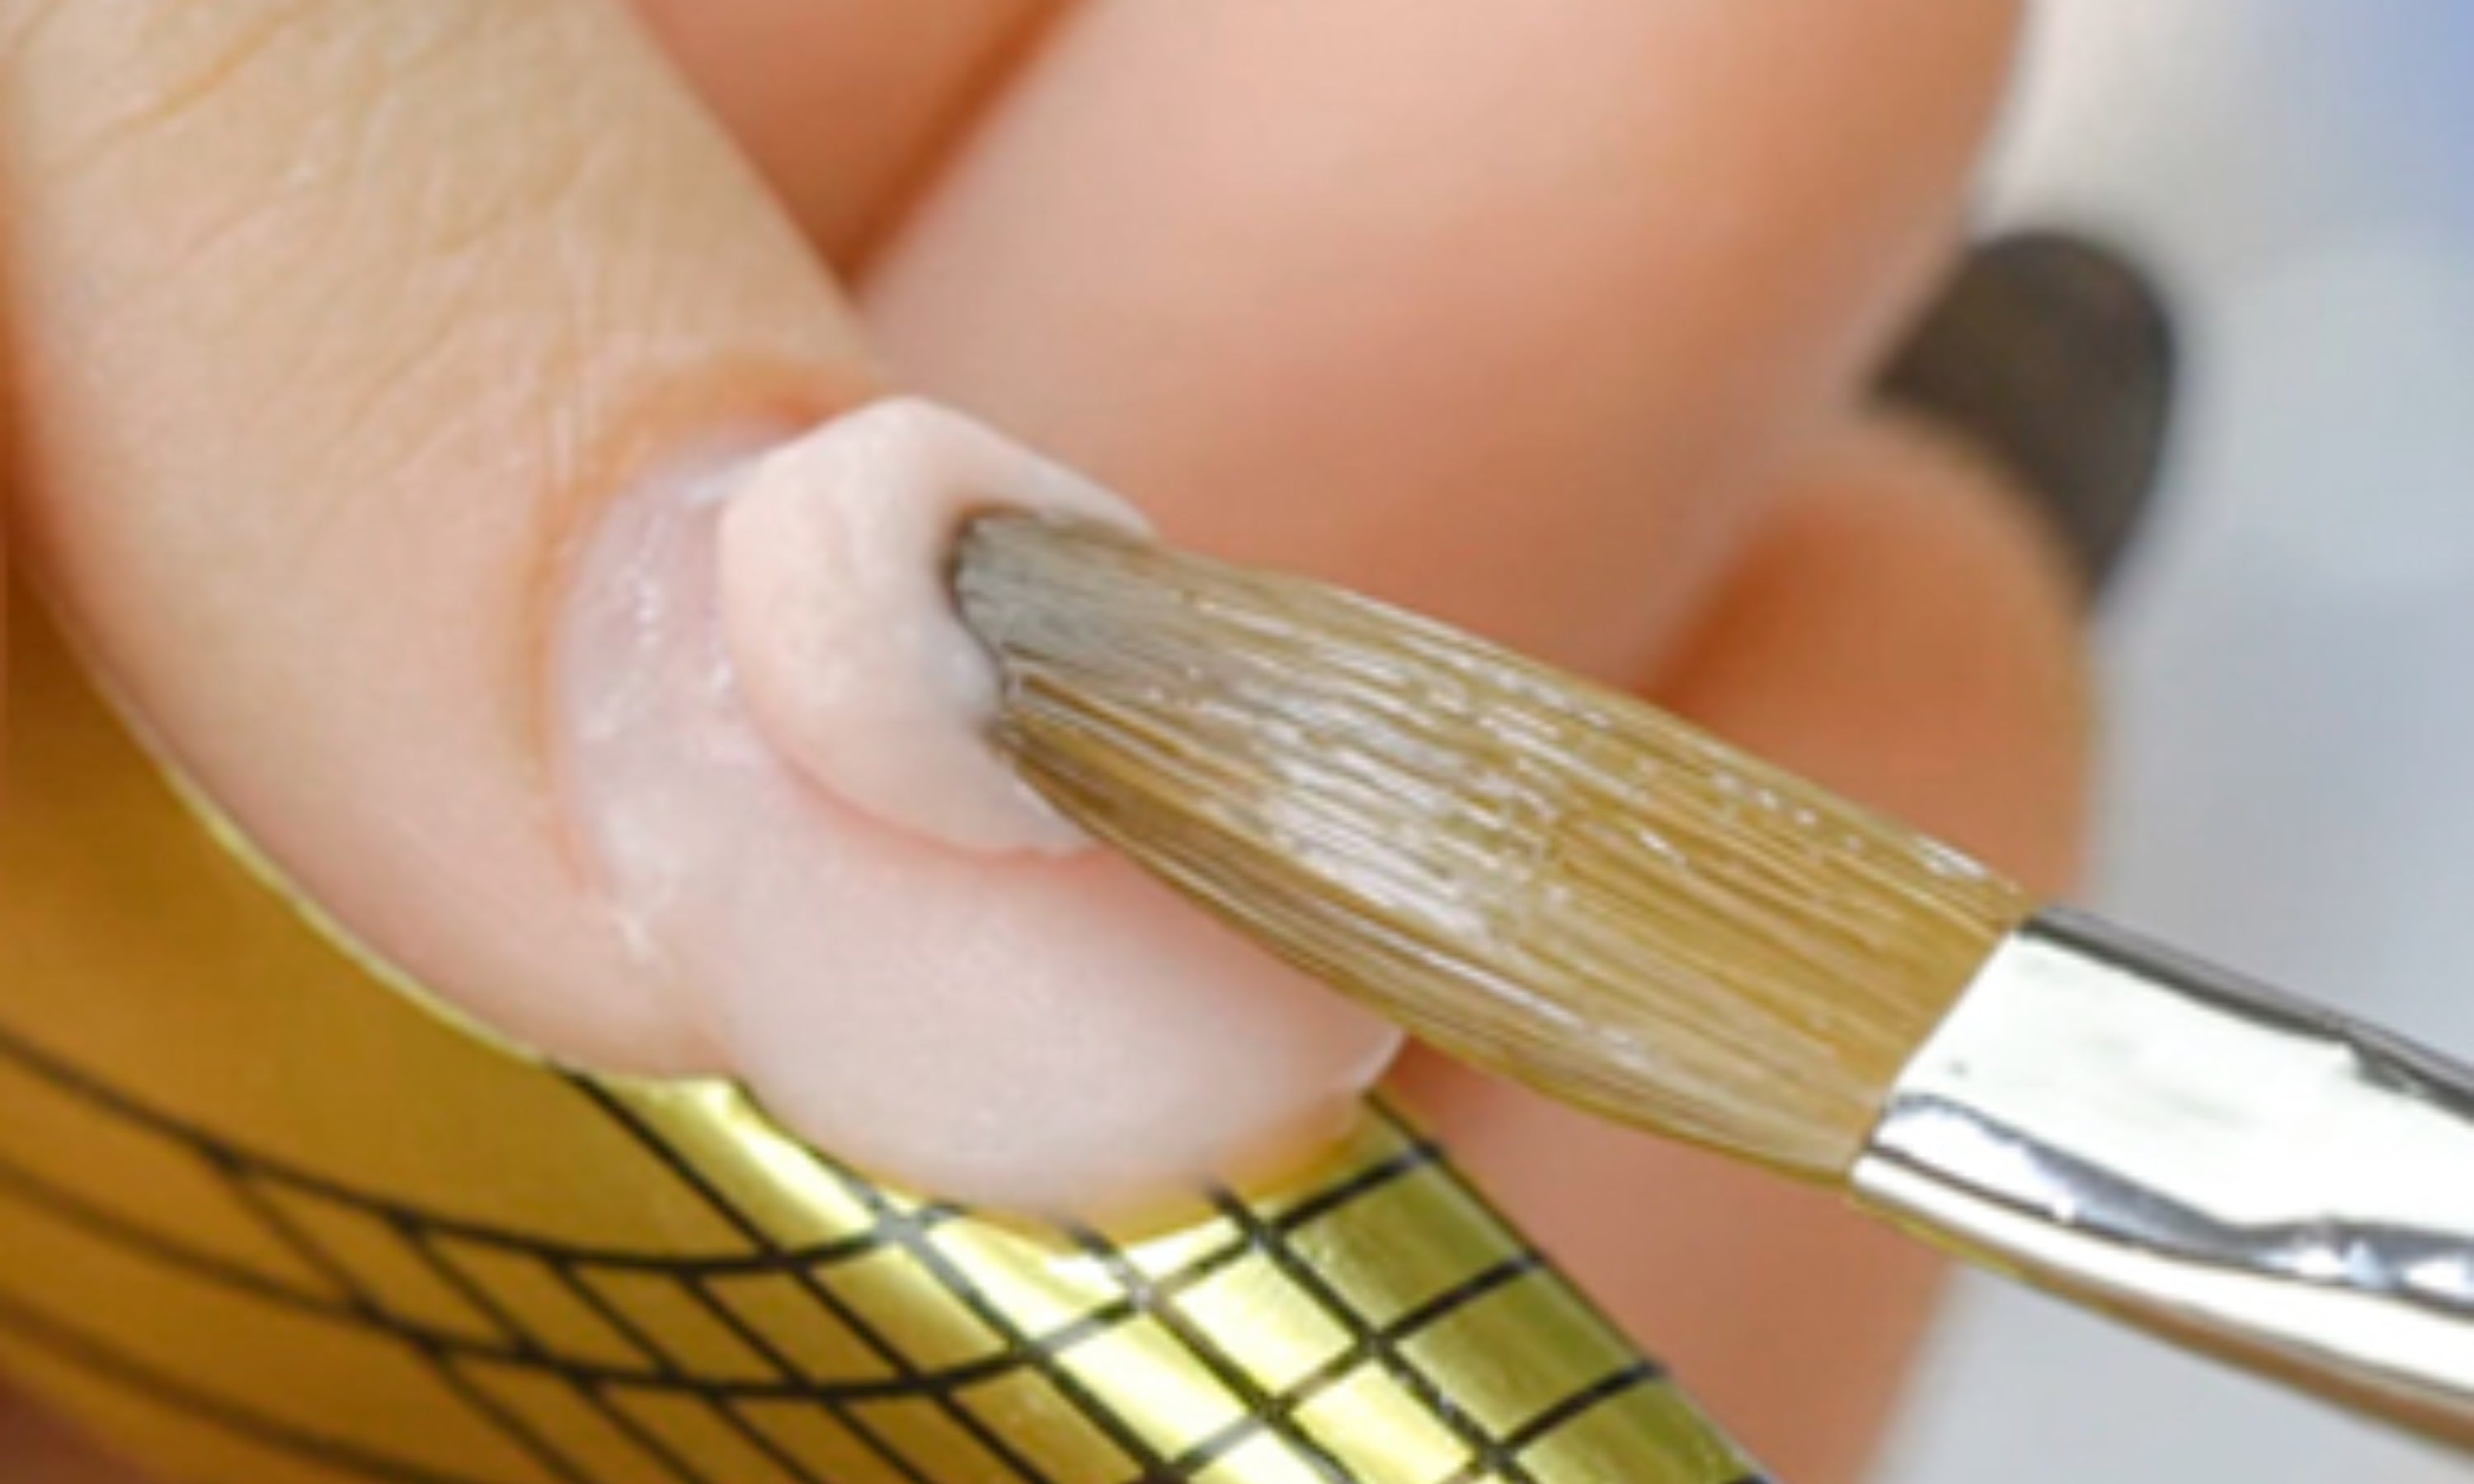
27. If necessary, take a second pearl and continue shaping the nail. It is advisable to work quickly so that the product does not dry, since acrylic is an air-drying nail building technique.
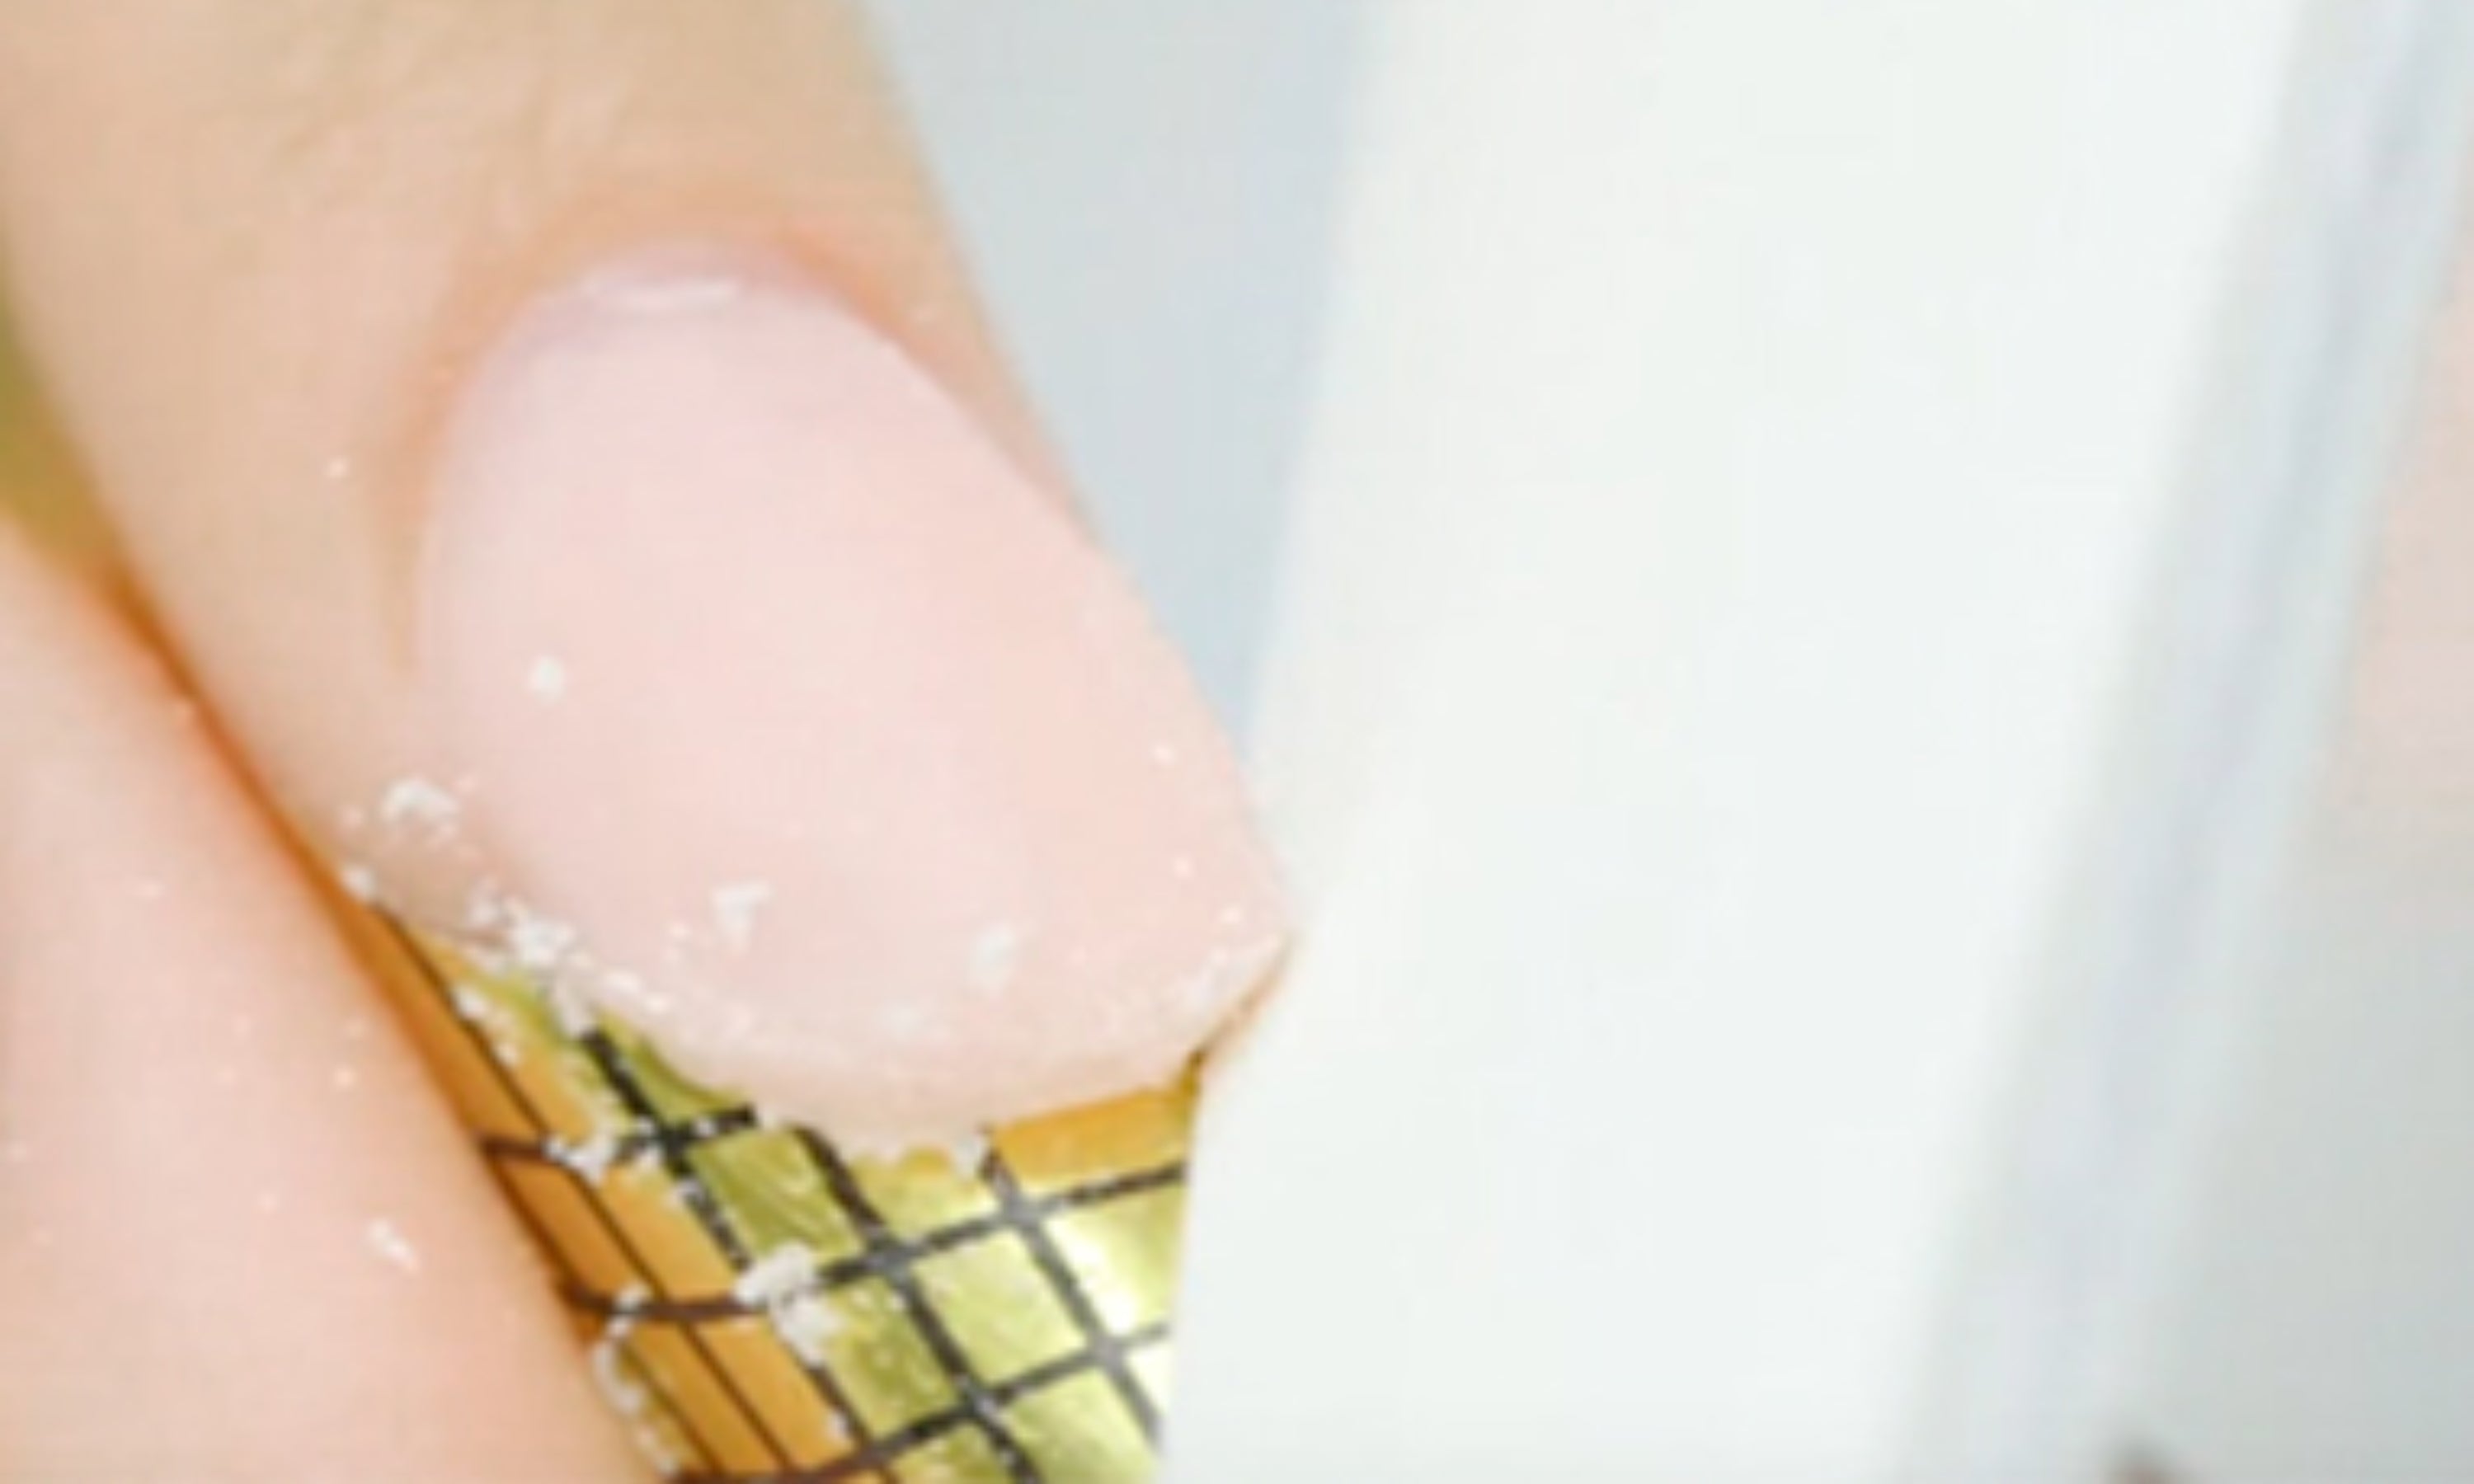
28. Wait for it to dry completely and then file the smile area. Remove dust and clean with Cleaner. Clean the brush well with the same acrylic liquid to remove any traces of product that may be stuck.
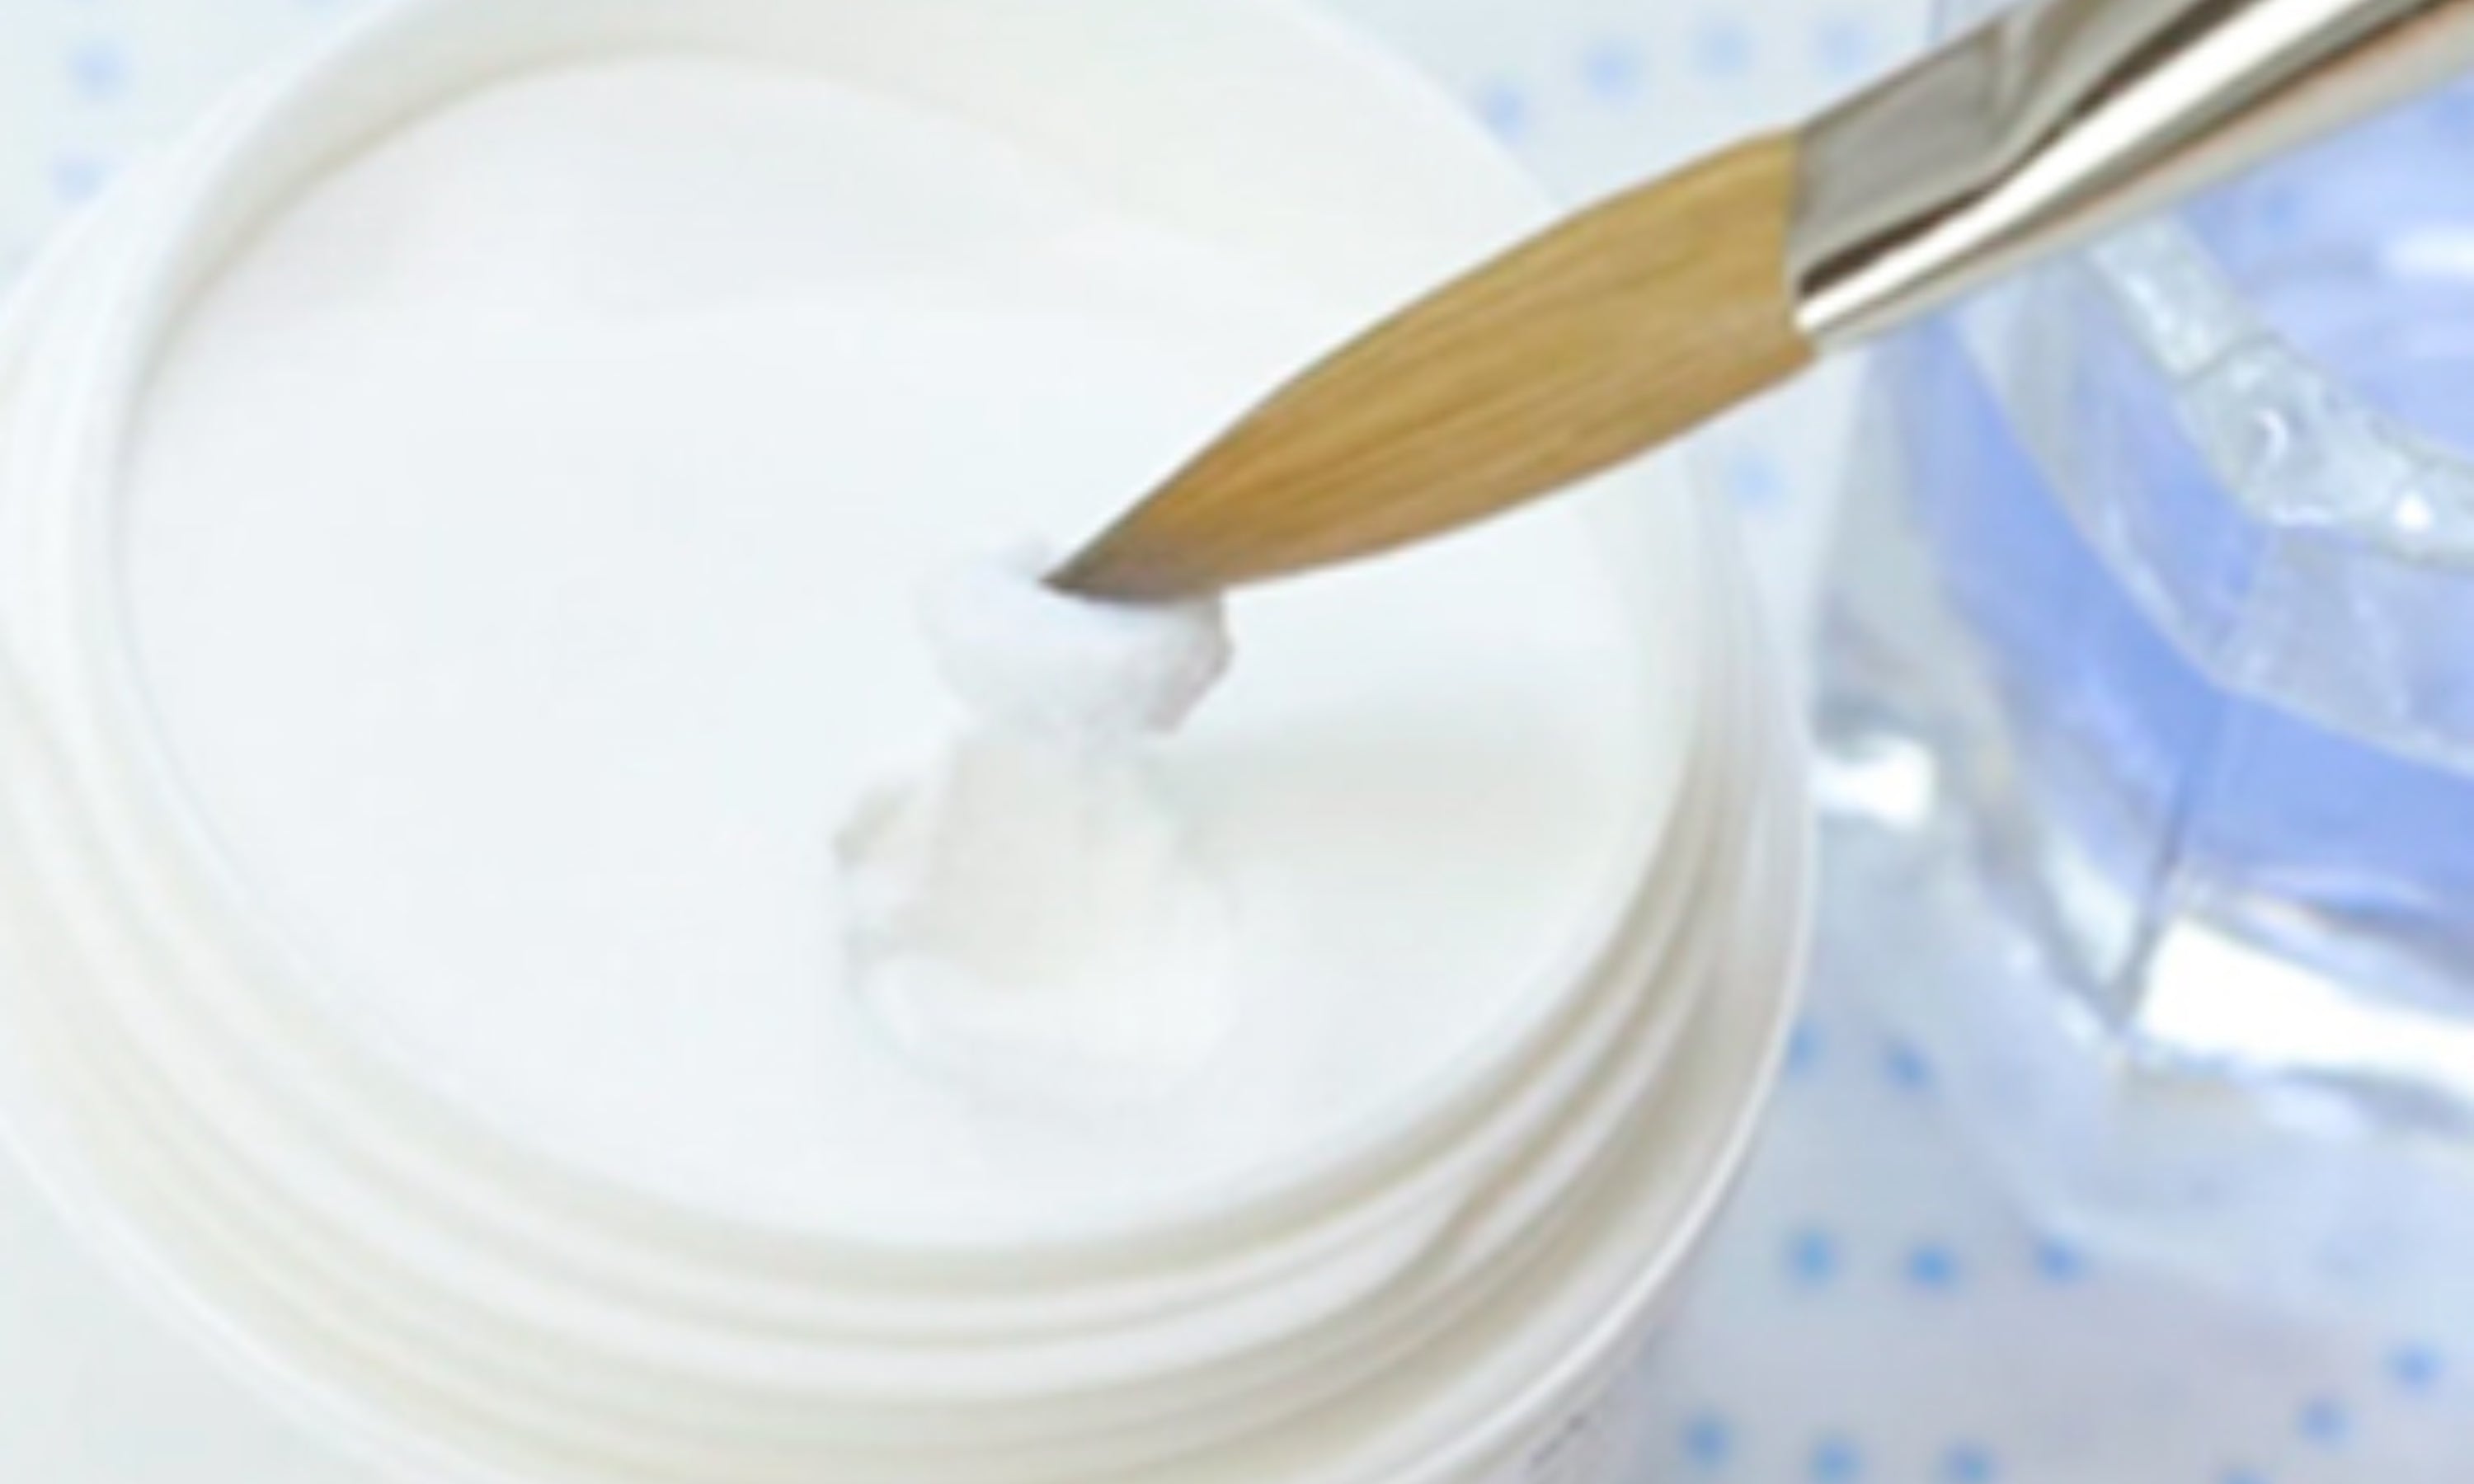
29. Dip the brush into the acrylic liquid again, then into the acrylic powder. Wait a few seconds for the pearl of product to form.
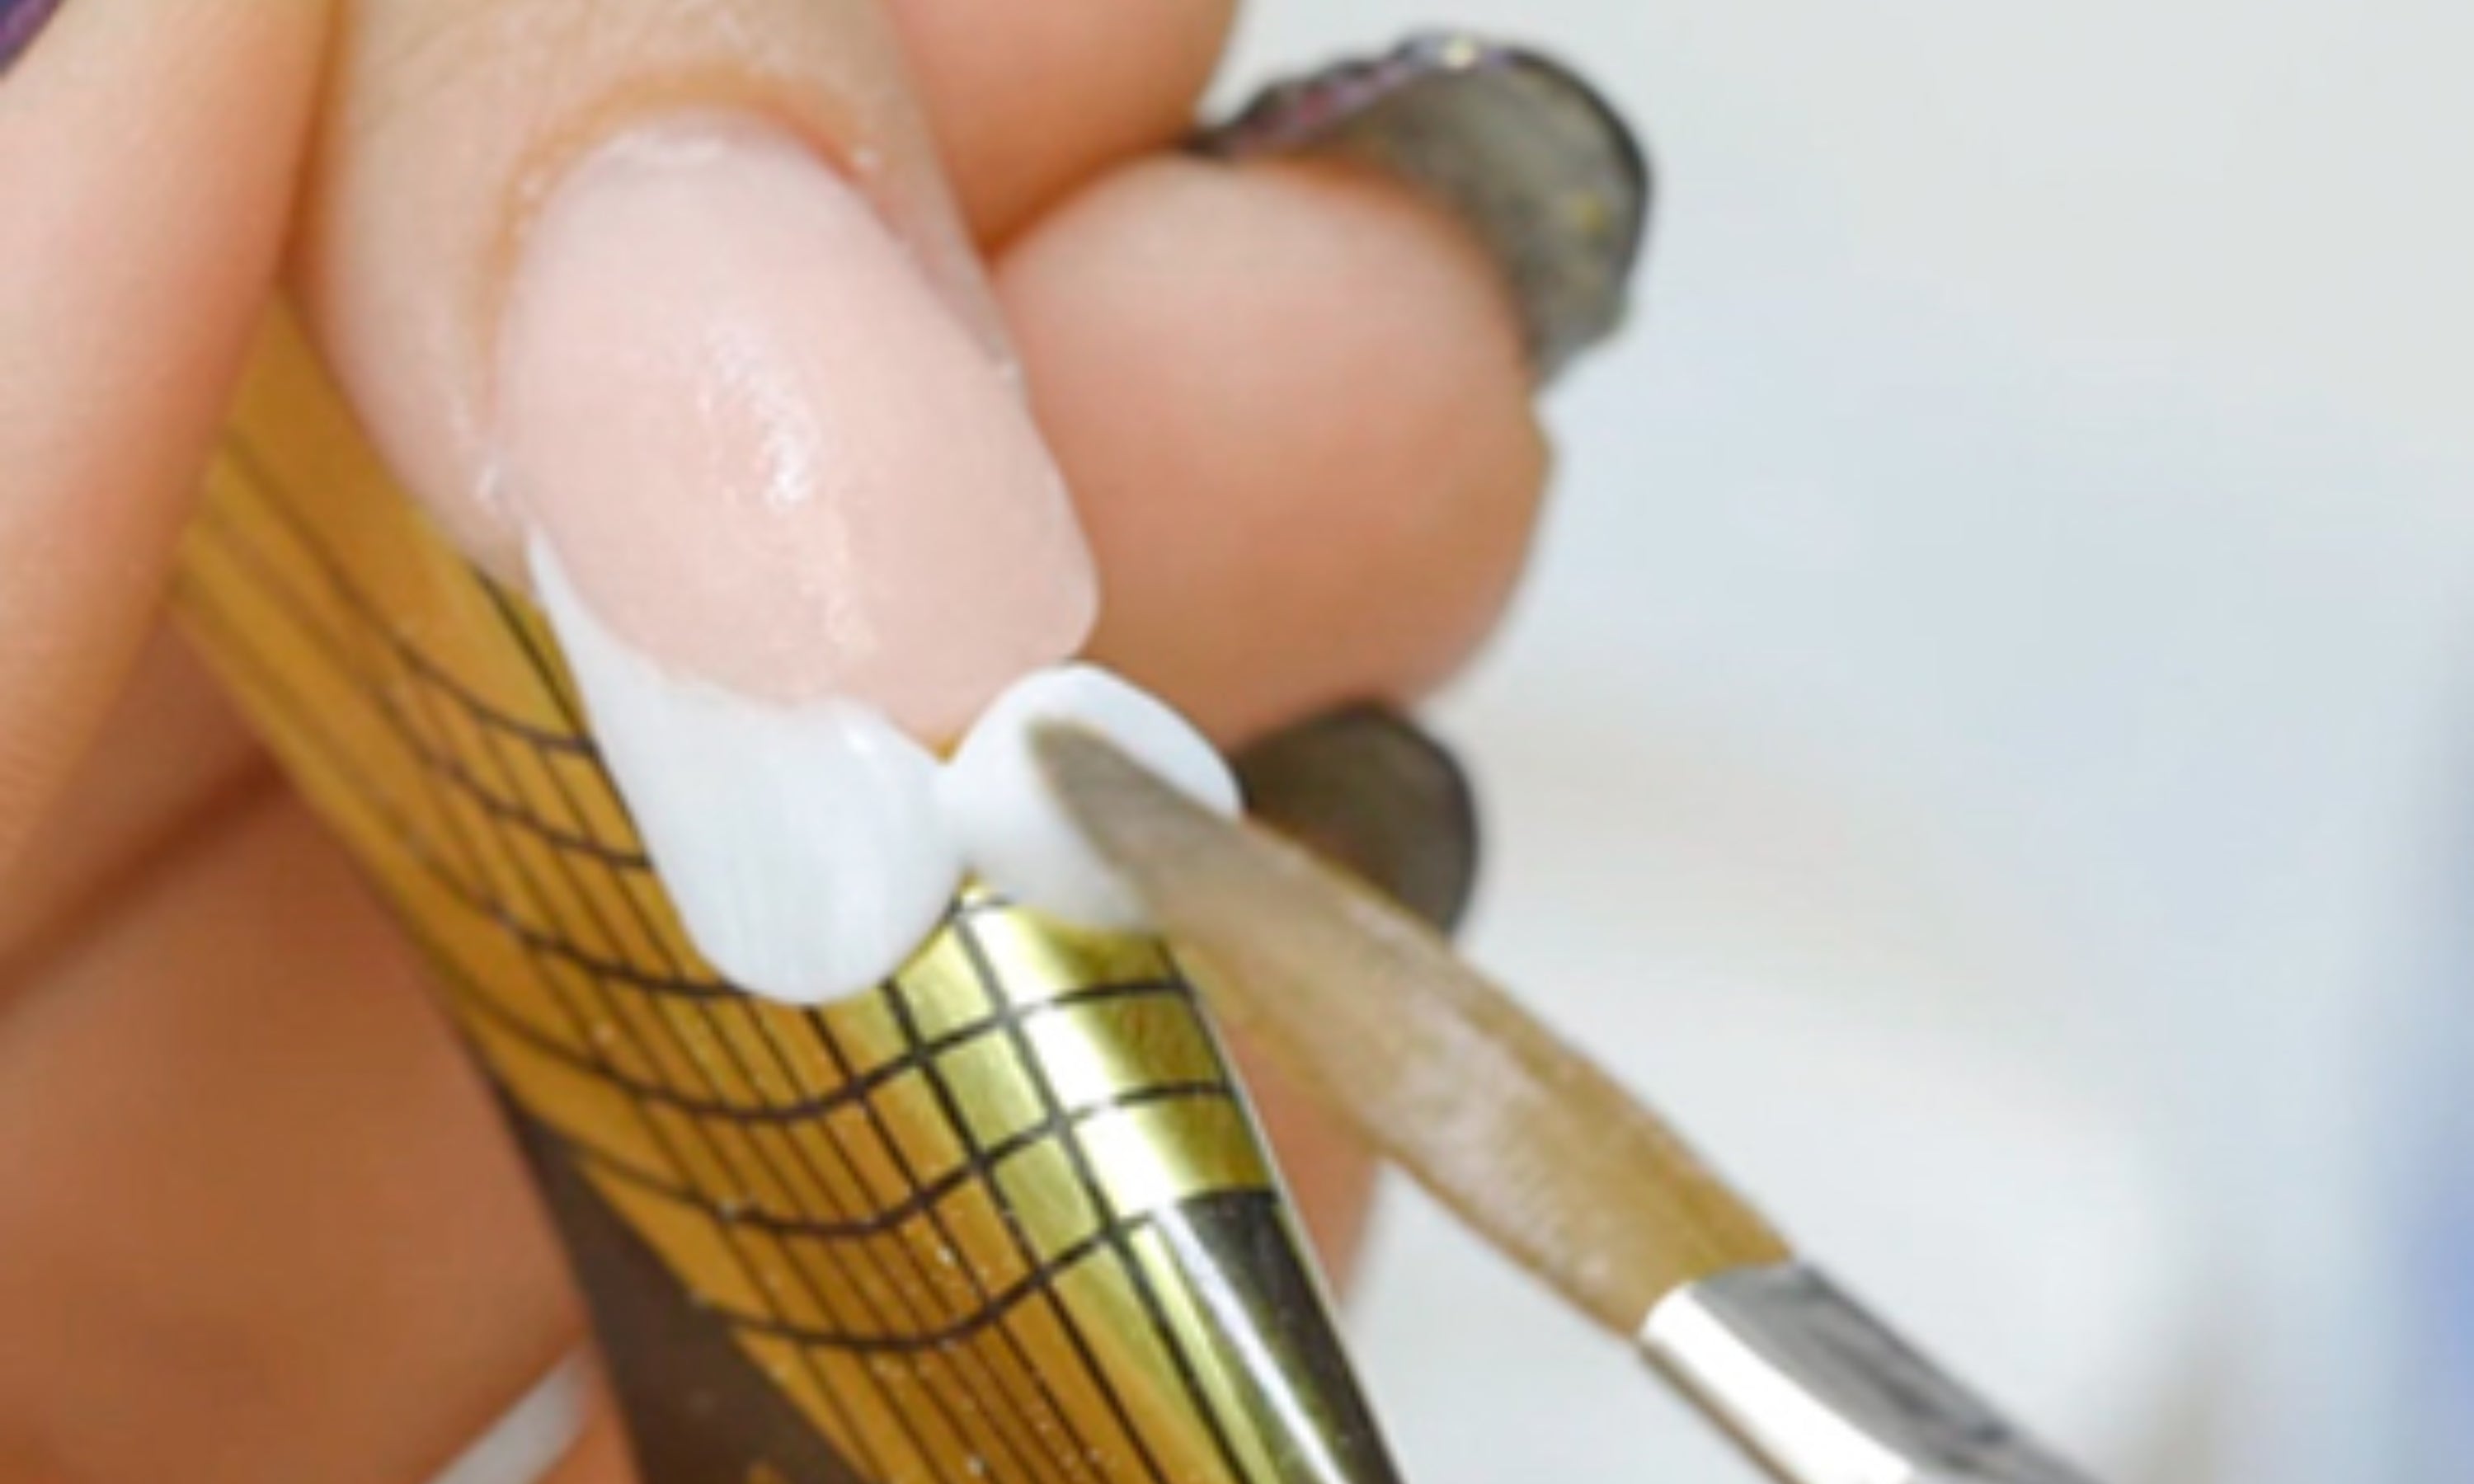
30. Place the pearl on one side and spread it over the entire smile line of the nail. If the brush sticks, remember to wet the brush again. Apply a second pearl if necessary.
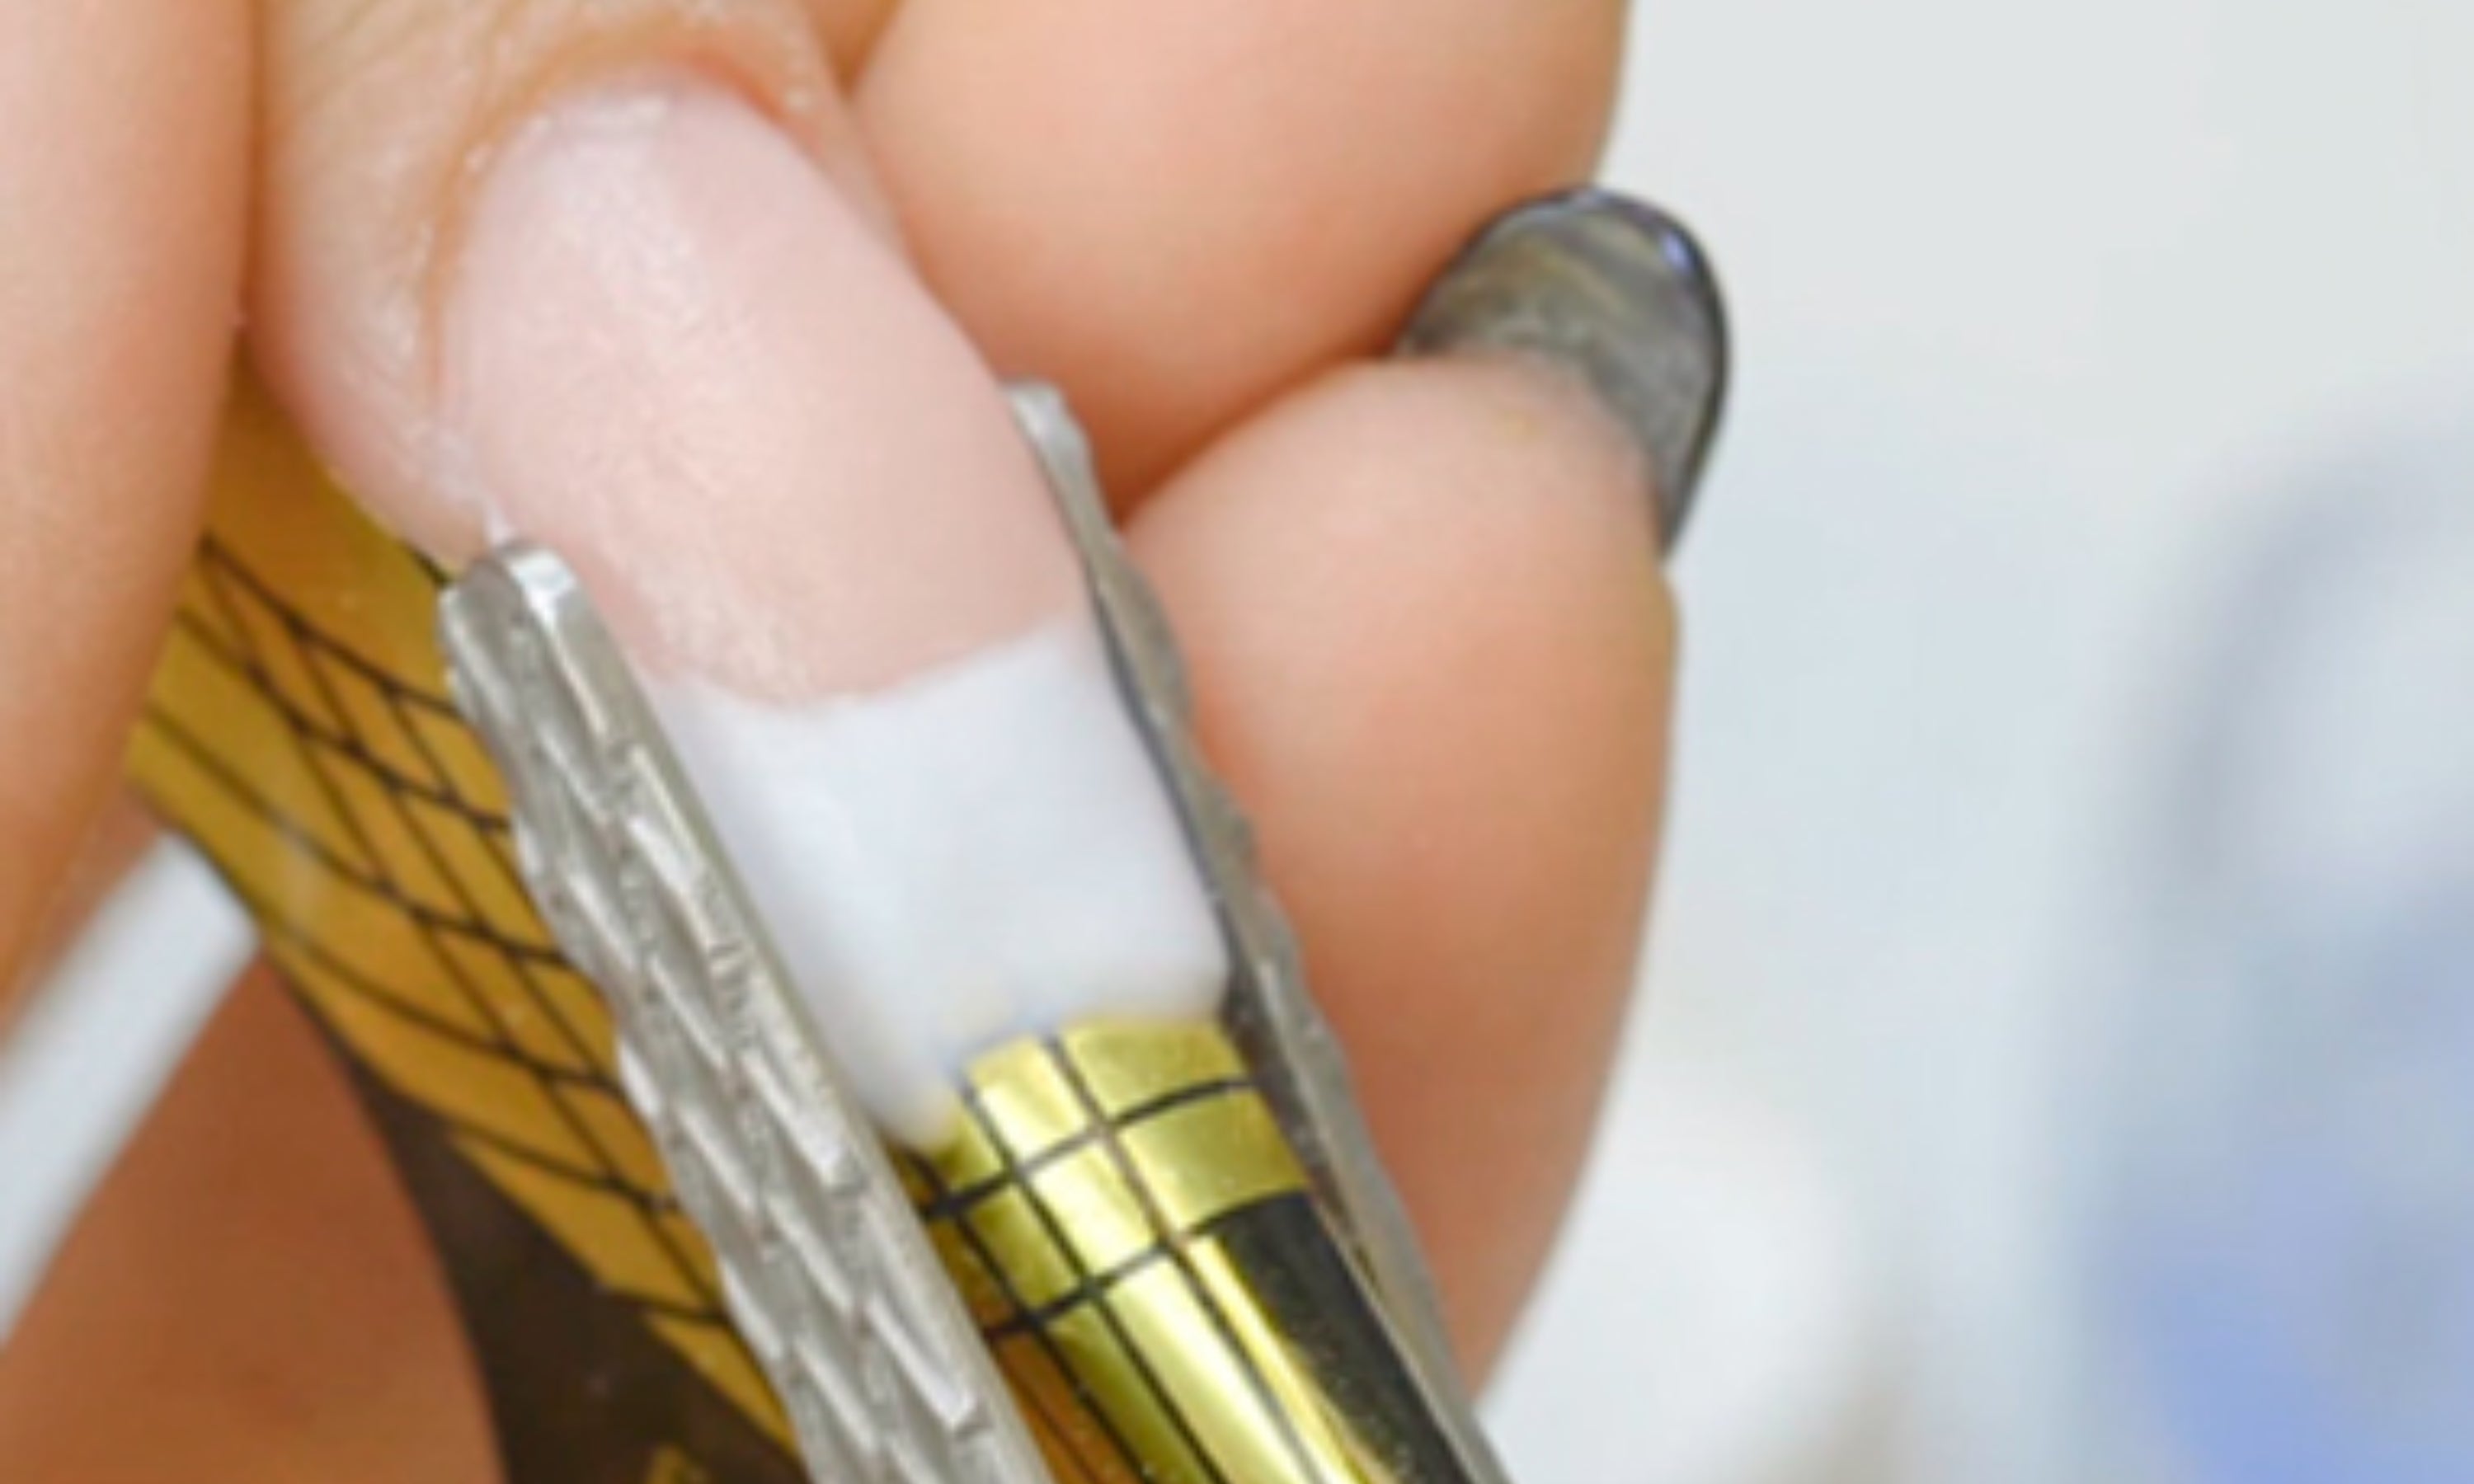
31. To give a more natural shape to the nail extension, before it dries completely, place the pinching pliers so that they press on the side of the finger and the nail.
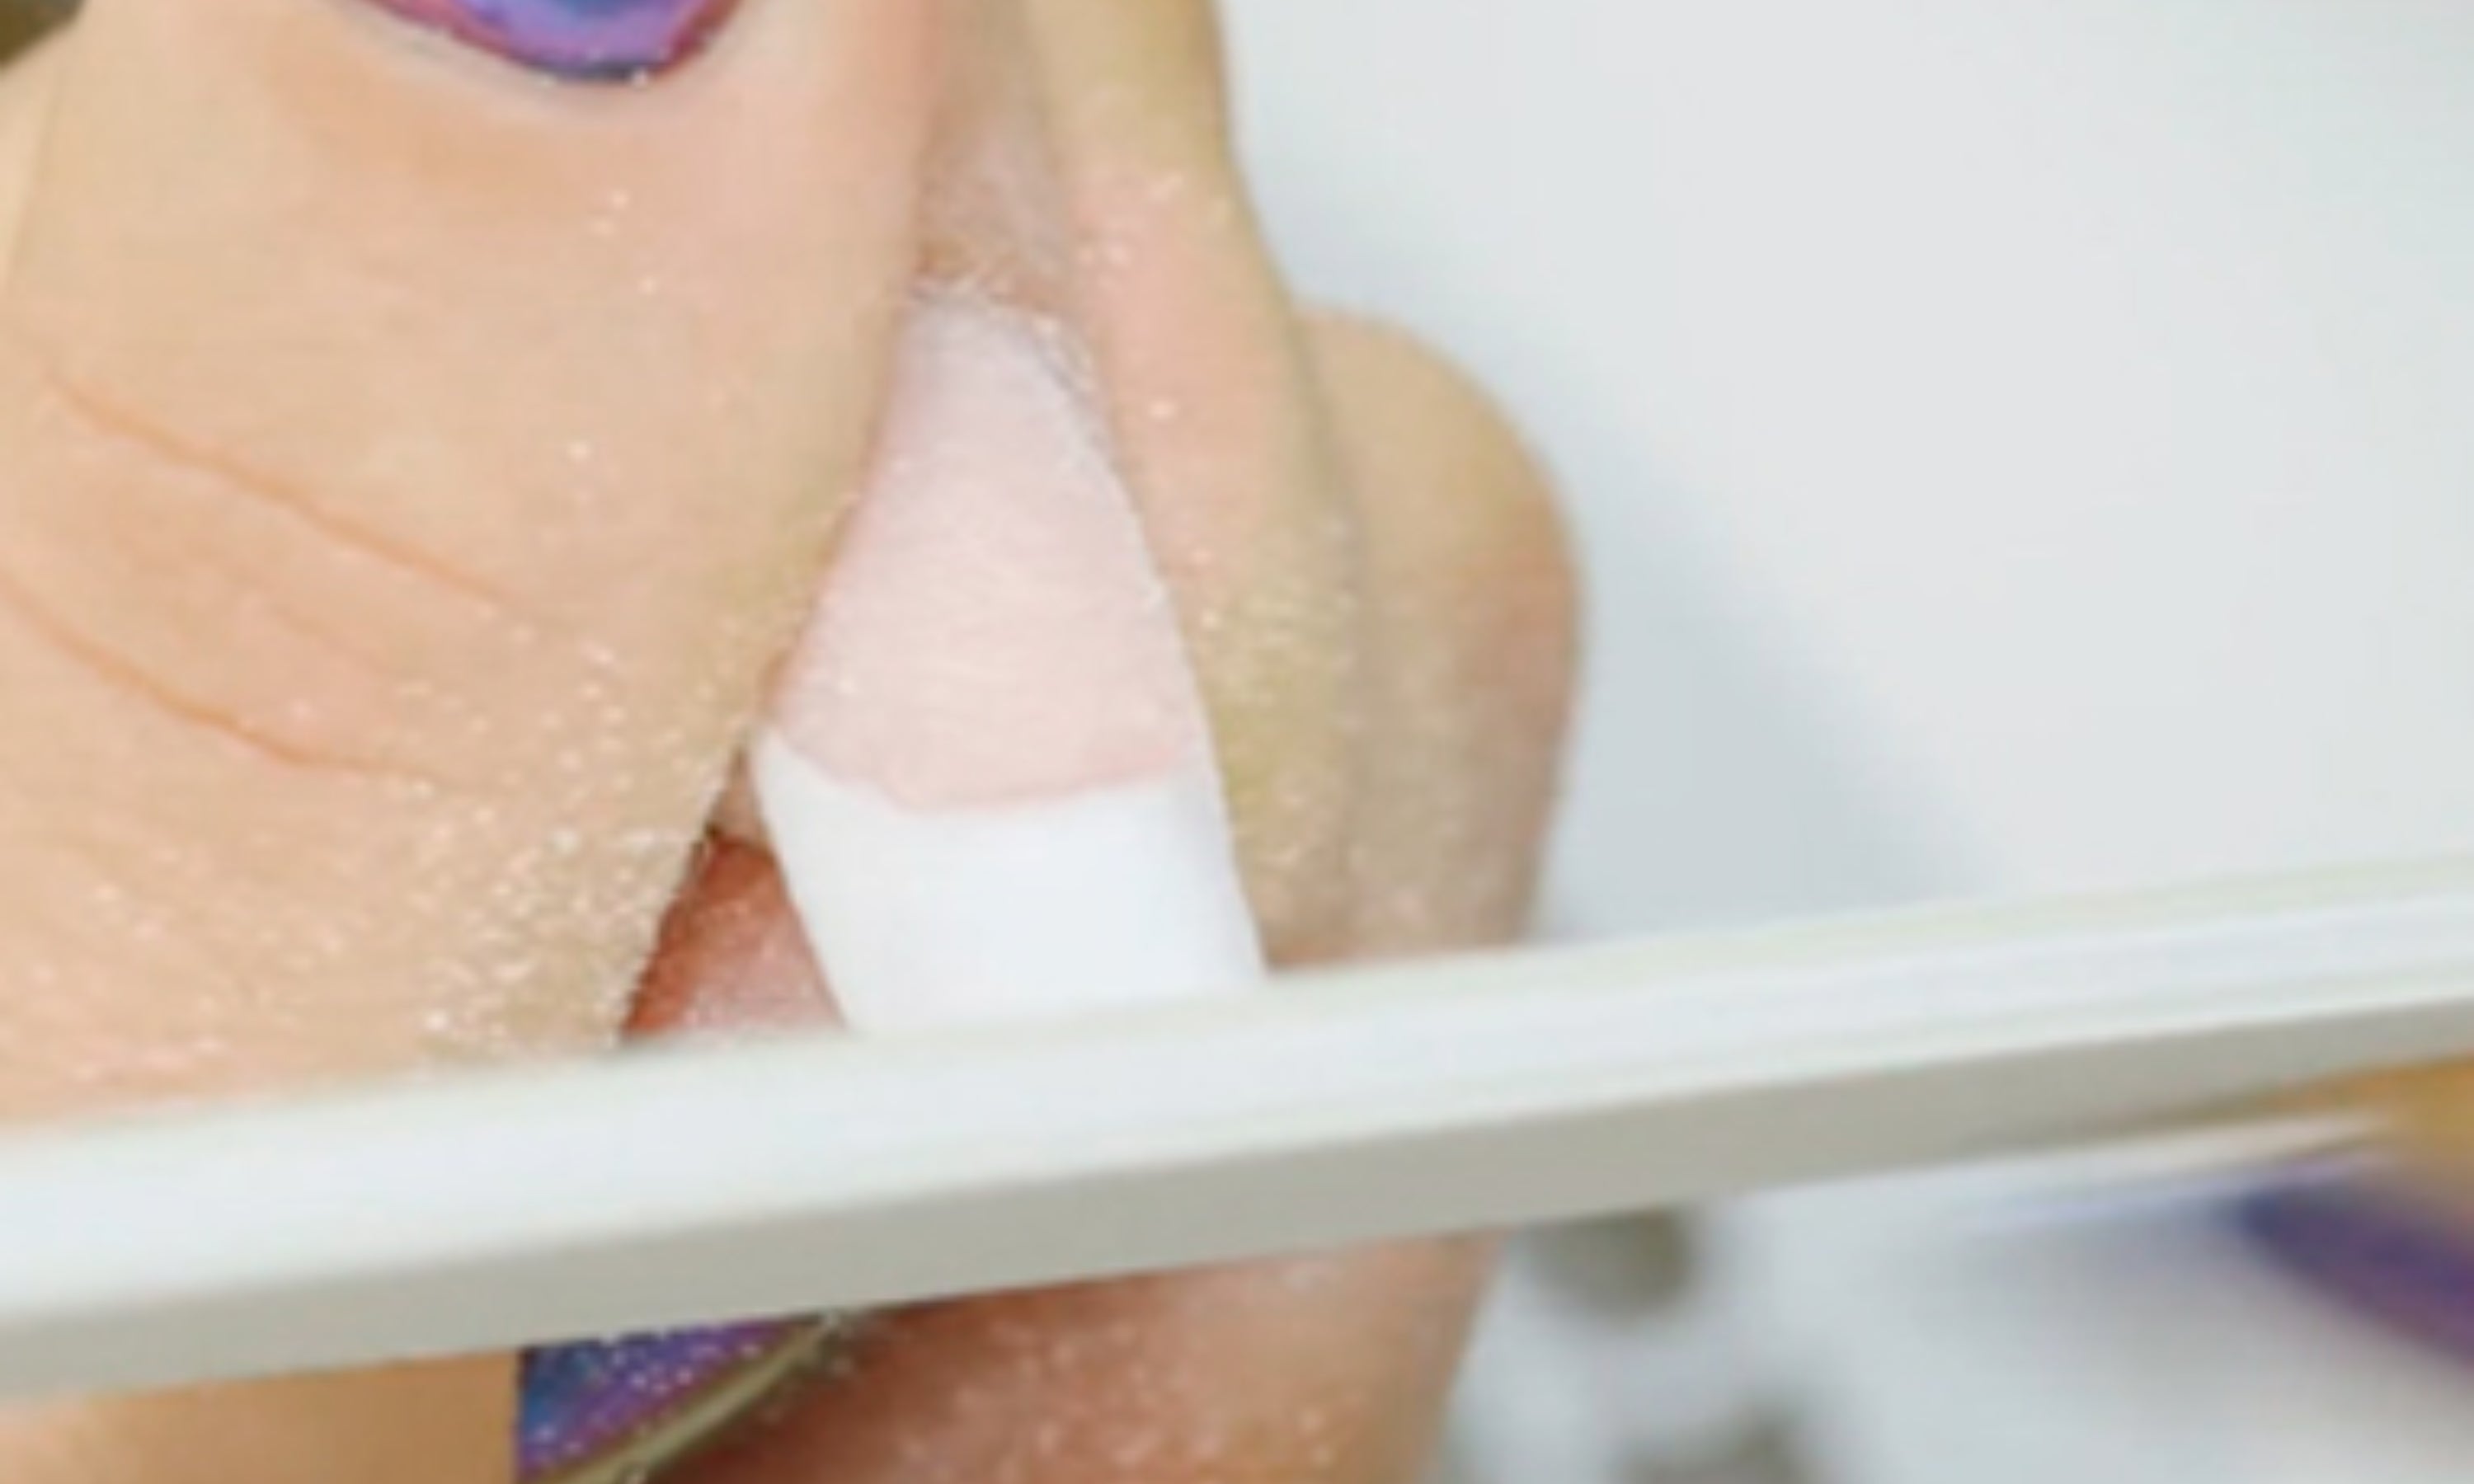
32. File the French file and smooth it with the almond file. This will eliminate any gaps and imperfections. Also use the polishing block and remove the dust with the brush. Clean with Cleaner.
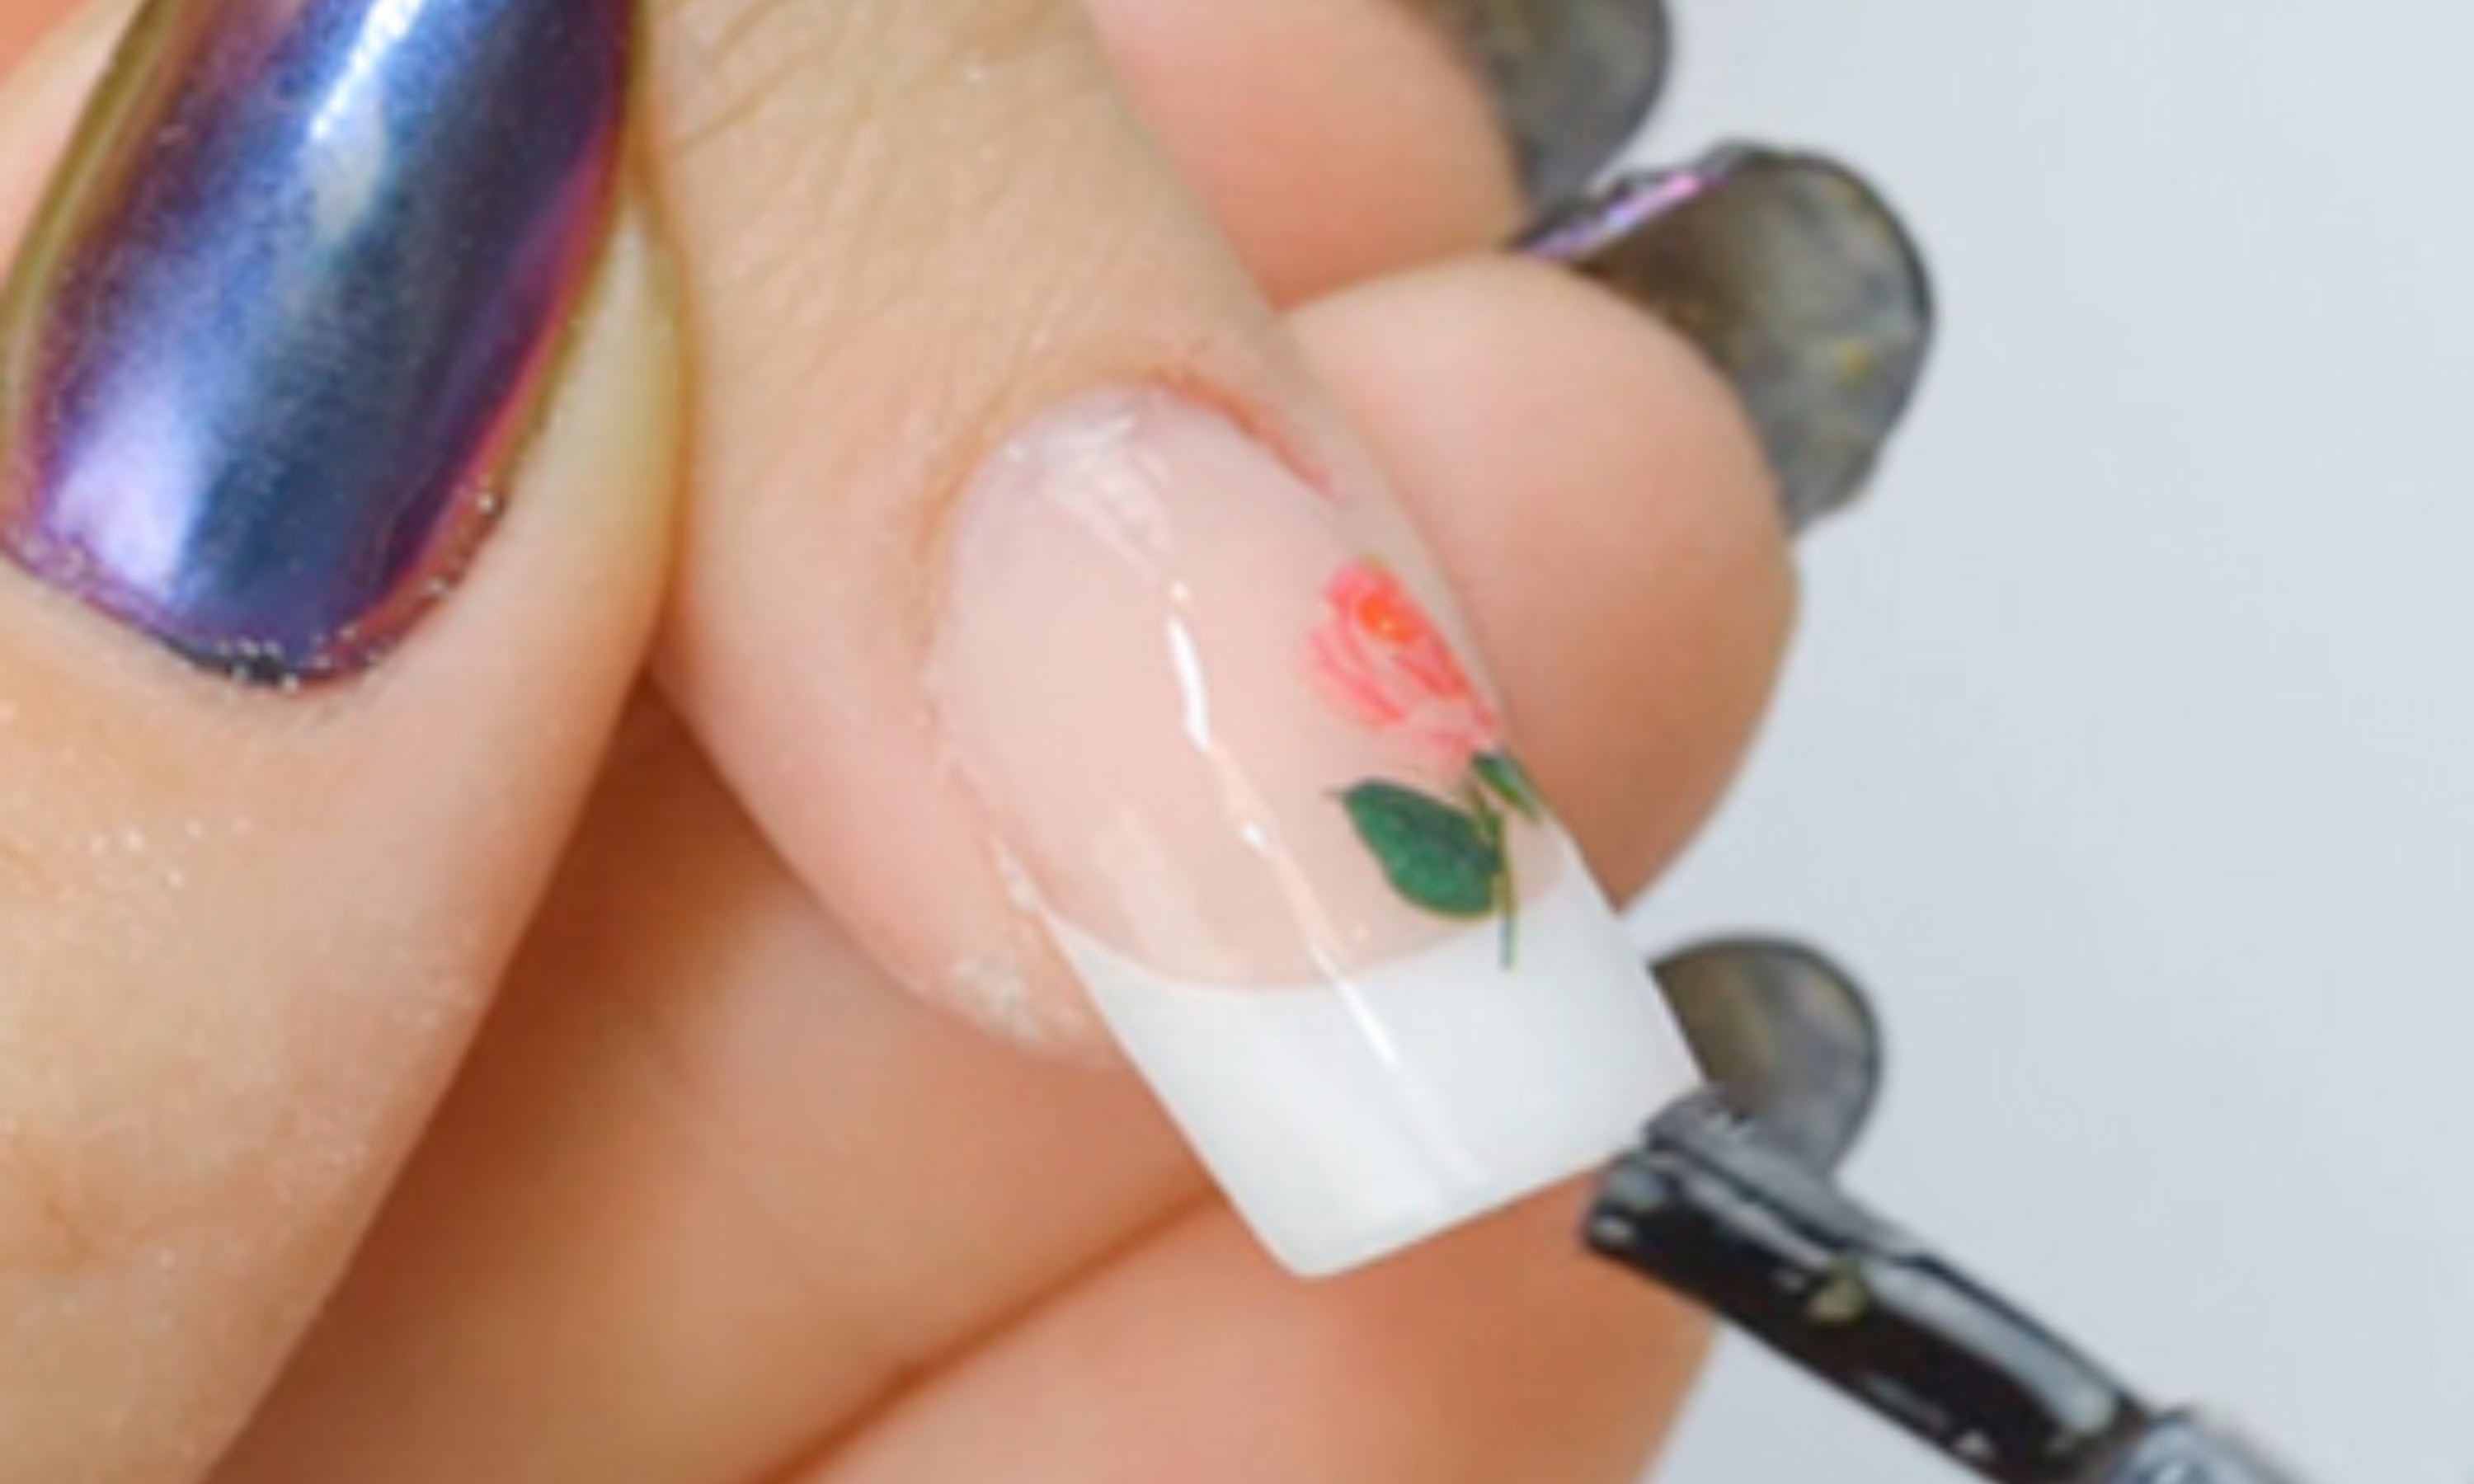
33. Apply the air-dry Top Coat. If you have a nail-drying lamp, it is recommended to apply a lamp-drying finisher to increase durability. And that's it!
Materials for acrylic nails
FREQUENTLY ASKED QUESTIONS ABOUT PERMANENT NAIL POLISH
There are different viscosities in our range of permanent coloured nail polishes. It is recommended to apply thin layers to prevent this from happening. It can also happen if we dry the colour for less than 10 continuous seconds, as it does not dry completely well.
For easy and effective removal of permanent manicure, it is important to have the necessary products. If you have a file, cotton, permanent nail polish remover, aluminum foil, cuticle pusher, buffing block and follow the steps explained above, you can easily remove permanent manicure.
If the permanent nail polish application has been done correctly, it guarantees a minimum duration of two weeks.
No, because they are two products with different ingredients and viscosities, so they are not compatible.
Yes, you can apply permanent nail polish over a build or reinforcement in any technique.
Permanent nail polish products have an excess layer and the color can often shrink. If it moves, we recommend wiping off the sticky layer of the base, this way we will be able to apply the color more easily. It is also recommended to dry finger by finger for a few seconds (minimum 10 seconds) and finally, the entire hand (60 seconds / 2 min).
- Hybrid Base : base with Vitamin E that makes removal easier and strengthens the natural nail.
- Base & Gloss : two-in-one base, base and gloss for intense colors.
- Volume Base : thicker base to give strength and volume to the nails. You can also repair and correct small imperfections.
- Strong Volume Base : a thick and very rigid base that can be used to lengthen nails by 4 or 5 mm and also strengthen them.
- Volume Base Milky White : two-in-one base, base and translucent milky white color. You can also correct small imperfections of the natural nail.
- Volume Base Natural Pink : two-in-one base, base and translucent natural pink color. You can also correct small imperfections of the natural nail and lengthen up to 4 or 5 mm, as well as reinforce your nails.
- Volume Base Nude Rose : two-in-one base coat, base and pink covering colour. You can also correct small imperfections in the natural nail and lengthen it by up to 4 or 5 mm, as well as reinforce your nails.
- Volume Base Cover : two-in-one base coat, base coat and camouflage pink color. You can also correct small imperfections in the natural nail and lengthen up to 4 or 5 mm, as well as reinforce your nails.
- Volume Base Cover Shimmer : two-in-one base, base and cover color with glitter. You can also correct small imperfections of the natural nail.
- Volume Base Pastel Color : two-in-one base, base and translucent pastel color. You can also correct small imperfections of the natural nail and lengthen up to 4 or 5 mm, as well as reinforce your nails. Colors: pastel pink, pastel lilac, pastel green and pastel blue.
To finish a permanent nail polish manicure we can use the following glosses:
- Crystal Top Gel : Extra shiny and long-lasting finishing gloss, without sticky layer. Prevents nails from staining or yellowing.
- Base & Gloss : permanent lamp-drying polish gloss with a sticky layer.
- Top Gloss : permanent nail polish gloss that dries under a lamp with a sticky layer (ideal for light colours).
- Diamond Gloss : finishing gloss with fine diamond glitter sparkles, ideal for any permanent, gel or acrylic nail polish colour. Once dried in the lamp, it does not leave an excess layer.
- Matt Top Coat : velvety effect finisher to apply over any gel, acrylic or permanent polish color.
- Eggshell Top Coat : Clear matte finish finisher with irregular black dots without sticky layer.


